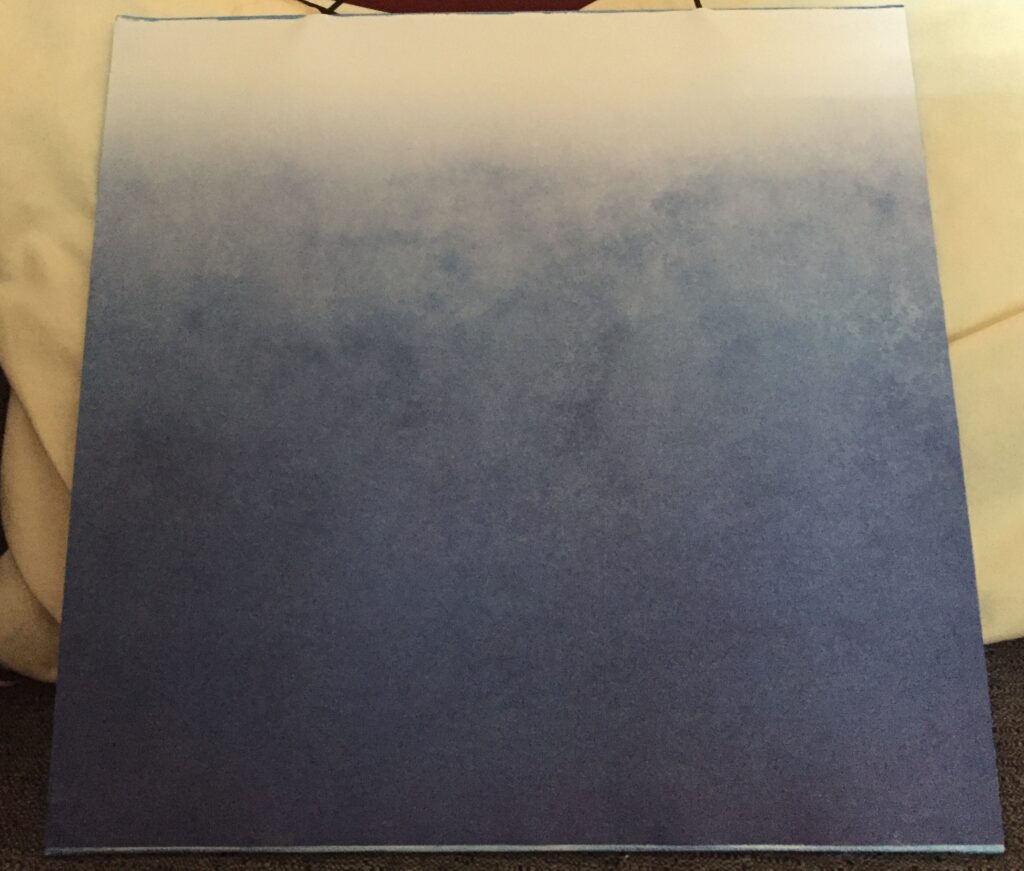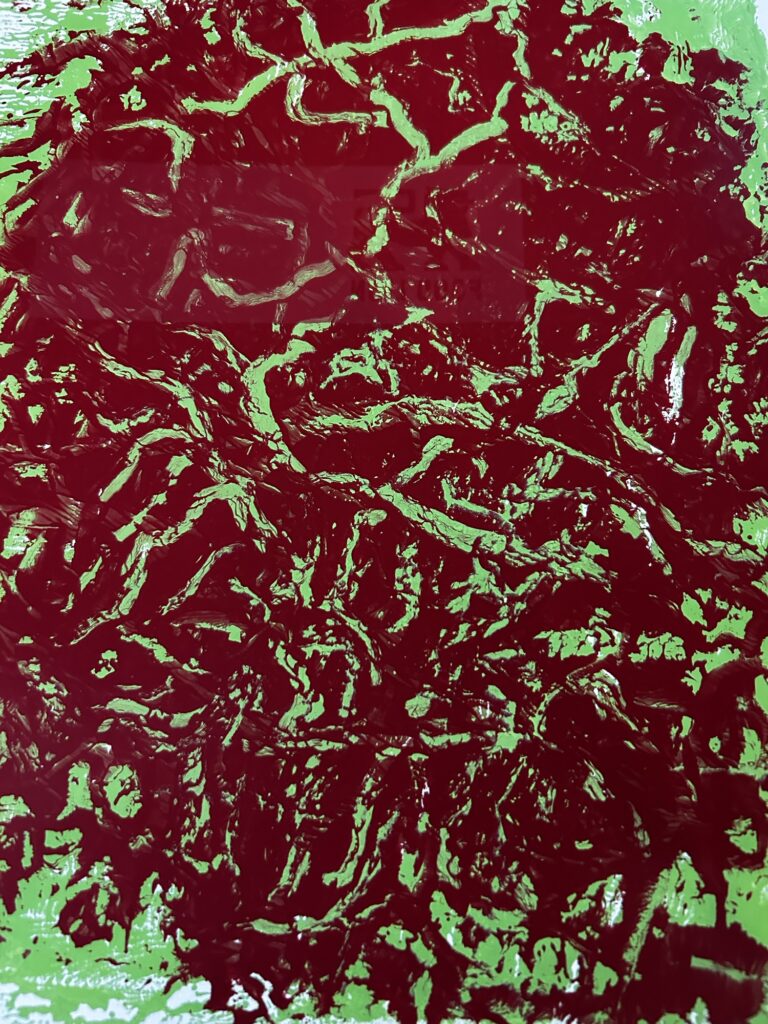
No, it’s an acrylic paint gel print. The stencil/mask I used is Bramble Branches from PMartist Studio. It was supposed to be green branches on a red background.
The design is unrecognizable because I used too much paint. I tried to remove some of the red with a cotton swab, and it seems to have made matters worse.
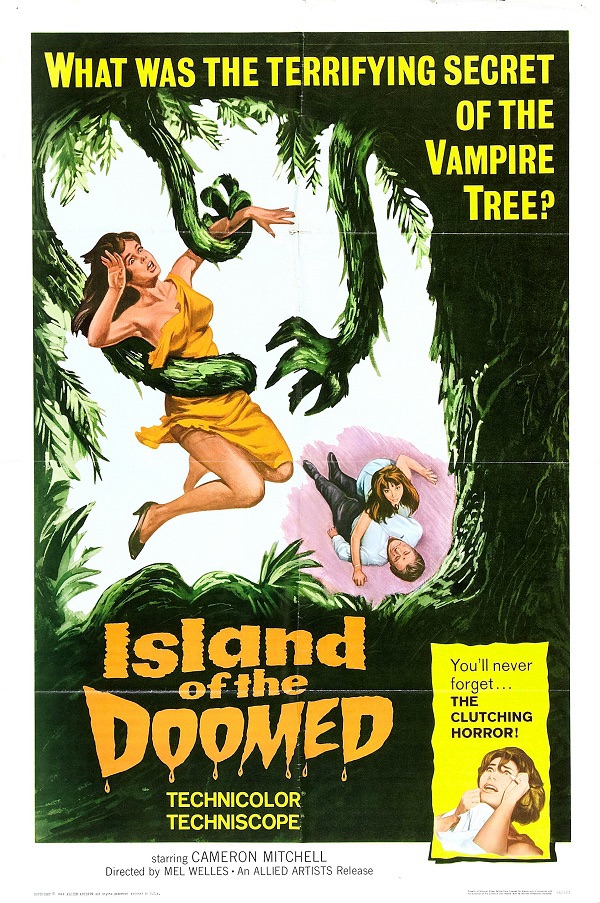
It does bring back memories of a horror movie from my childhood. It was one of the first ones in color, and I think it was called, “Island of the Doomed.”
There was a large tree on a tropical island that would send out tendrils at night that would suck the blood out of people. In the end, when they chopped it down, it was a blood bath, not unlike my gel print! Maybe I should give it the axe!
Look! I found it! I was 11 years old. I can’t believe I remembered! I’ll have to watch it again!