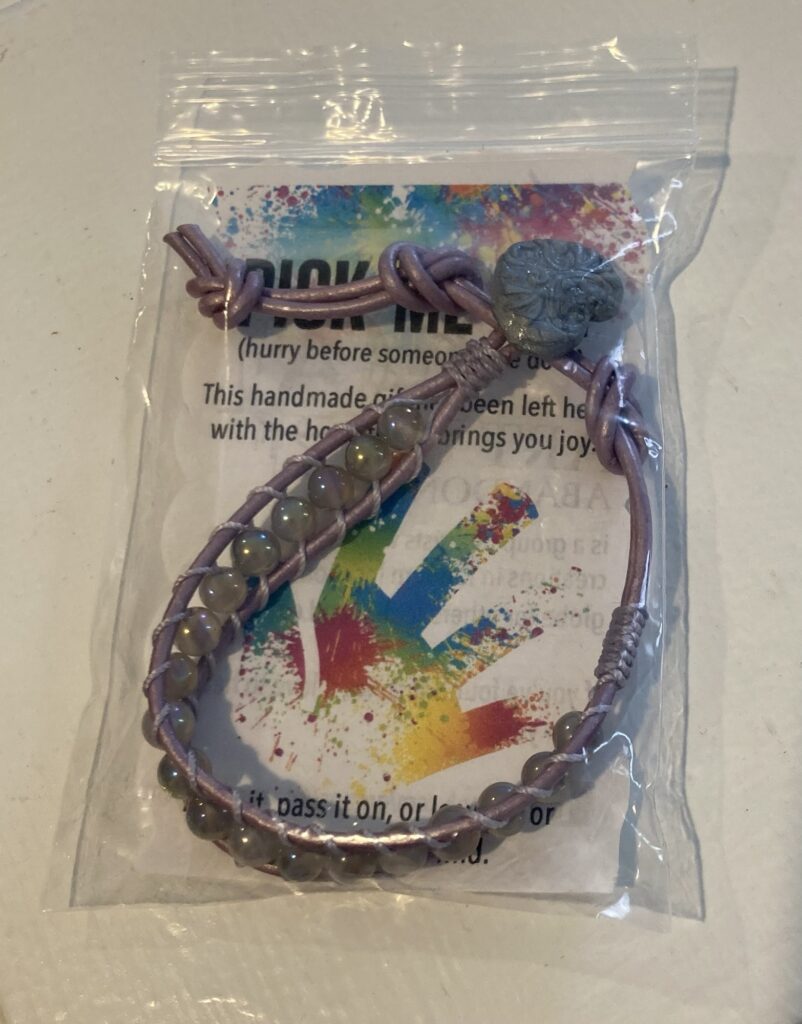
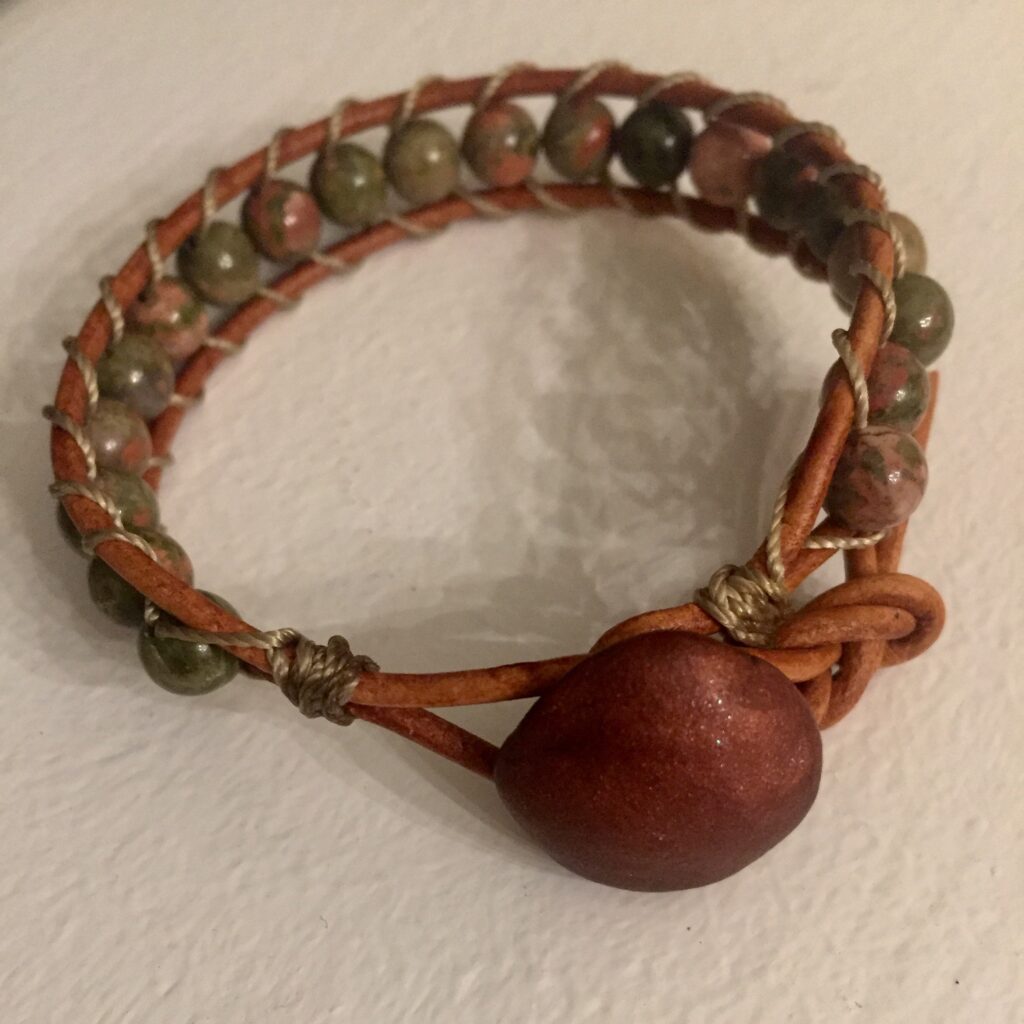
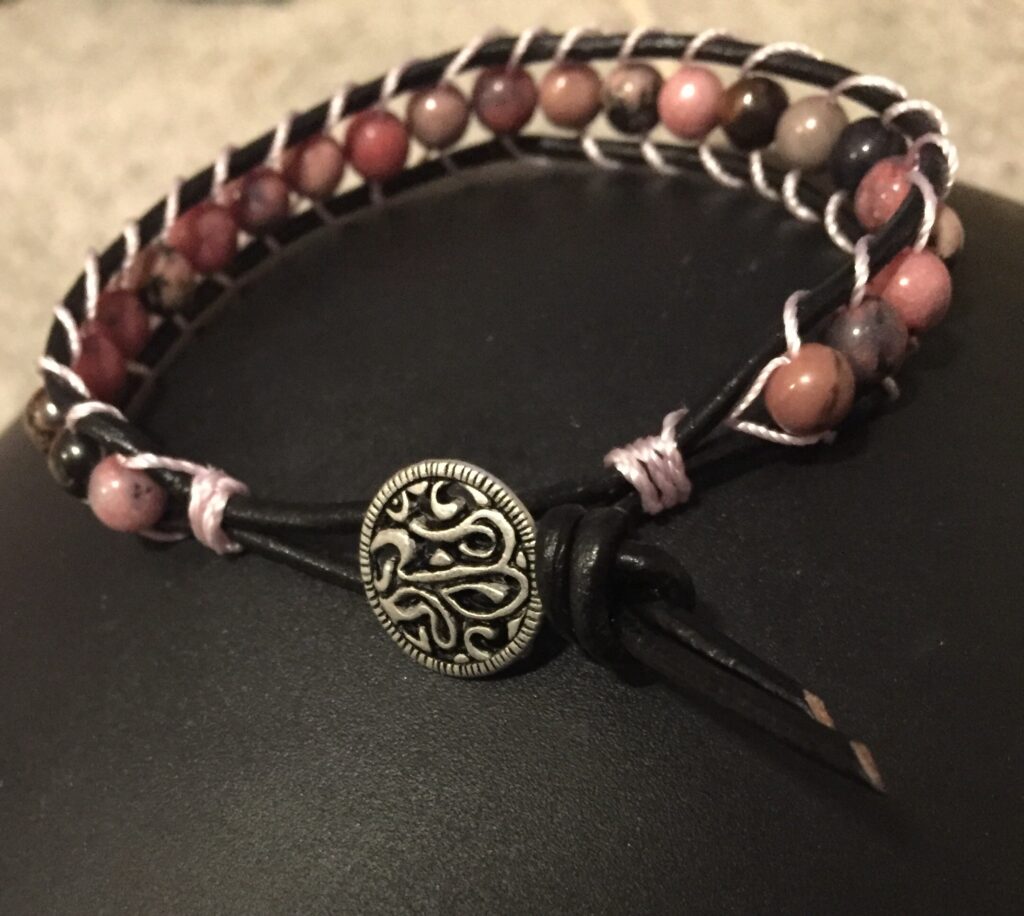
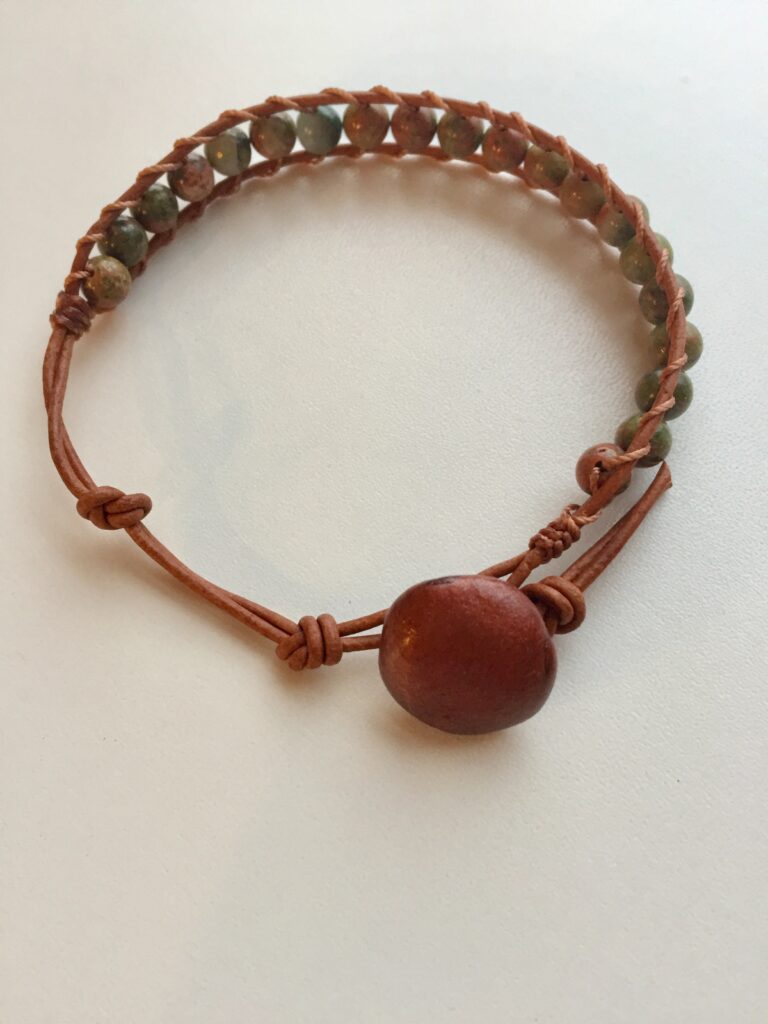
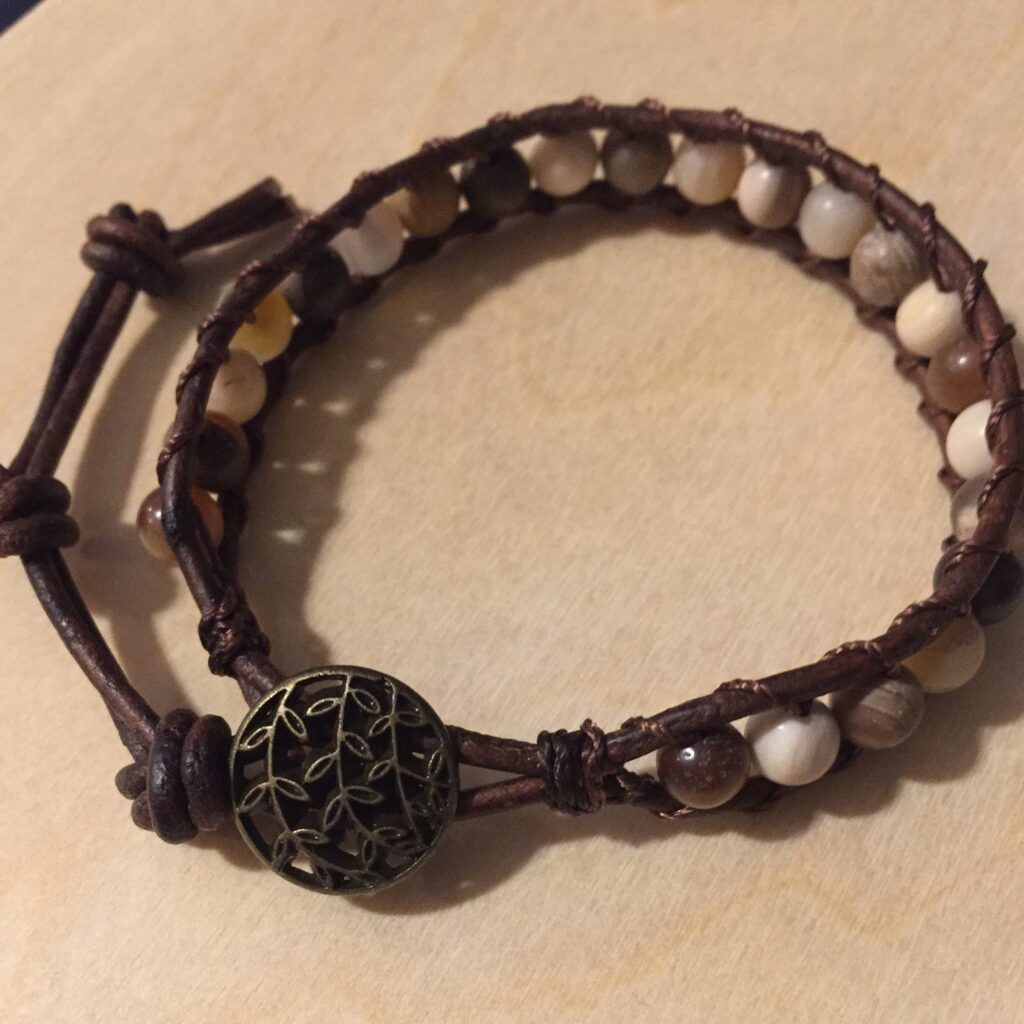
I left this bracelet at Walmart in the Arboretum Shopping Center in Charlotte, NC, today. When I abandon a bracelet, I consider that a finish! I hope it makes somebody happy. Day 30, #the100dayproject2024, #fixandfinish
I left this bracelet at Walmart in the Arboretum Shopping Center in Charlotte, NC, today. When I abandon a bracelet, I consider that a finish! I hope it makes somebody happy. Day 30, #the100dayproject2024, #fixandfinish
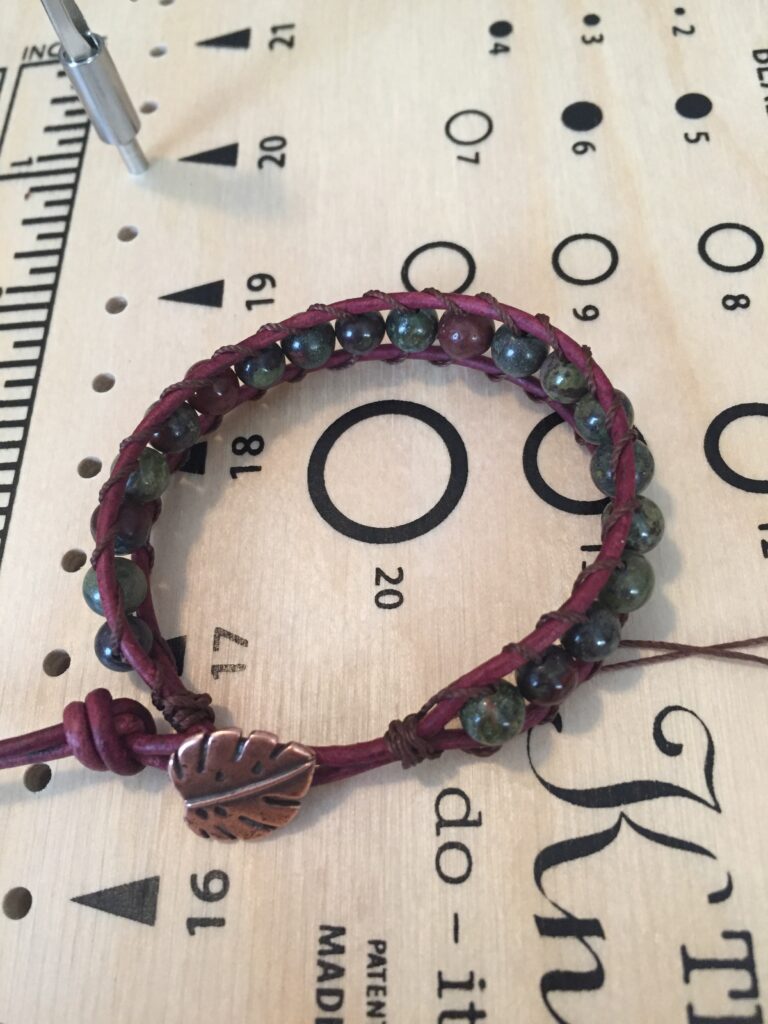
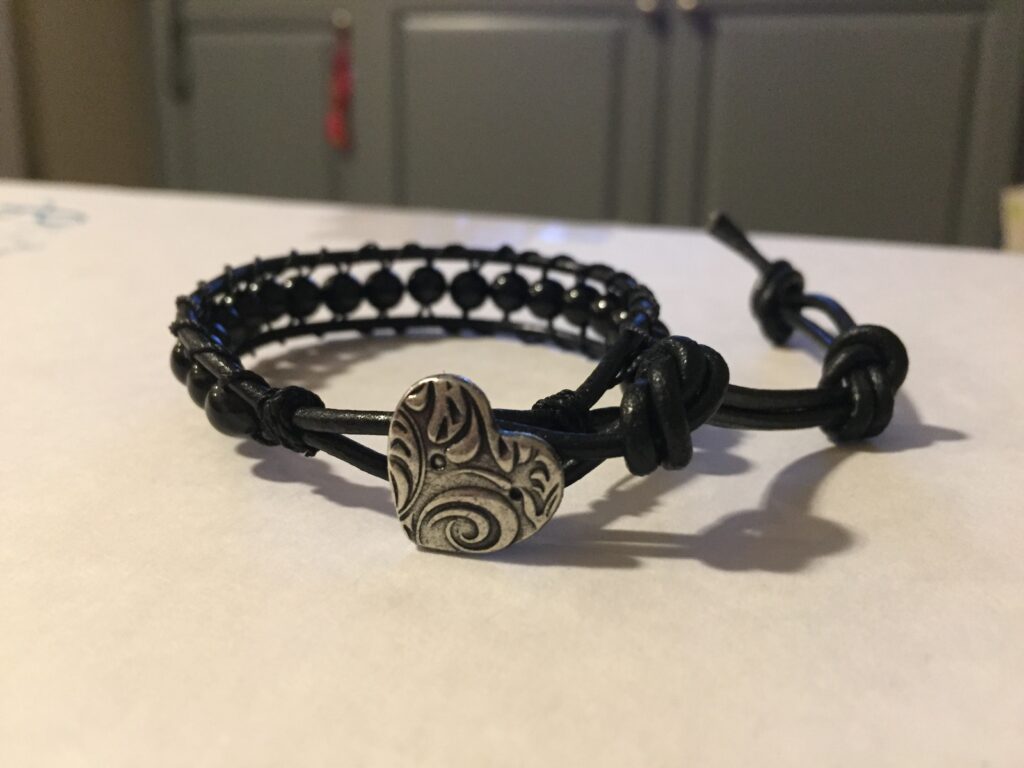
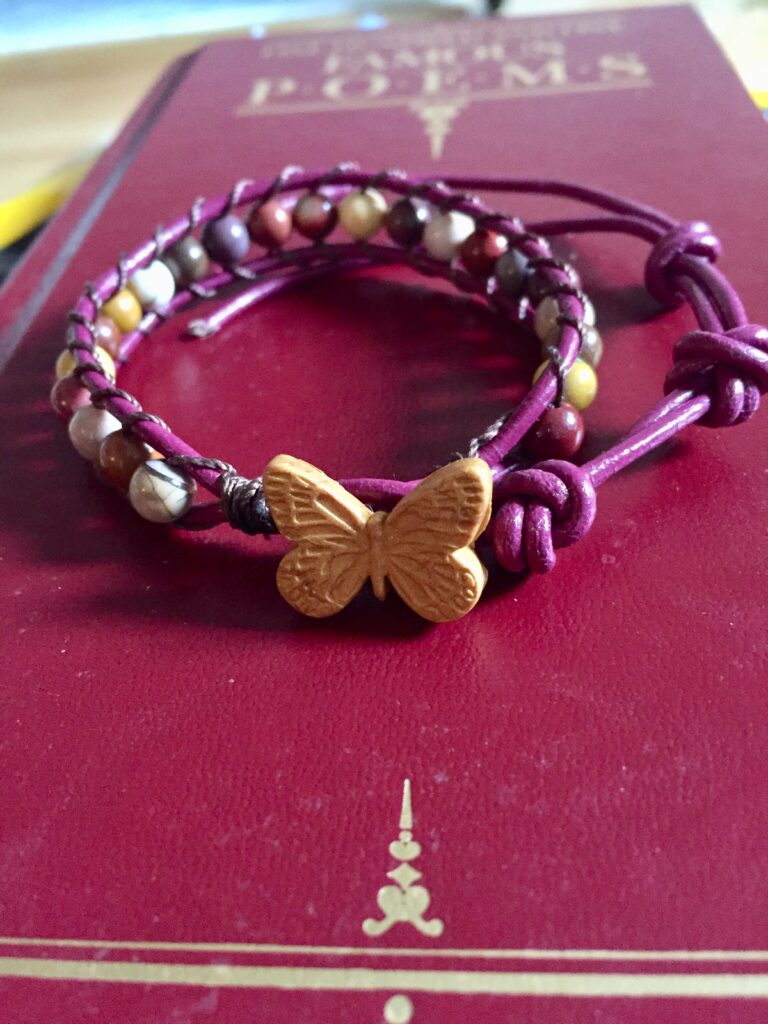
I’ve not made a bracelet in weeks. I burned myself out making them before Christmas. Today, I finished one I’ve been carrying around for days. I’d planned to finish it before Valentine’s Day because it has one of my heart-shaped handmade polymer clay buttons. (Someday, I hope to make my buttons out of precious metal clay.)
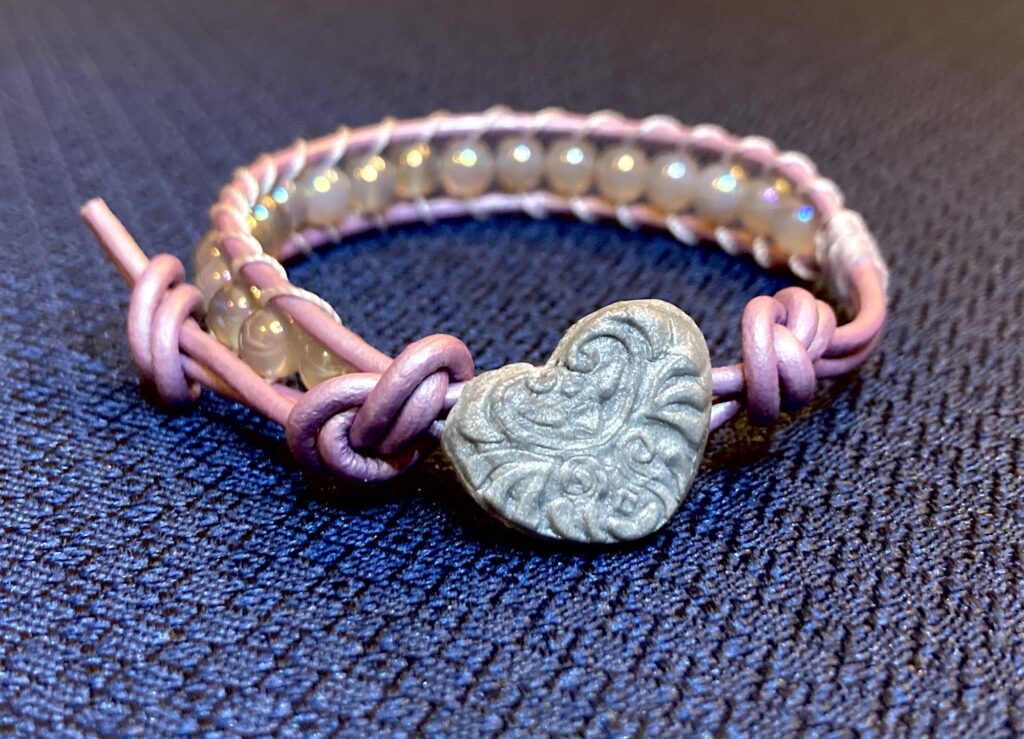
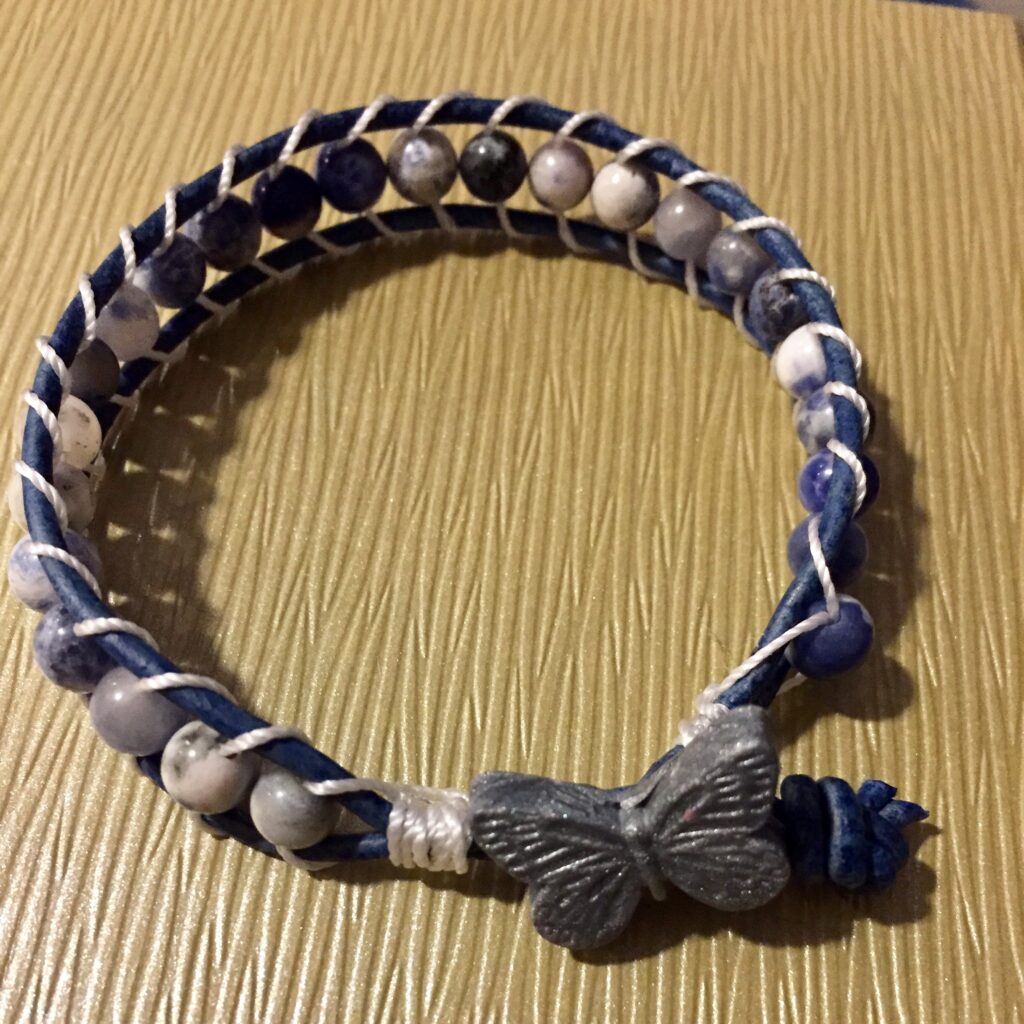
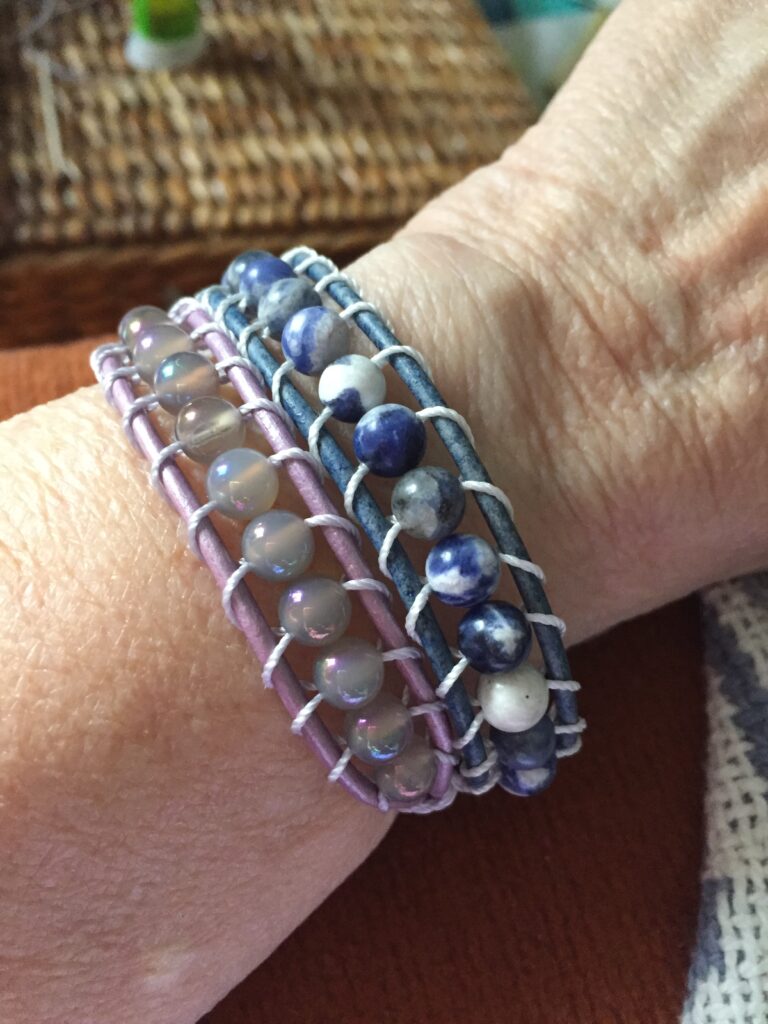
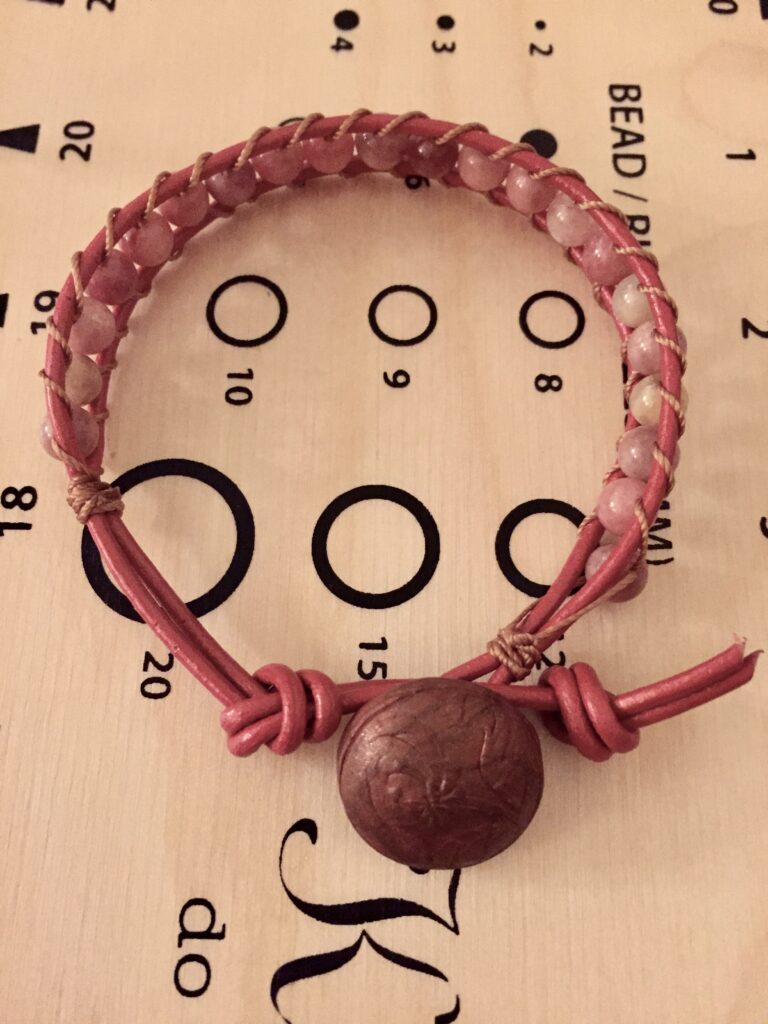
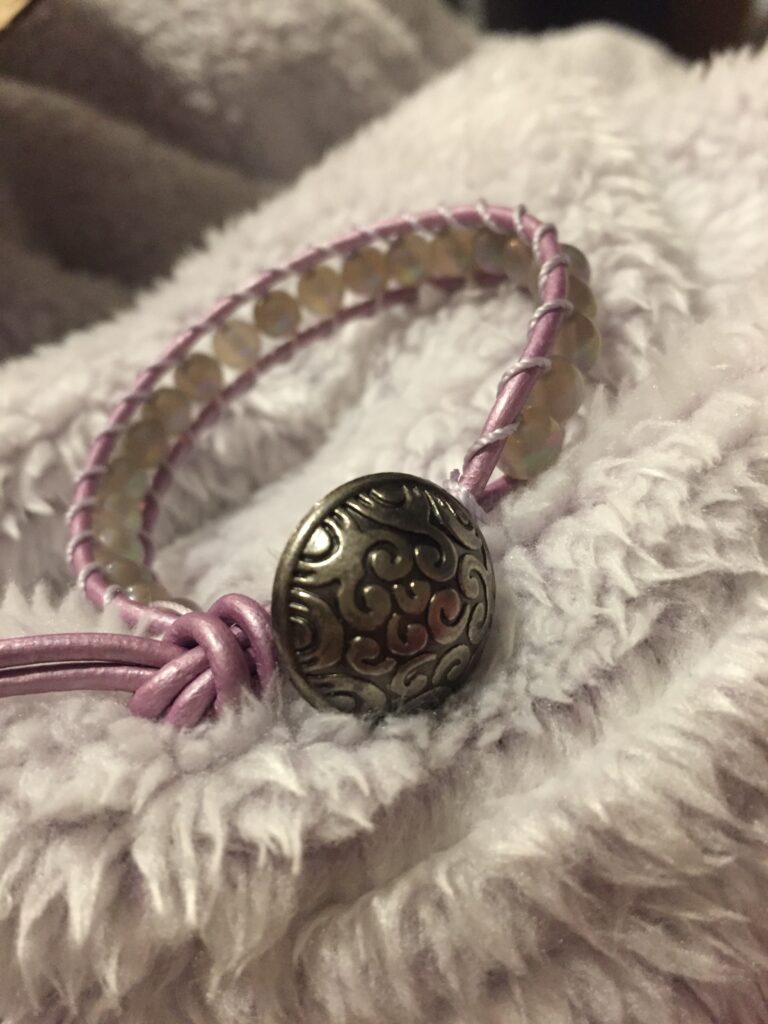
The leather is lavender and the beads are Aurora Borealis coated gray agate. This is my favorite combination of beads and leather. Day 25, #the100dayproject2024, #fixandfinish
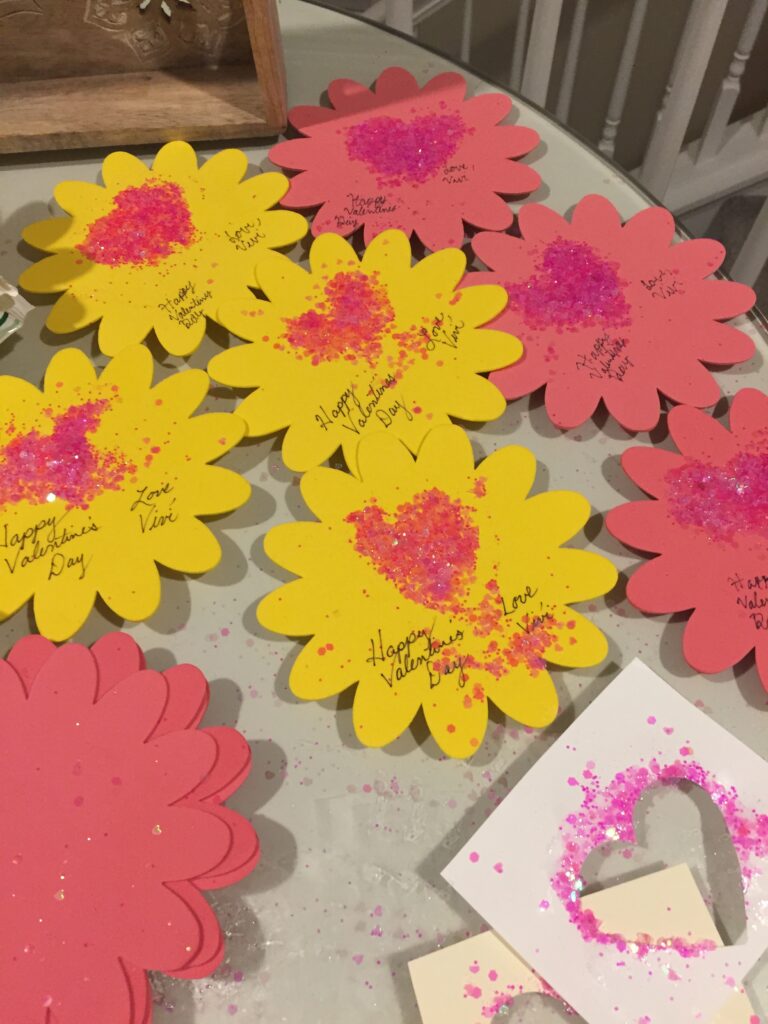
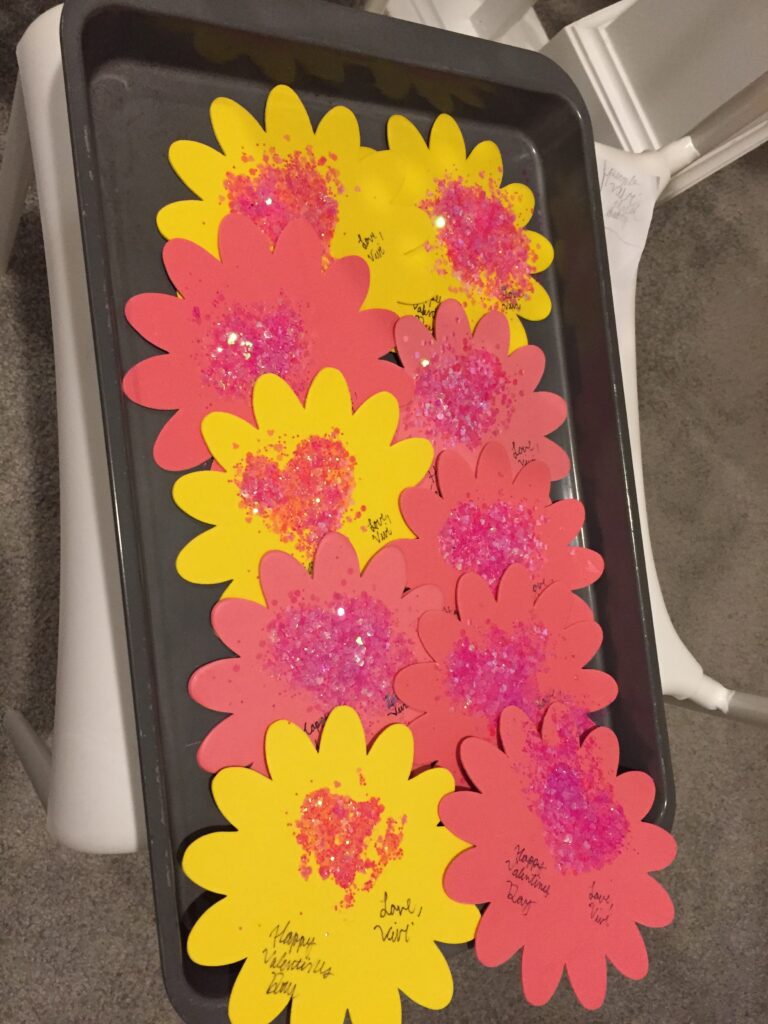
We made valentines and valentine jewelry, tonight. We ate chicken noodle soup because Vivi wasn’t feeling well. She persevered to get her valentines ready for school tomorrow. No store-bought cards allowed.


I’ve gone bracelet-making crazy!


I bought a kit and knitted a bracelet. Then I went crazy and bought different cords and number 6 seed beads in every color I could find. The original was gold, and the second was hot pink. The third was silver-lined crystal knit on silver cord. I lost interest, or a life thing came up, and I never added a clasp.
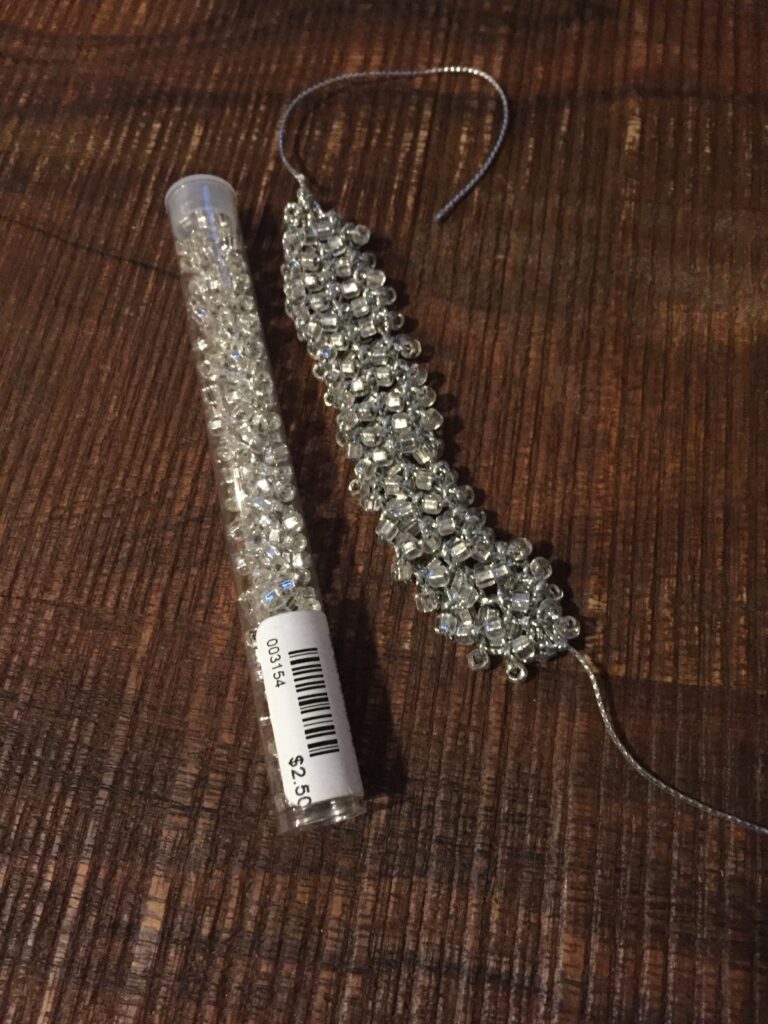
Today, I found that silver bracelet bagged up with its leftover beads!
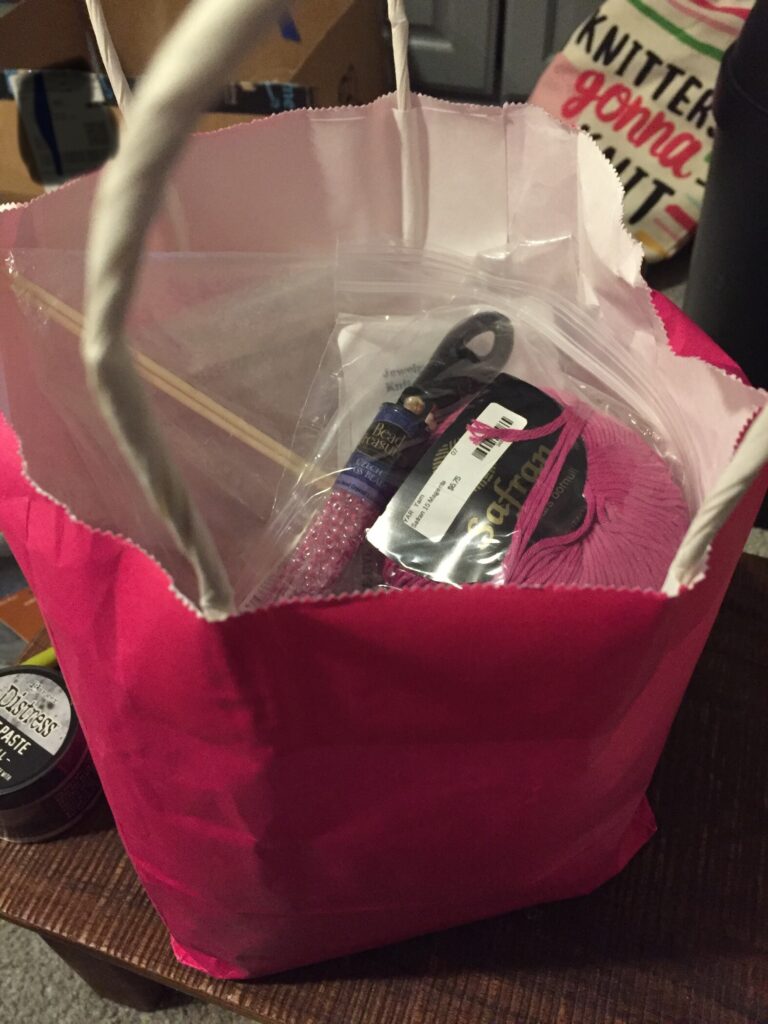
I found it in this pink gift bag, and inside are at least a dozen other zipper bags with beads and matching cords!
Now, to find the pattern!
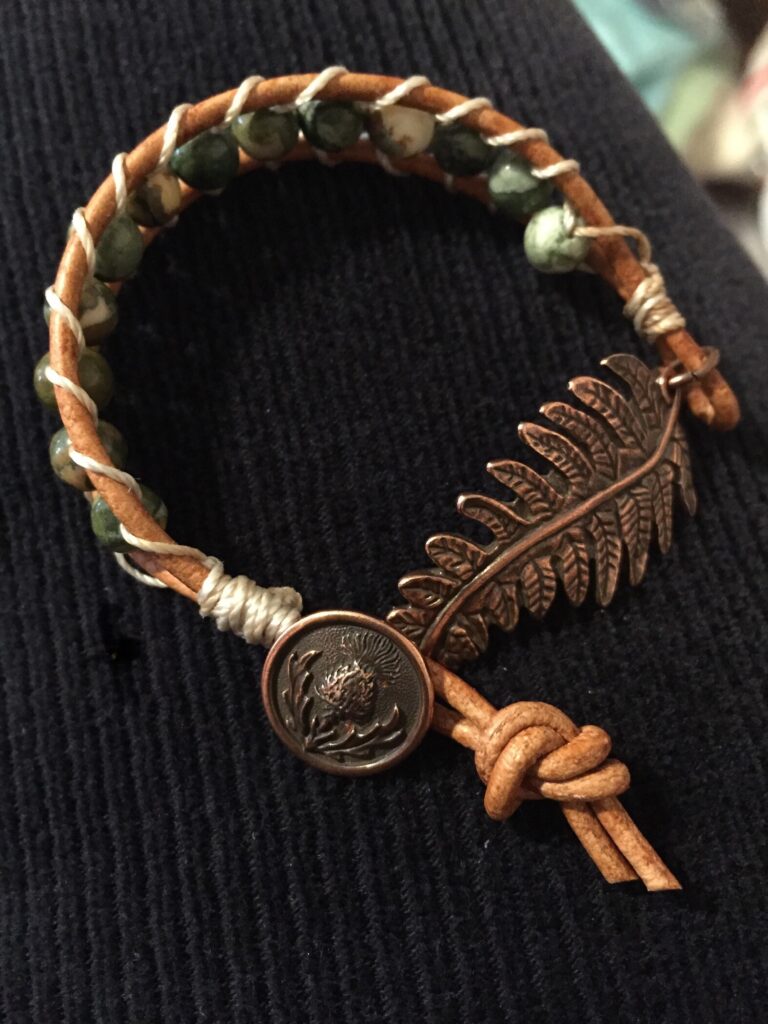
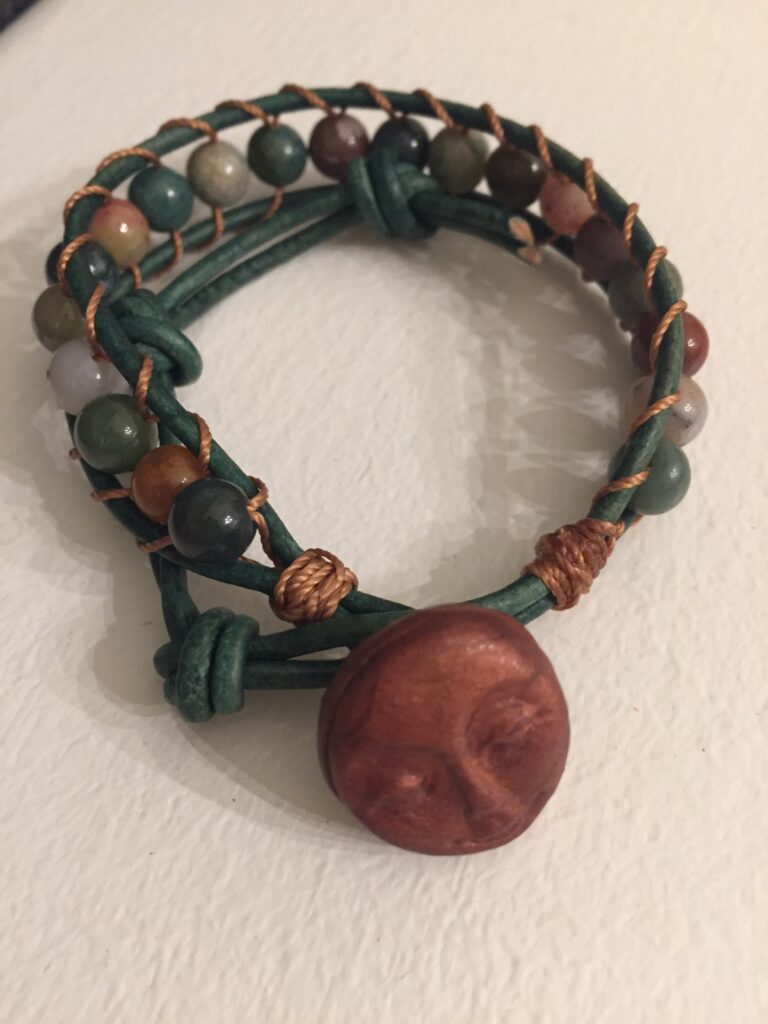
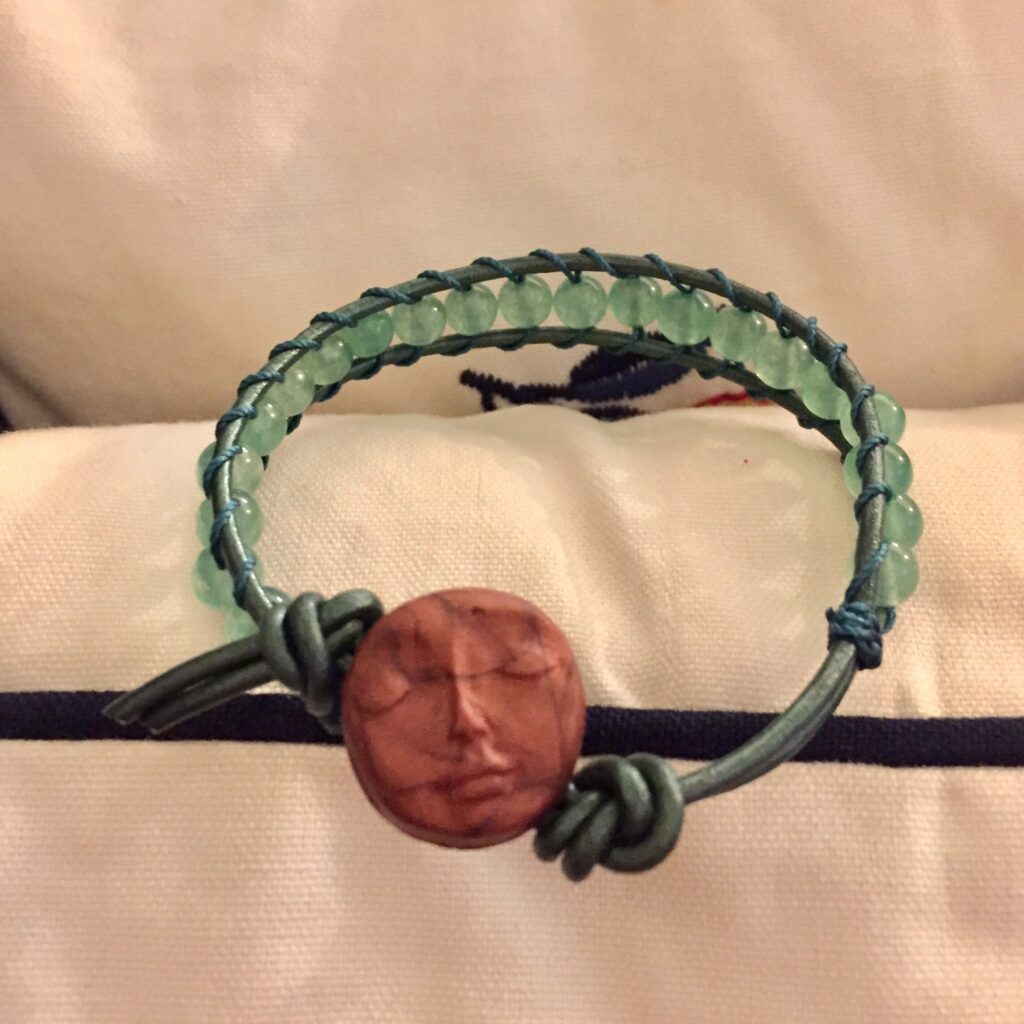
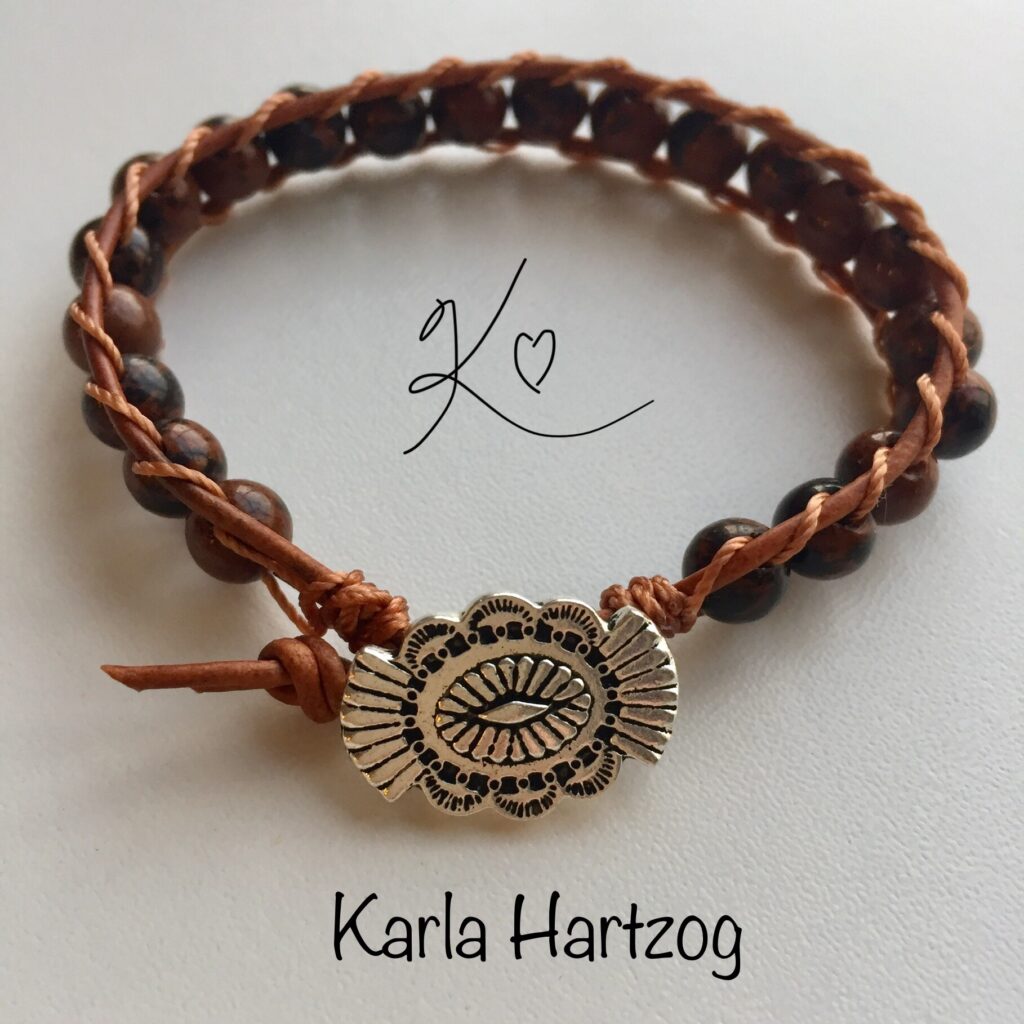
Peter James made me this during a recent visit!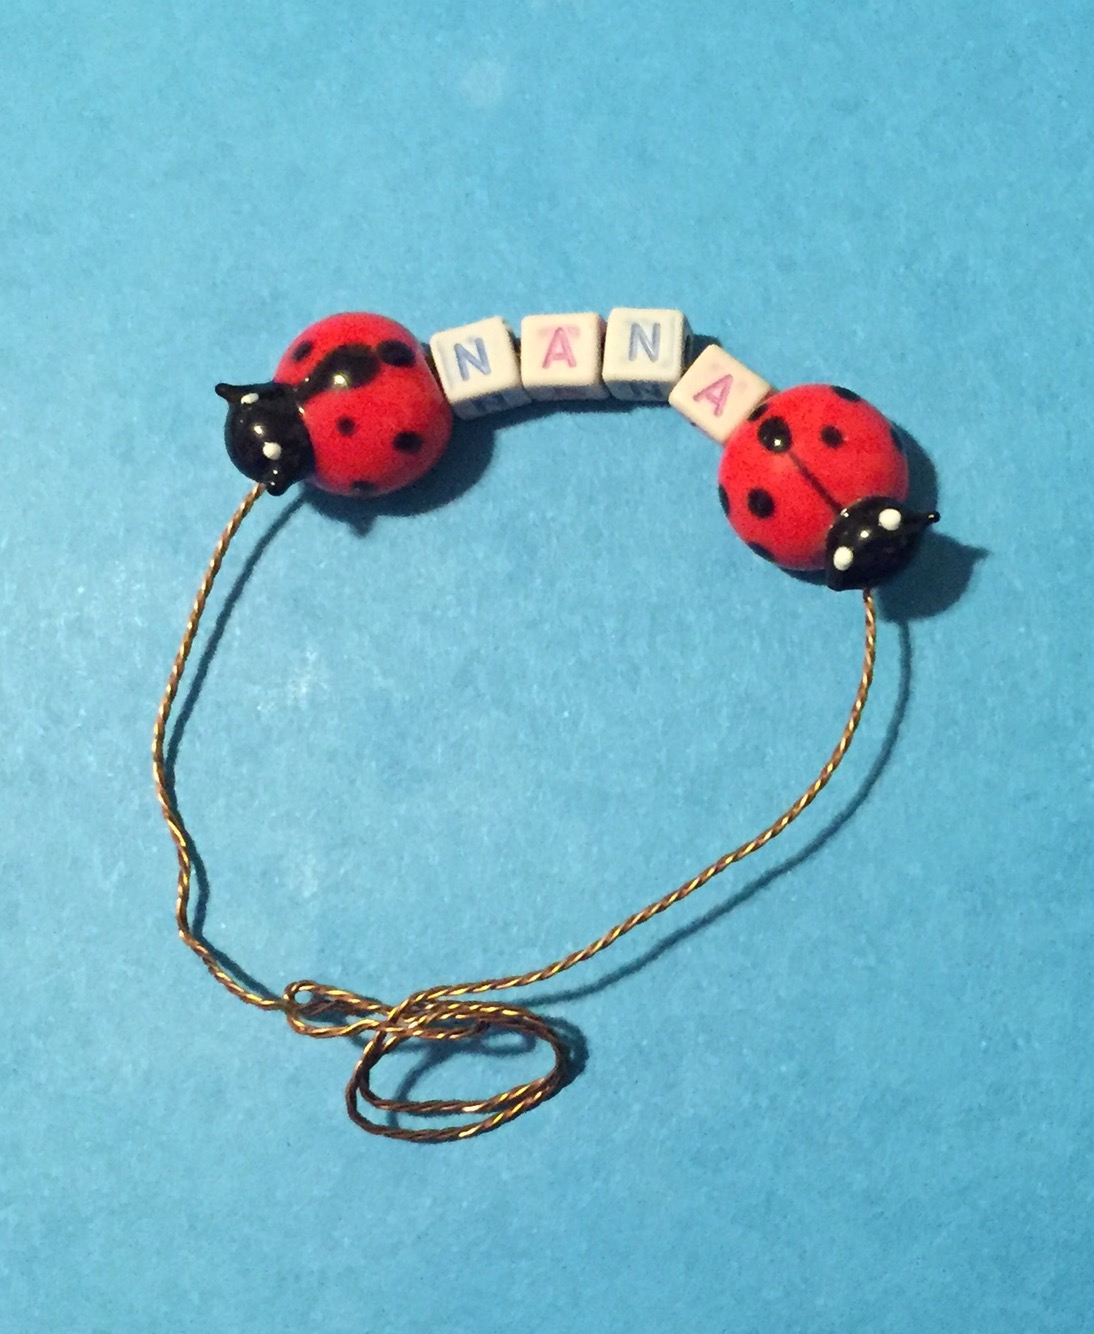
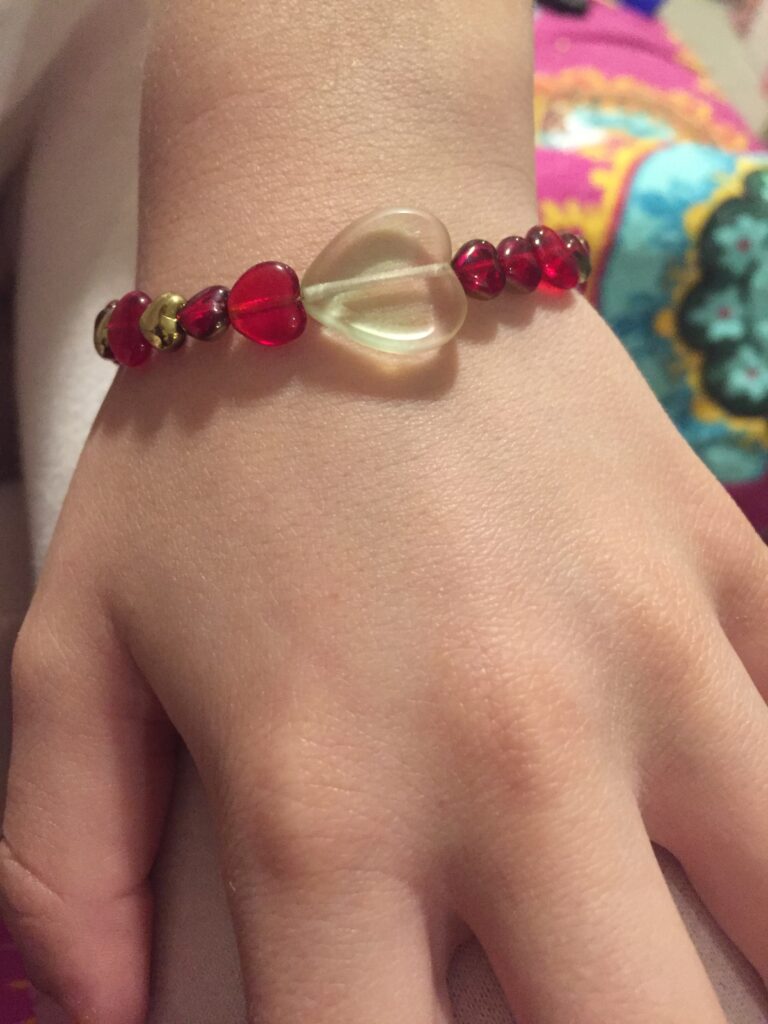
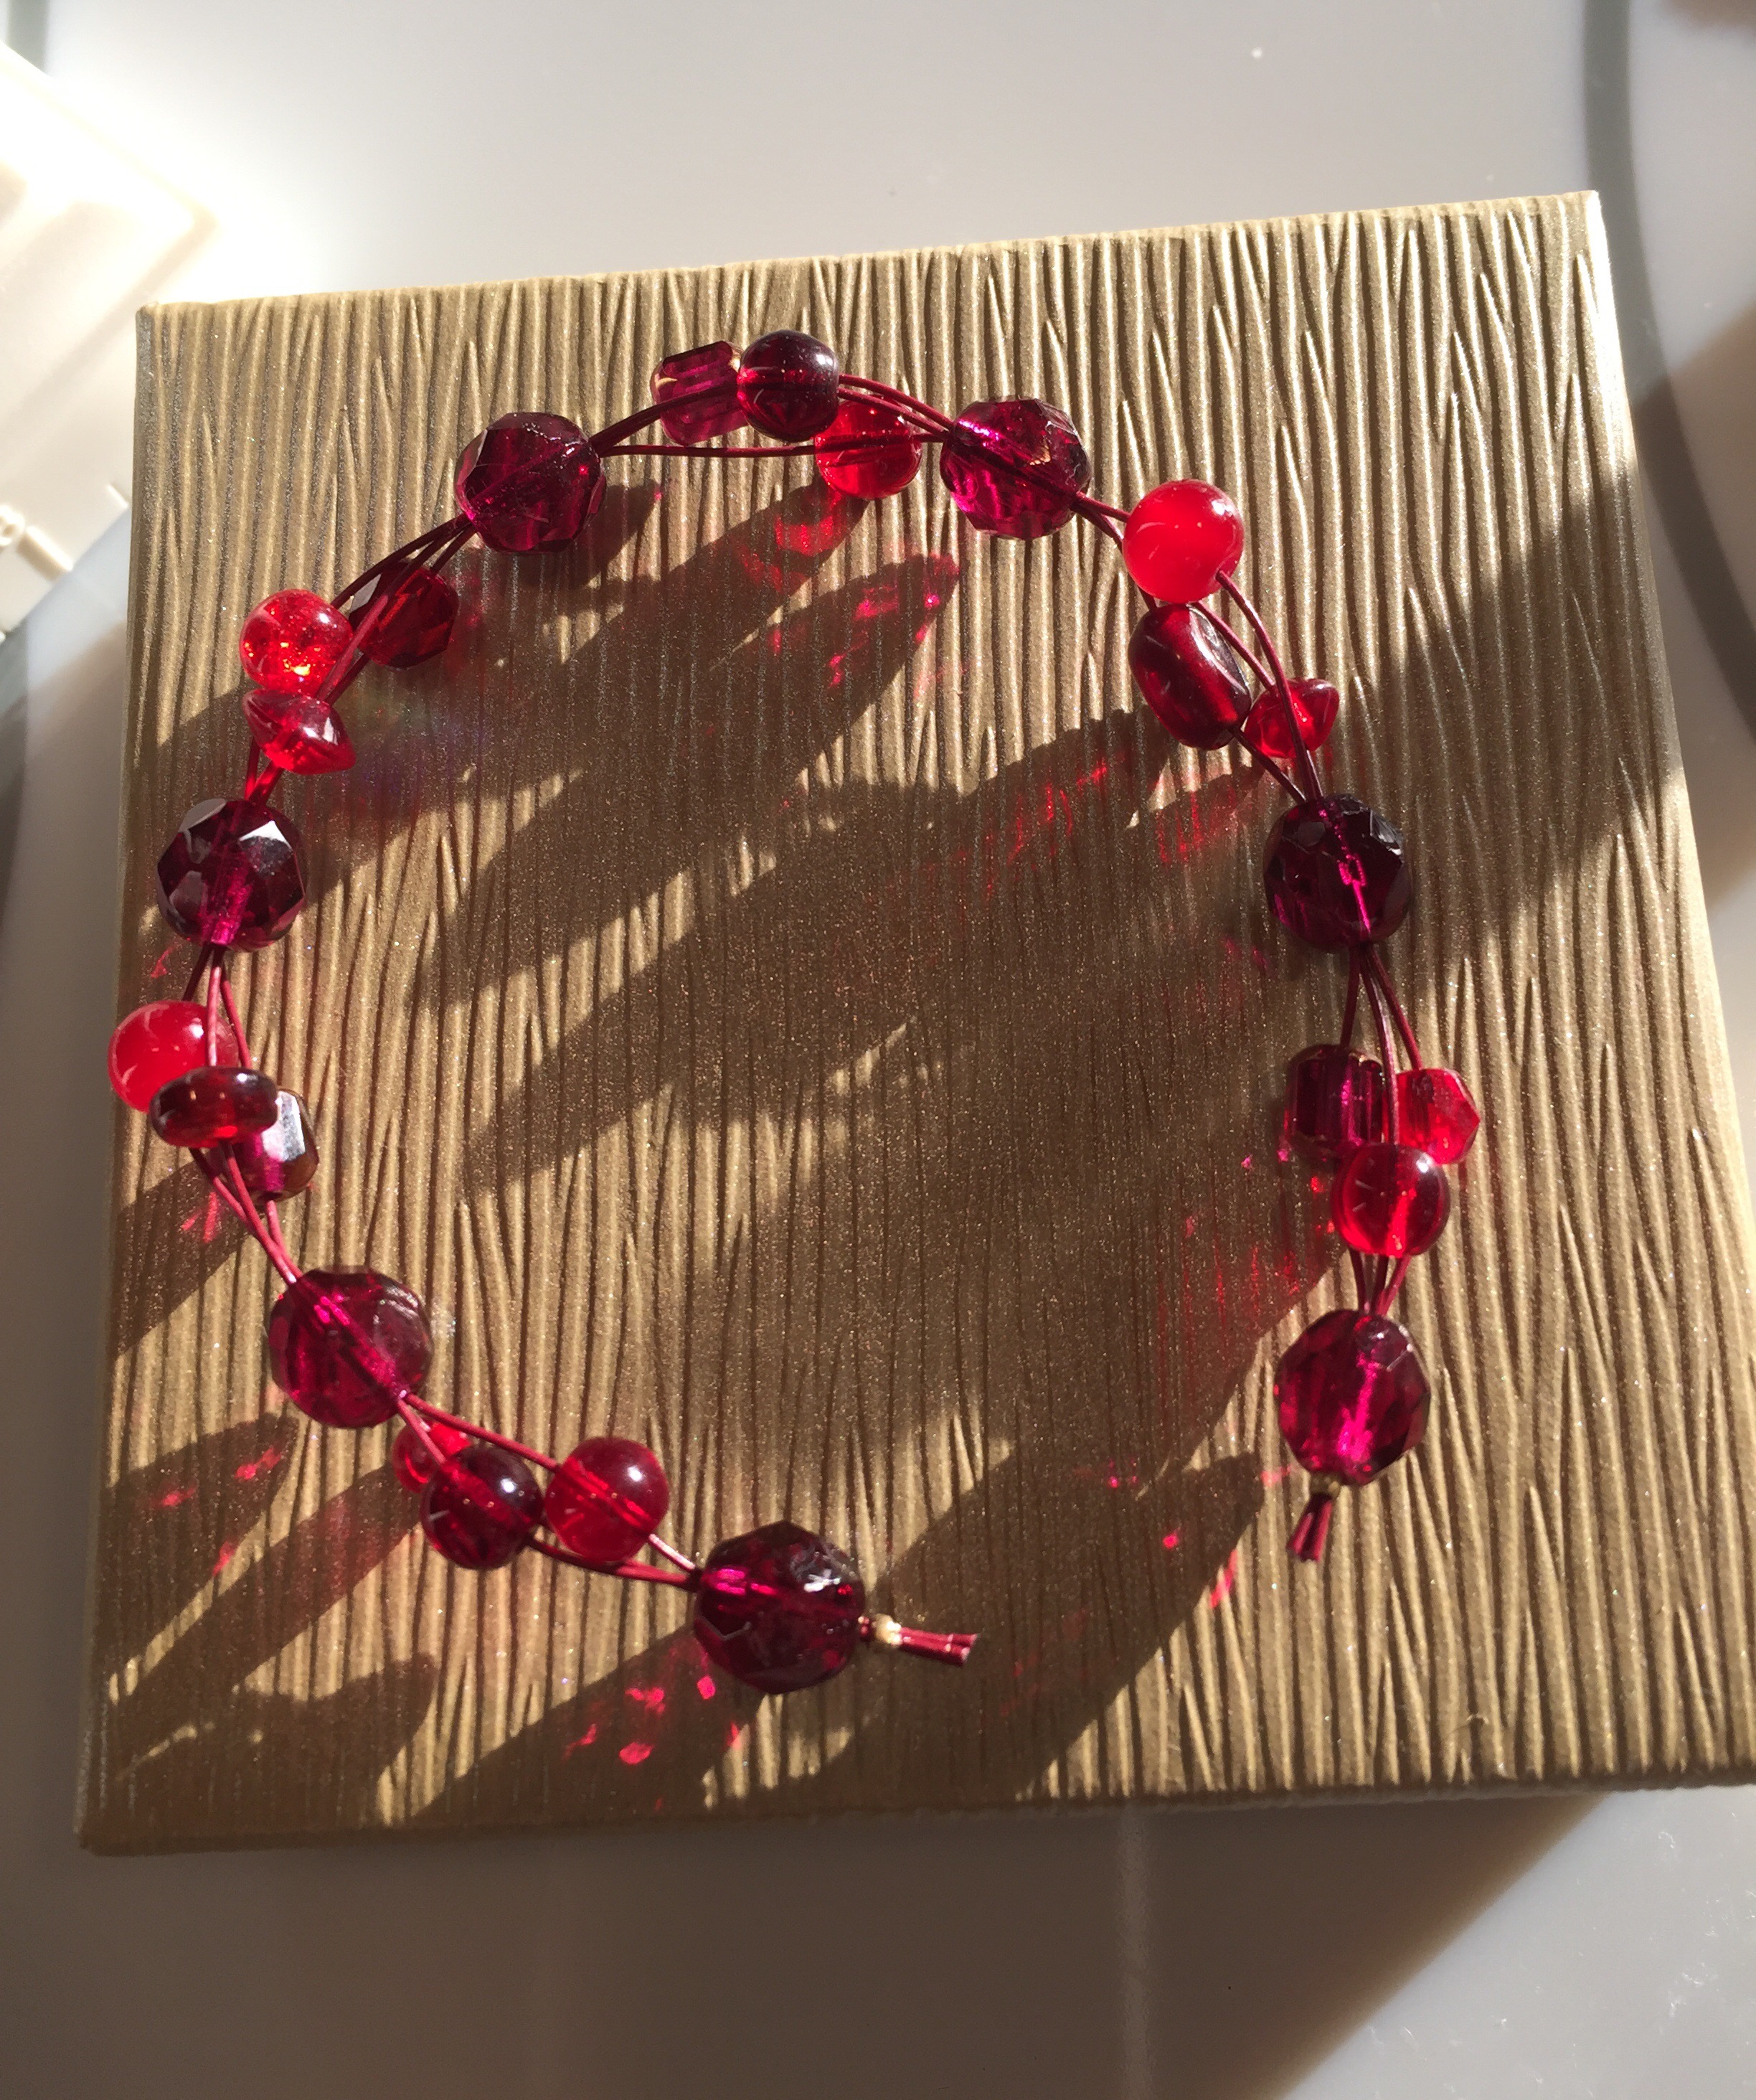
I wanted a red bracelet, and couldn’t decide which of two designs to try, so I tried them both. I’ve posted the first. Here’s the second: 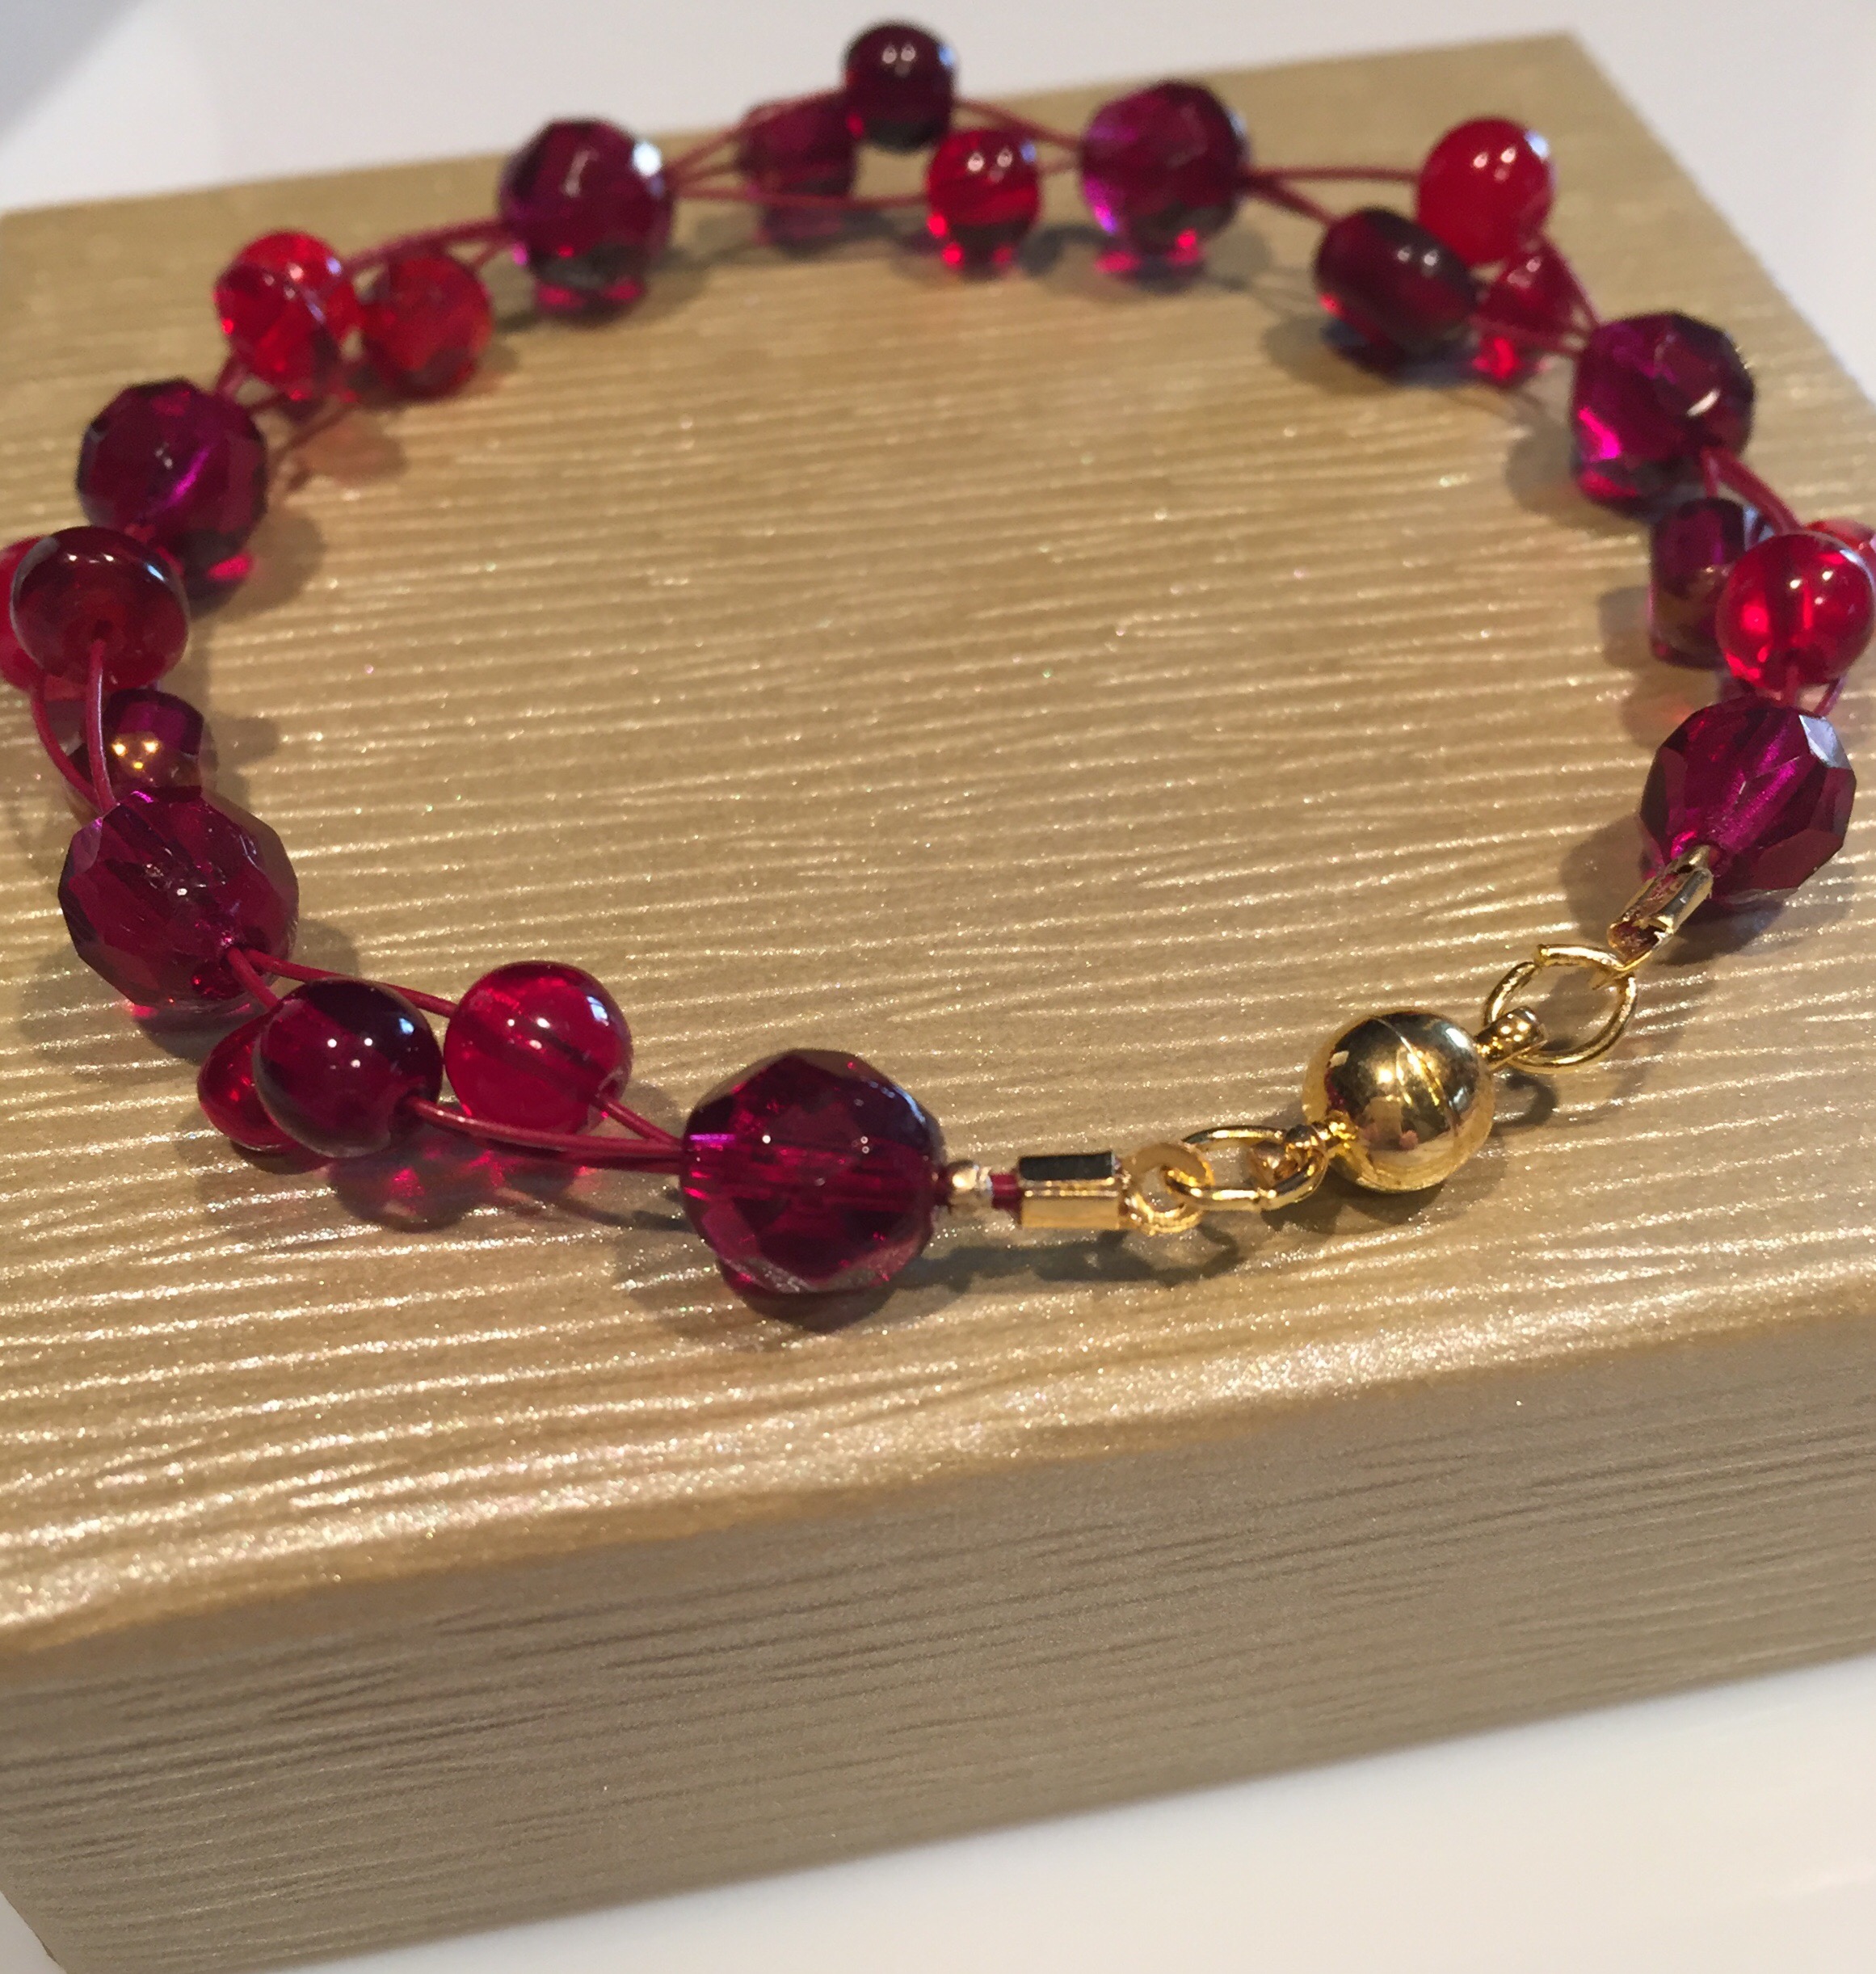
I wasn’t finished, but when the sun hit it this afternoon, I had to take its picture! 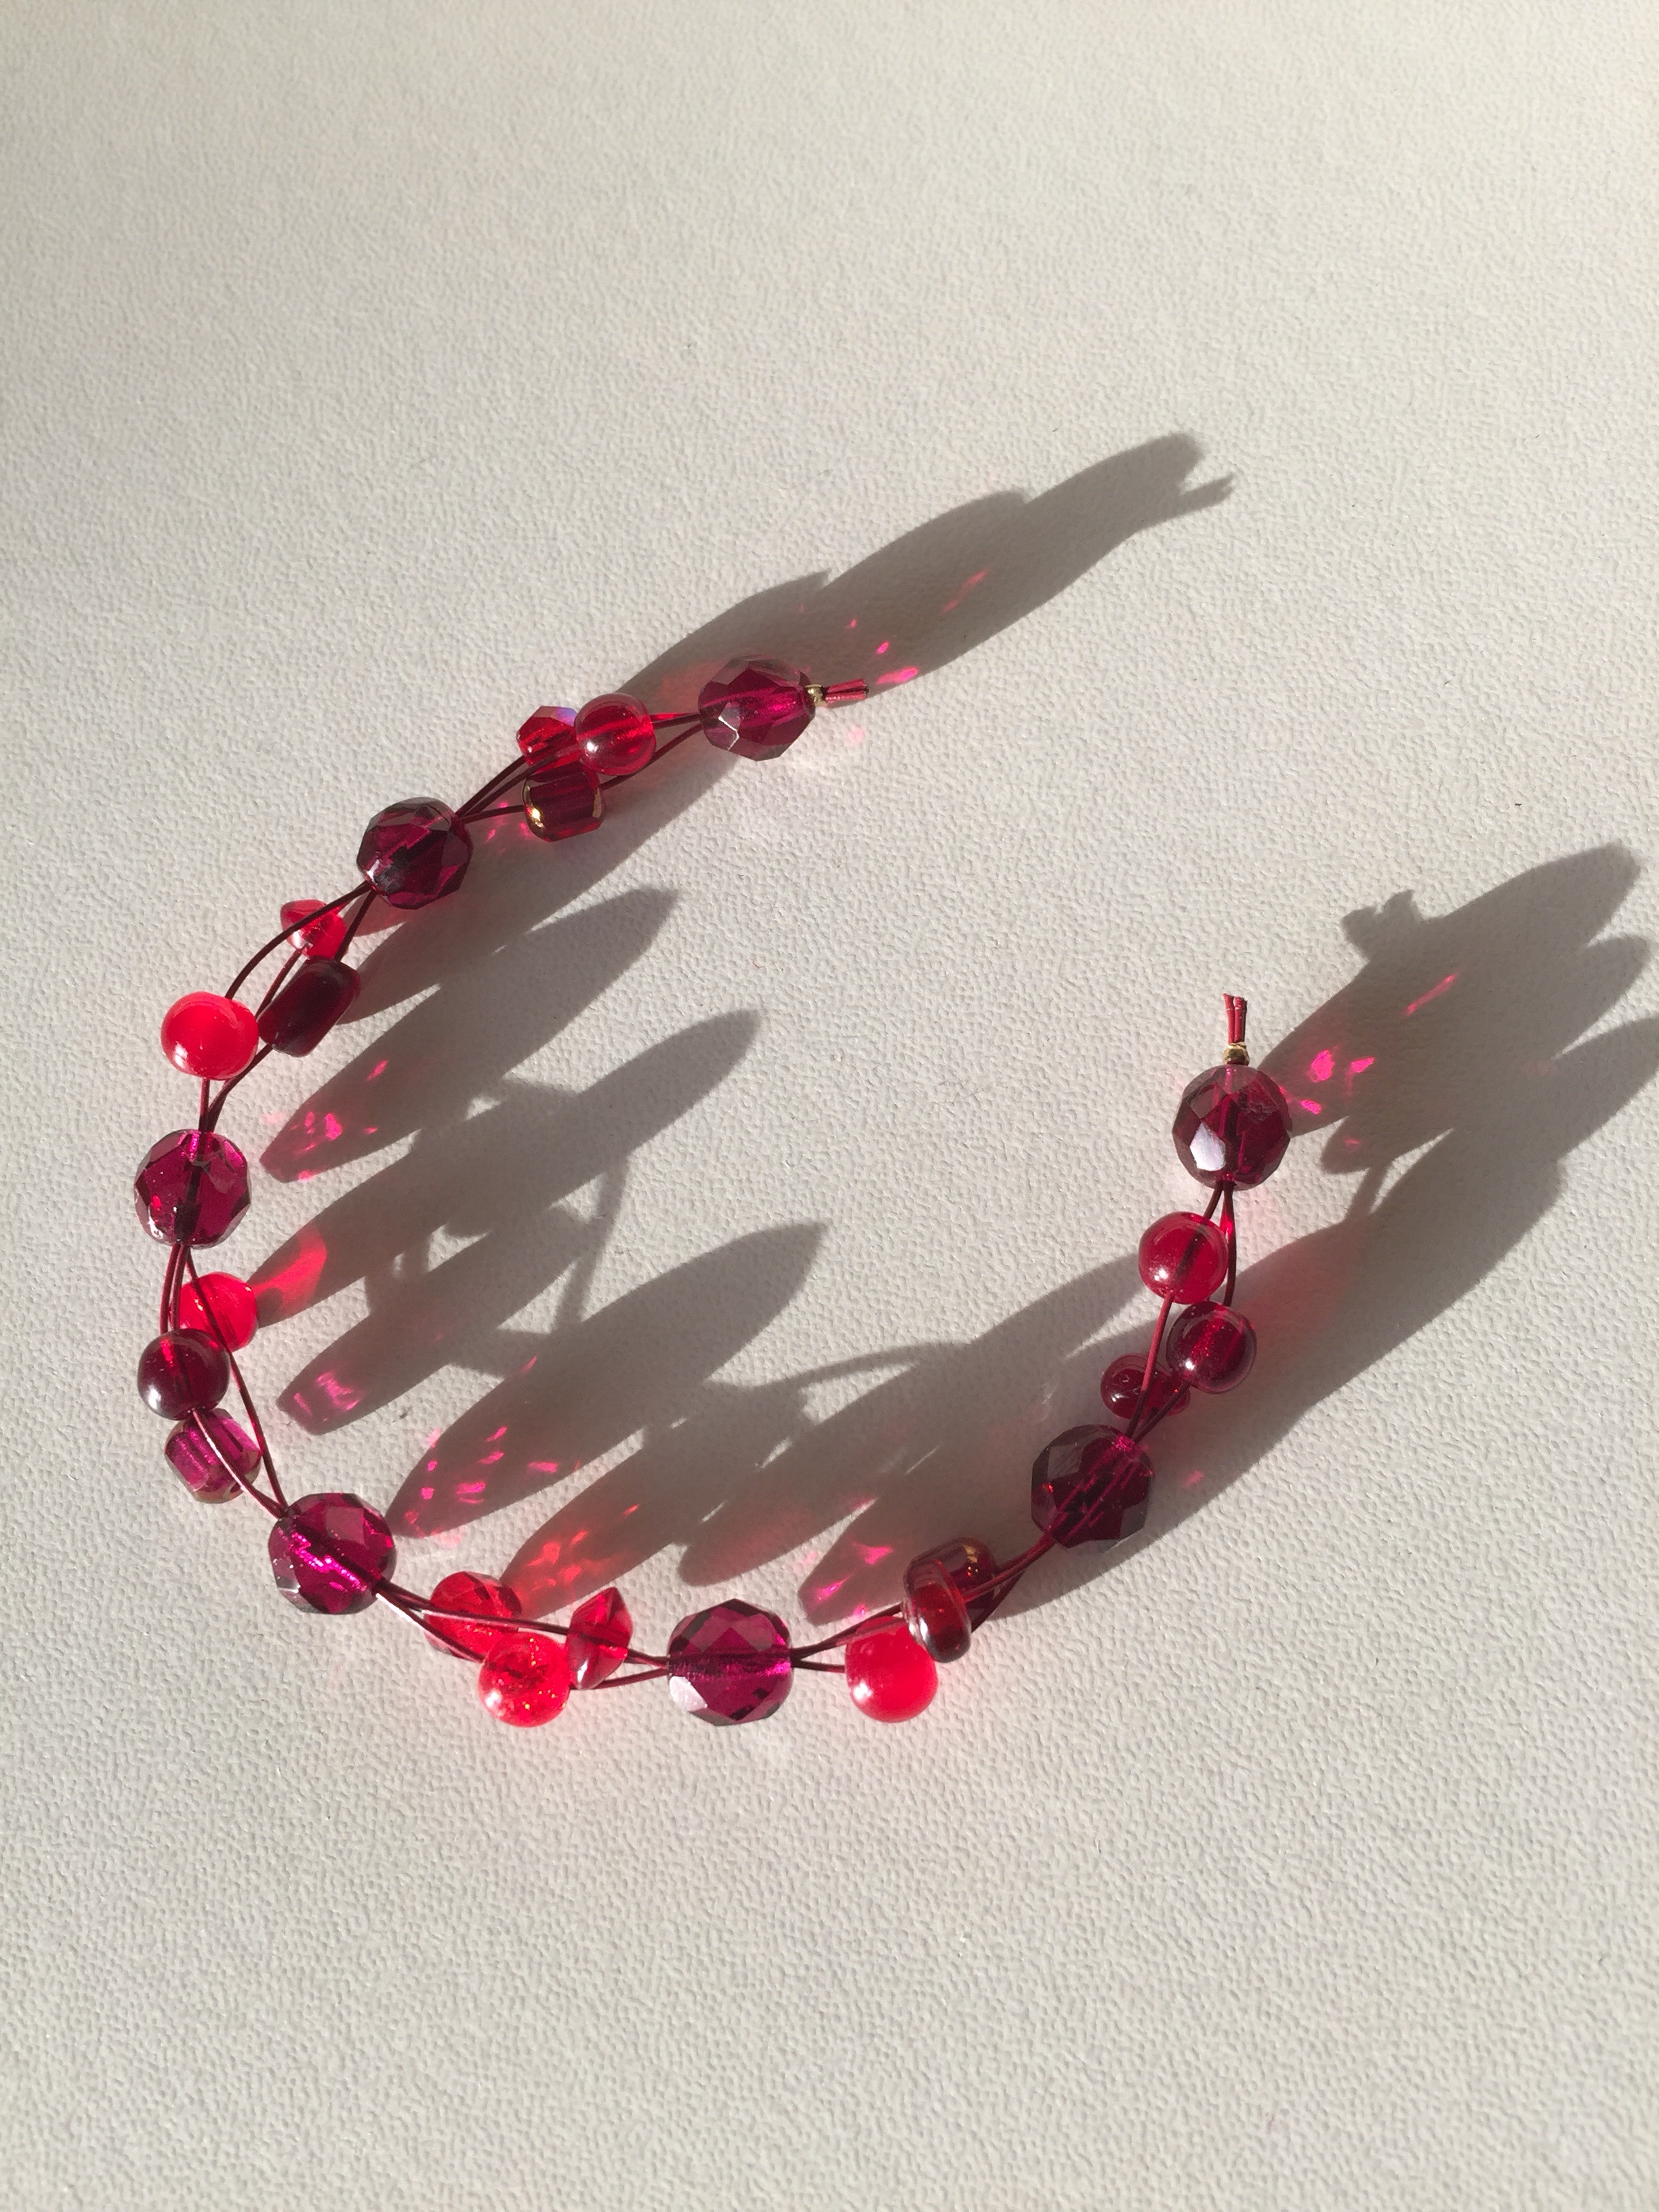 Several times!
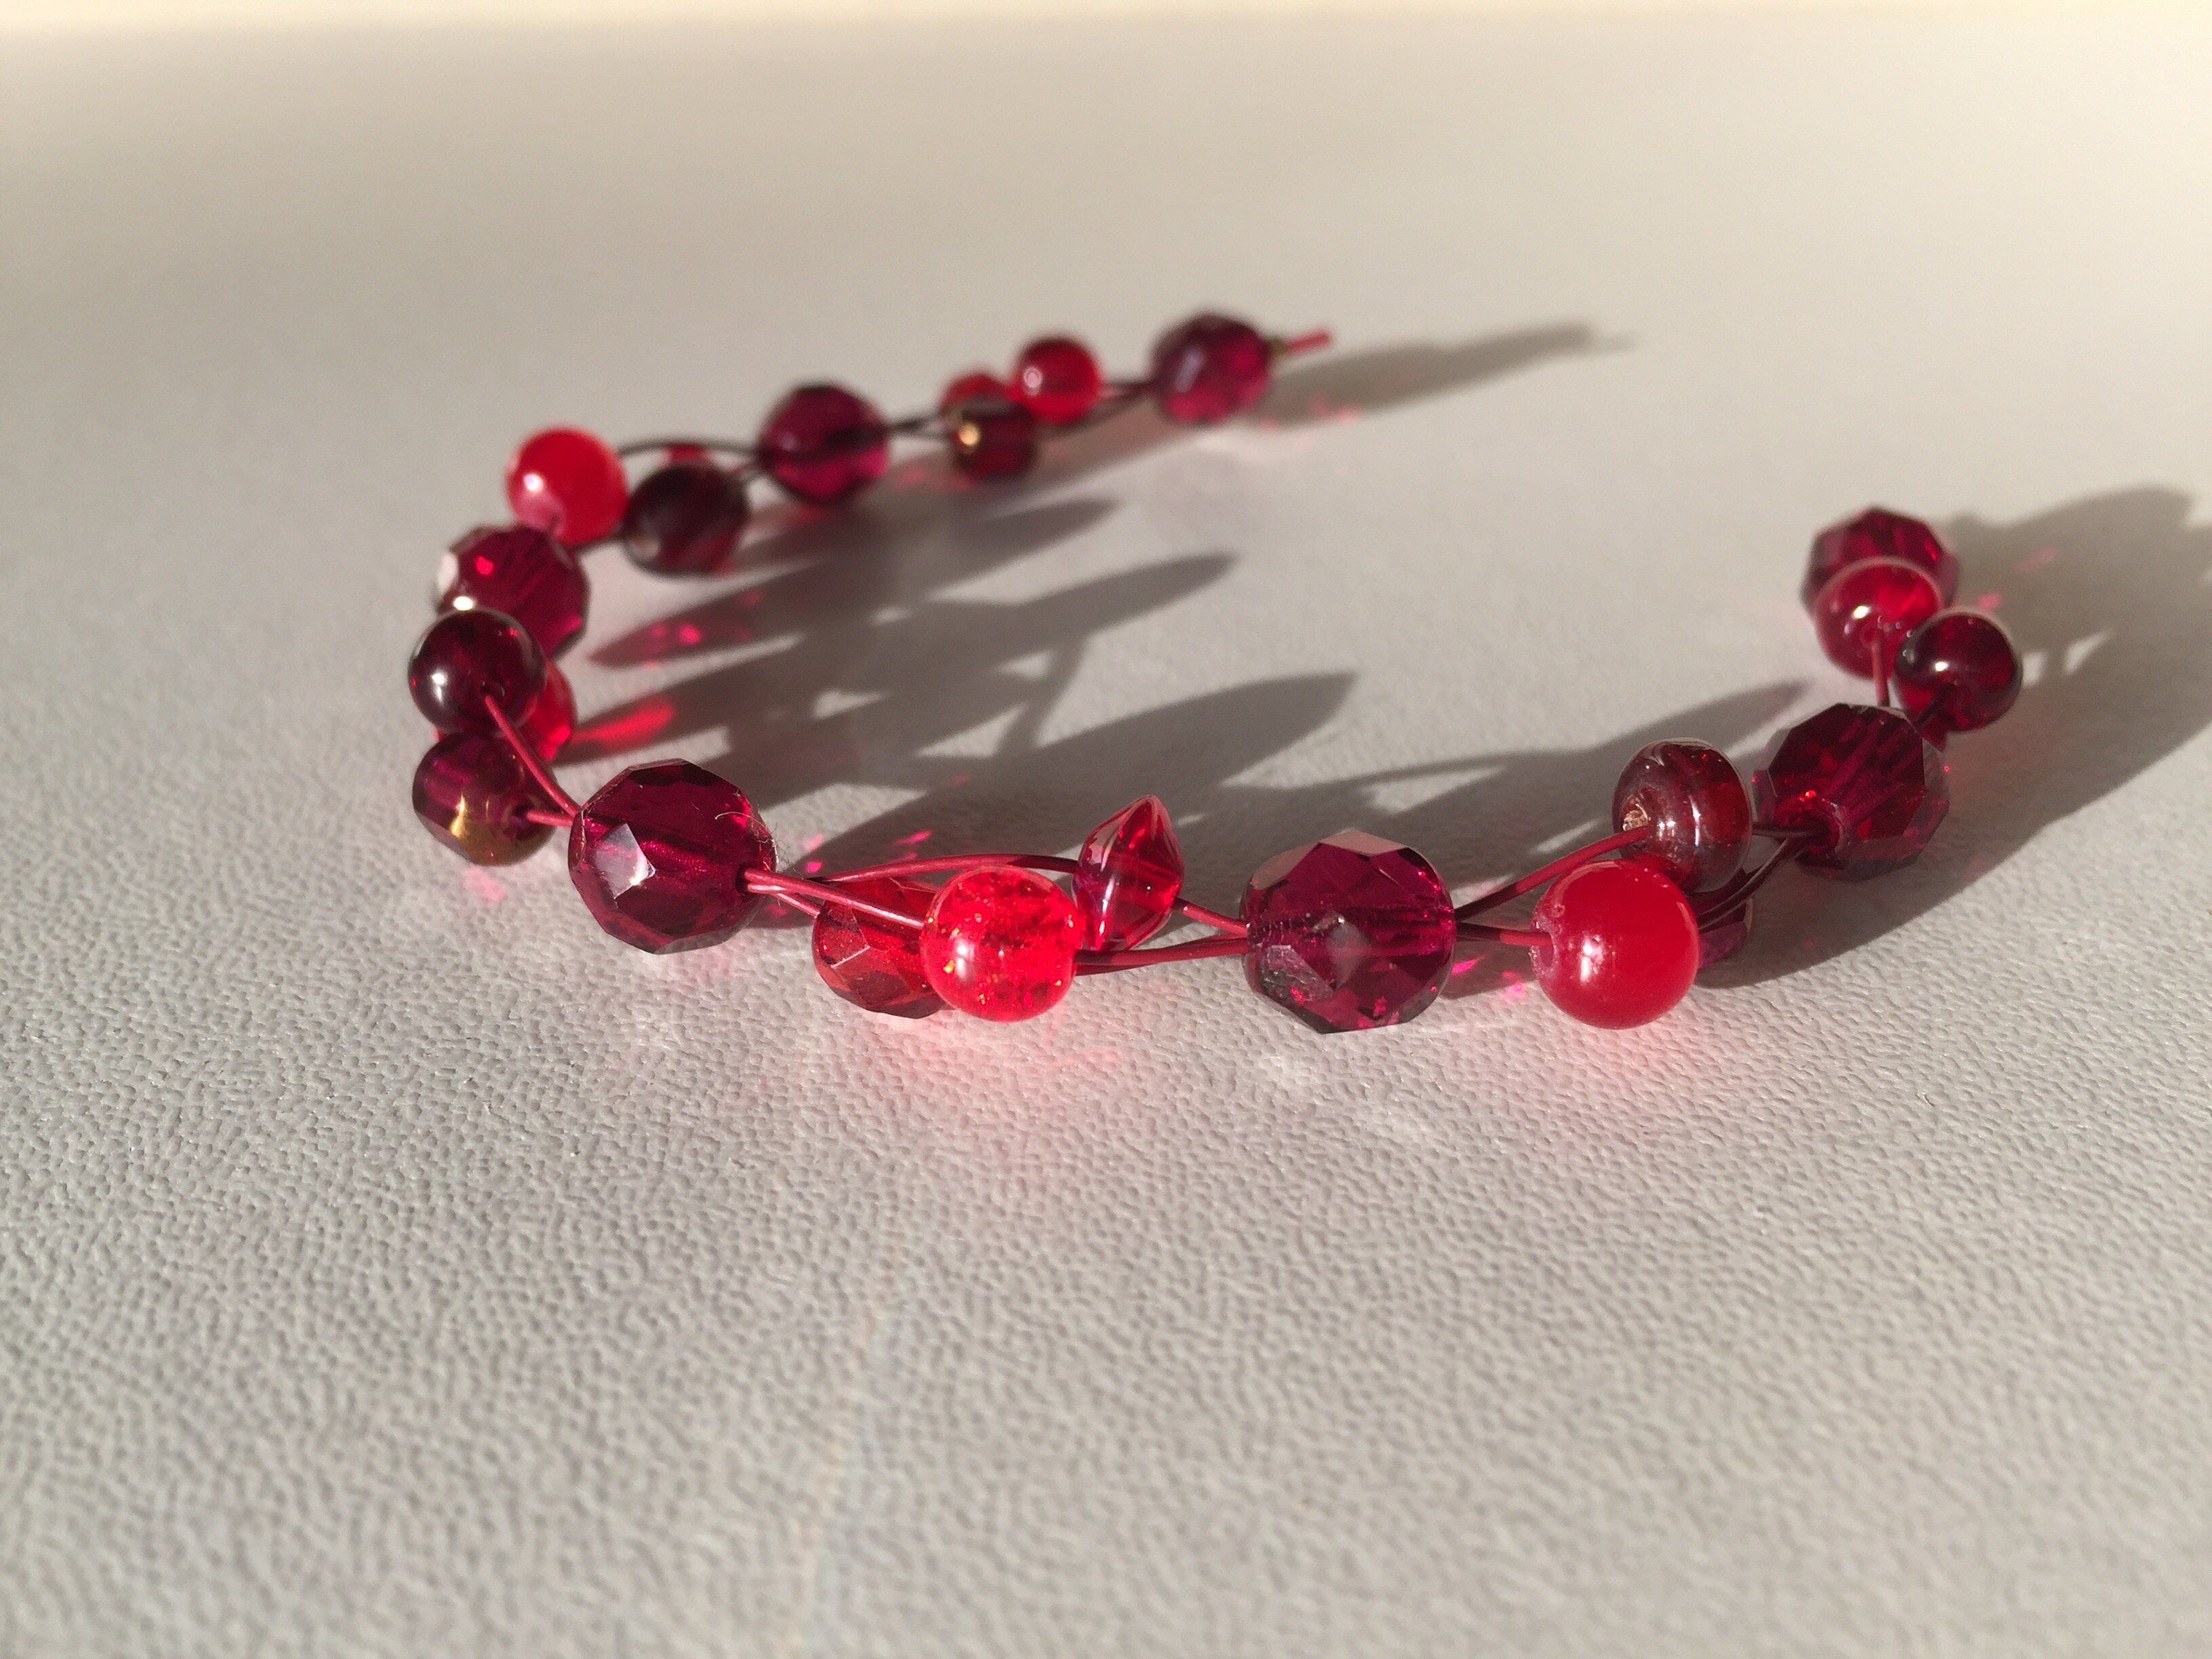
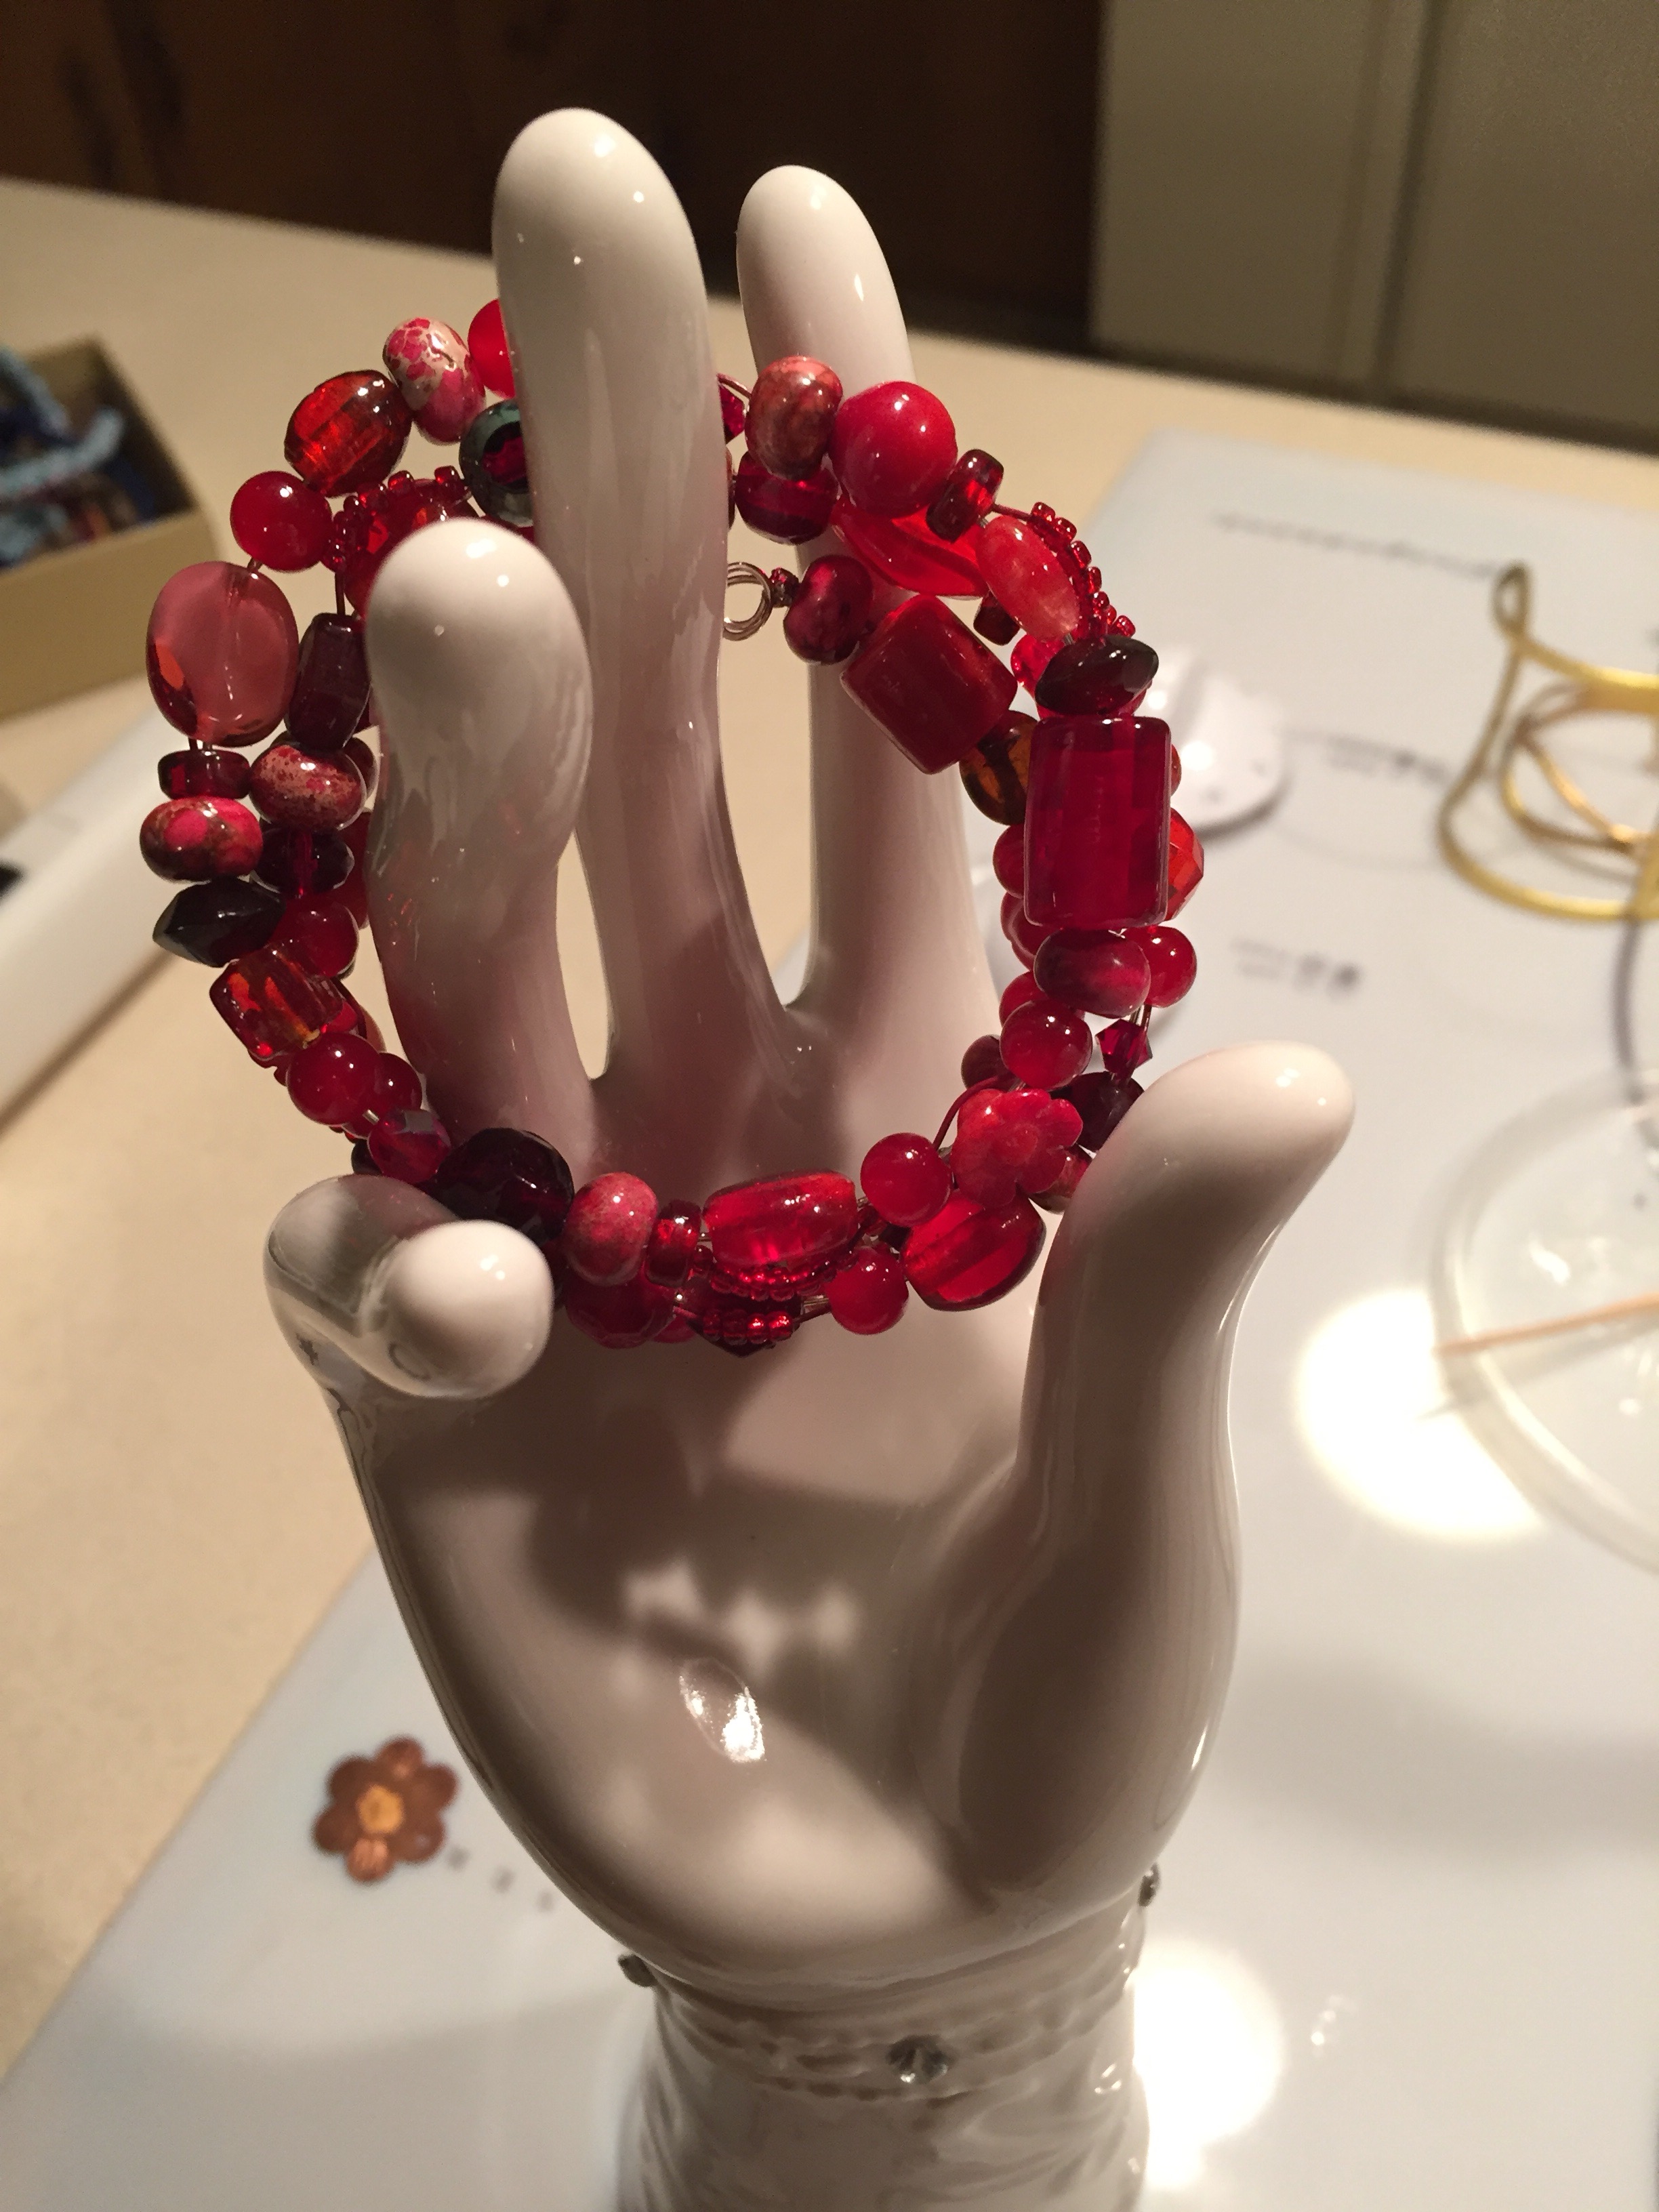
I bought a kit of Softflex beading wire from Jewelry Television, and it included garnet-colored, medium diameter wire. I bought the assortment of wire because it included silver and gold-plated. I wound up intrigued with the garnet.
I used the wire as a “carry-a-long” in the first red bracelet I made.
In this one, it’s the “main frame.”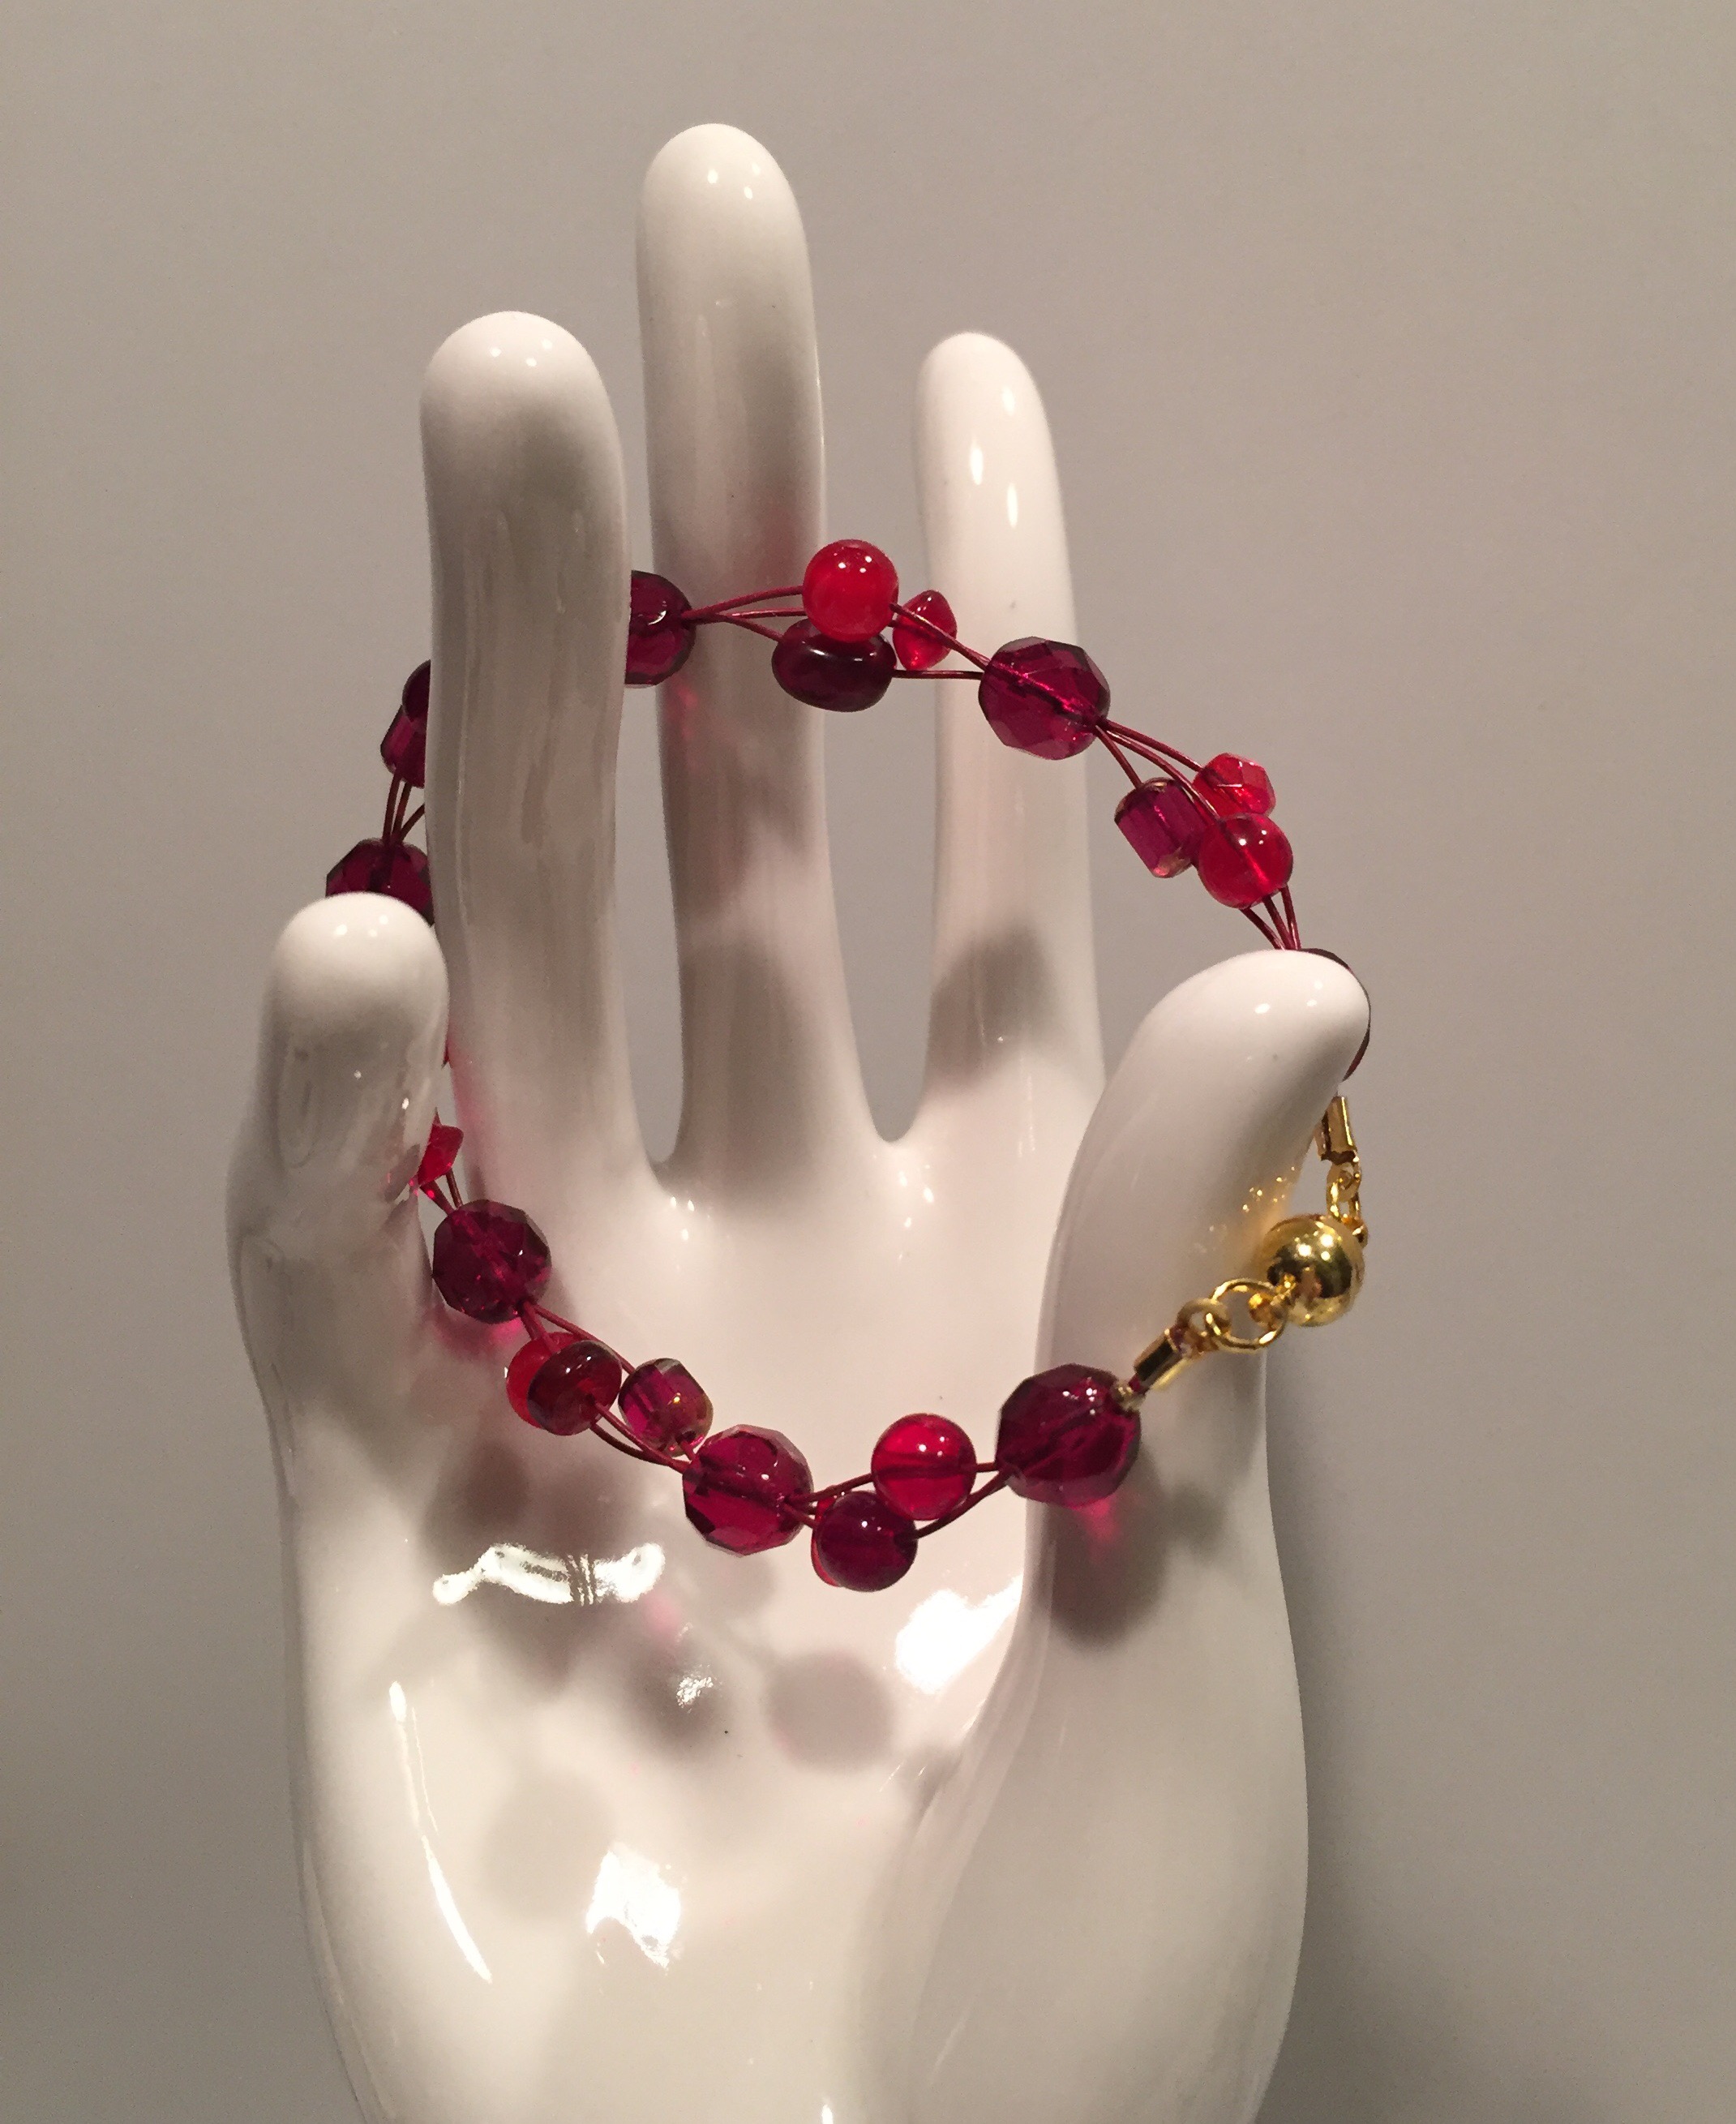
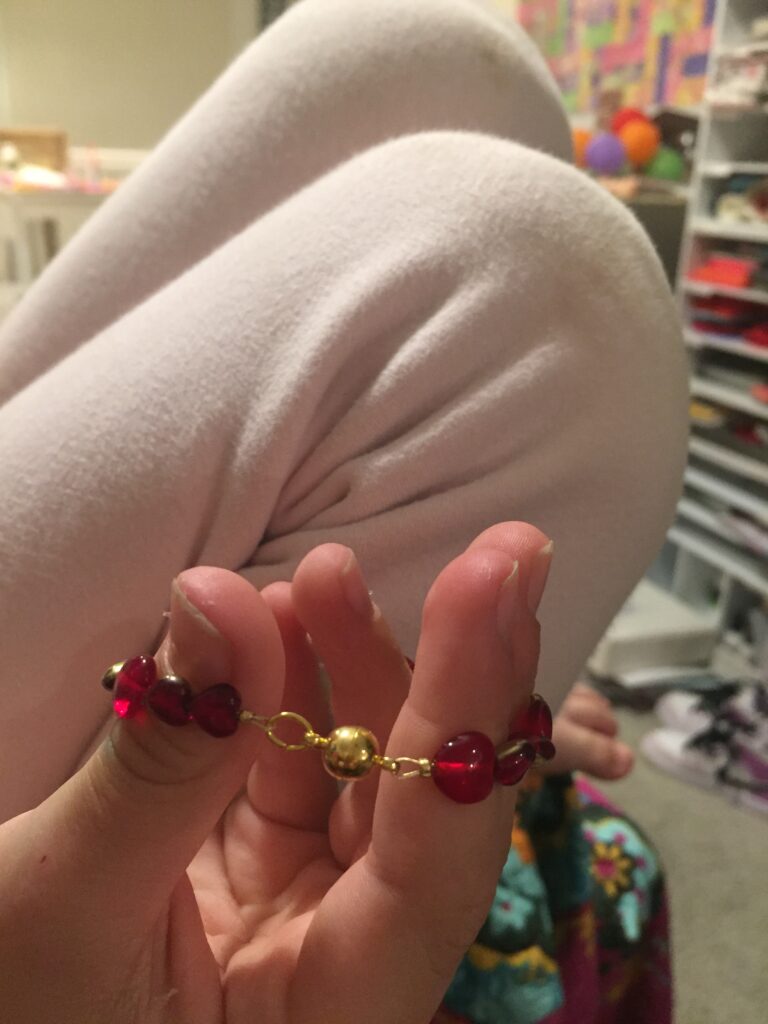
I used three strands, an assortment of translucent beads, and gold colored findings, including a magnetic clasp.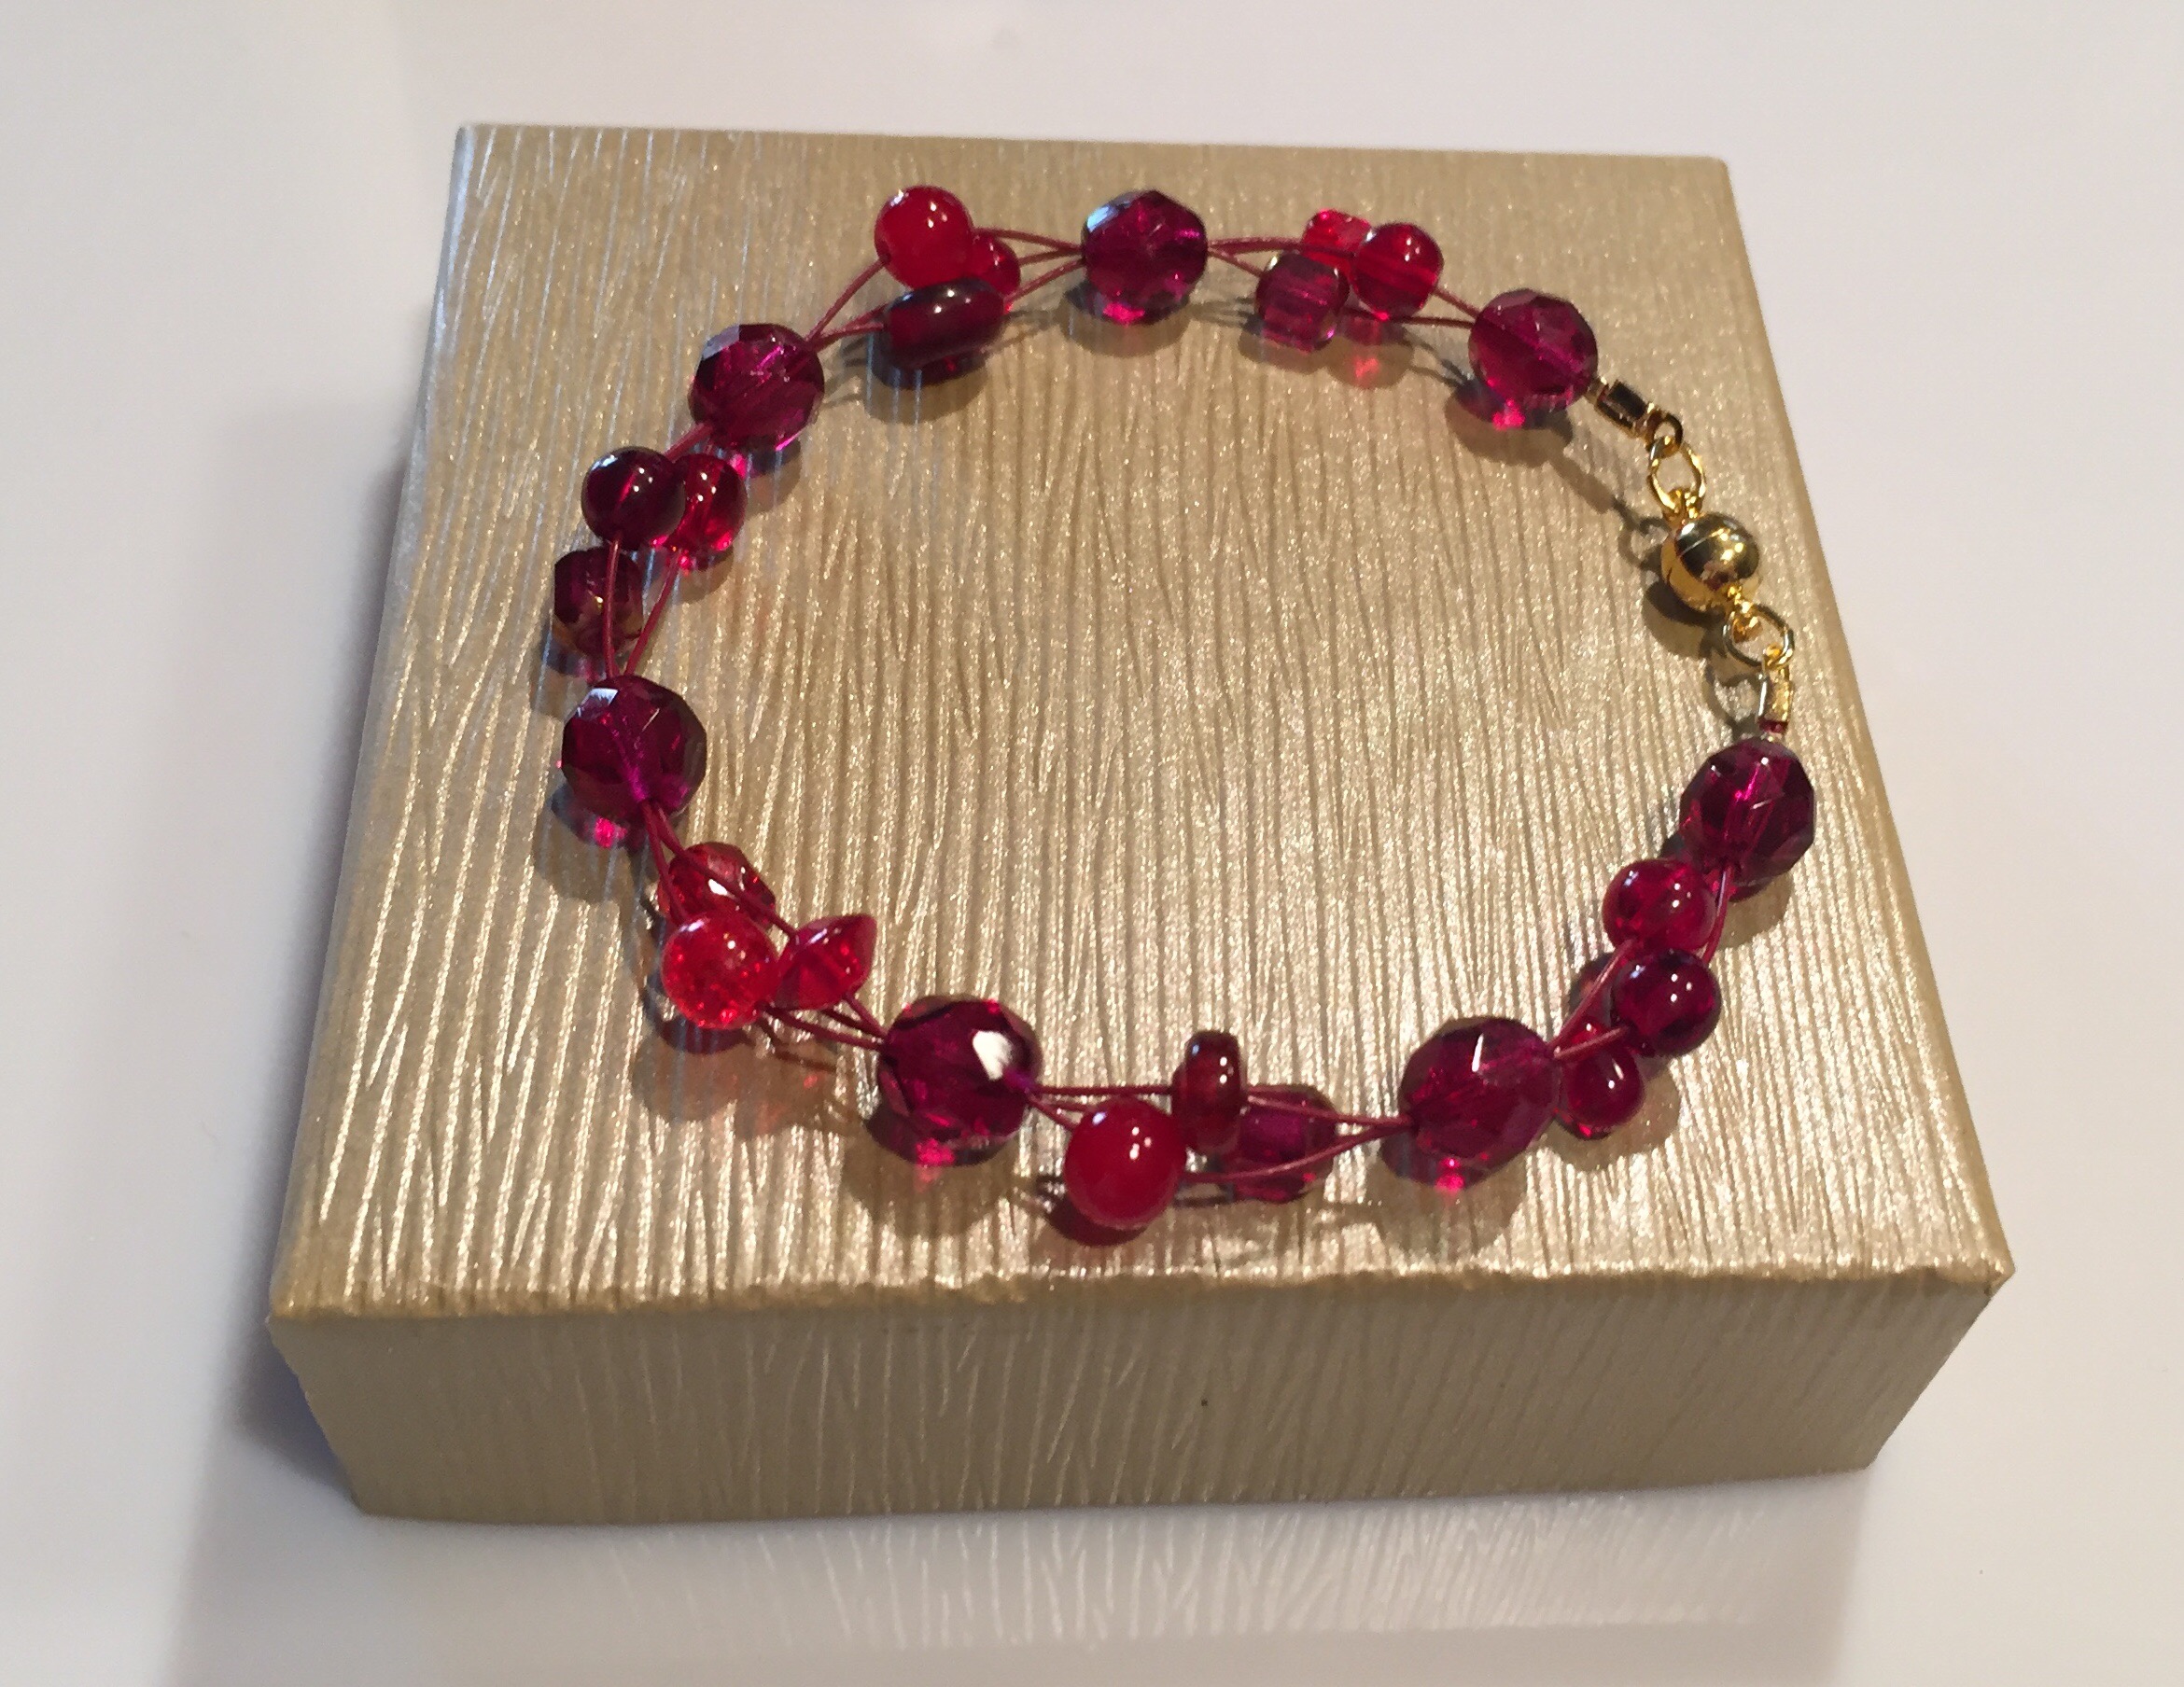
I have enough materials to make another one, and I may write a little tutorial so I can remember how I made it. I think it’s very photogenic!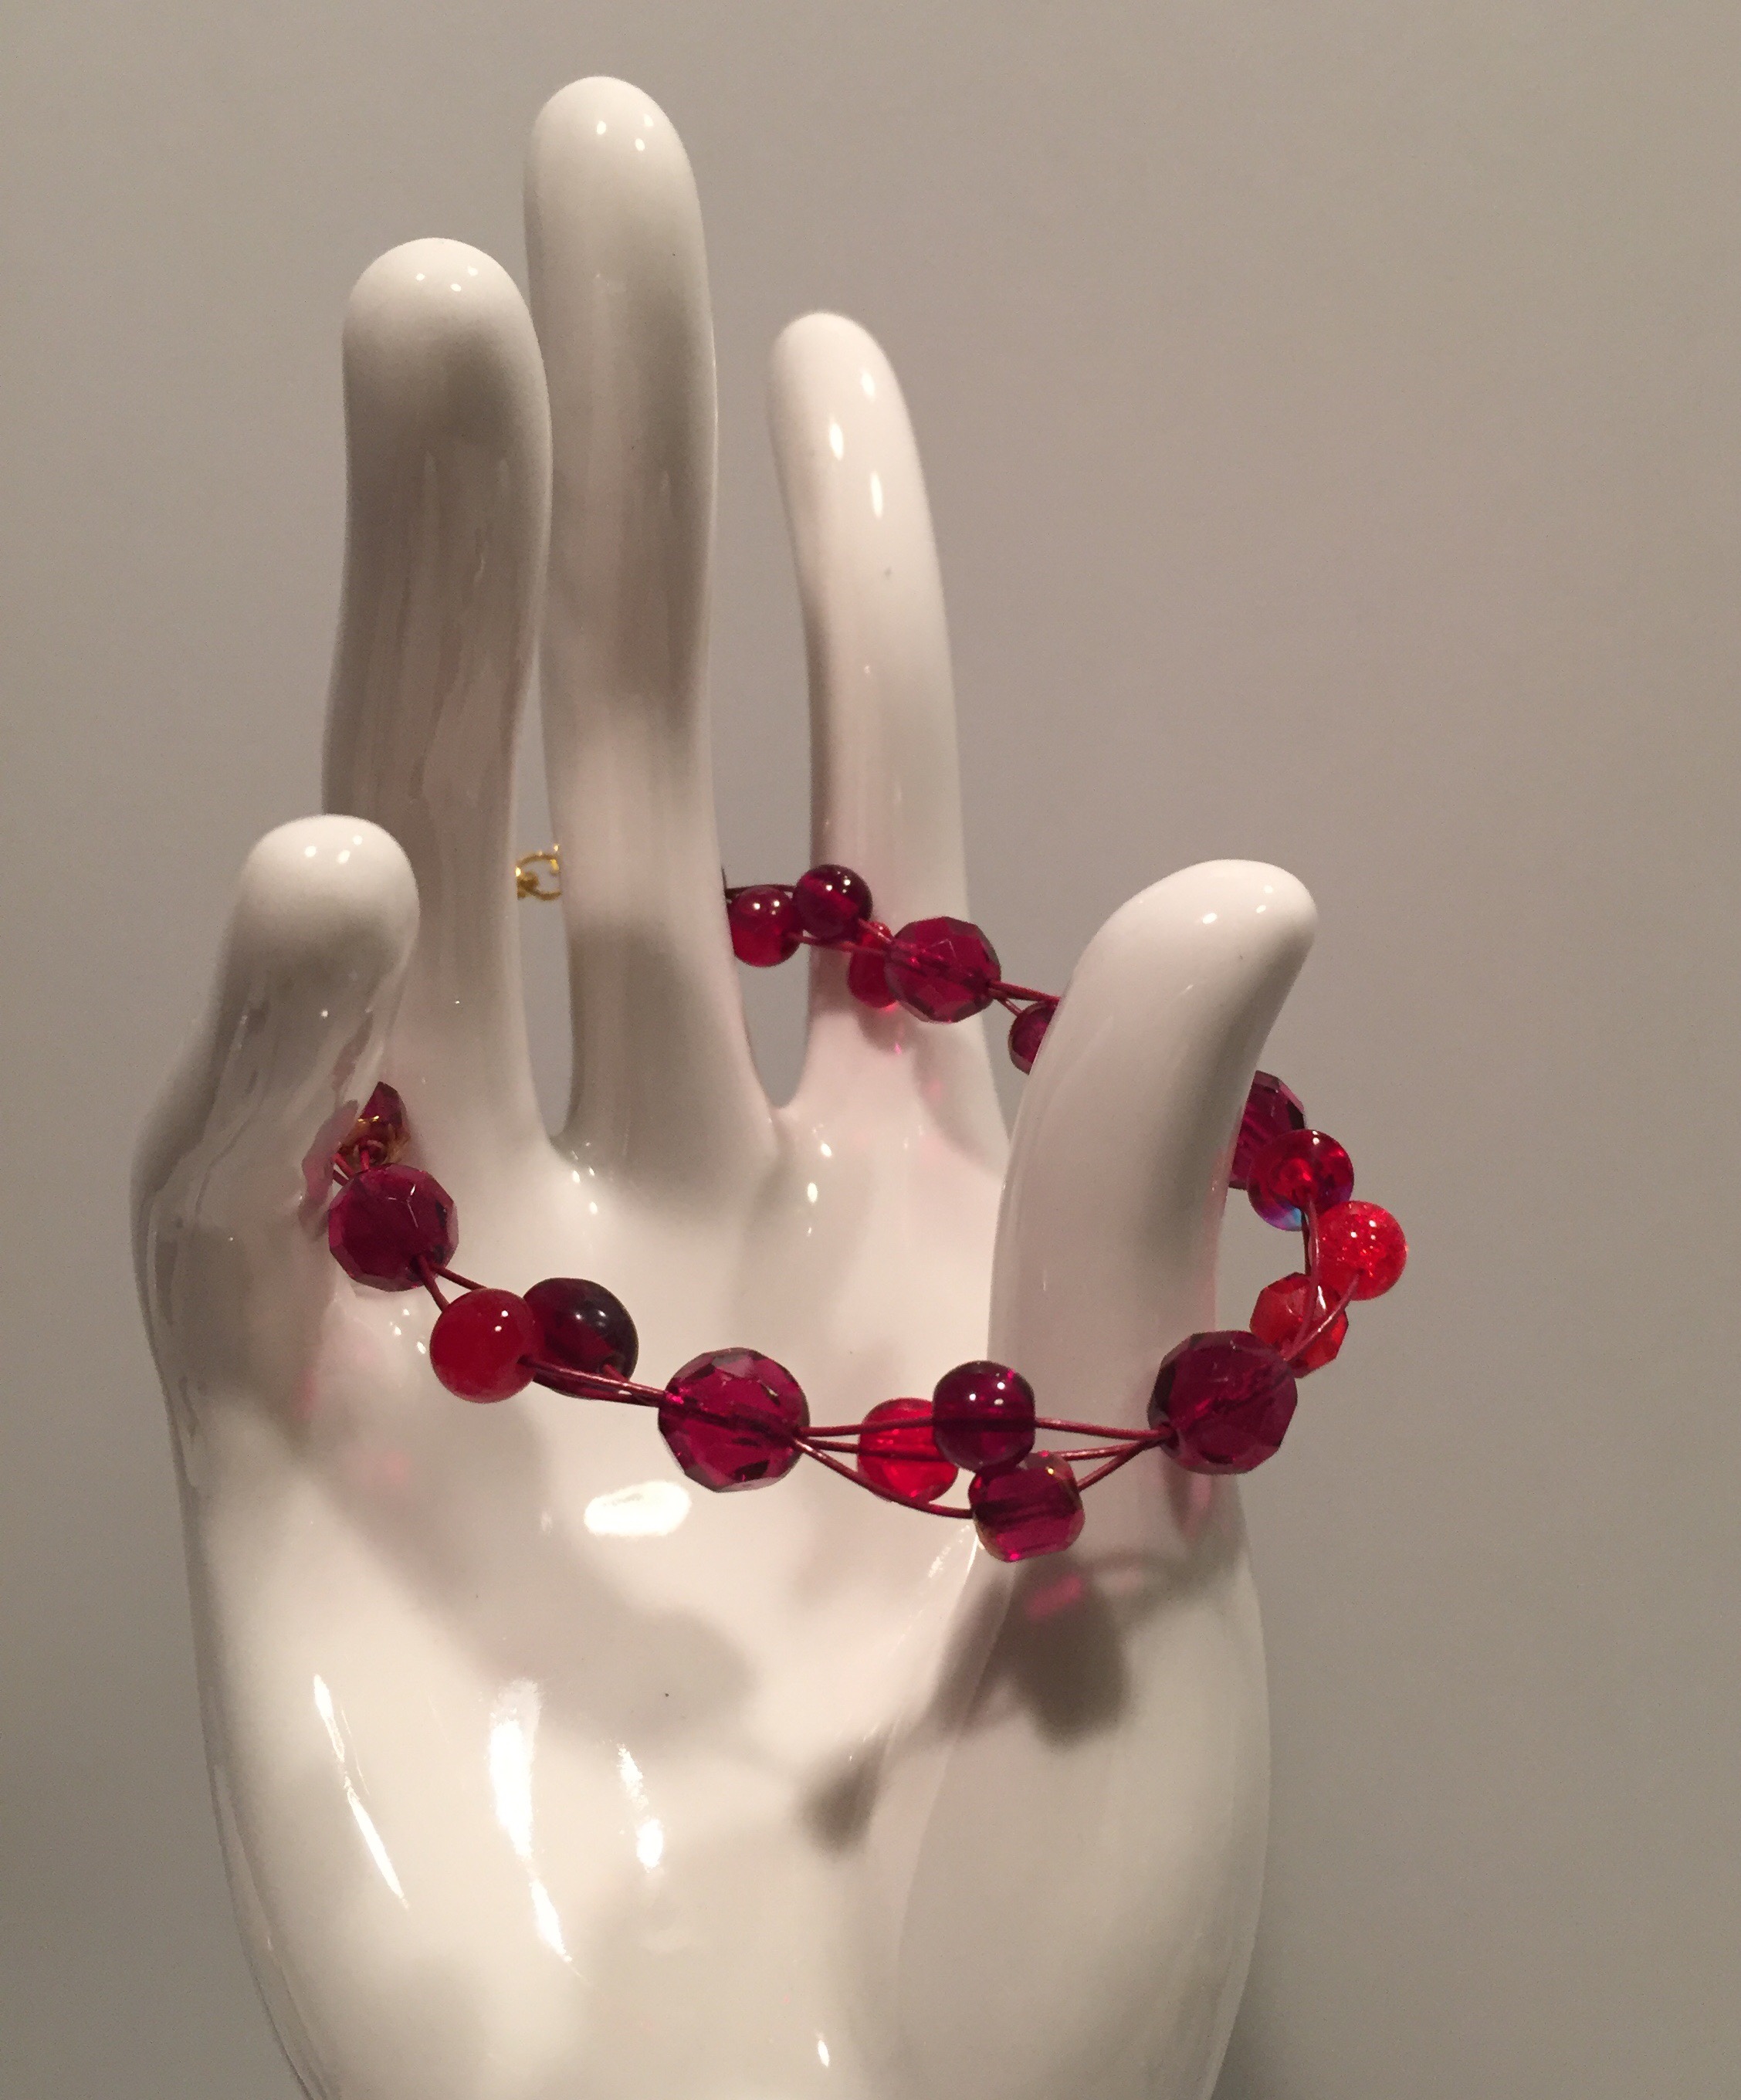
I like it so much, I’m wearing it, right now, with my pajamas!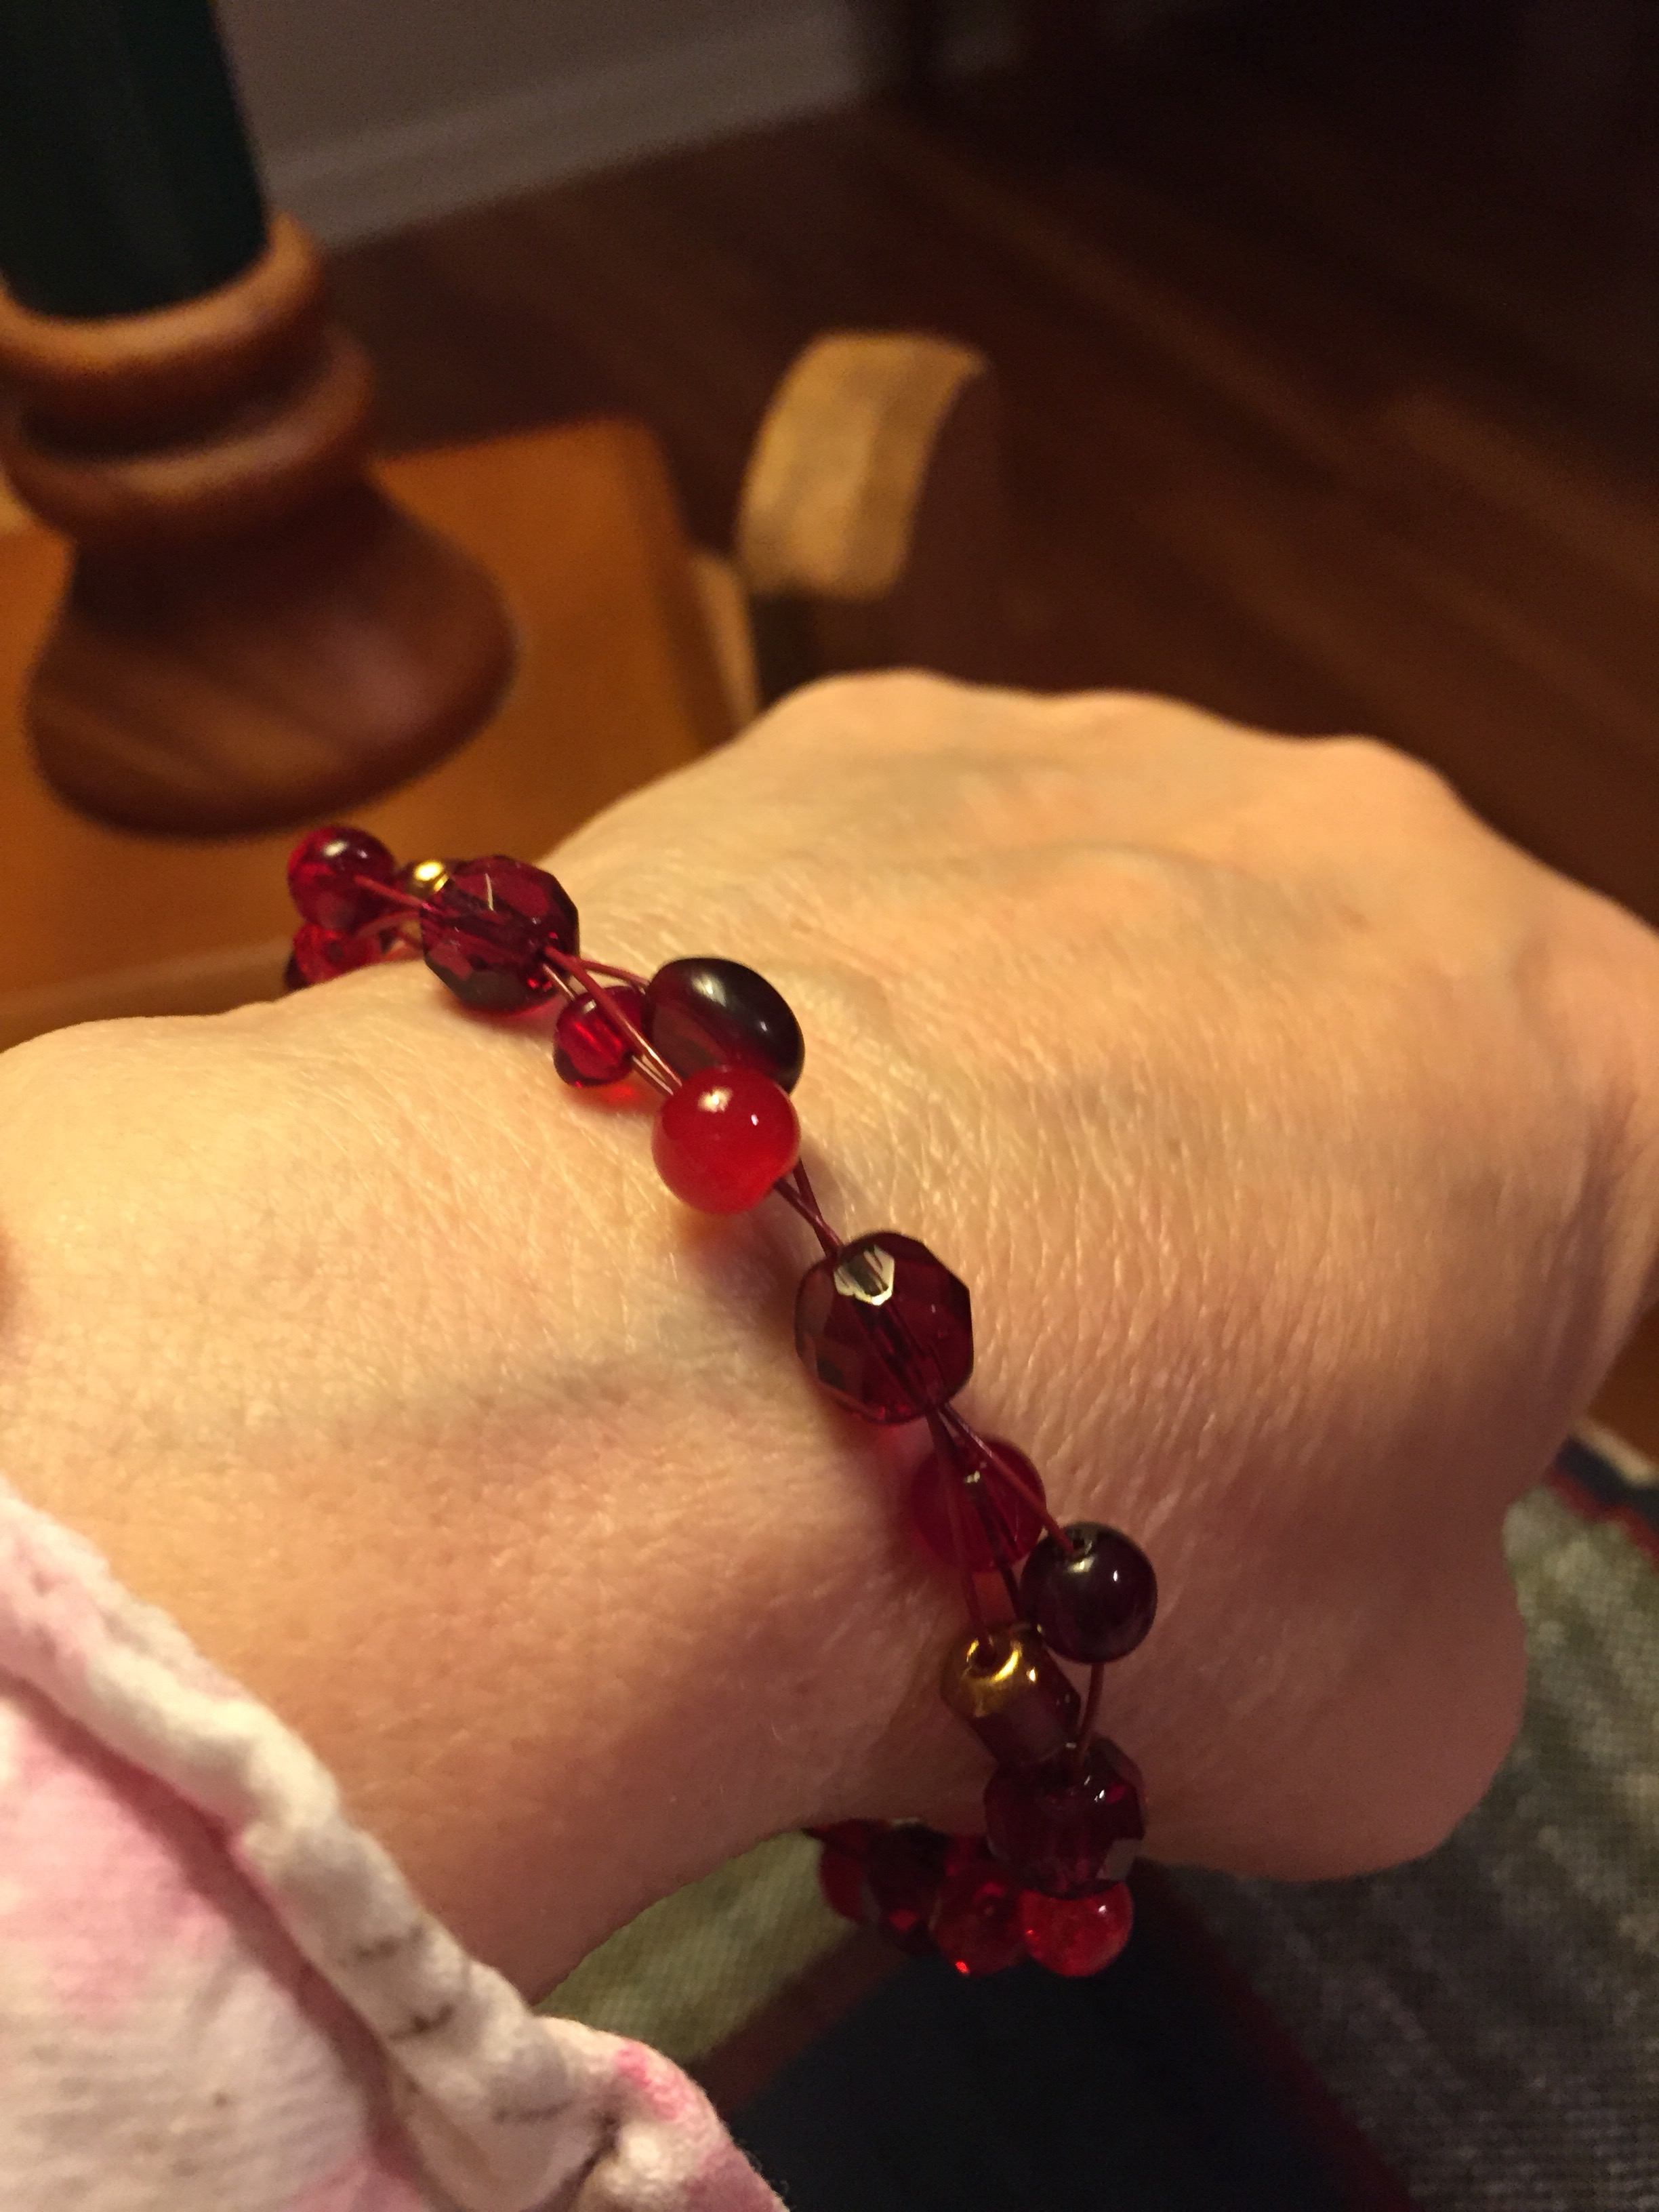
 I’m playing a game with myself. I can’t start any new jewelry project until I finish two old ones. That way, many years from now, I’ll catch up!
This red bracelet is patterned after the one Candie Cooper taught us at the JTV Experience. I’m making it for myself. I’ve ordered tiny tassels to put on the ends. They’ve not arrived so I can’t consider it finished. I guess I’ll need to finish something else’s in it’s place, before I start something new. There’s always a kumicord to work on…
I finally made one! Remember the video I shared on Feb. 4? Here’s my first attempt:
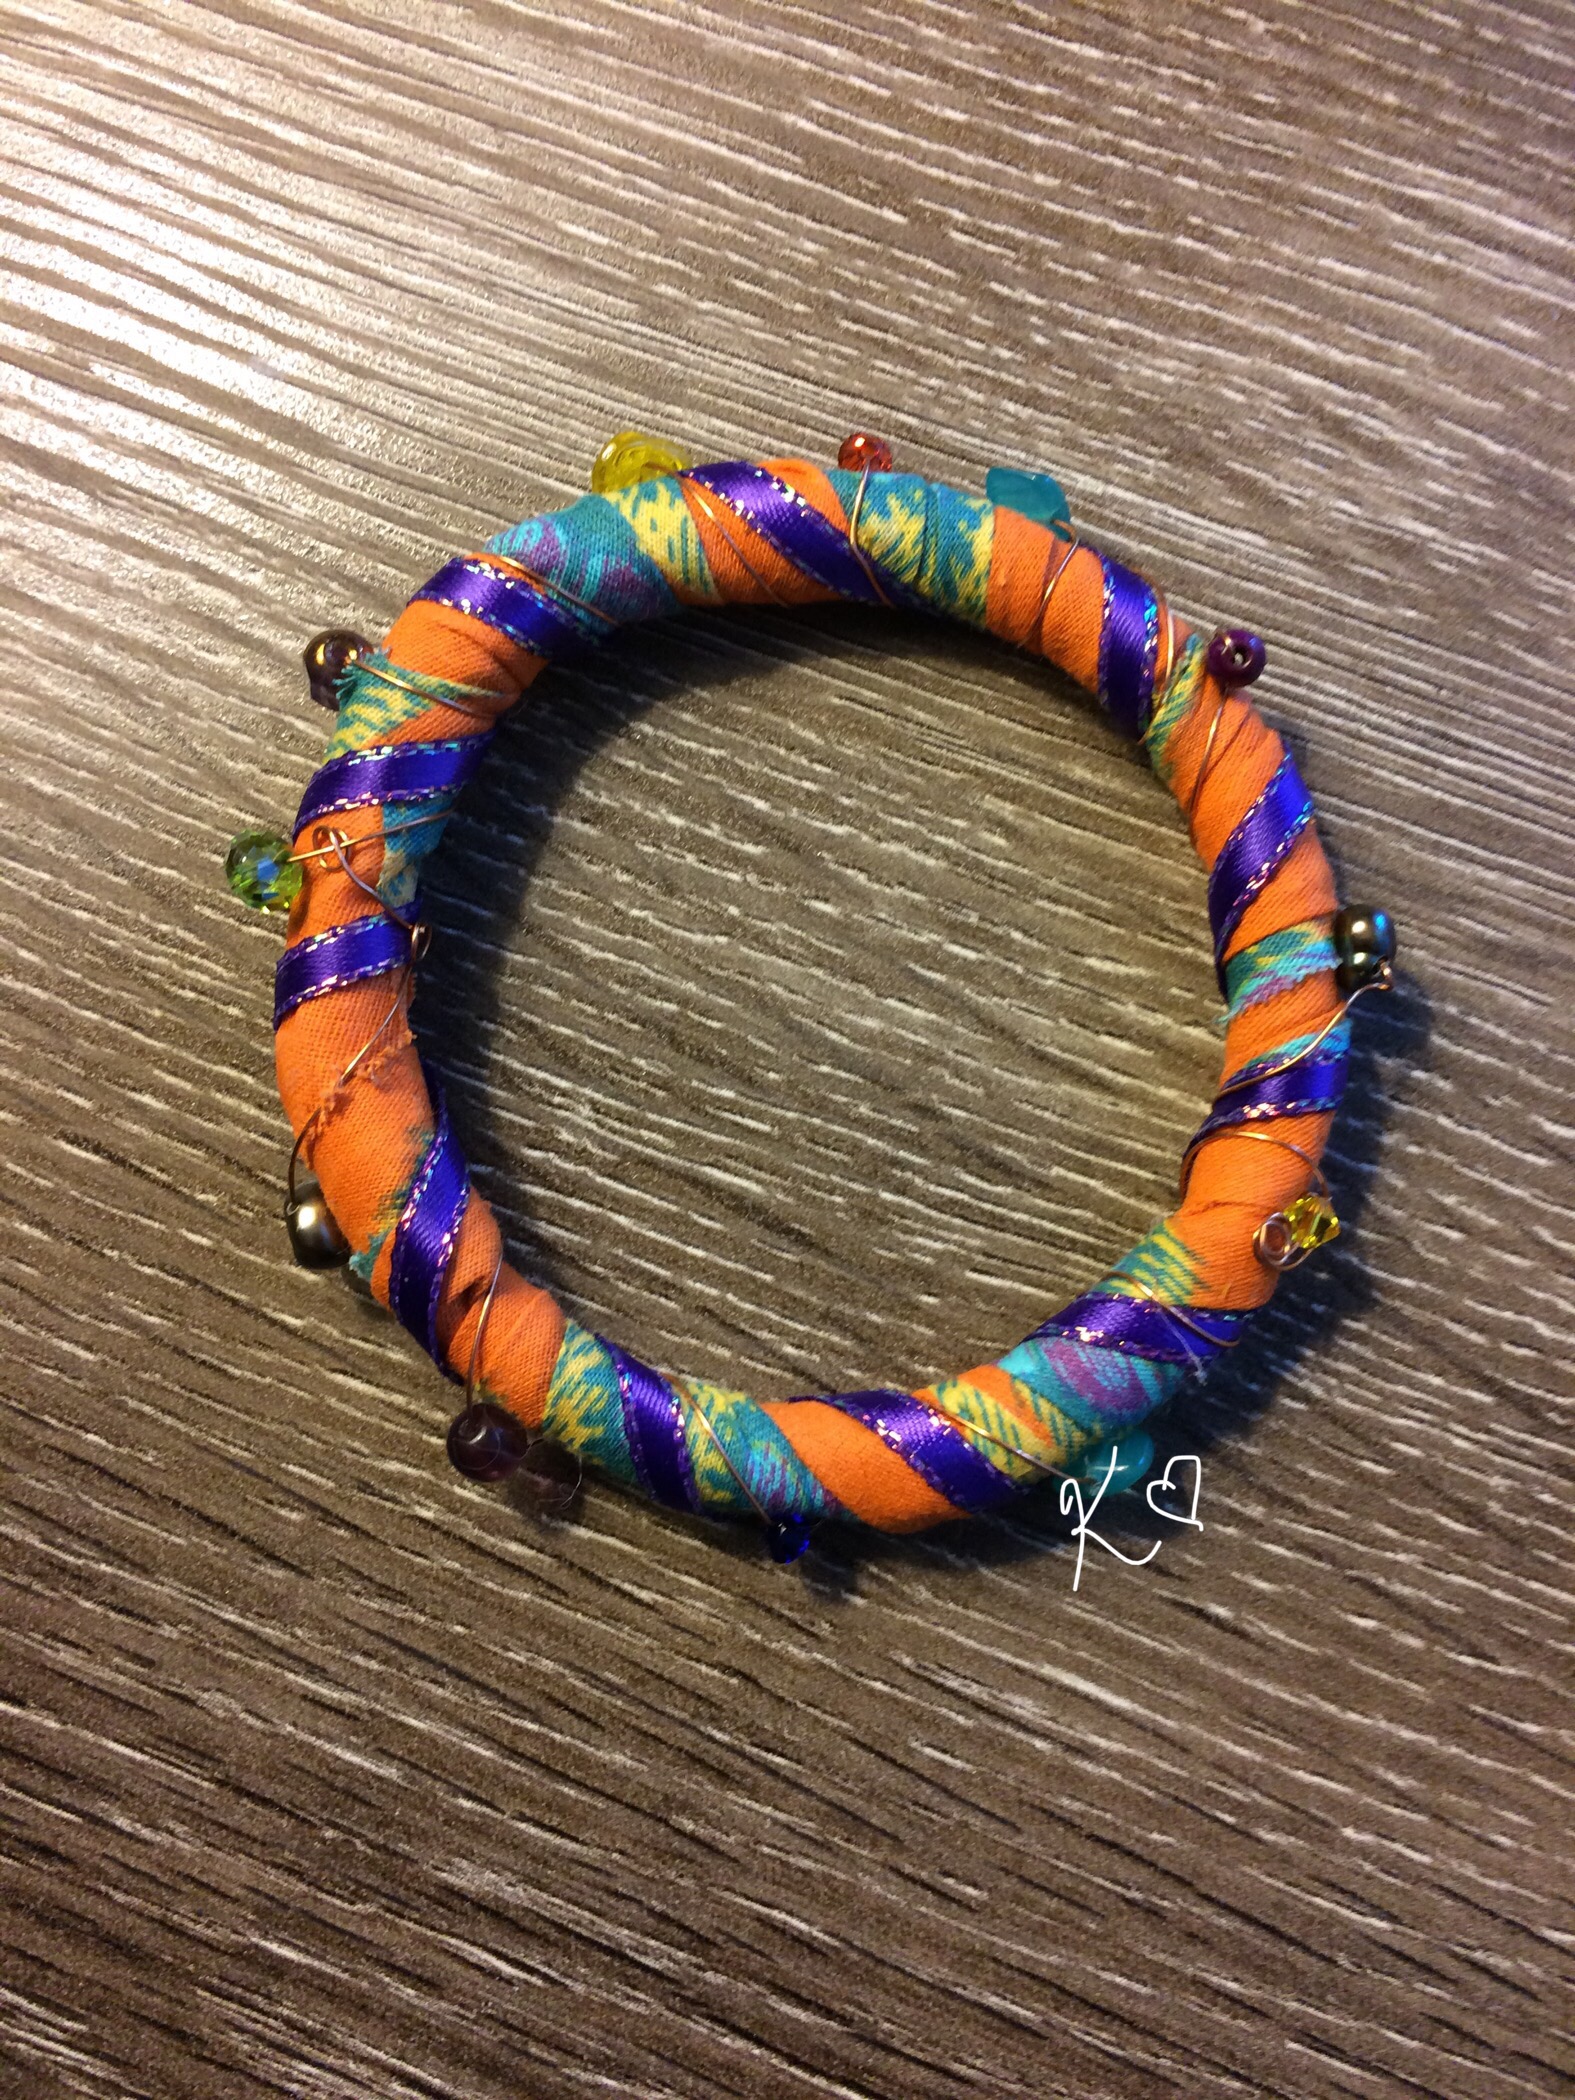
The quilts I use as slipcovers in Mama’s living room came tied in a long bias strip of fabric. I used it to wrap the wire base of this bangle.
The video called for Aileen’s Tacky Glue, but mine was so old, it had dried to a solid bottle of rubber. I used Modpodge for Fabric and did not like the way it felt when dry. I wrapped the wire a second time and just used the Modpodge on the underside of the fabric. Much better!
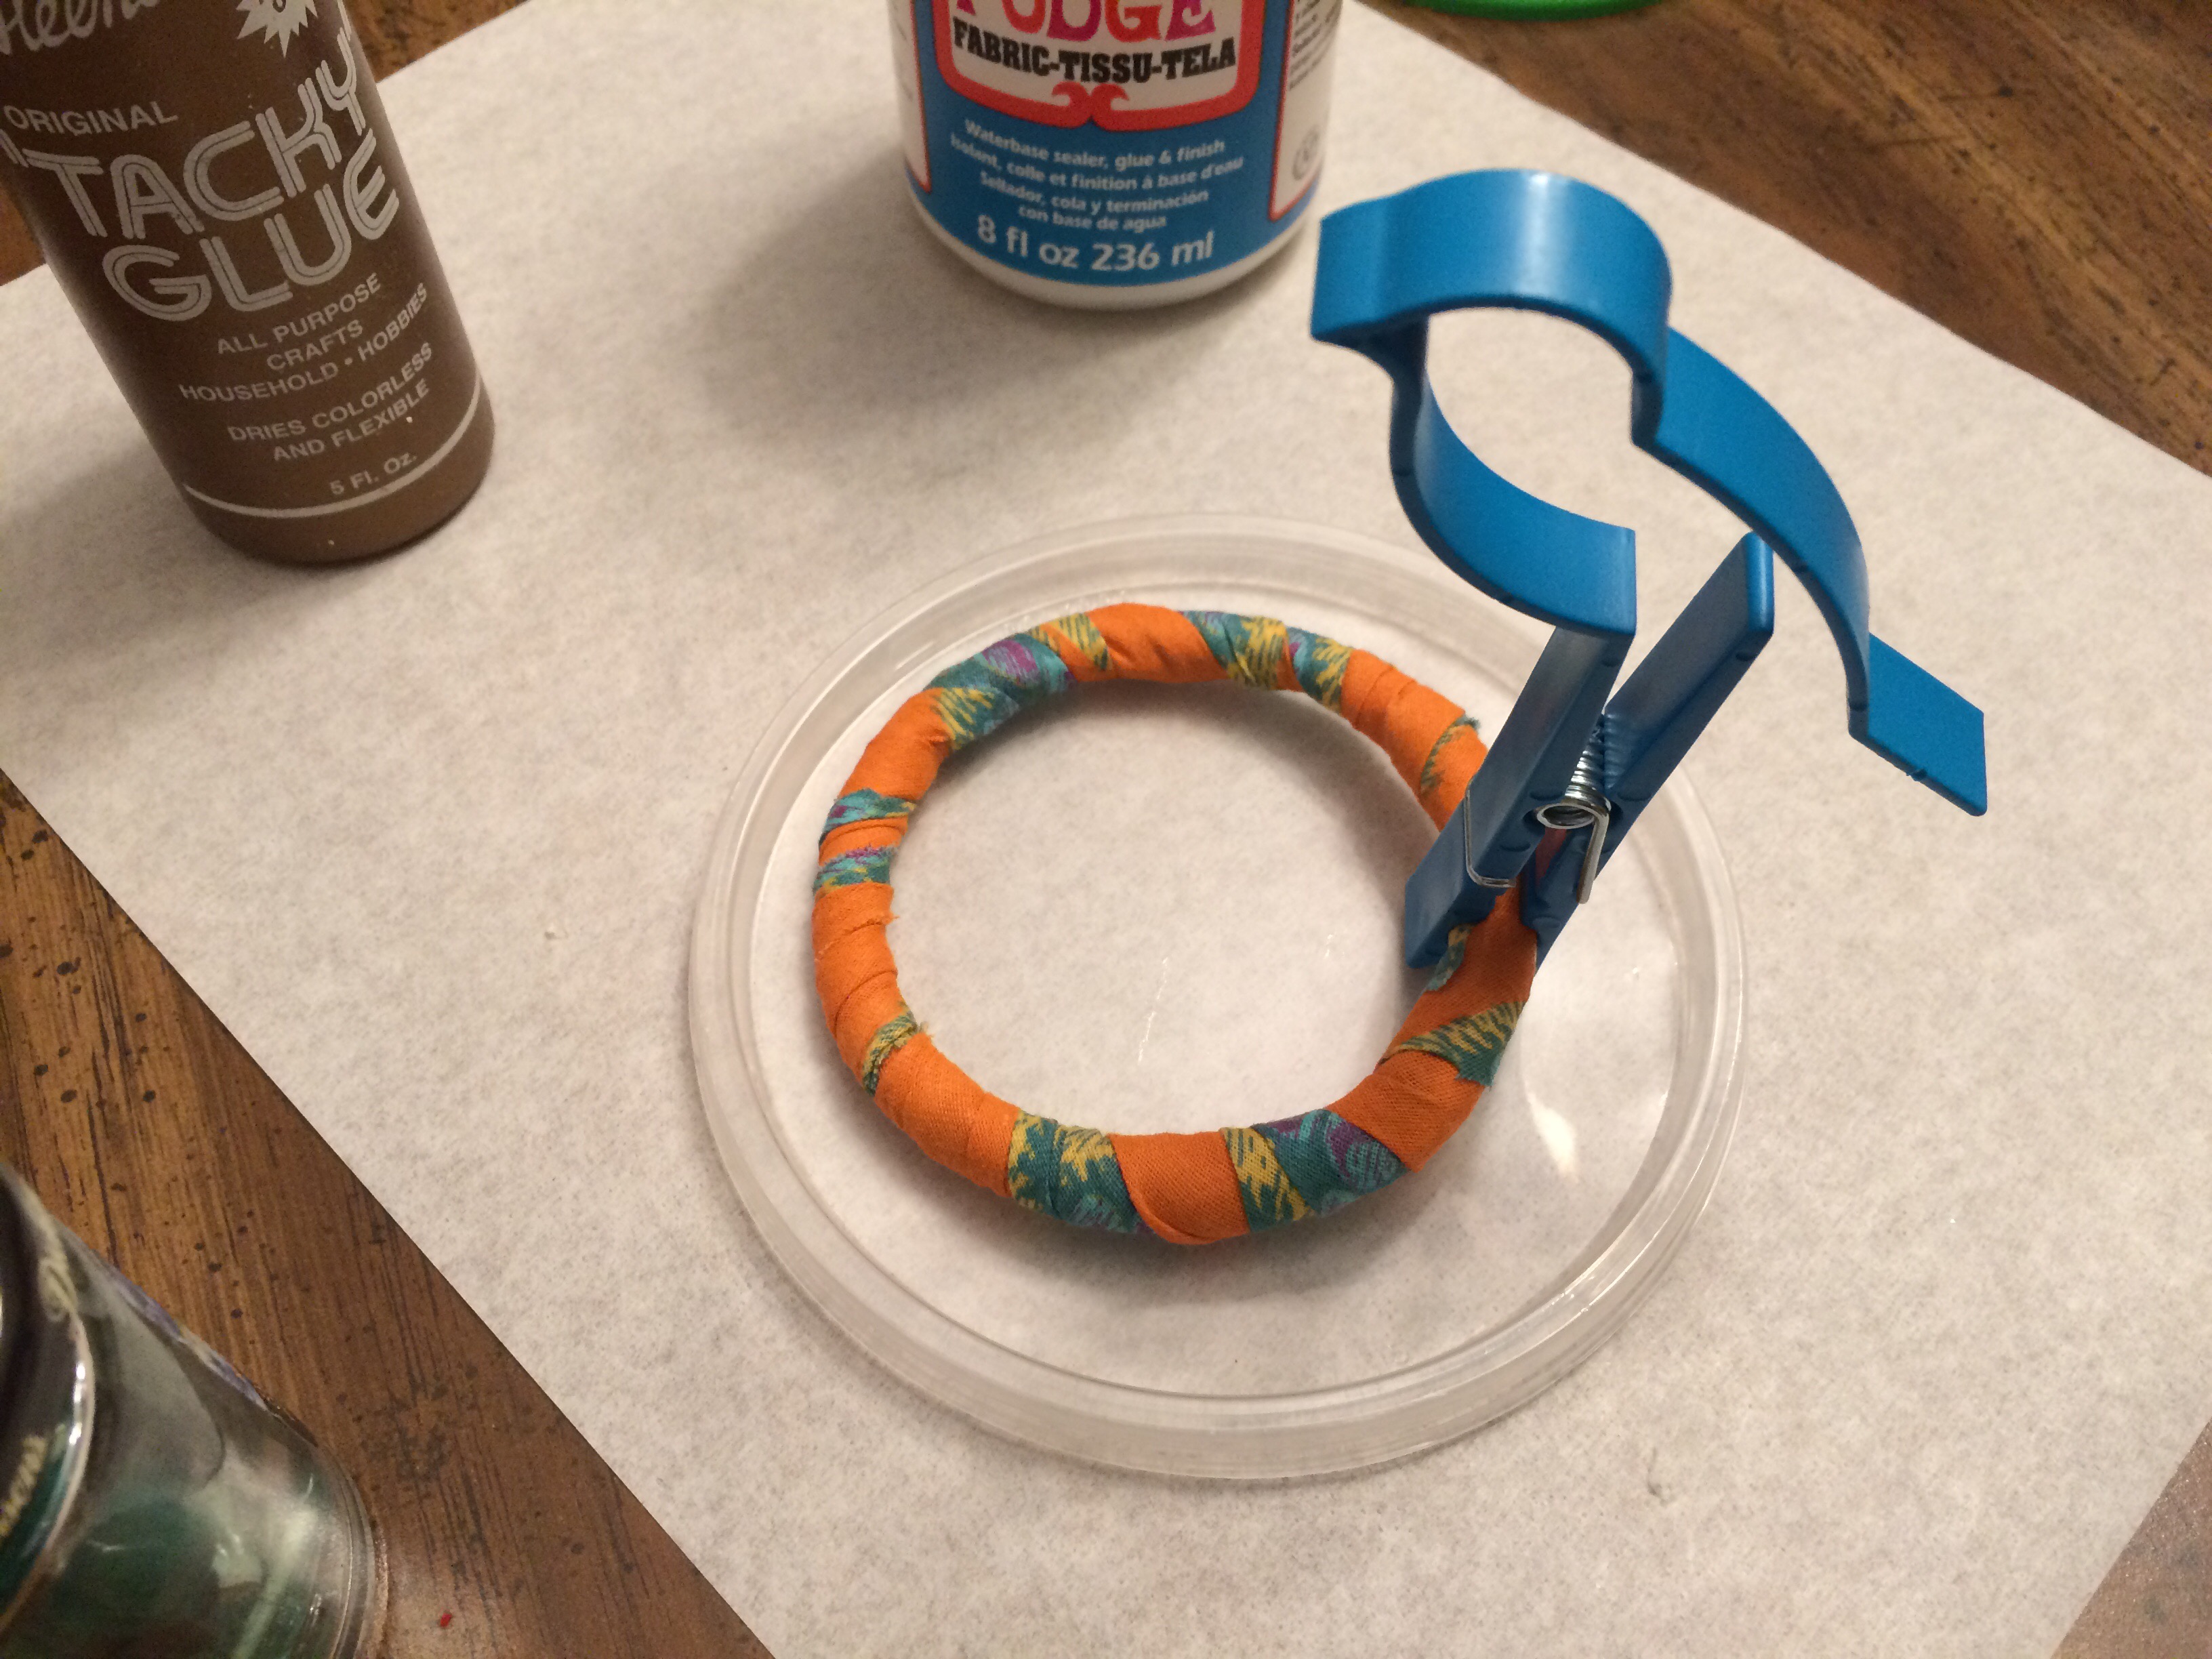
A little bird kept it all in place while it dried!
The fabric strip was colorful, but flat, and dull. I added a very shiny, bright purple ribbon with a metallic edge.
After I wrapped that around and secured it, I followed with a variety of tiny coordinated beads strung on 26 gauge copper wire. I swirled the ends and used those swirls to attach it to itself. Finished fun!