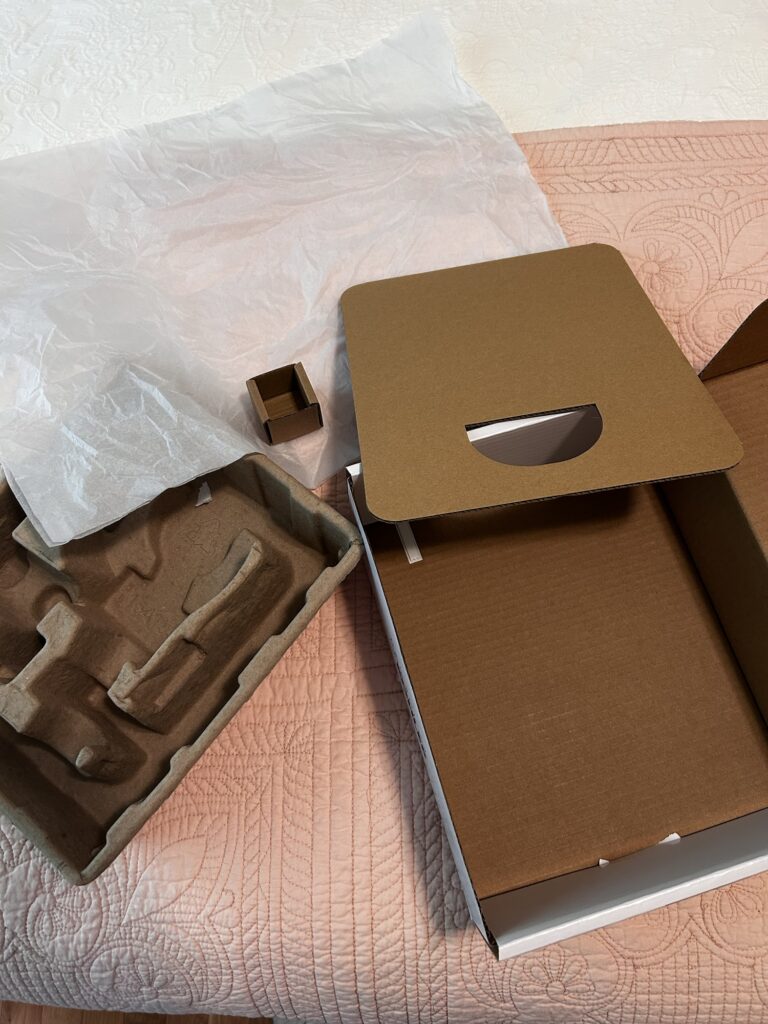
It’s an oxymoron, right? My recent shower head purchase came with some useful packaging.
Look at that teeny tiny box that held the plumber’s tape! The main container is nice and sturdy with a hinged lid. It’ll bee great for storage! Maybe, I’ll cover it with gel prints!
I have no idea why that piece of cardboard is shaped like a cutting board, but it should make an unusual sign or collage backing.
There are two big sheets of tissue for gel plating or stamping. Even the strangely shaped pressed paper liner has a sculptural quality!
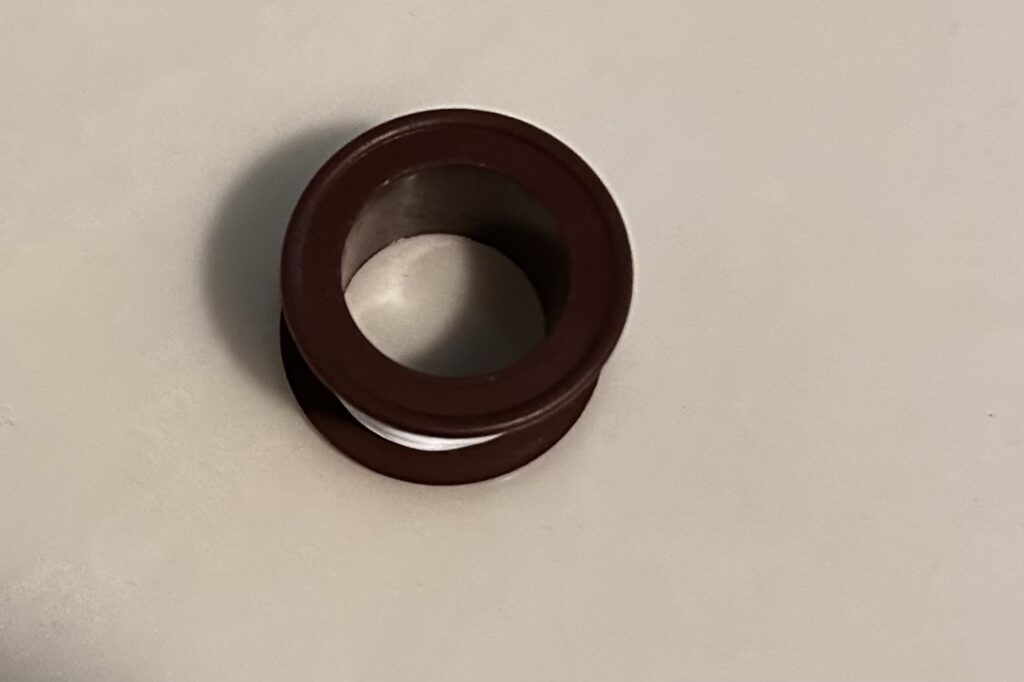
And oh! Here’s the little spool from the plumber’s tape. It can be used for mark making on the gel plate or in polymer clay. I can even wrap leftover threads or cords around it!
My husband has learned to ask, “Is it for art, honey, or can I throw it away?“
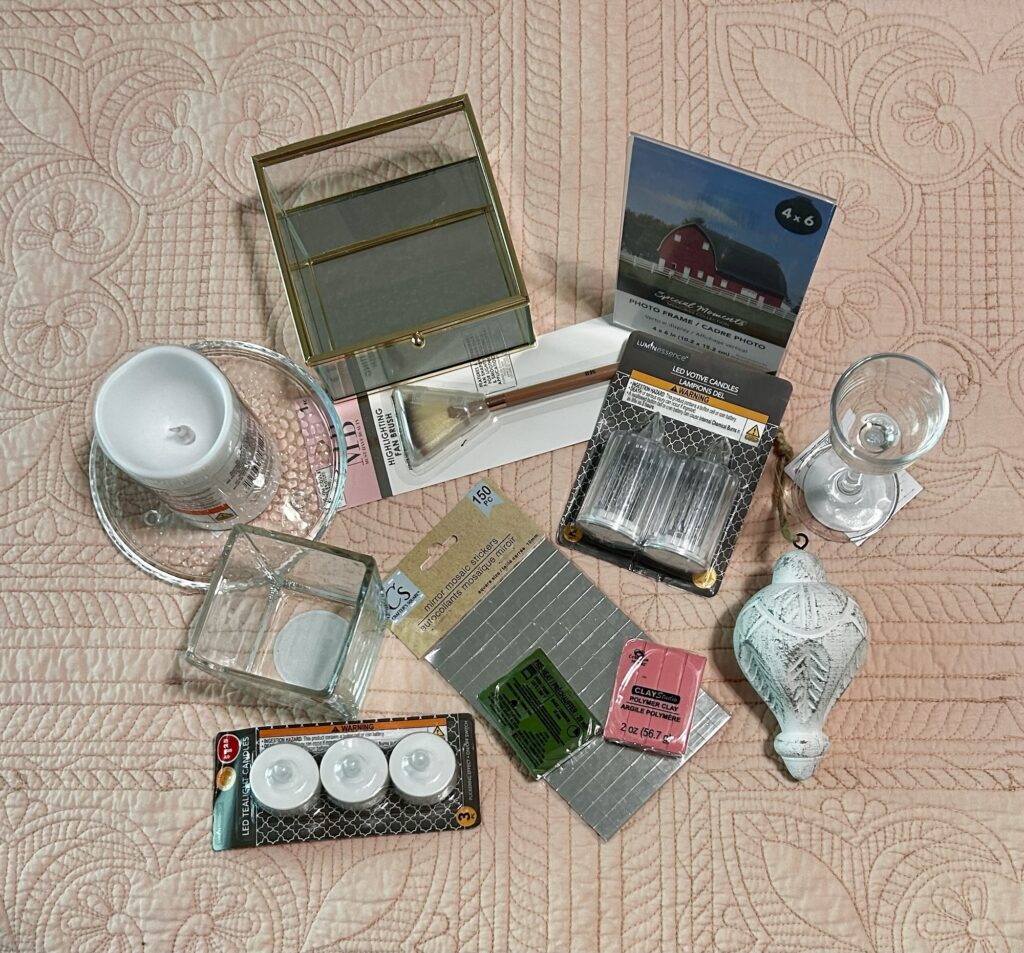
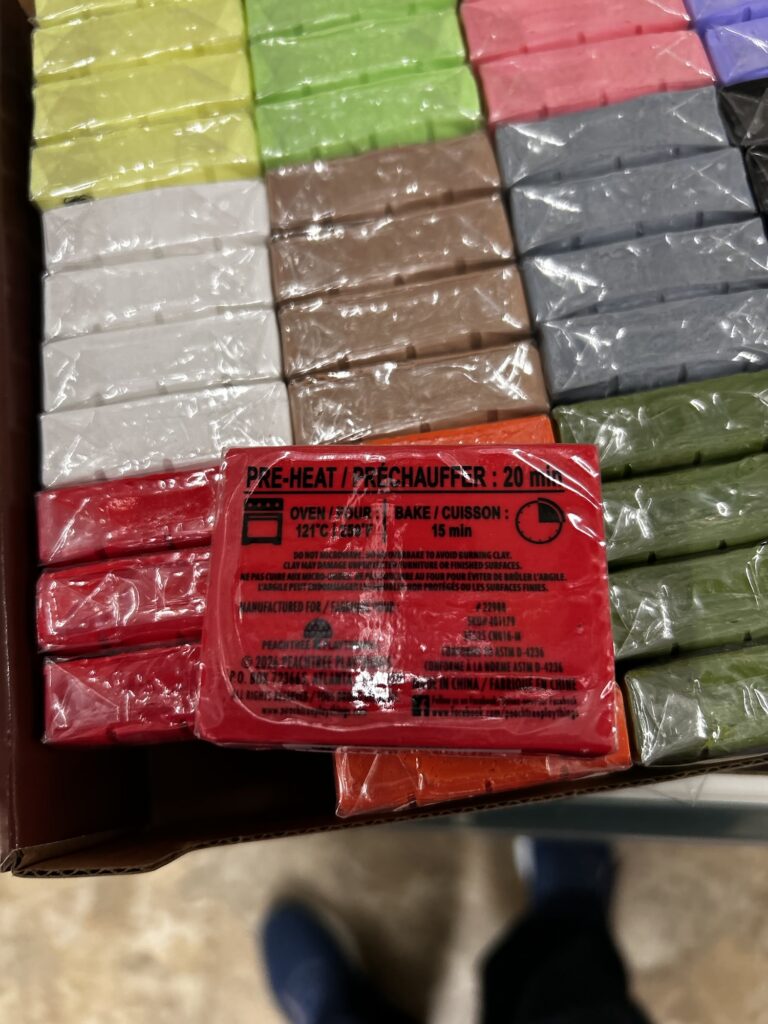
Several days ago, while watching PM Artists Studio’s live stream, it hit me that I should make a Natasha bead from clay using their monthly color challenge.
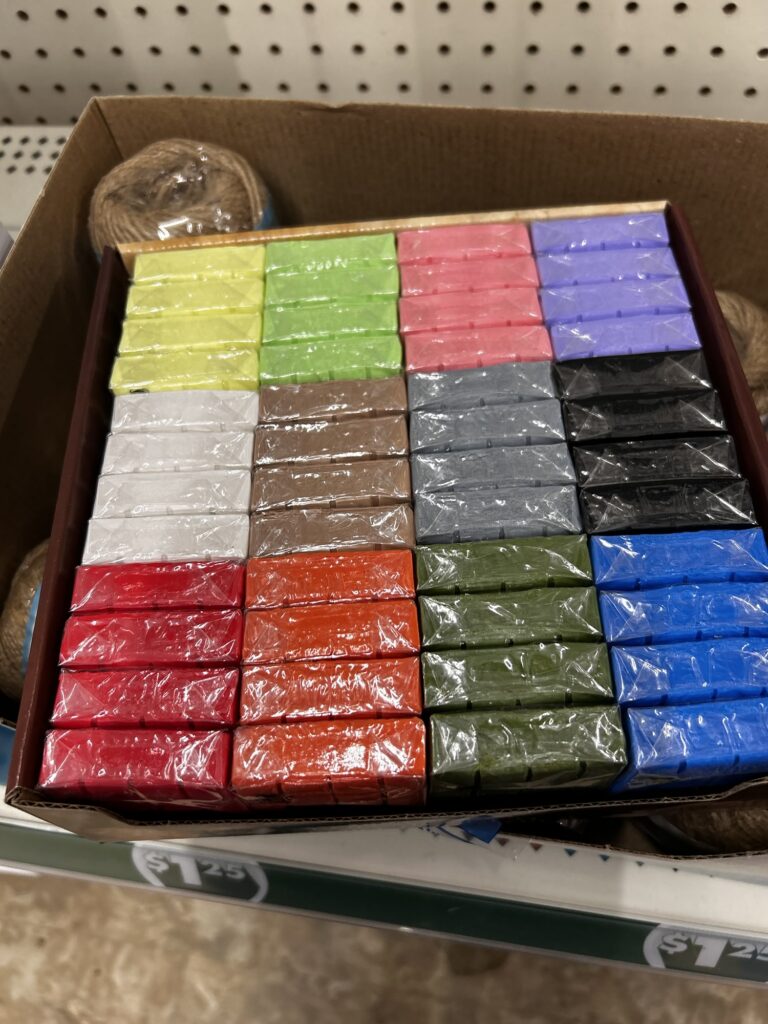
This month’s color challenge is spring green, lemon yellow and lilac. You can also add black, white and a metallic if you wish. I wasn’t in my studio, so I was lucky just to find a yellow, a green, and a favorite called gentle plum (Sculpey III.)
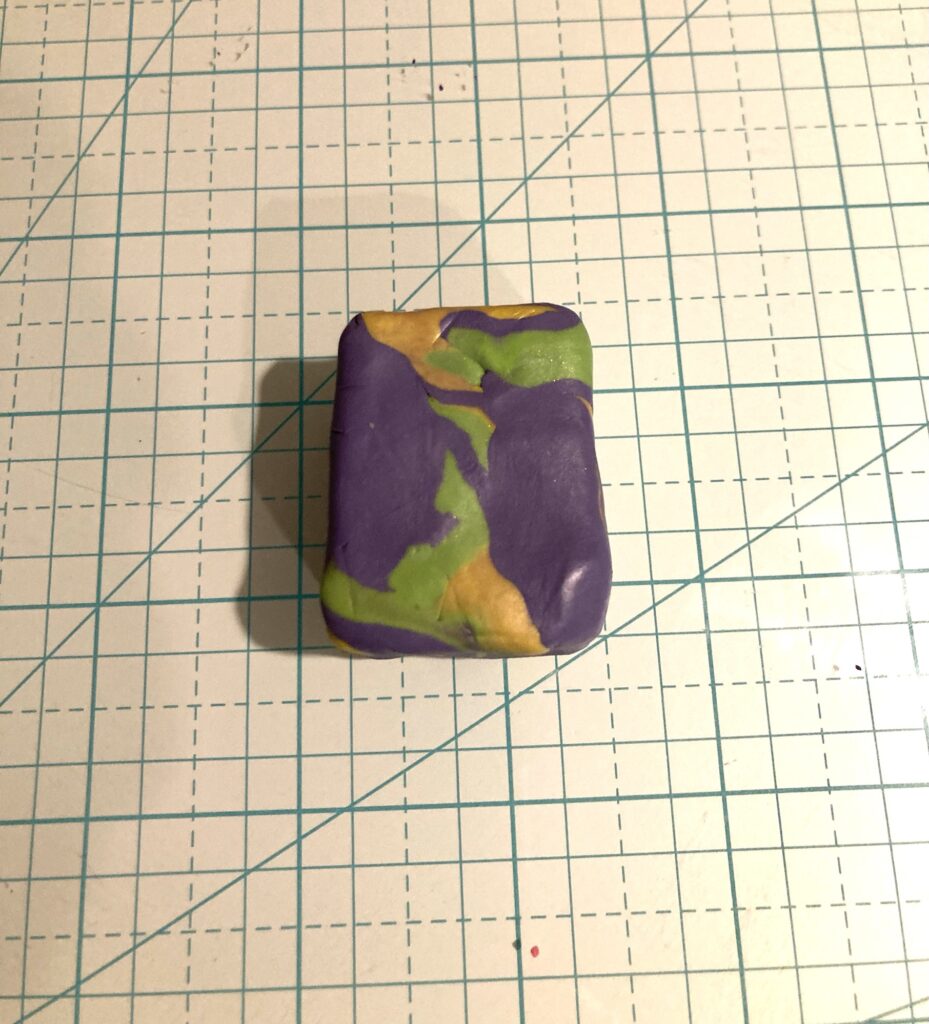
A couple of folks in the live stream chat wanted to know what a Natasha bead was. I explained as briefly as I could. You take several colors of polymer clay, chop them up, smoosh them together. Work them with your hands and twist them into ropes, folding them back on themselves. The working of the clay is called, conditioning, and is necessary for the alignment of molecules during curing (baking.) After conditioning, you shape your twisted glob of clay into a rectangular block and let it rest.
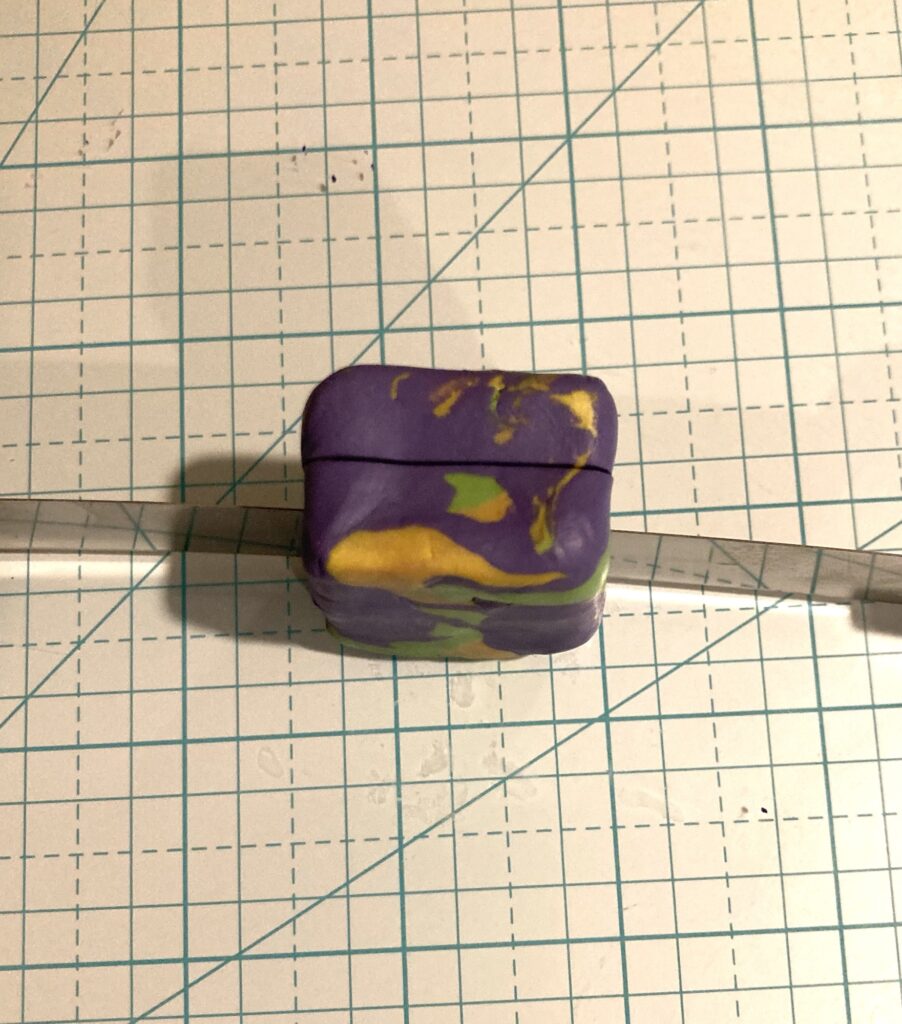
After the block is rested and firmed back up. Turn it on its side and slice it down the middle using a tissue blade.
Mine is not perfectly even.
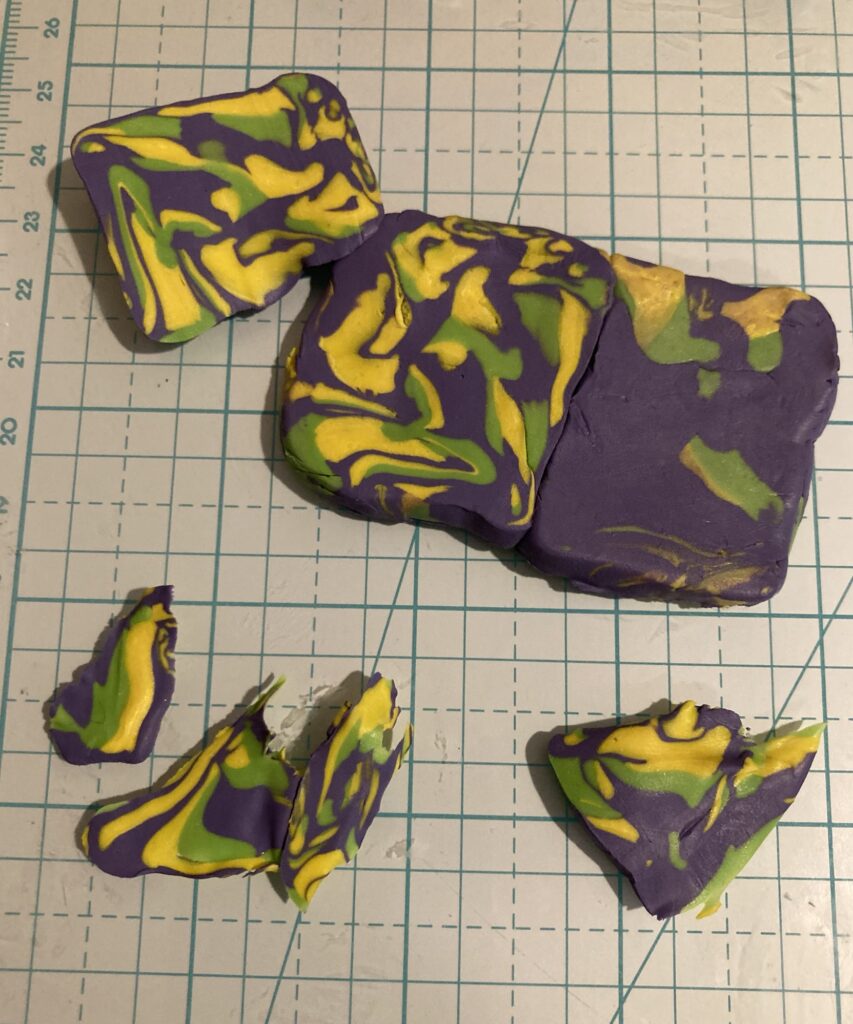
Open the cut block like a book and lay the two pieces side by side to mirror each other.
I think it looks like a bug’s face!
Gently smoosh or roll the two pieces together to adhere to one another. Mine was a little wonky due to the uneven cutting. I flipped it over and trimmed away the excess, again using the tissue blade.
These scraps can be reused for other types of beads.
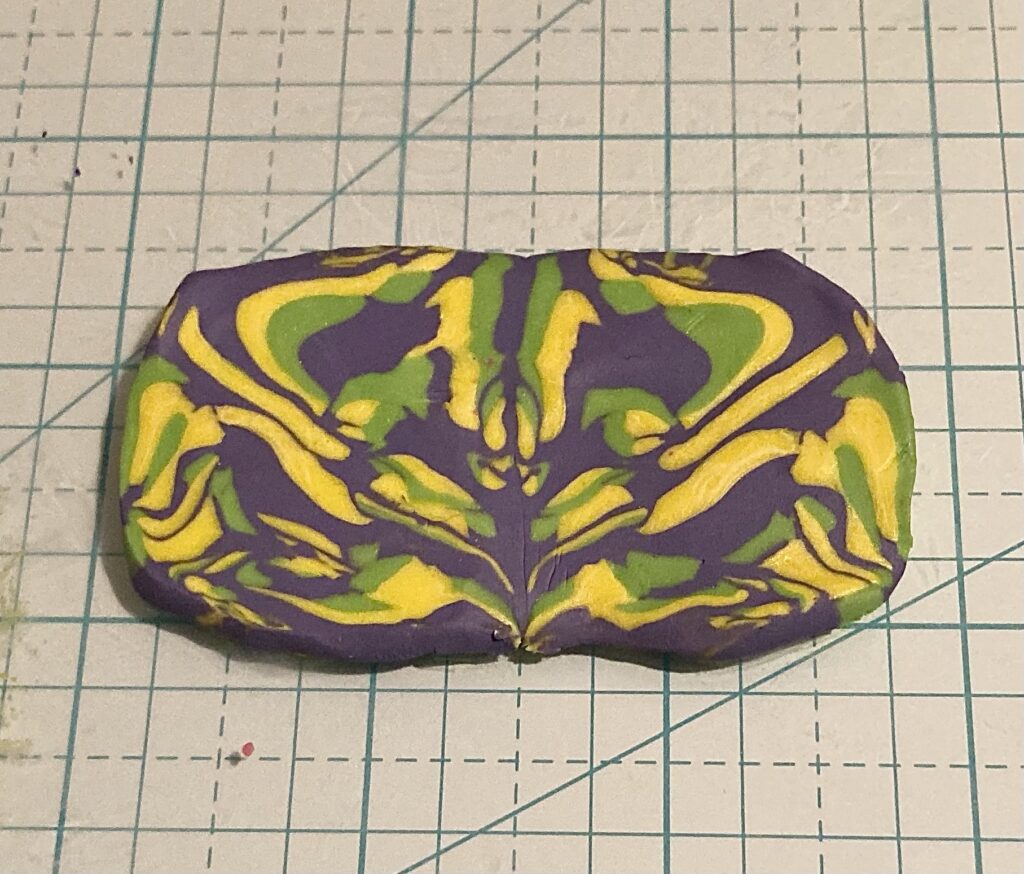
Here’s the finished Natasha bead, resting.
Before I bake it, I’ll punch two holes where antenna might be. After baking, I’ll add jump rings and chain, and make it a pendant!
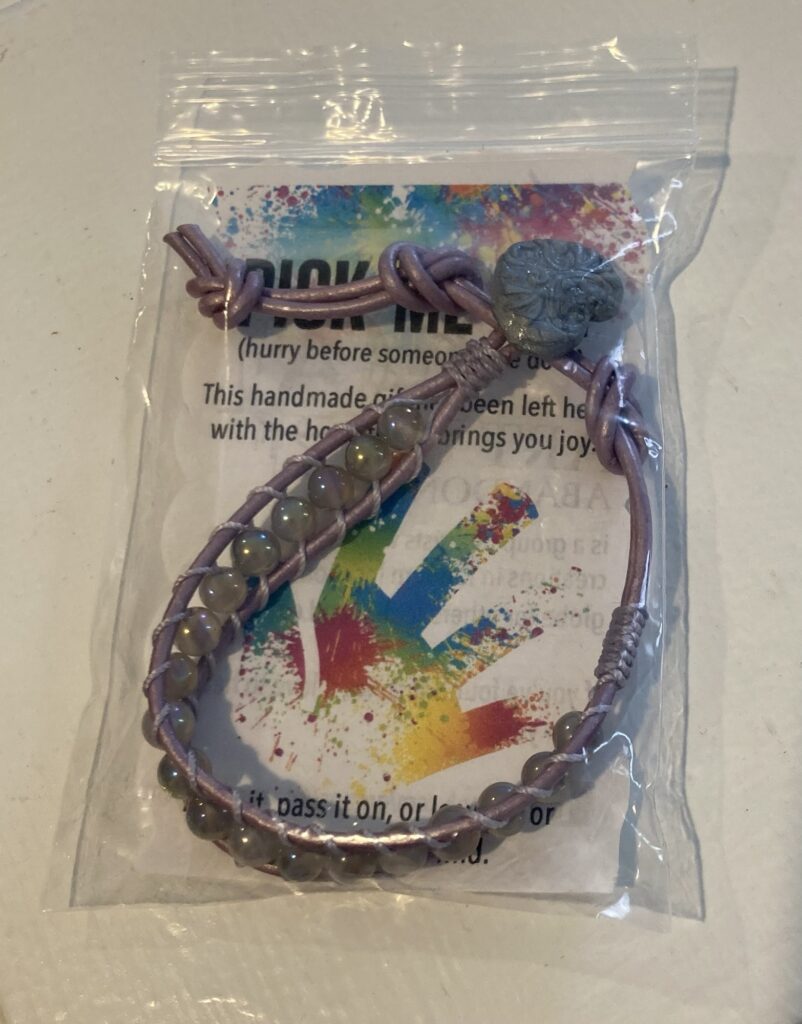
I left this bracelet at Walmart in the Arboretum Shopping Center in Charlotte, NC, today. When I abandon a bracelet, I consider that a finish! I hope it makes somebody happy. Day 30, #the100dayproject2024, #fixandfinish
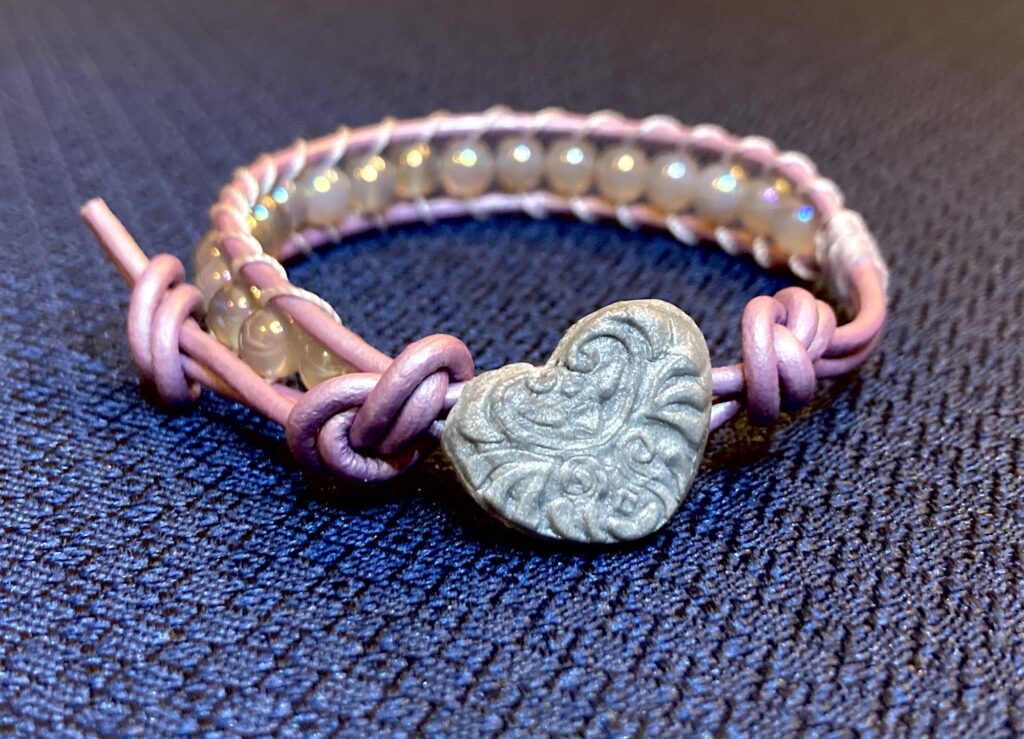
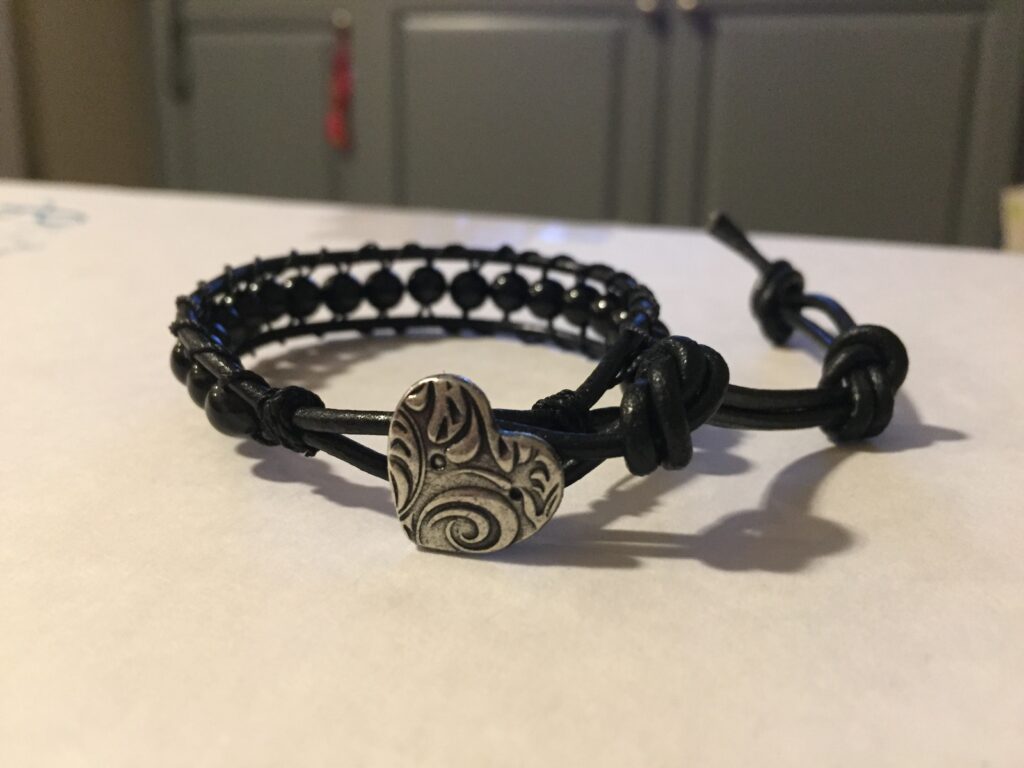
I’ve not made a bracelet in weeks. I burned myself out making them before Christmas. Today, I finished one I’ve been carrying around for days. I’d planned to finish it before Valentine’s Day because it has one of my heart-shaped handmade polymer clay buttons. (Someday, I hope to make my buttons out of precious metal clay.)
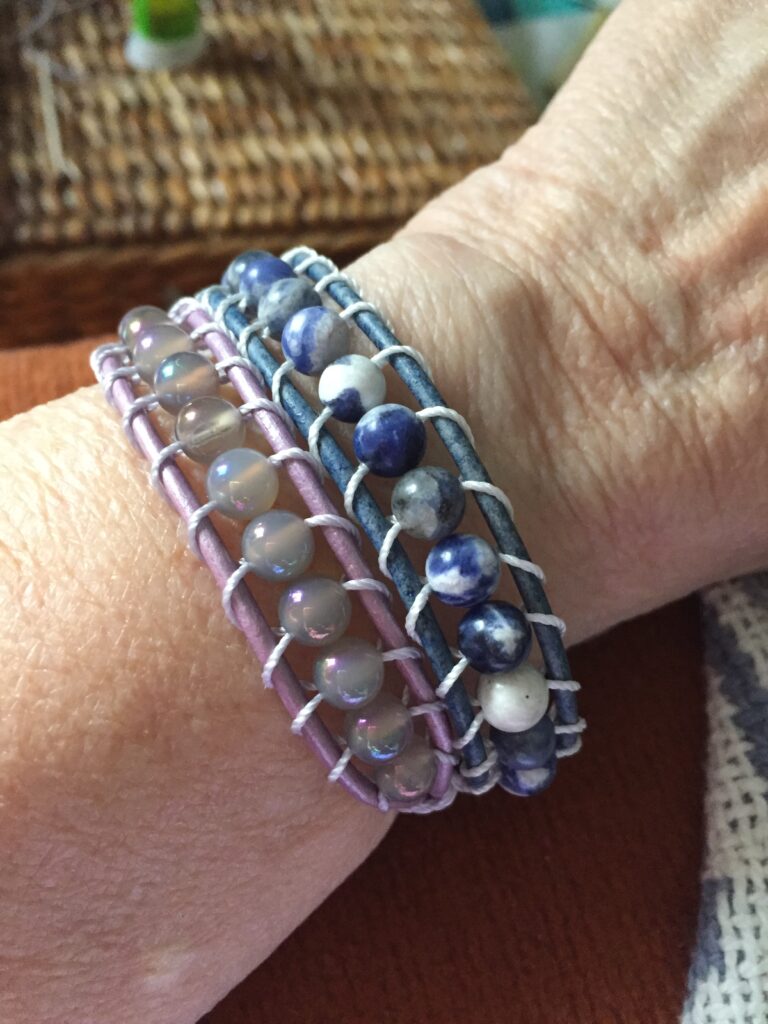
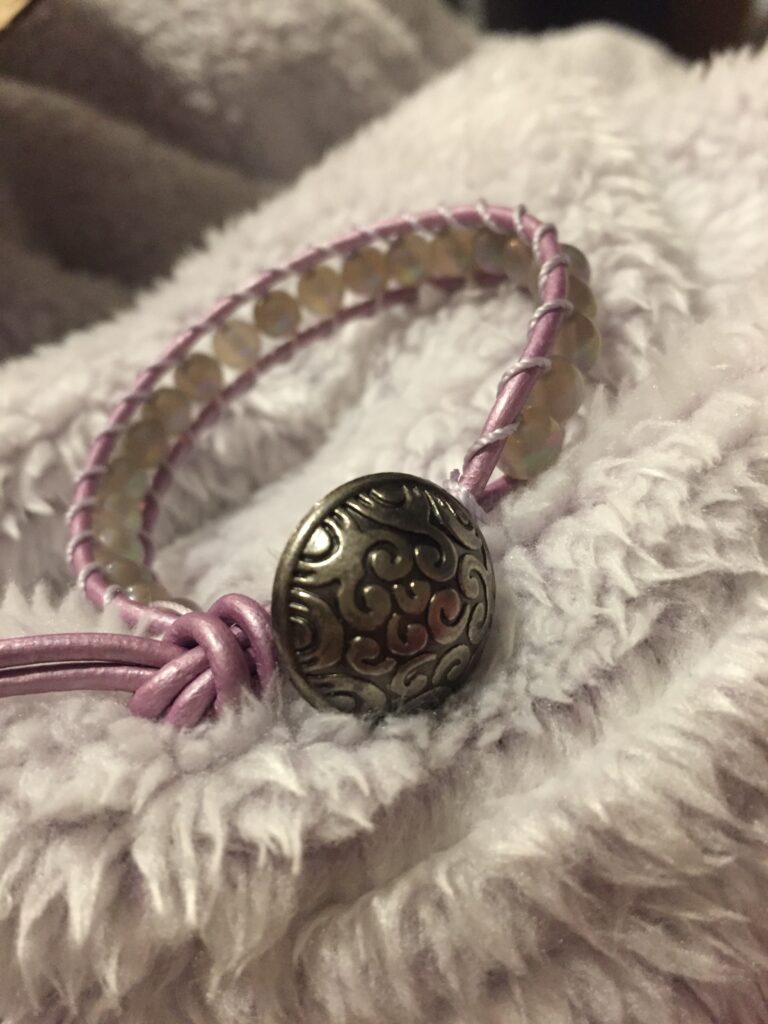
The leather is lavender and the beads are Aurora Borealis coated gray agate. This is my favorite combination of beads and leather. Day 25, #the100dayproject2024, #fixandfinish
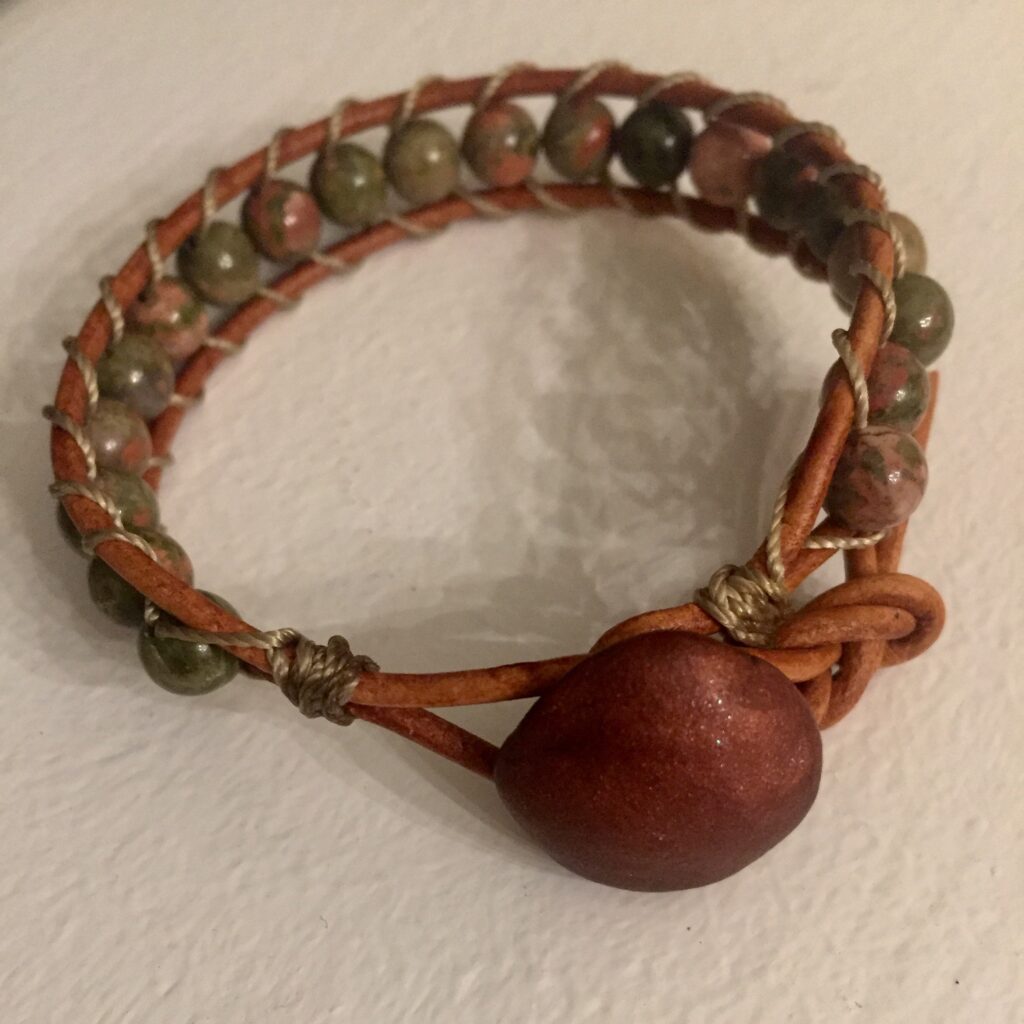
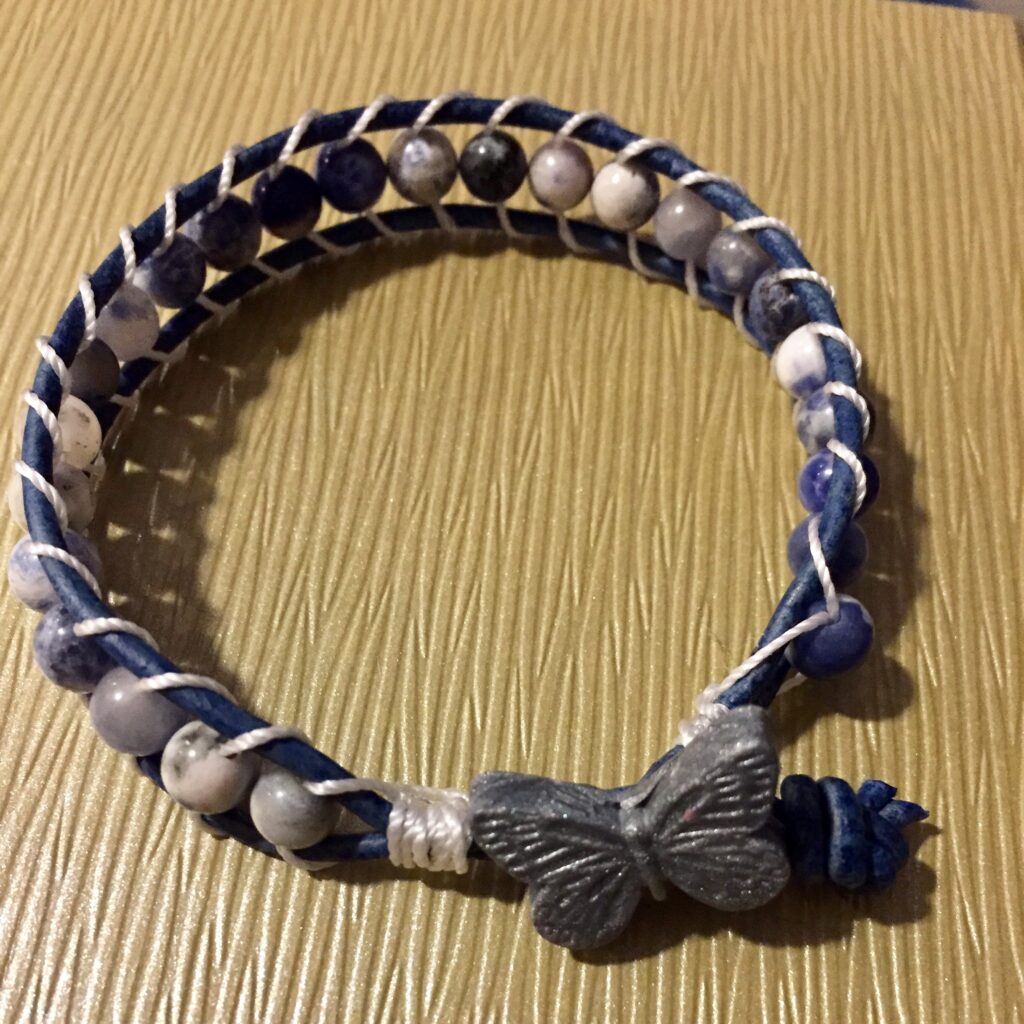
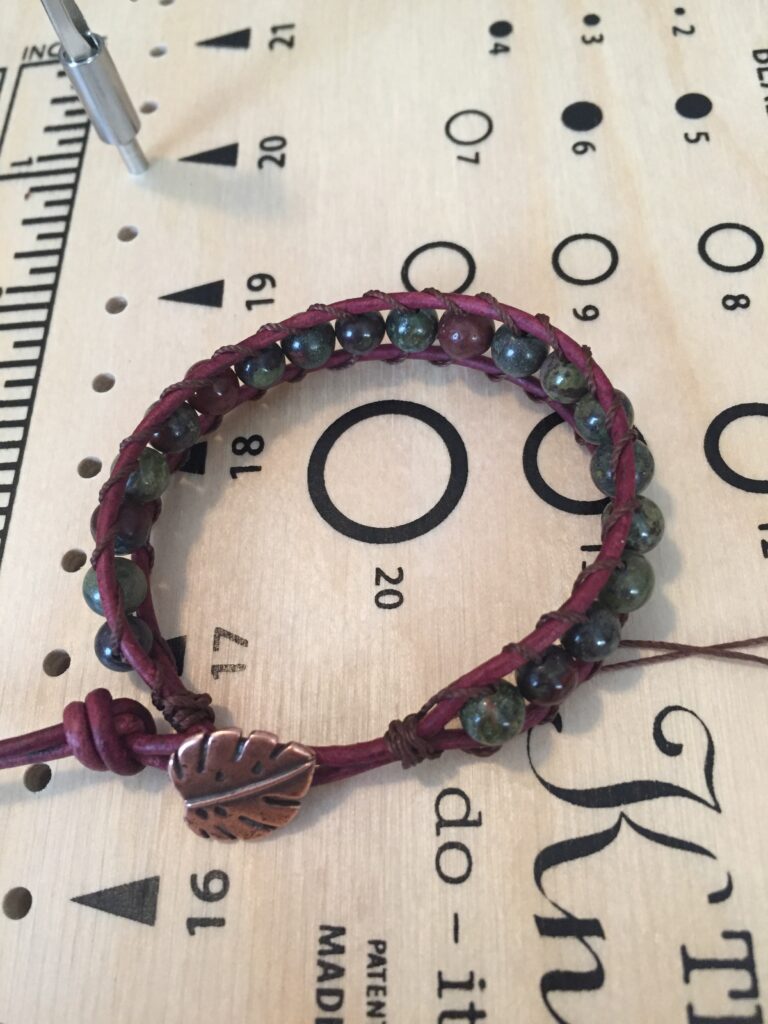
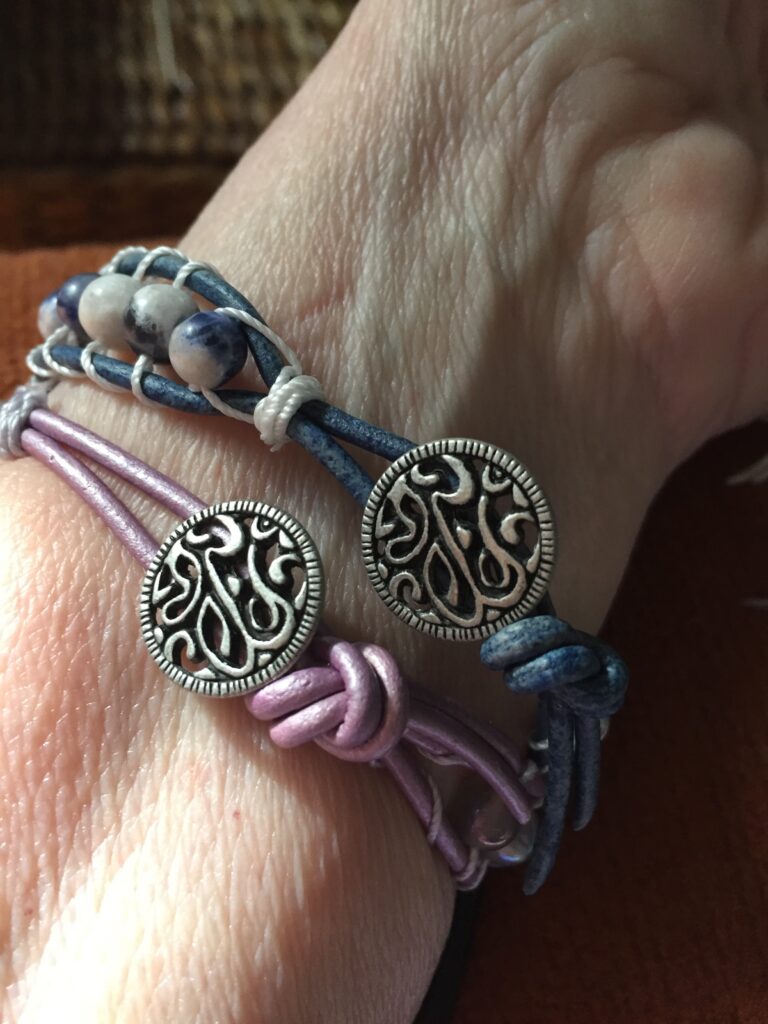
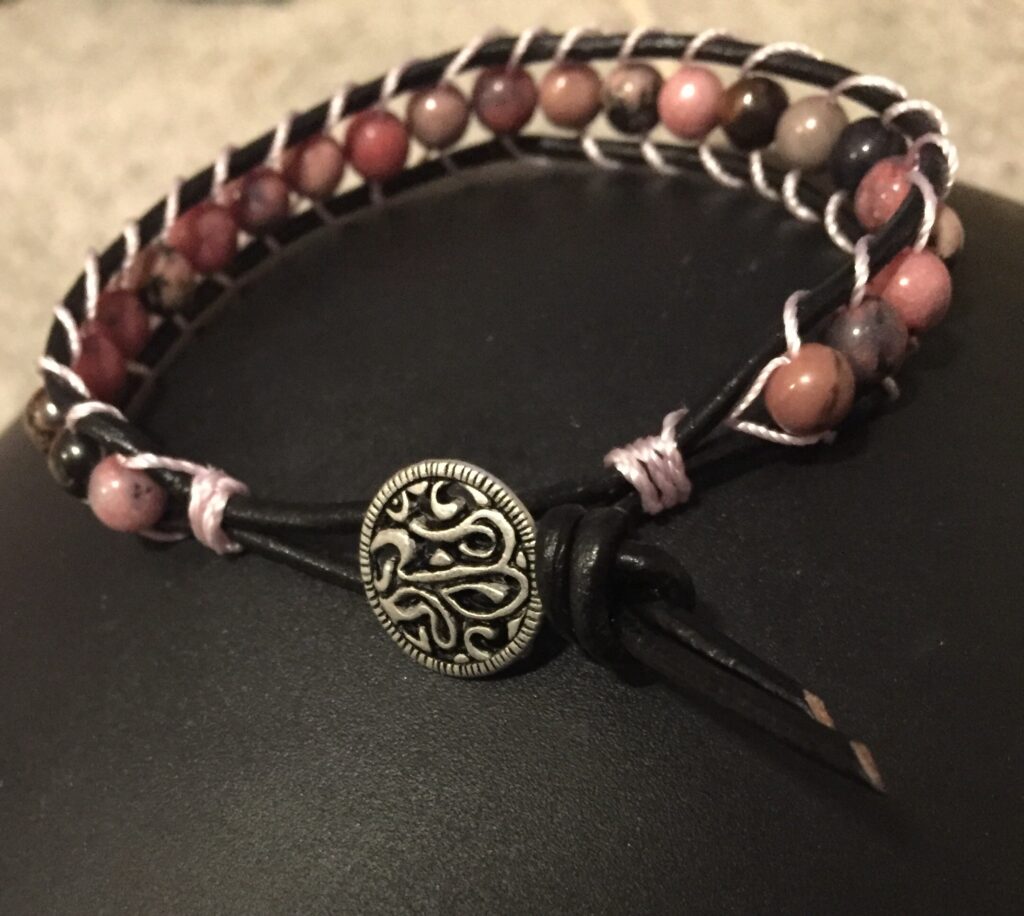
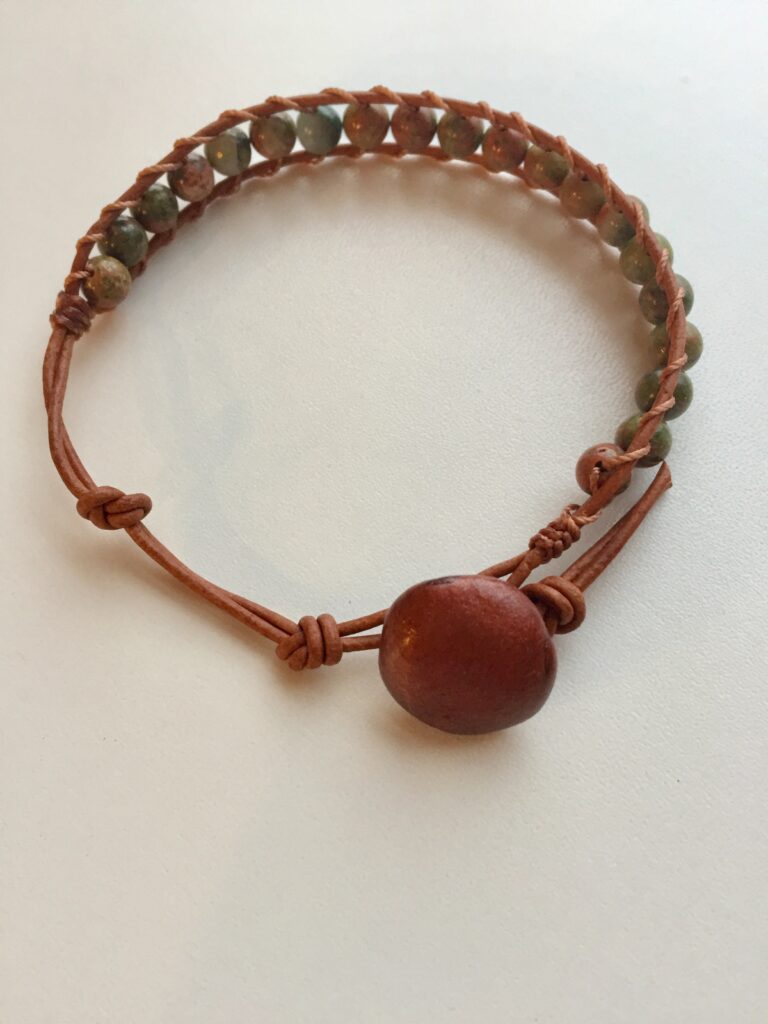
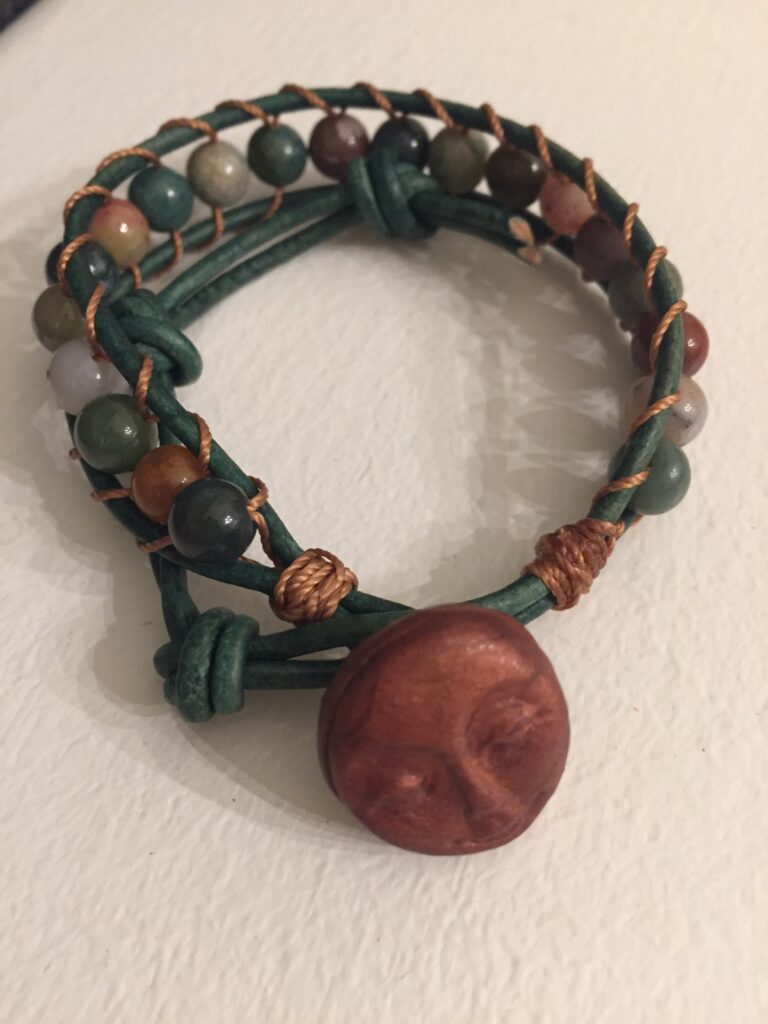
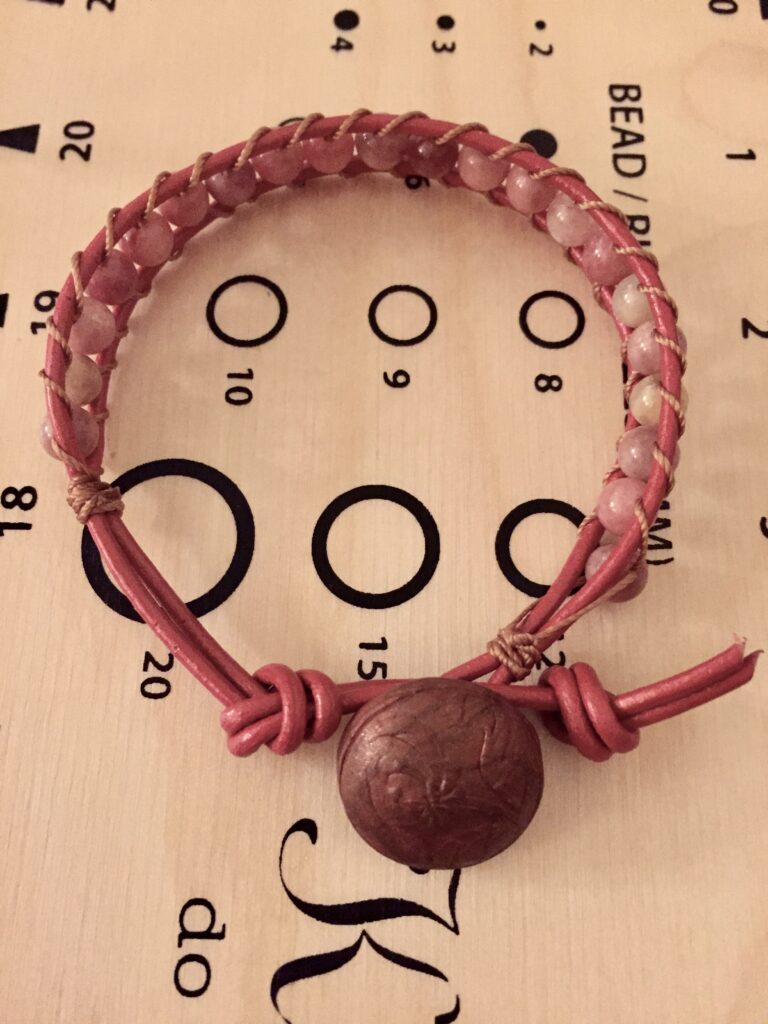
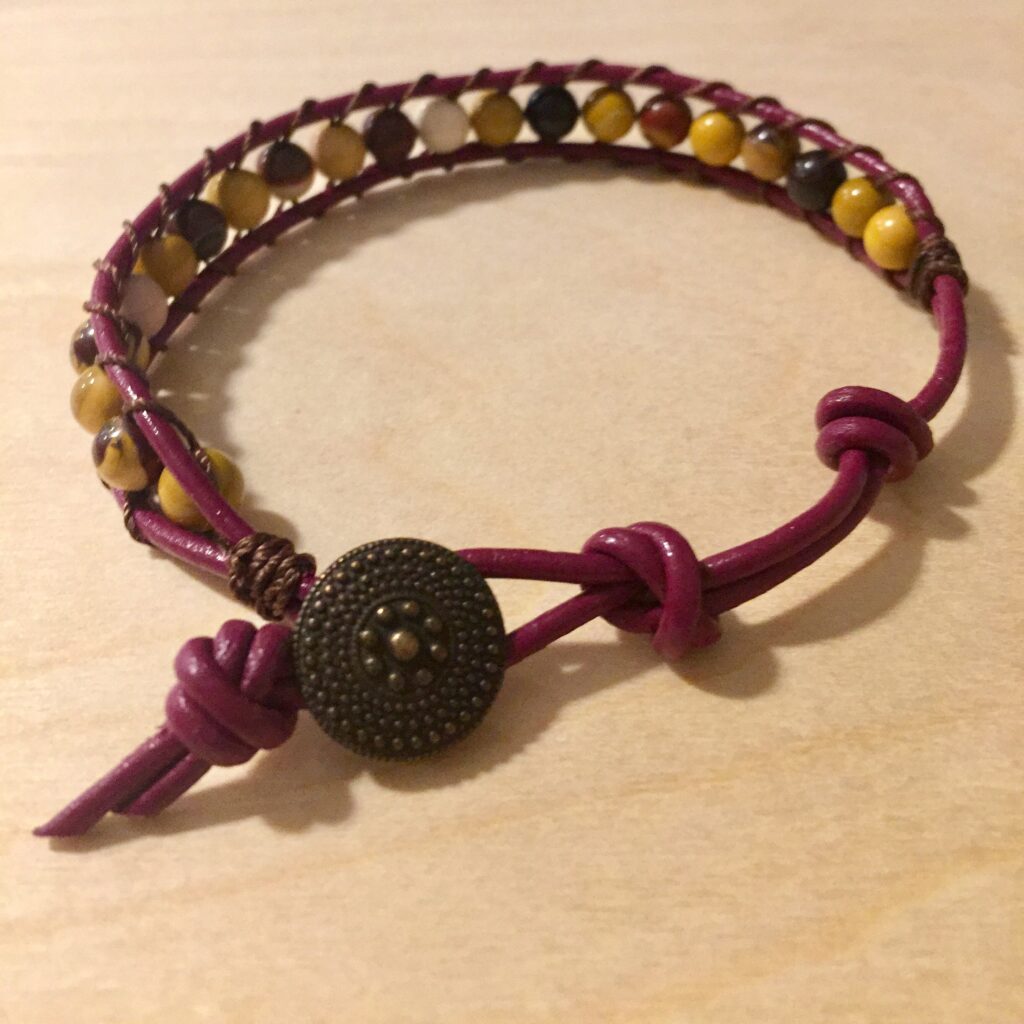
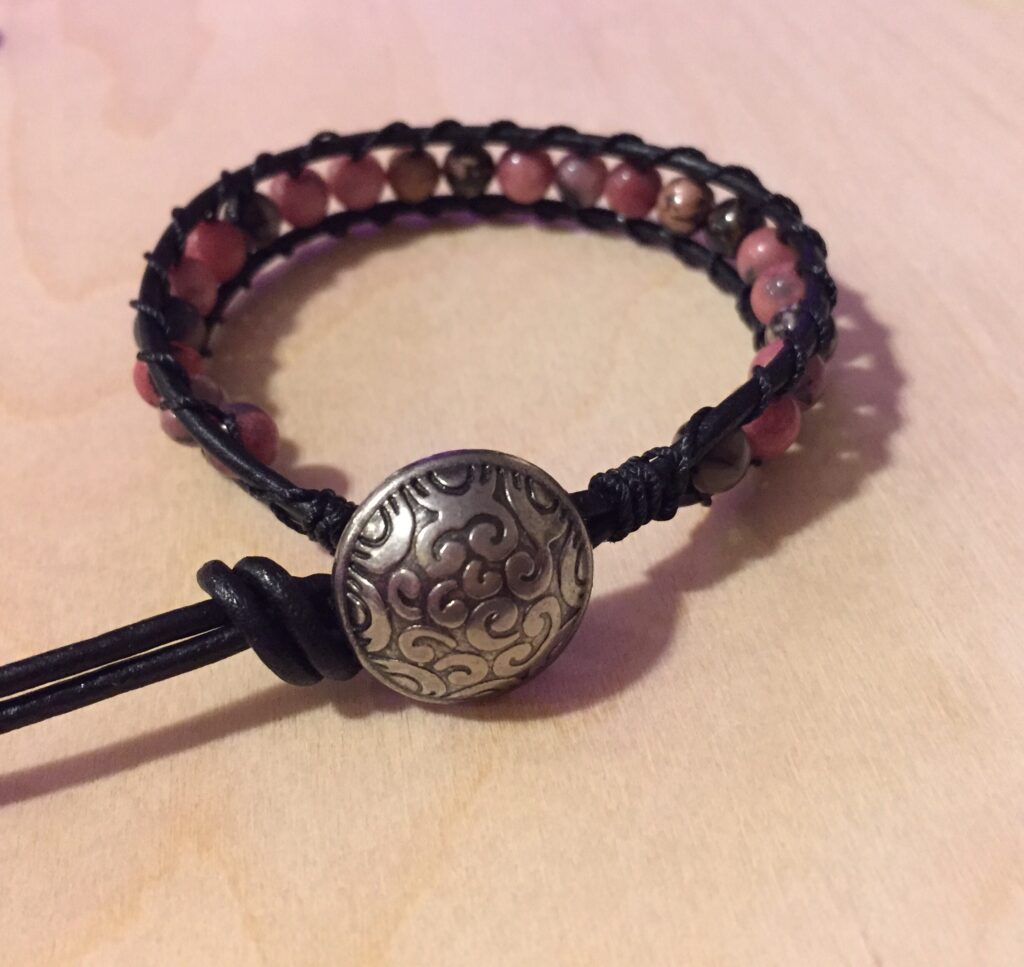
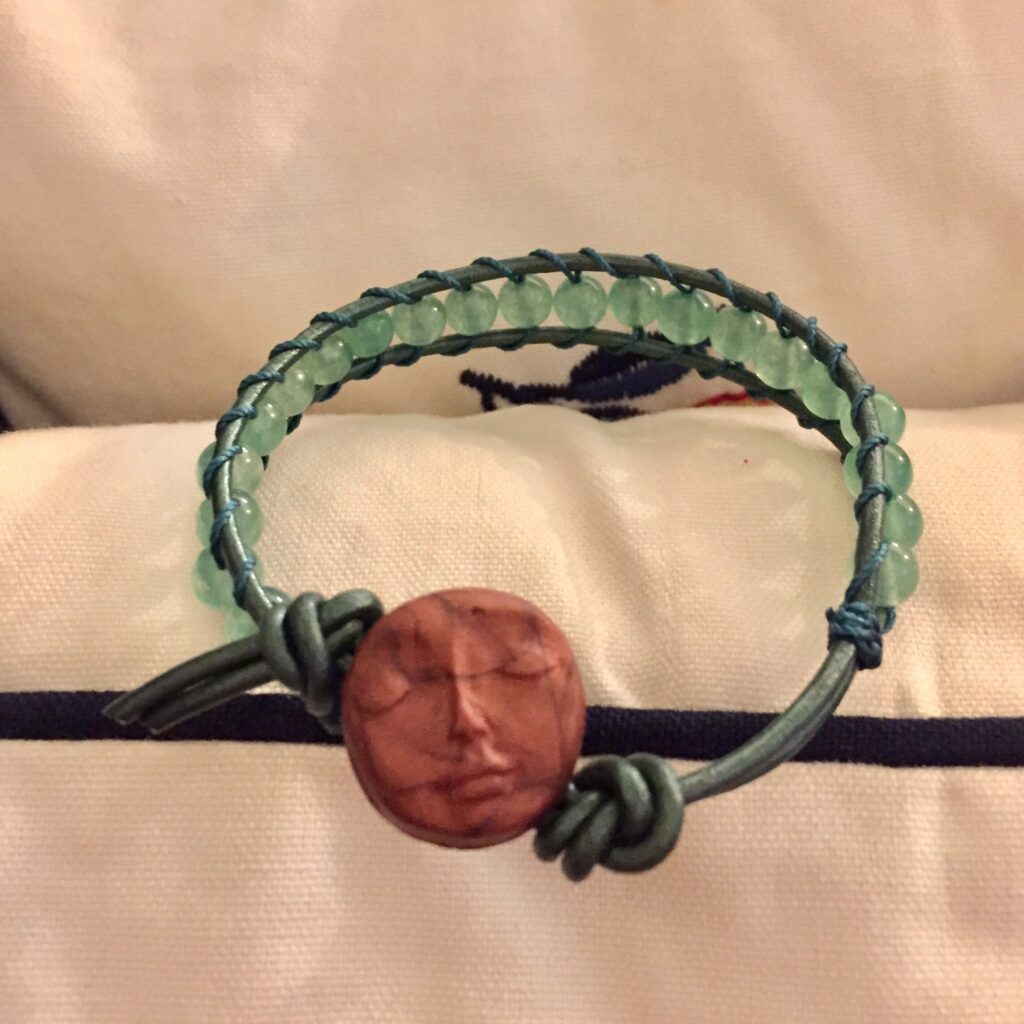
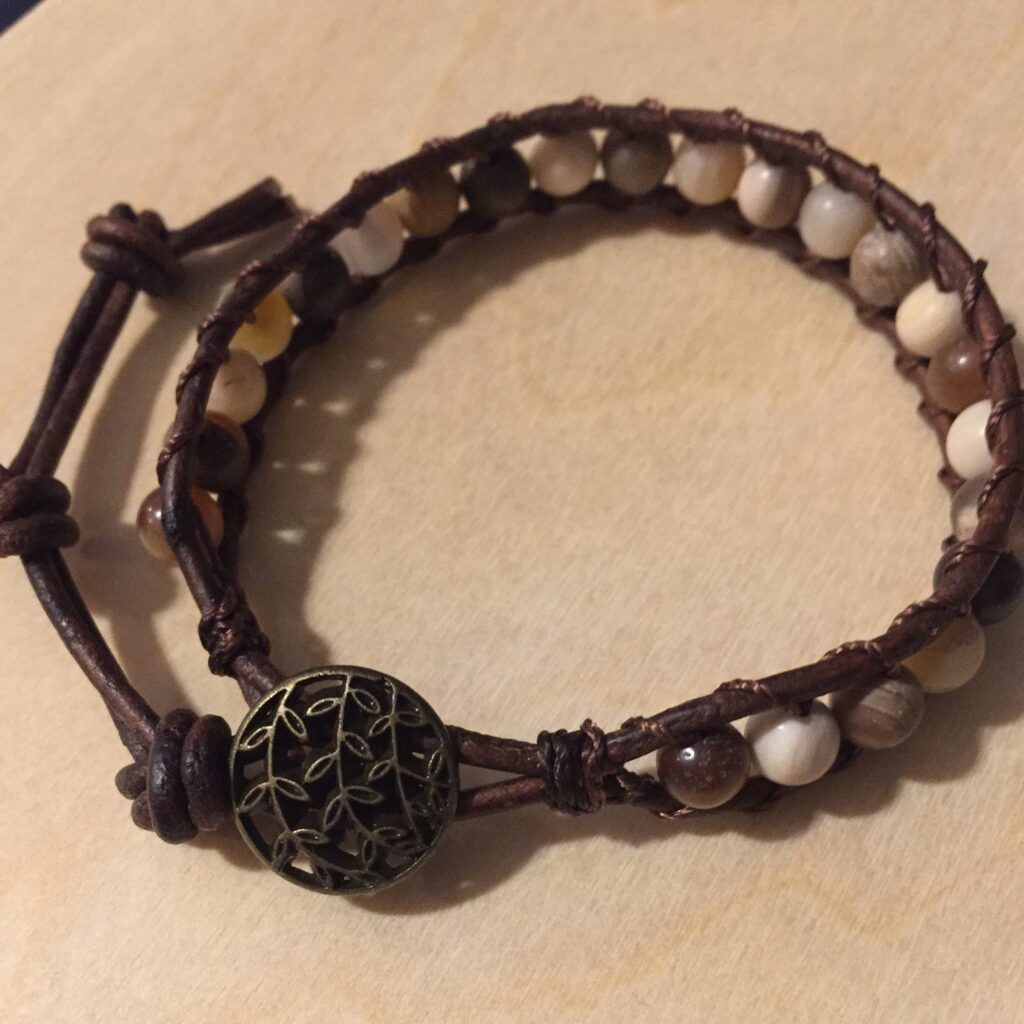
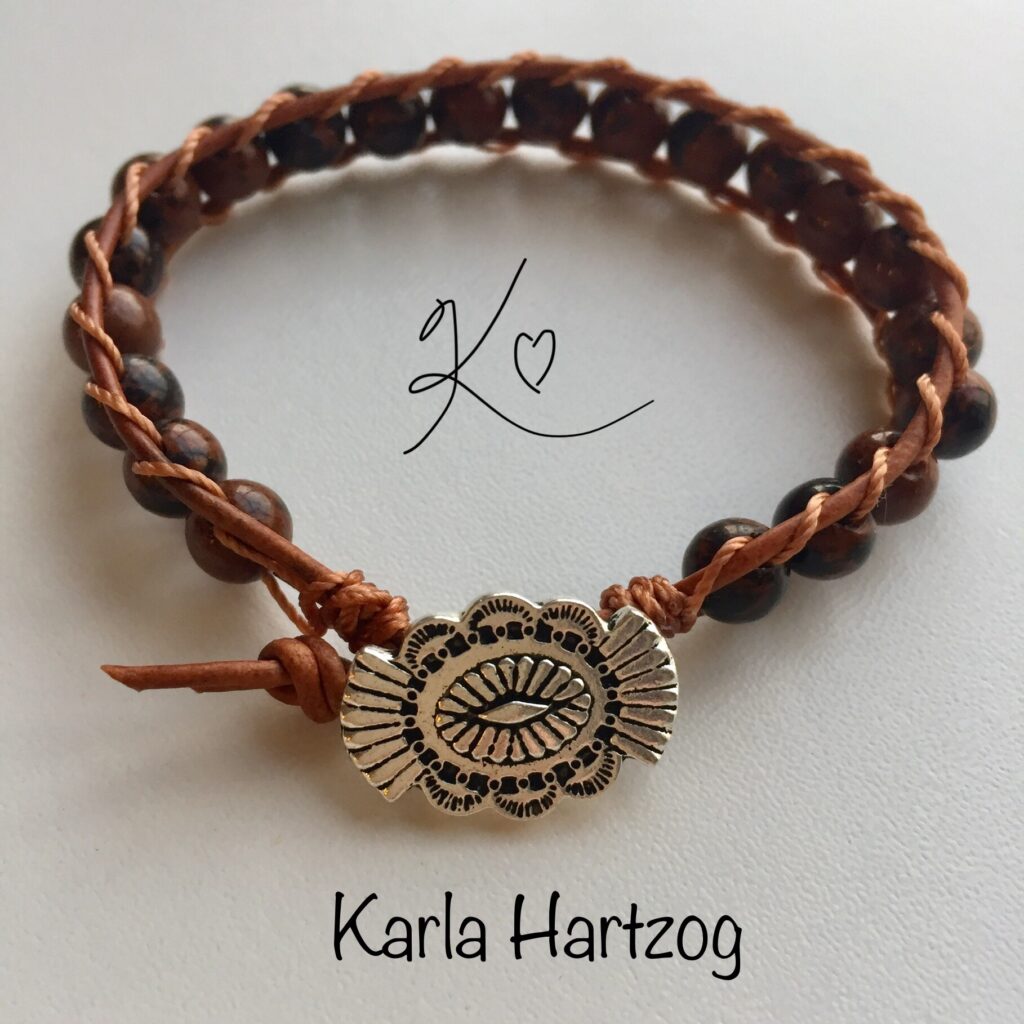
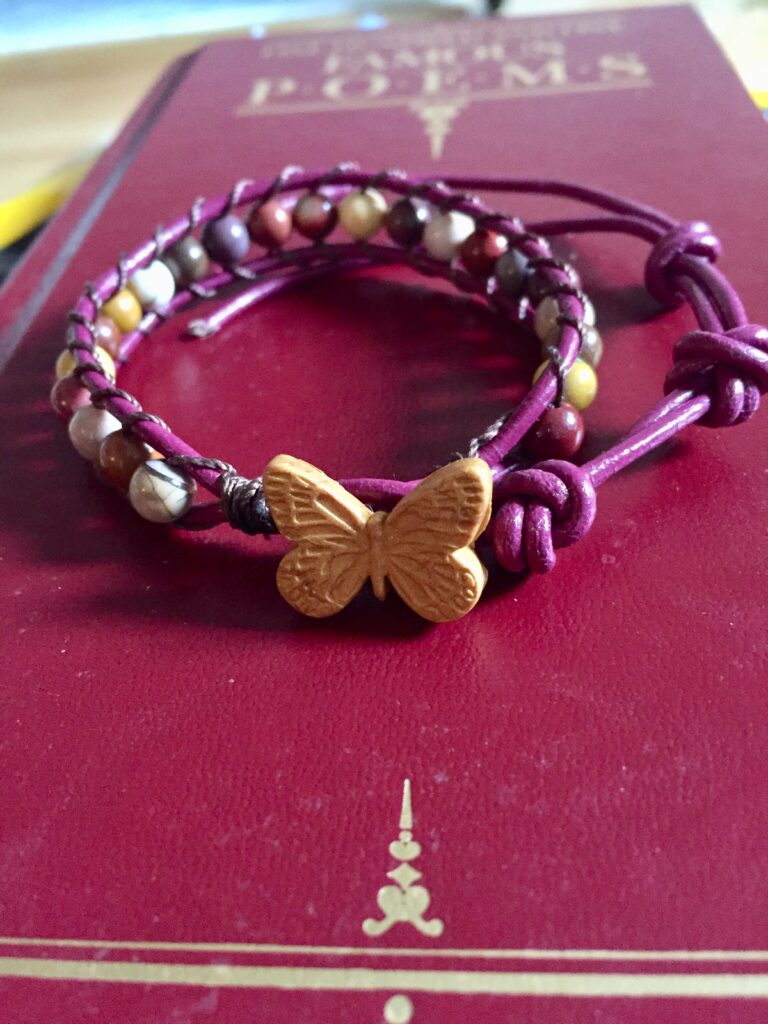
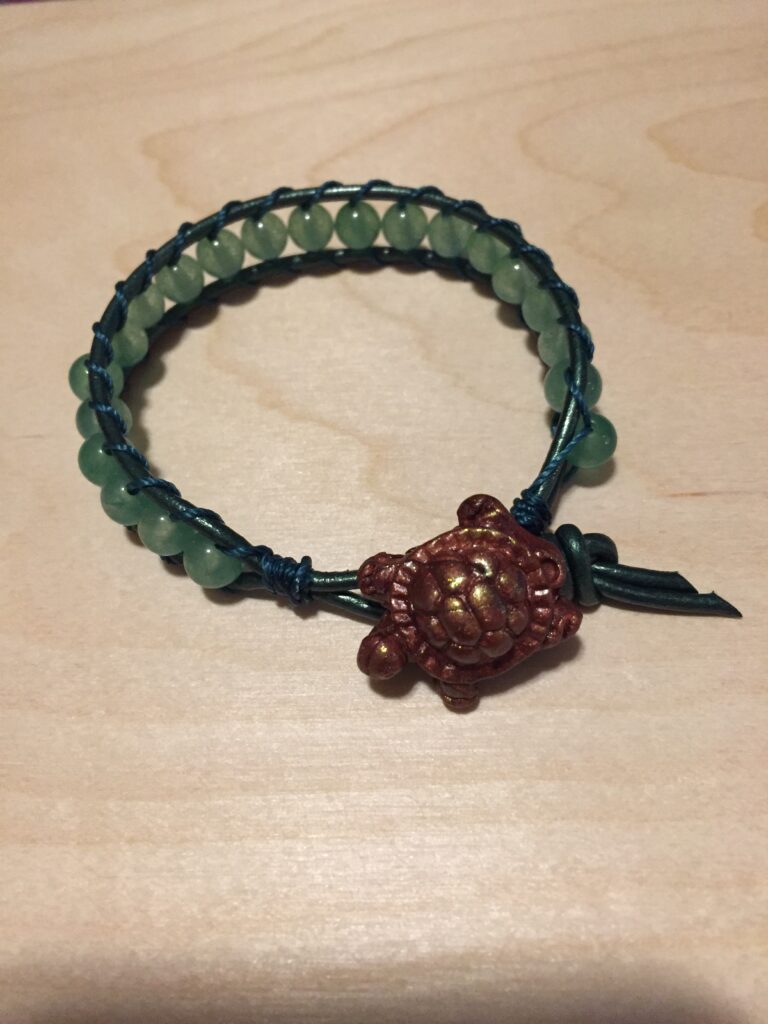
Unakite with a hand sculpted mushroom buttonSodalite with a polymer clay buttonDragon’s Blood stone with a TierraCast button, This one was for Adrianne. She picked out the colors.Two for me! Sodalite and Gray Agate with an AB (aurora borealis) coatingThe buttons have been in my sewing drawer for years!Rhodonite with black leather and pink cordUnakite and 1.5mm leather, just to see. Another hand formed mushroom closureFancy jasper, natural turquoise leather, rust cord and a serene polymer clay buttonSunstone with a polymer clay button and Moroccan red leather (orange)Red jasper, brown leather, and a vintage brass French horn buttonMookaite, burgundy leather, and a vintage button from my button basketMorganite, white metallic leather and a sewing box buttonBlack agate, black leather and a TierraCast buttonRhodonite, black leather and an old sweater buttonGray agate with an AB coating, Chandi (lavender) leather and a sweater buttonAventurine, metallic ocean green leather, and a polymer clay buttonWood opal (petrified wood,) dark brown leather and a vintage button from my button basketThis one was on tv! Susan Thomas showed it on The Circle on JTV extra. The theme was Western World. She talked about it on the Jewel School broadcast, the next day, too!!! Stones are mahogany obsidian. The button is TierraCast.Mookaite, burgundy leather, and a polymer clay button I made myselfAventurine, ocean green metallic leather and a handcast polymer clay button
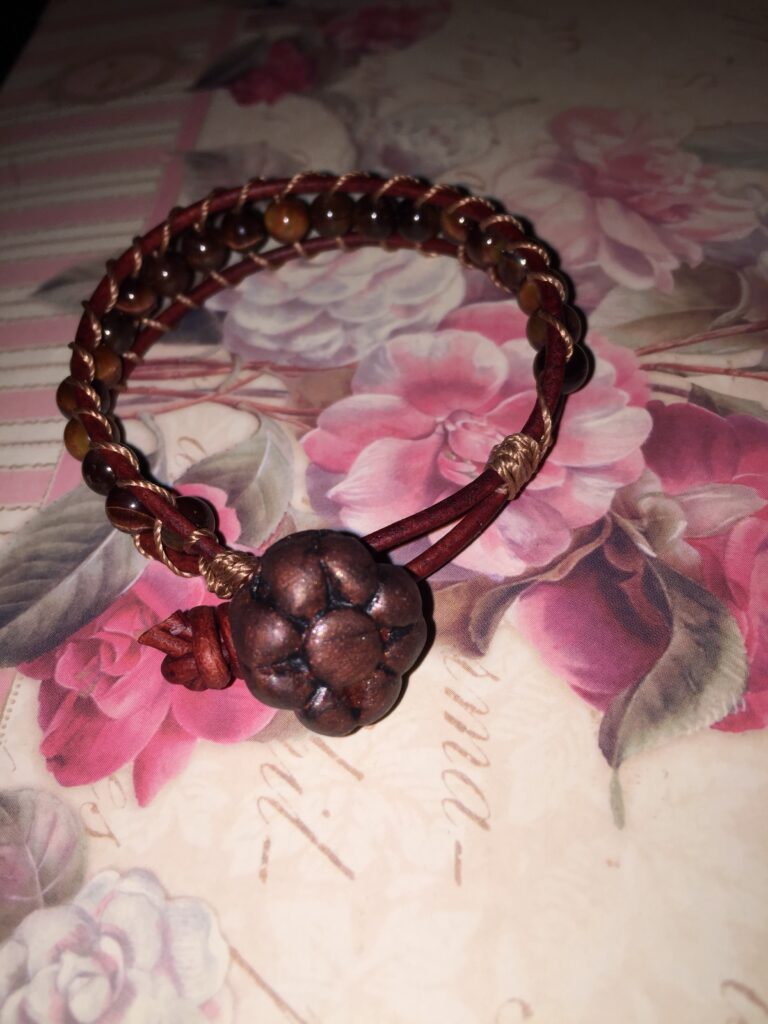
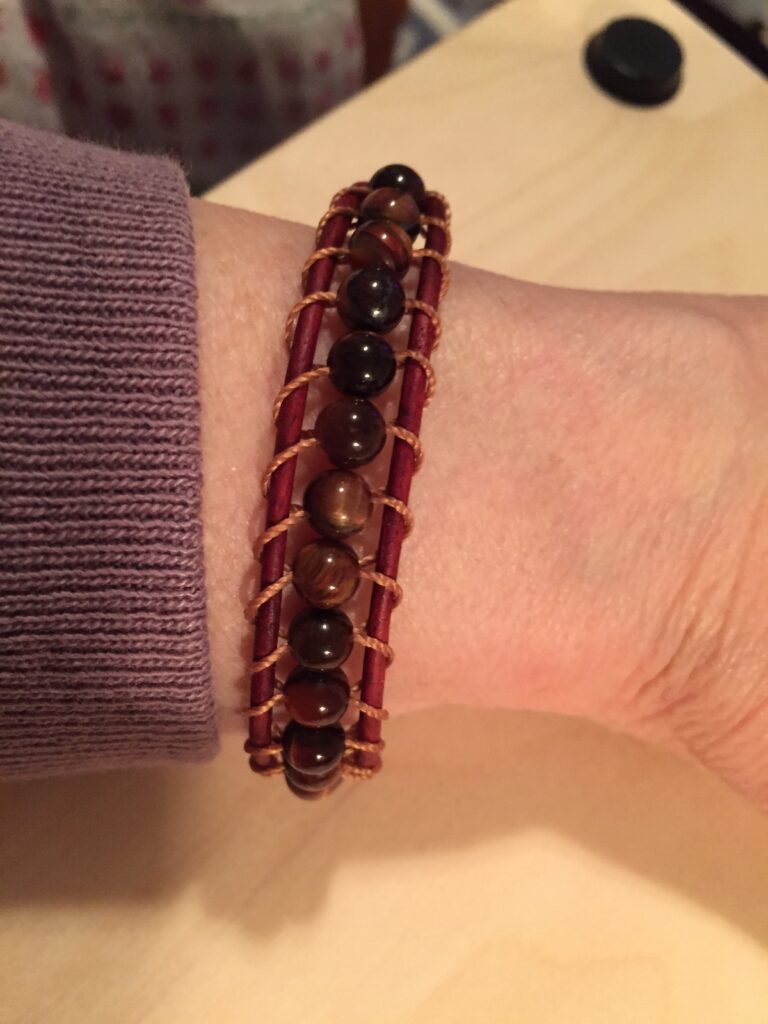
I am loving that ladder stitch!The button is handmade polymer clay, cast from a fondant mold.The beads are 6mm red tiger’s eye from JTV.The leather is turkey red by Leather Cord, USA, and the nylon cord is an unnamed rust color from Bead Smith. Both were ordered from artbeads.com.
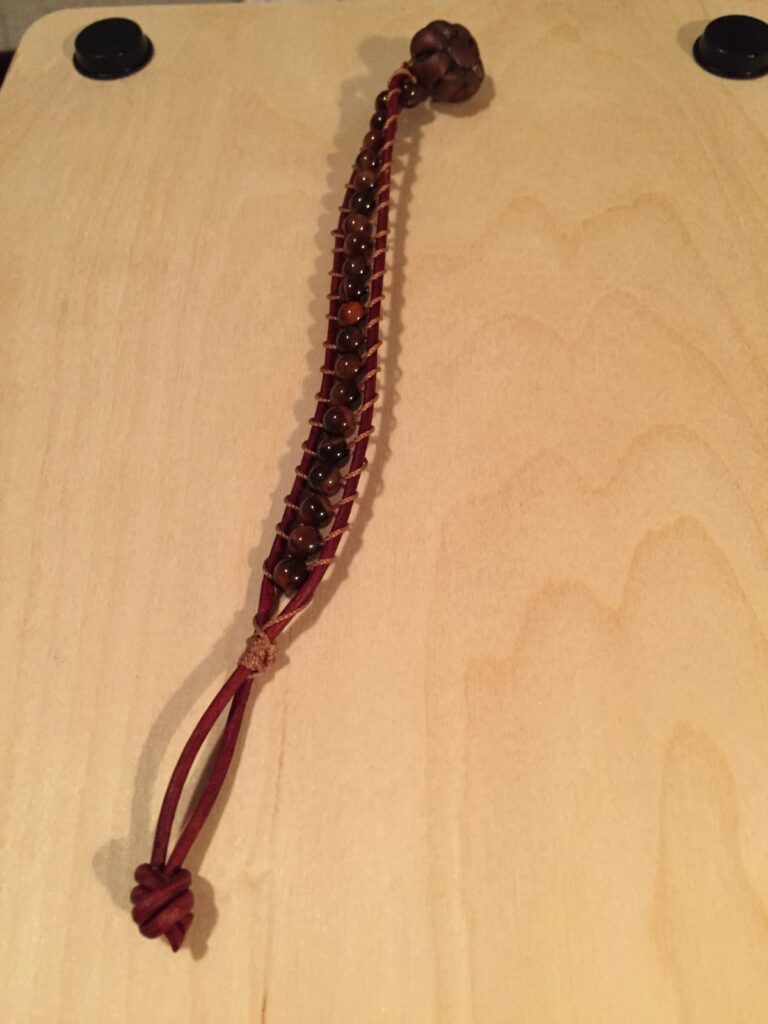
Unhinged, I think it looks like a snake skeleton! Thanks, again, to Tracy Proctor from Tierra Cast for teaching me this stitch.
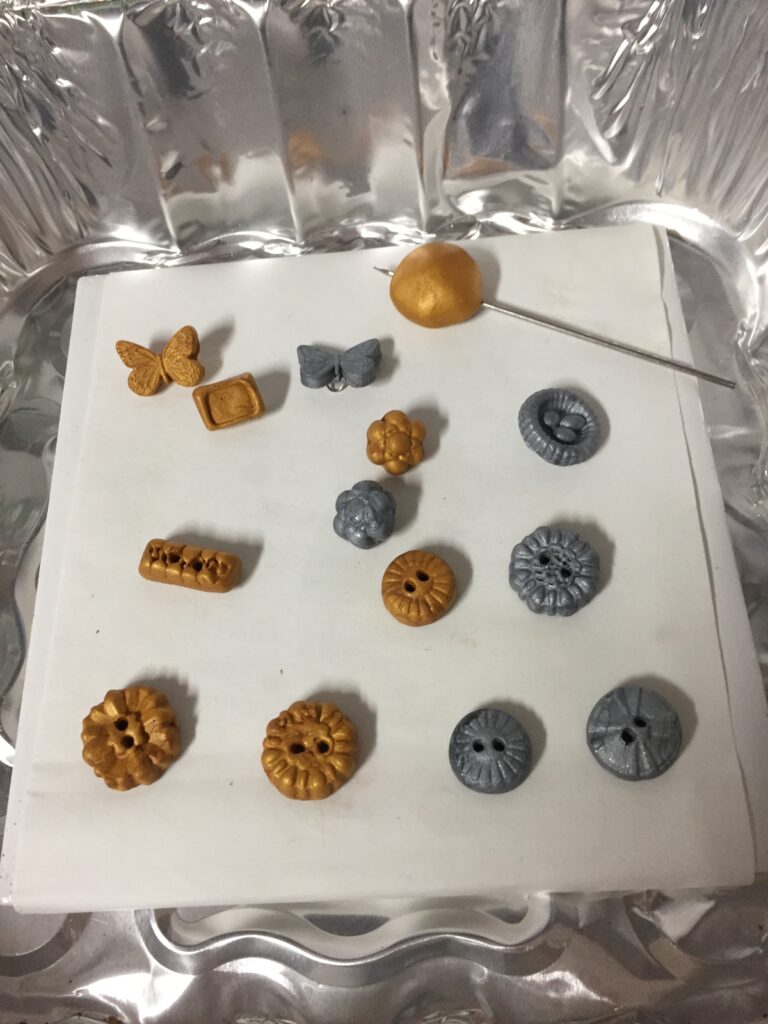
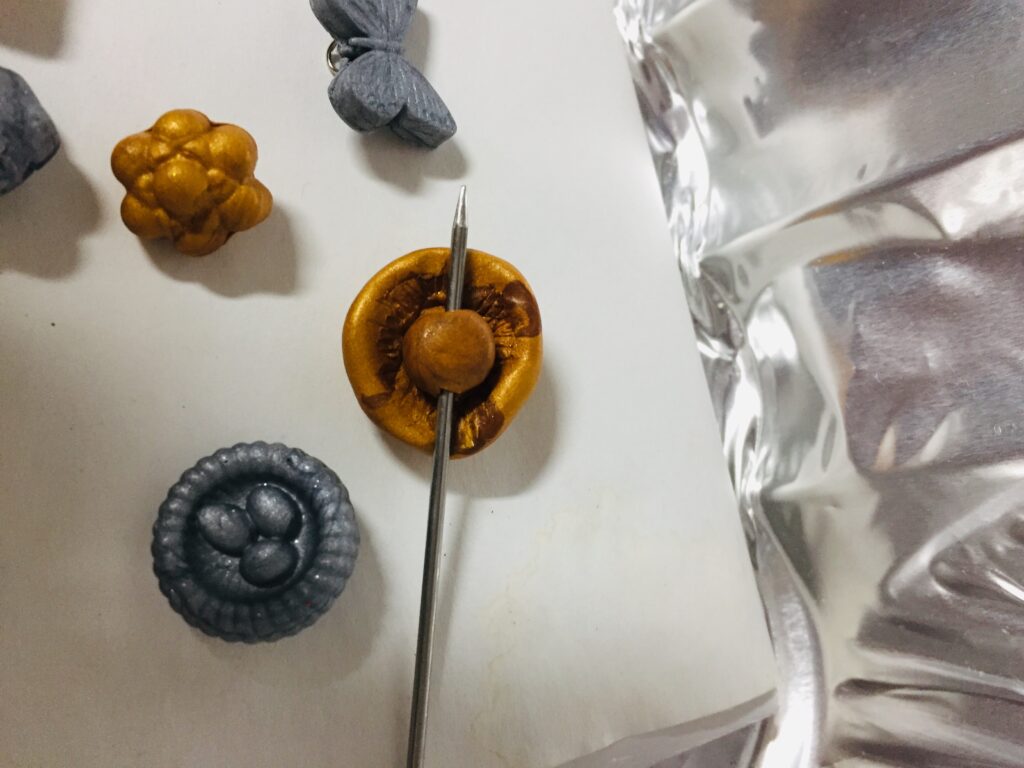
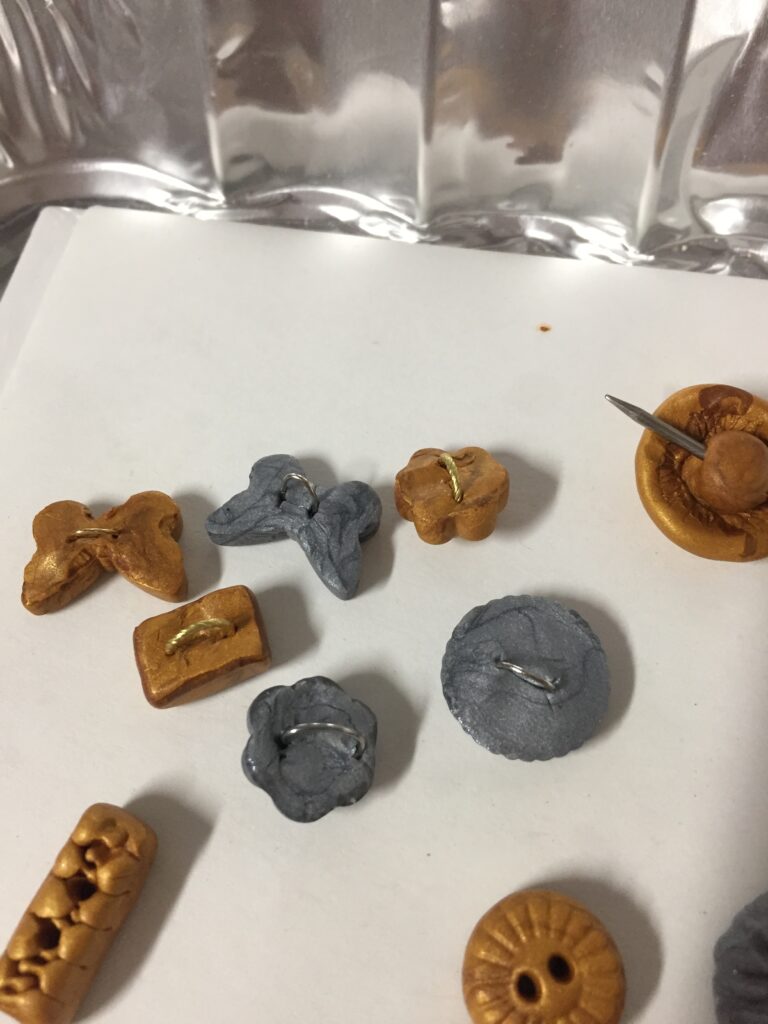
Freshly baked from polymer clayThe skewered one is a hand sculpted mushroom. The rest are from molds.I used jump rings for shanks this time. The others have holes.
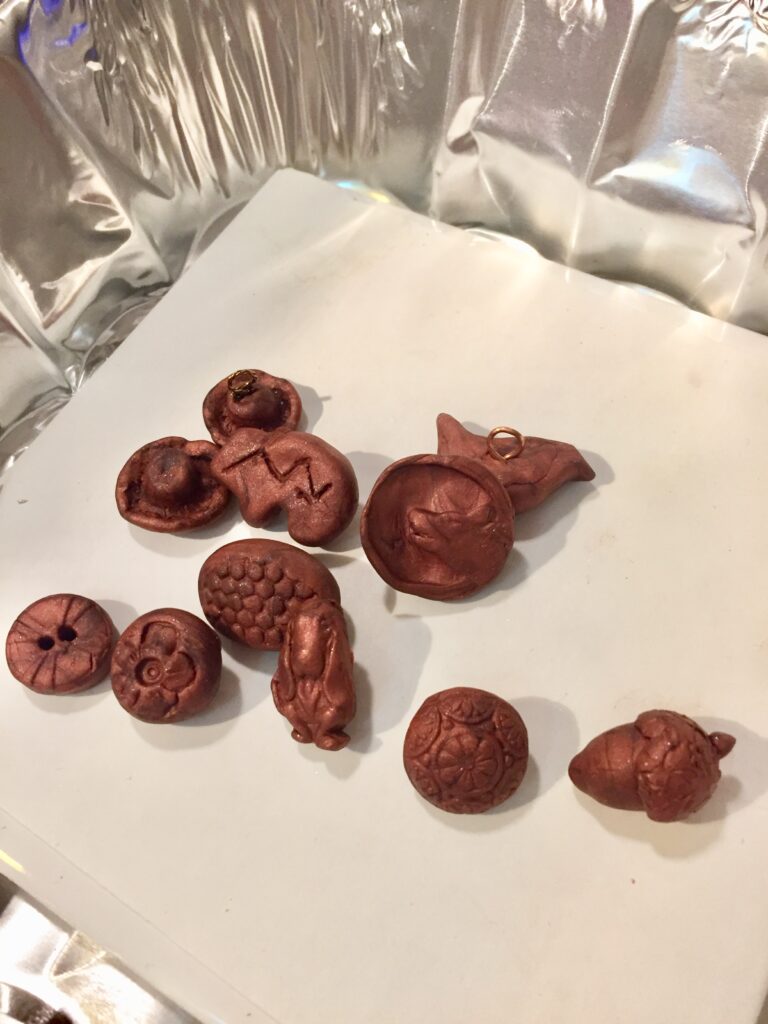
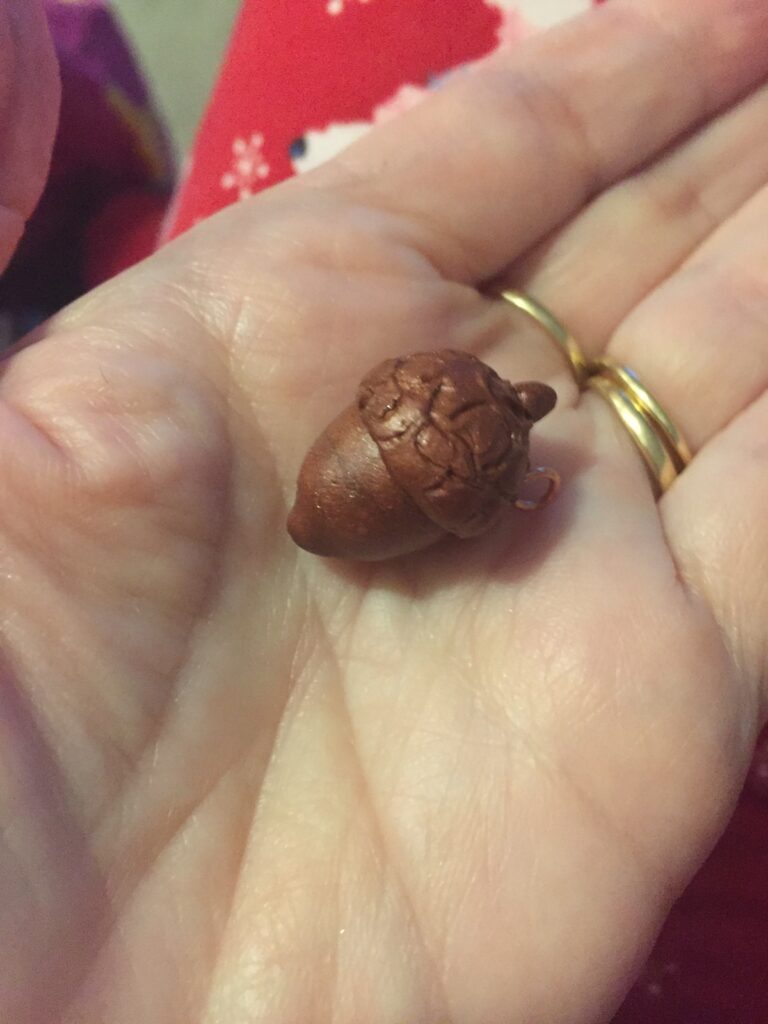
No, they’re not chocolate! They’re polymer clay buttons! Some are shaped from molds and some are molded by hand. (the acorn, the zuni bear, and the mushrooms, for example)
They need sanding and staining and sealing. Coming soon to a bracelet near you!