It has been a year since my last post. I’m returning to my blog to record my crafting experiences.
‘
It has been a year since my last post. I’m returning to my blog to record my crafting experiences.
‘

Her stamp with watercolors. Please check it out here https://www.facebook.com/share/p/1GfvG3dwYt/?

at the Wilkes Art Gallery!
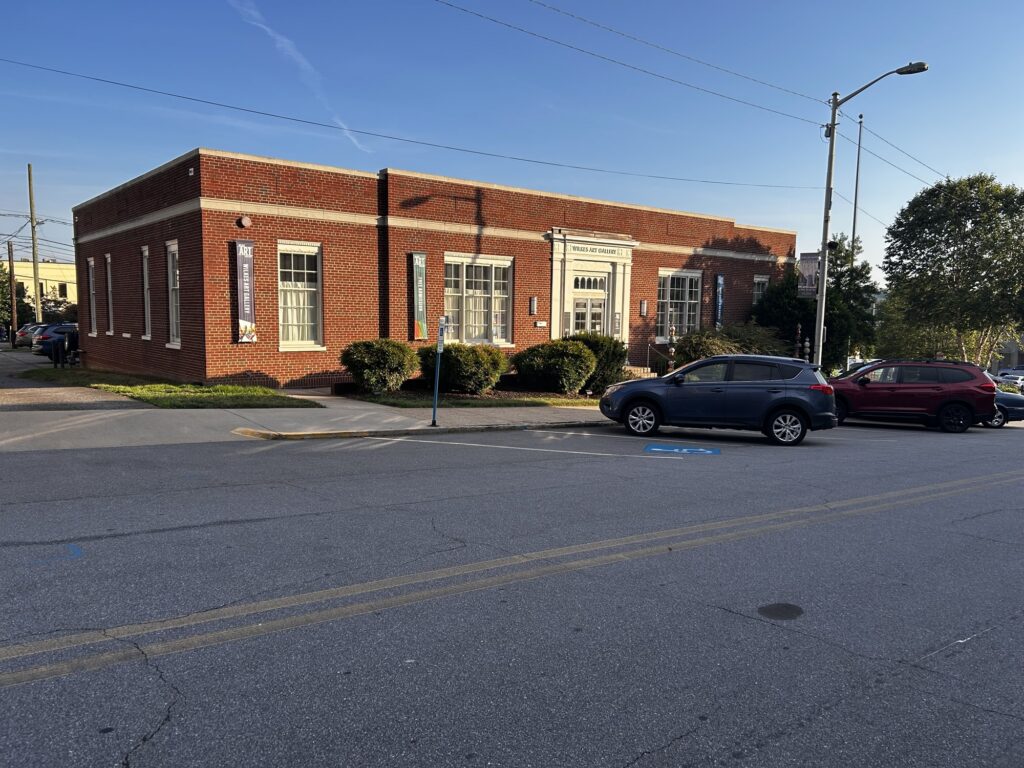
A very narrow wall, but I have work hanging there!
It’s part of the 47th Northwest Artists’ Exhibition. I’m thrilled to have been included!


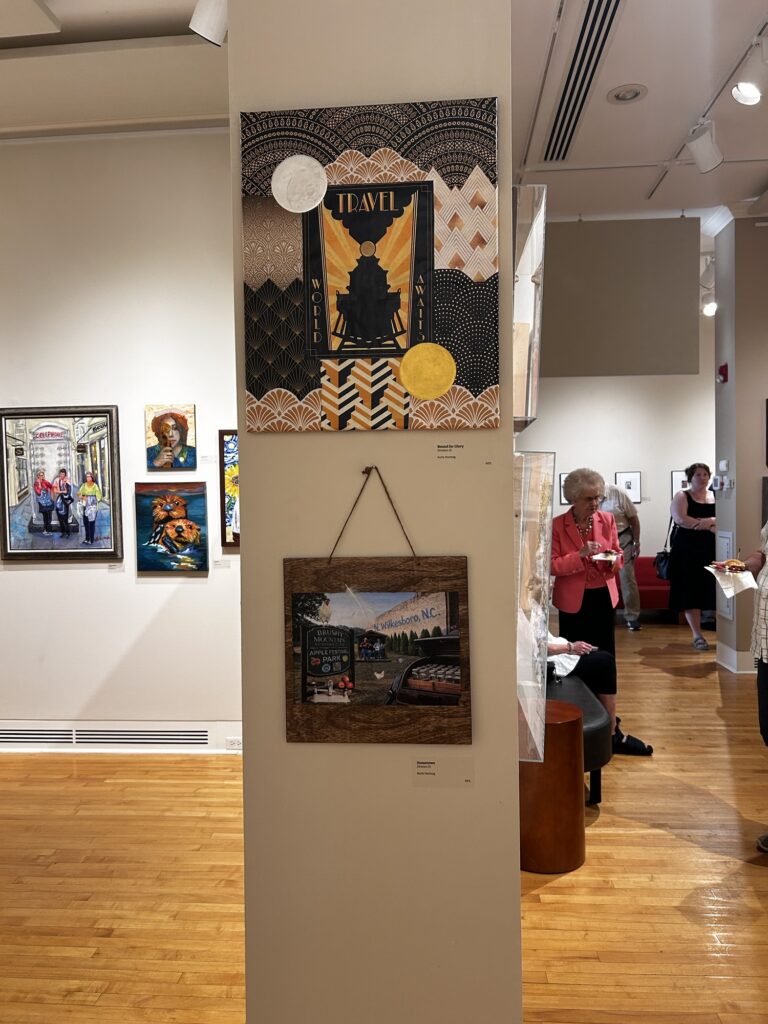
I have two collages accepted for this exhibition! I almost chickened out. It’s my first time submitting!

I’ve shared this one several times. I finally named it, Bound for Glory, as in 🎶 “This train is bound for glory, this train!”🎶
The second one is a result of the #makerscollagechallenge2026, from Makers of Mixed Media Art/Artists, a Facebook group created by PMartist Studio. The collage prompts are selected by Eddie Reyes and Darcy Sanders, two of PMartist’s designers. One of the prompts was, “Hometown,” so that’s what I named it!


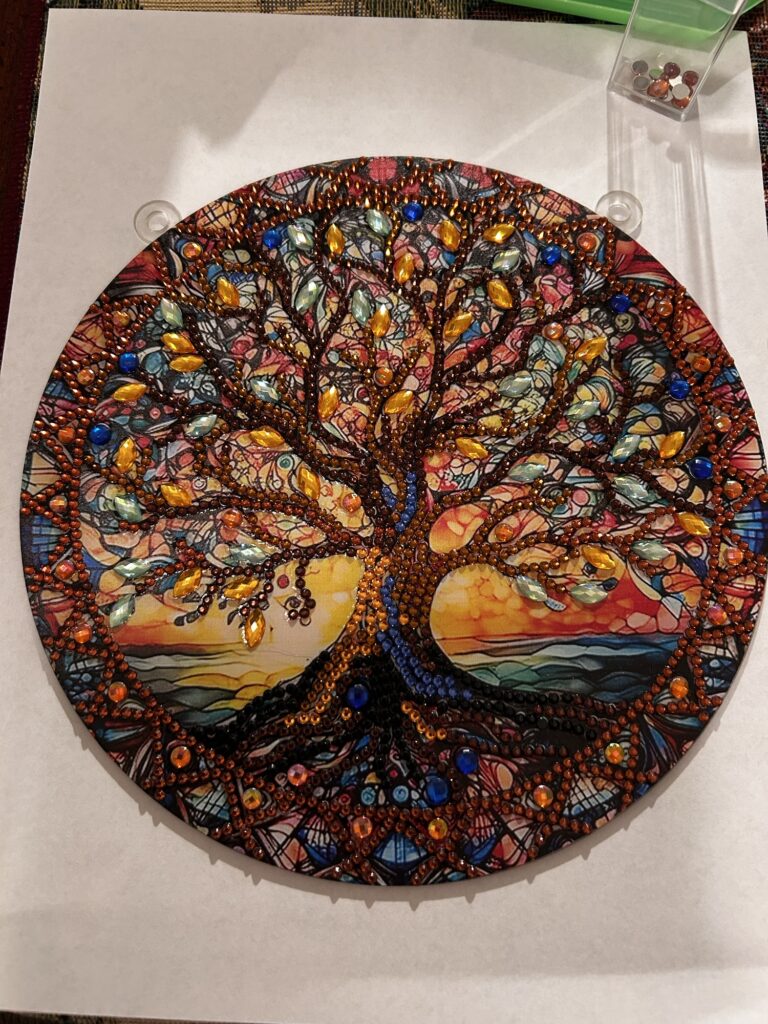
diamond dot painting! This will be my first full page of dots.
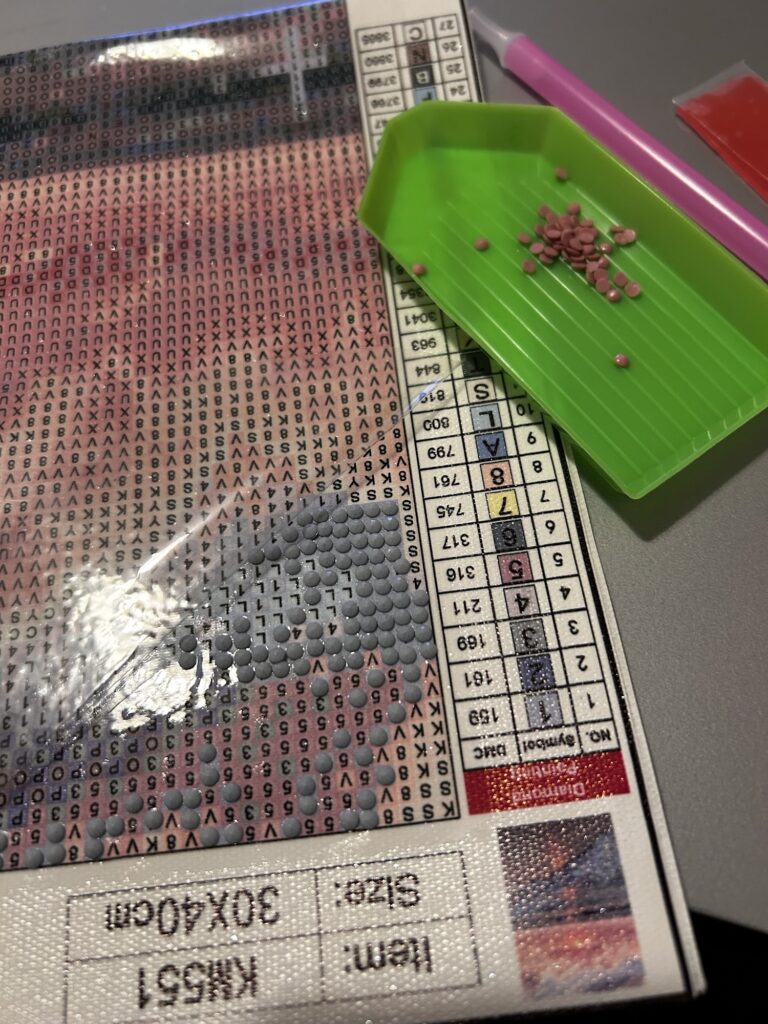
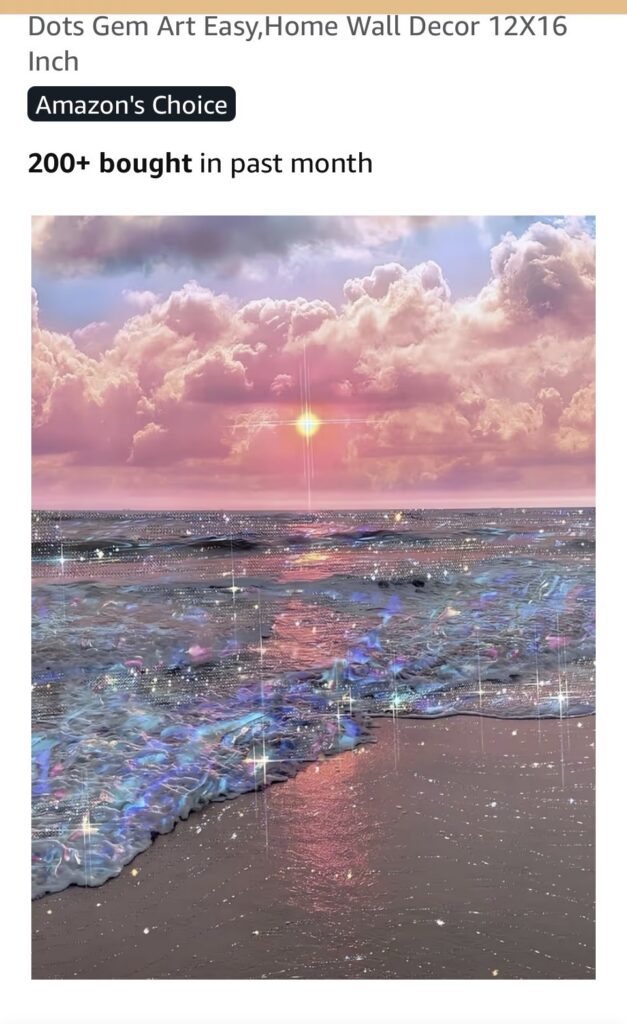
I got this one to work on at the beach next week, if all goes as planned. It reminds me of some photos I’ve taken there.
It was only $5.99 on Amazon, and has everything I need except a pair of scissors.
There are no rhinestone dots to add the extra sparkle shown in the photo, but I have some in my stash leftover from my snowflakes project.
This is a huge project, and I do tend to tire of things quickly. I might have to take several beach trips to finish this one!
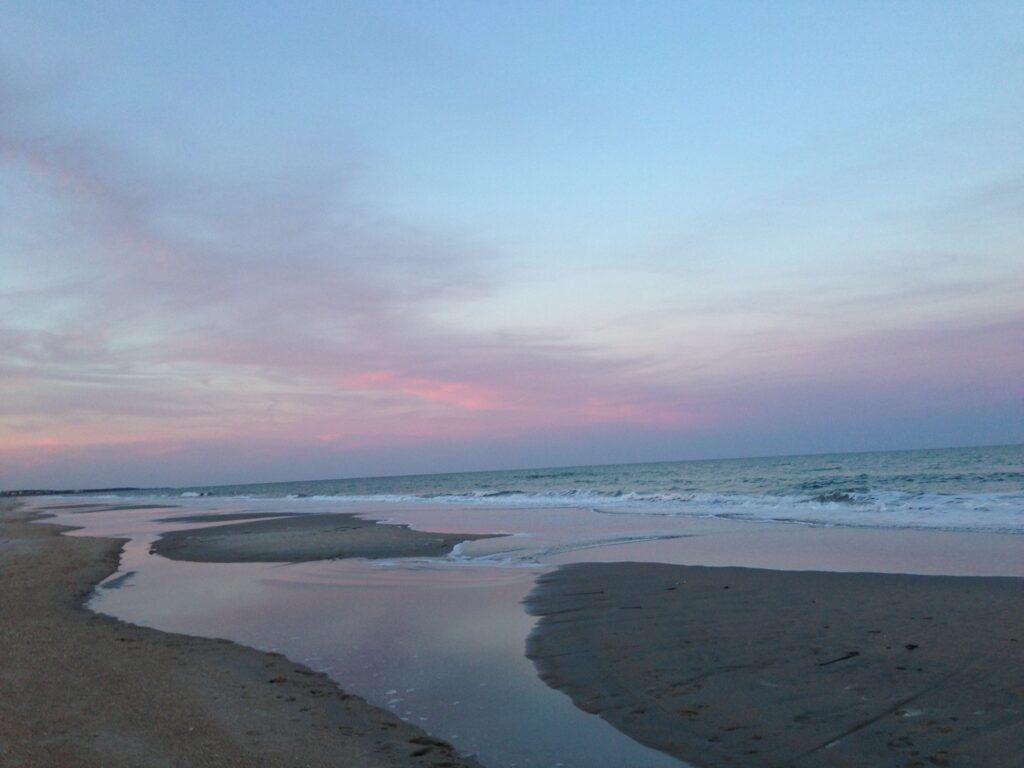
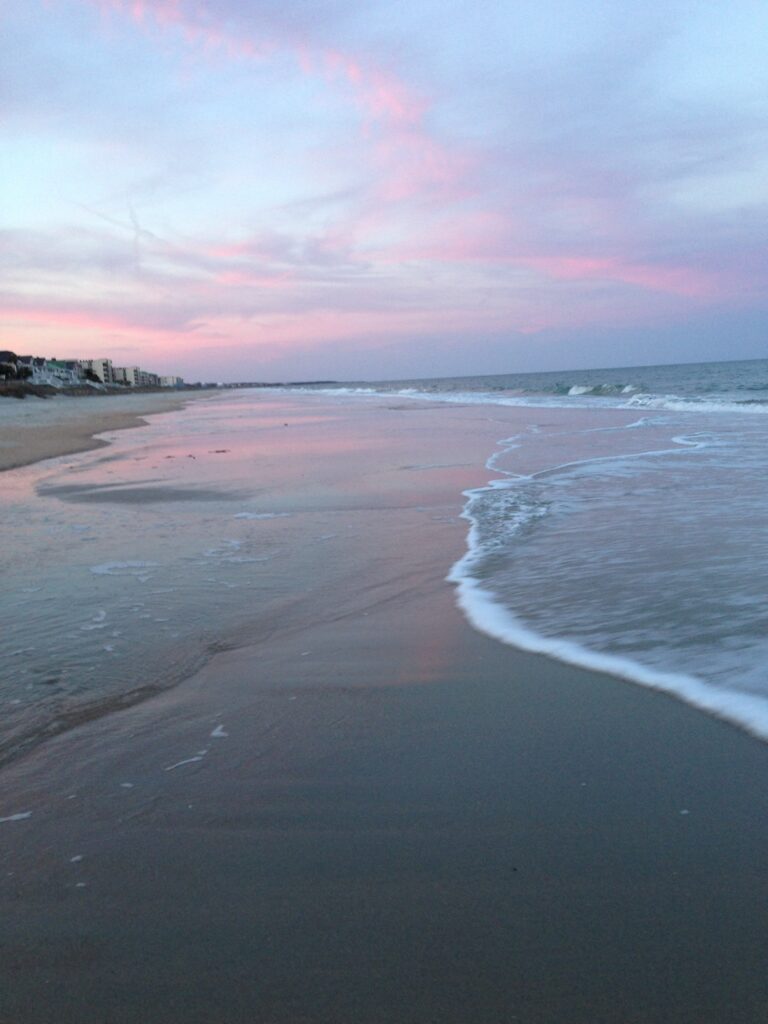
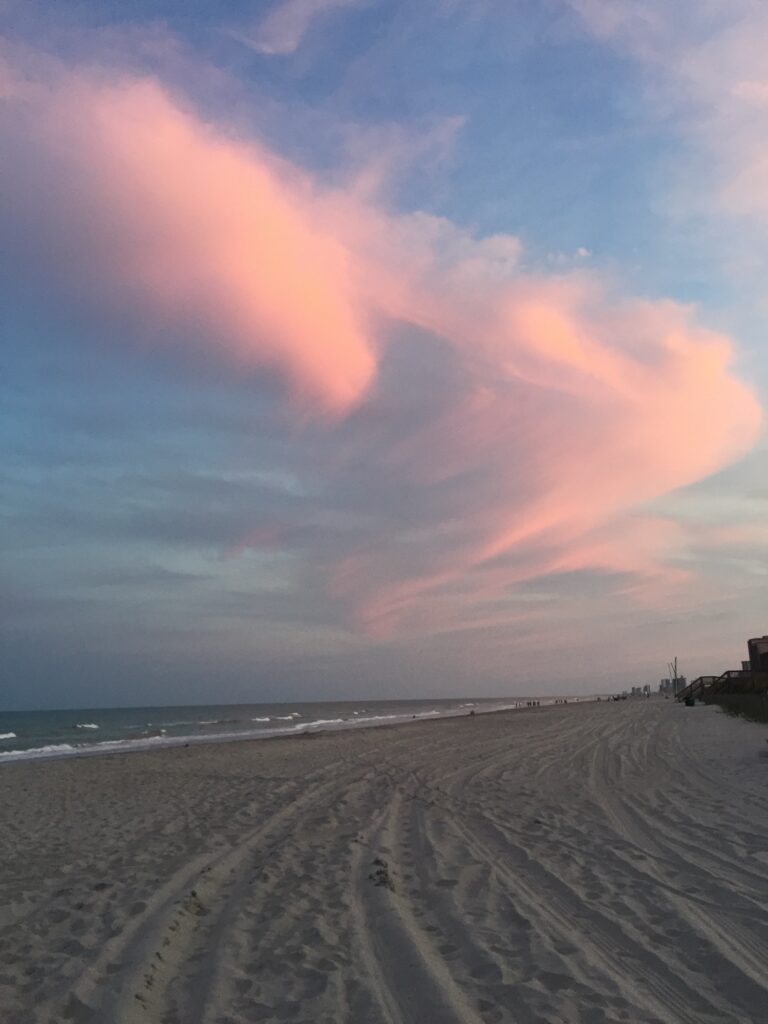
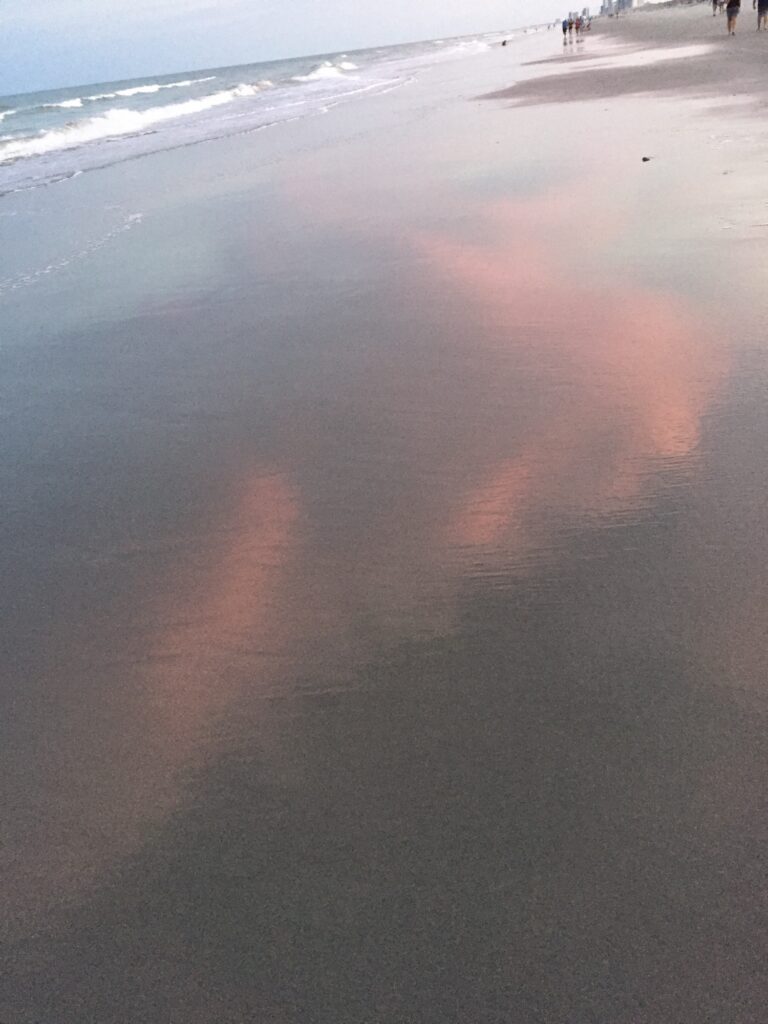
Here are a few of my own beach photos, the first two from Pawley’s Island, the last two from nearby Myrtle Beach, SC.

except maybe where I hung it.
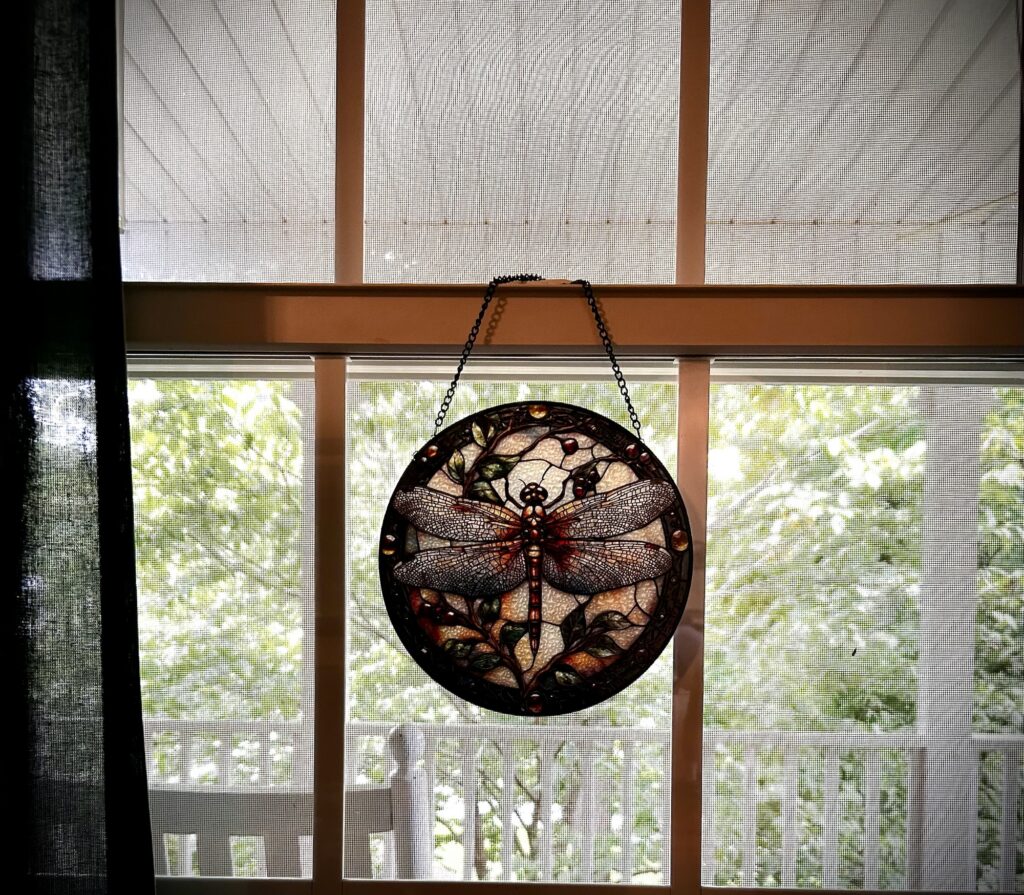
This is my favorite Prime Day purchase. I think it’s supposed to be a Christmas hanger. I don’t see many dragonflies at Christmas. Its jewel colors look good with my 1990’s hunter green, burgundy and navy, colors I will always love.

I thought at first it was a diamond art kit, like my tree of life.
No, it’s a solid piece of plastic, backed with another crackled looking circle of plastic.
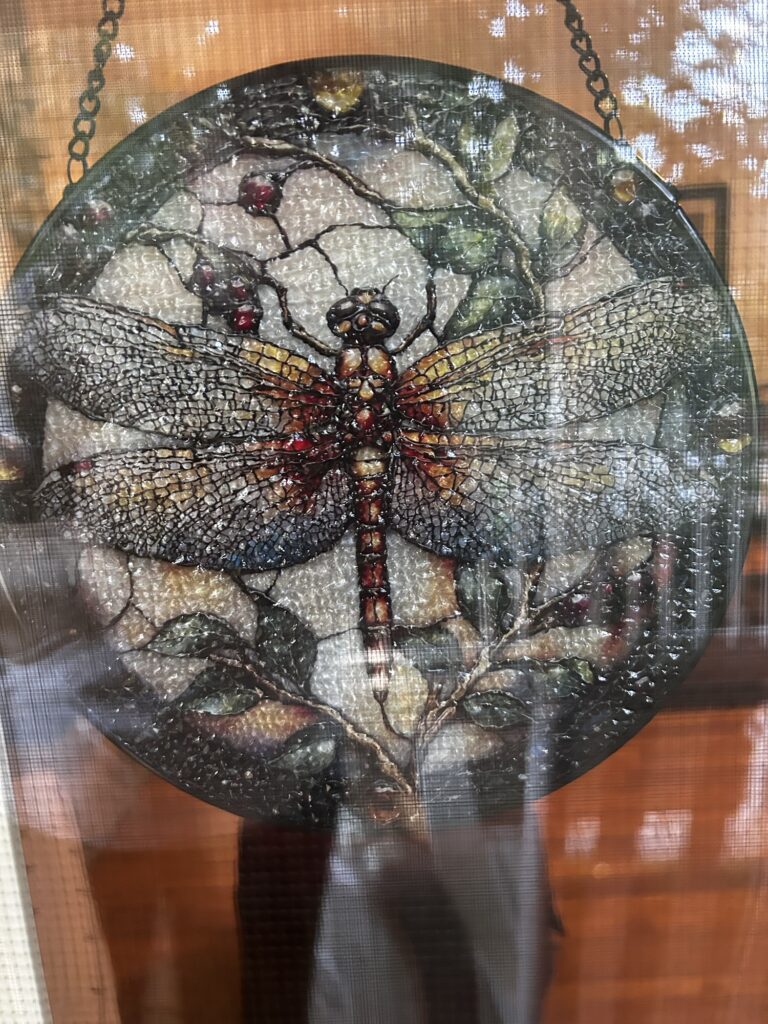
You can see it from outside, even through the window screen. I’s especially prevalent inside, when the afternoon sun passes through!
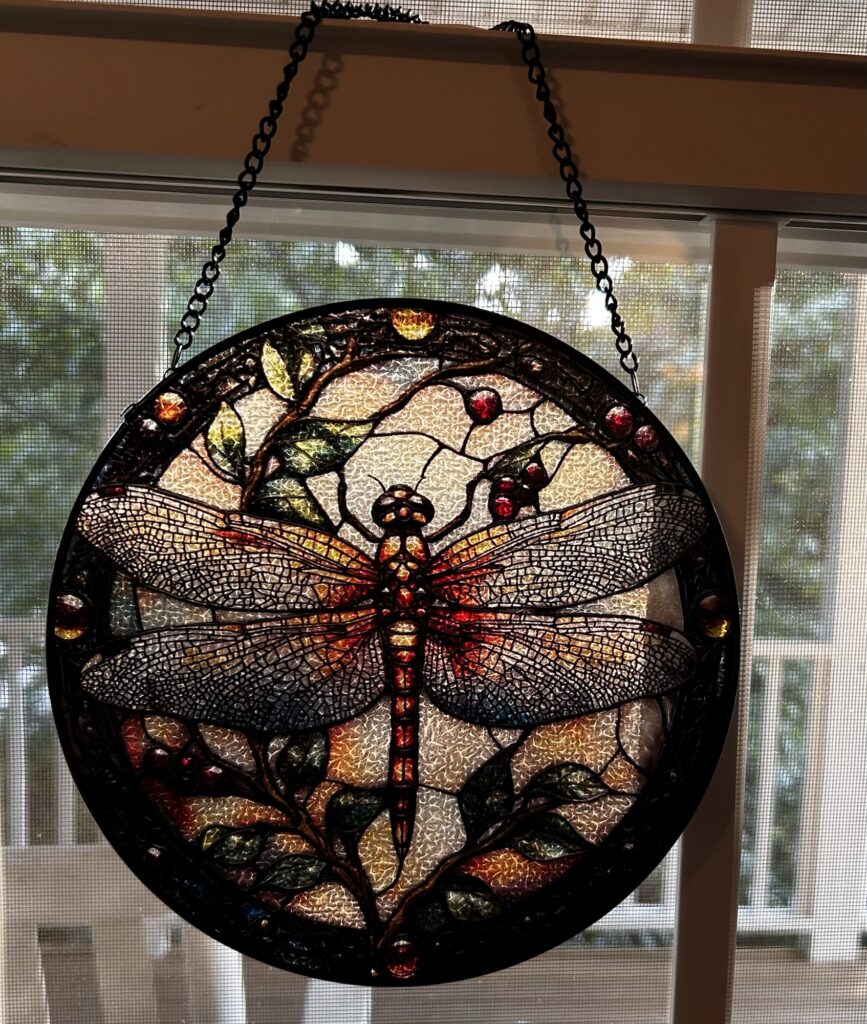
I love it and feel pretty crafty for finding it!

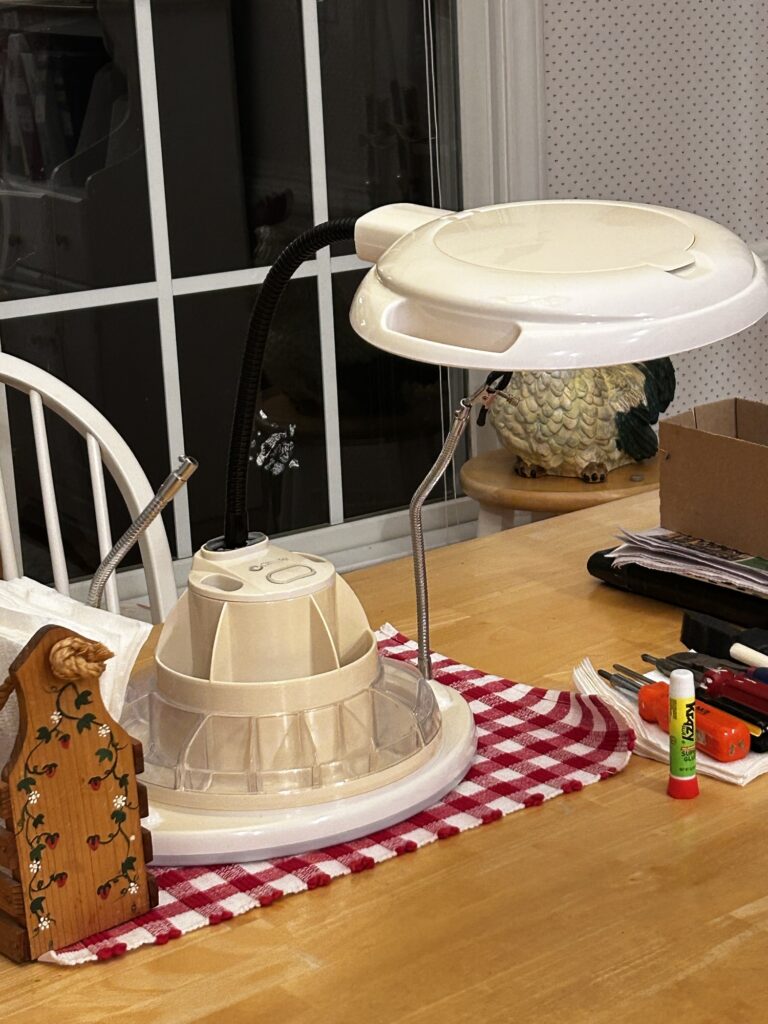
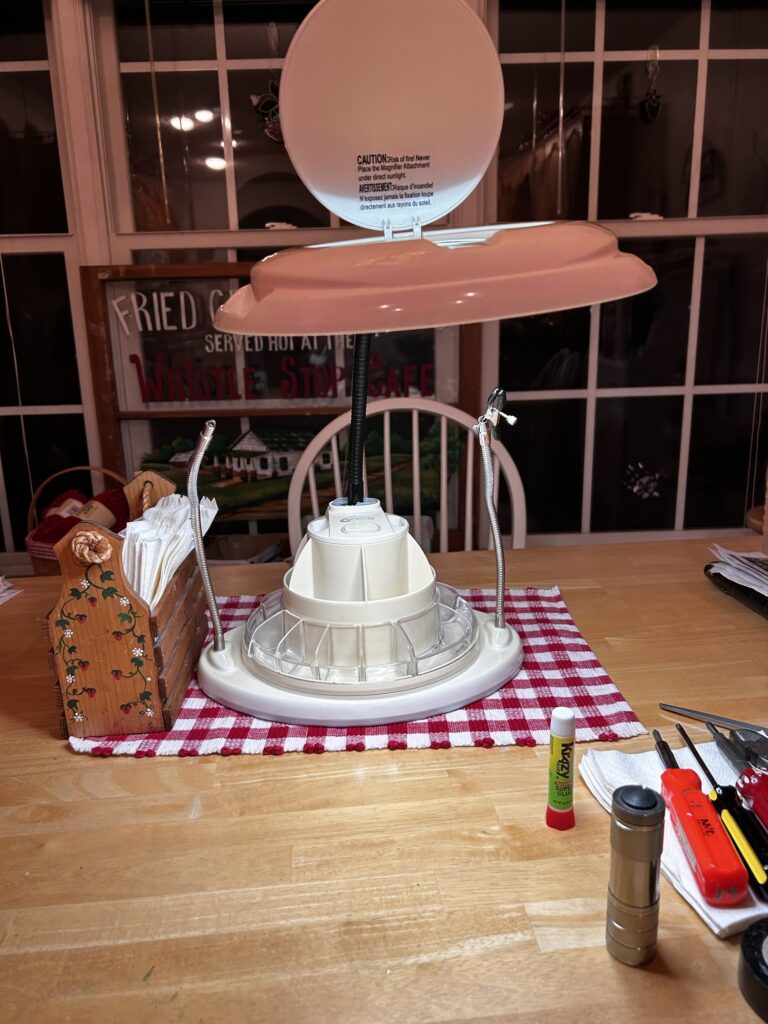
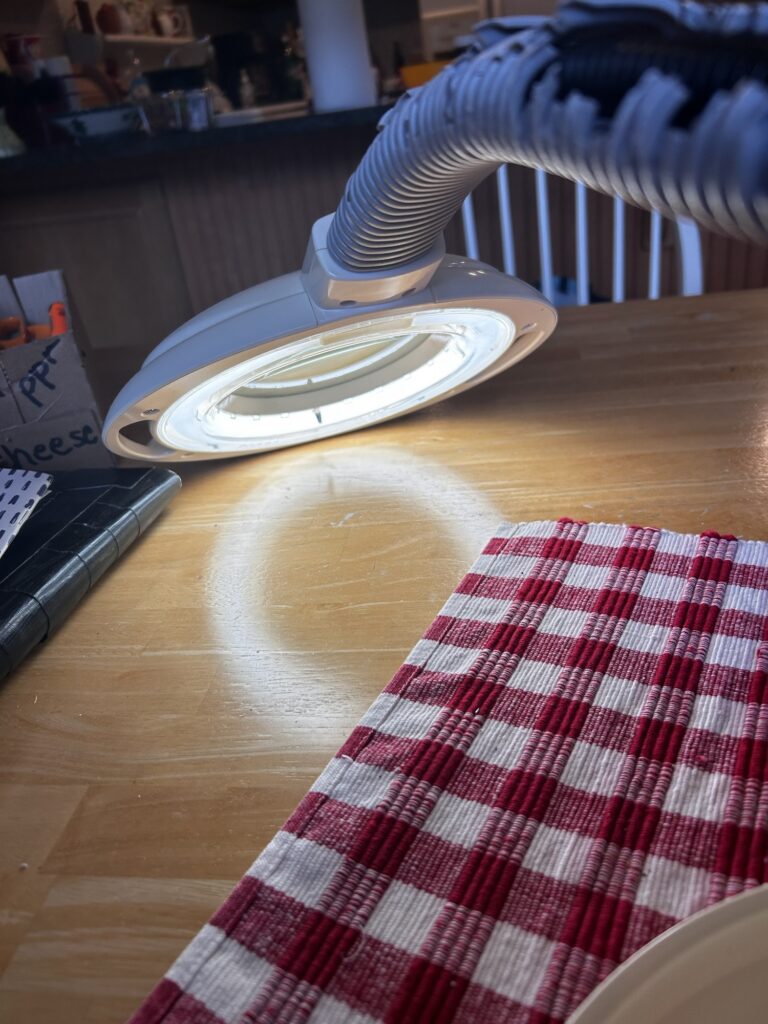
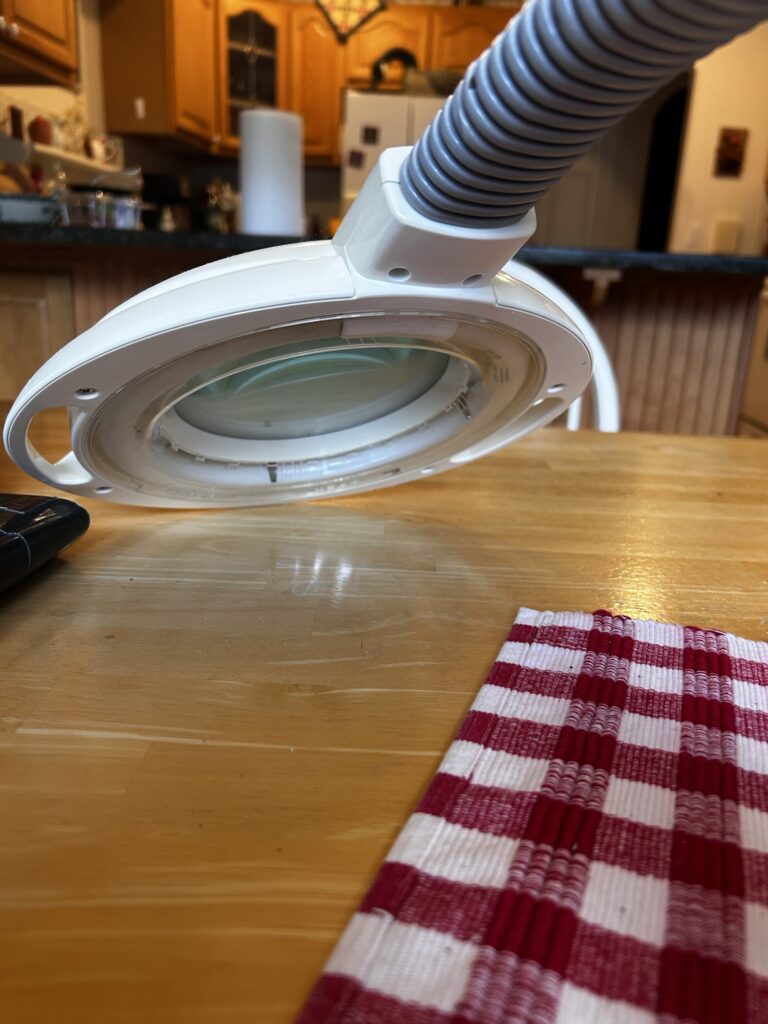
I removed the gray, crumbling cover from the flexible neck of the lamp. I actually think it looks better!
I will not tell you how many times I took the screws back out because wires got in the way. I thought I was finished at midnight, but I had the bottom on backwards.
I am proud that when I needed a magnetized screwdriver, I rubbed the end of one with a chicken magnet from the refrigerator.
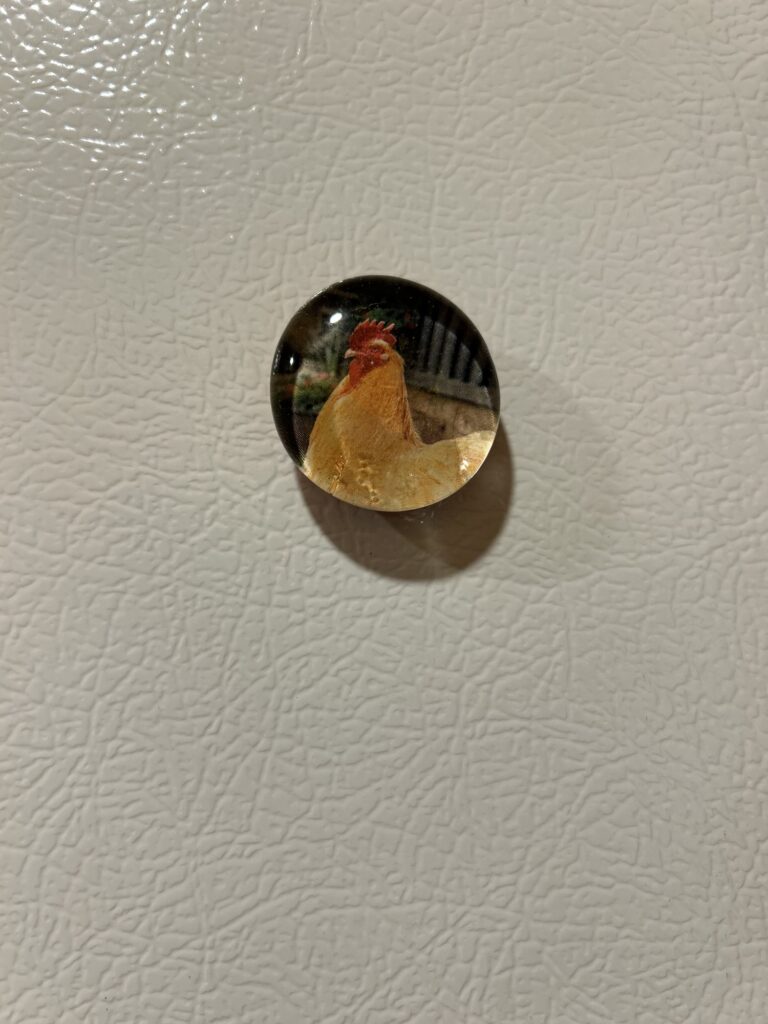
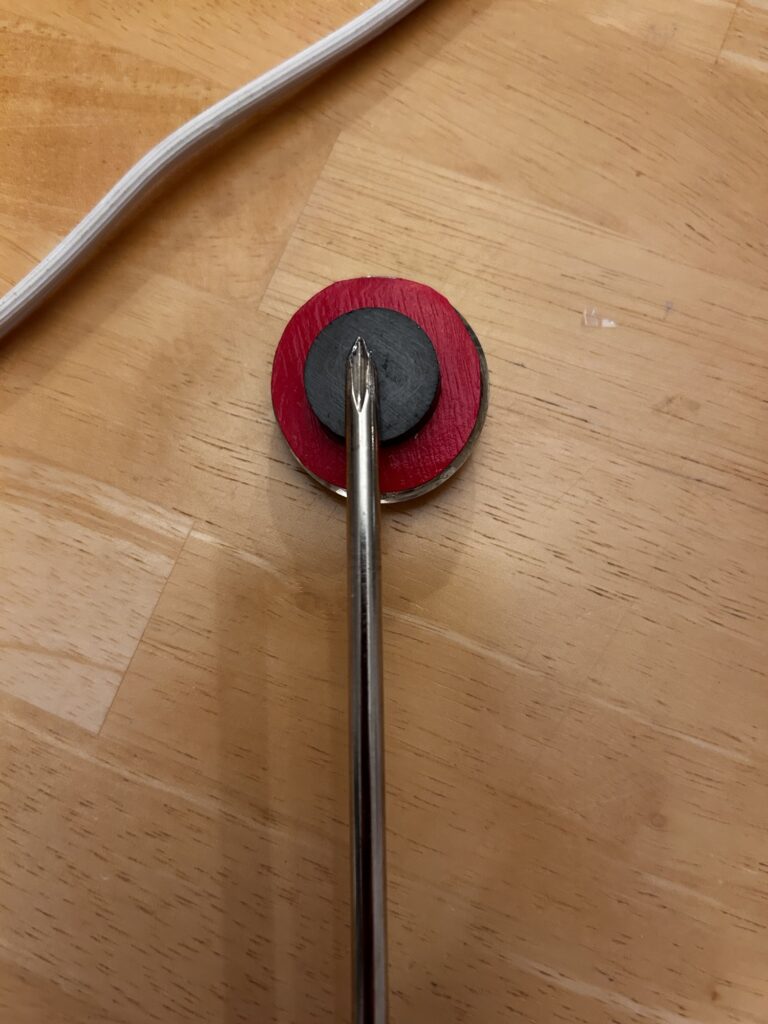
It worked like a charm! I finished at 1:00am.
So, tomorrow morning, I can tell Kent, in the words of Kenny Loggins, “Turn on your Ottlight!” 😄😄😄
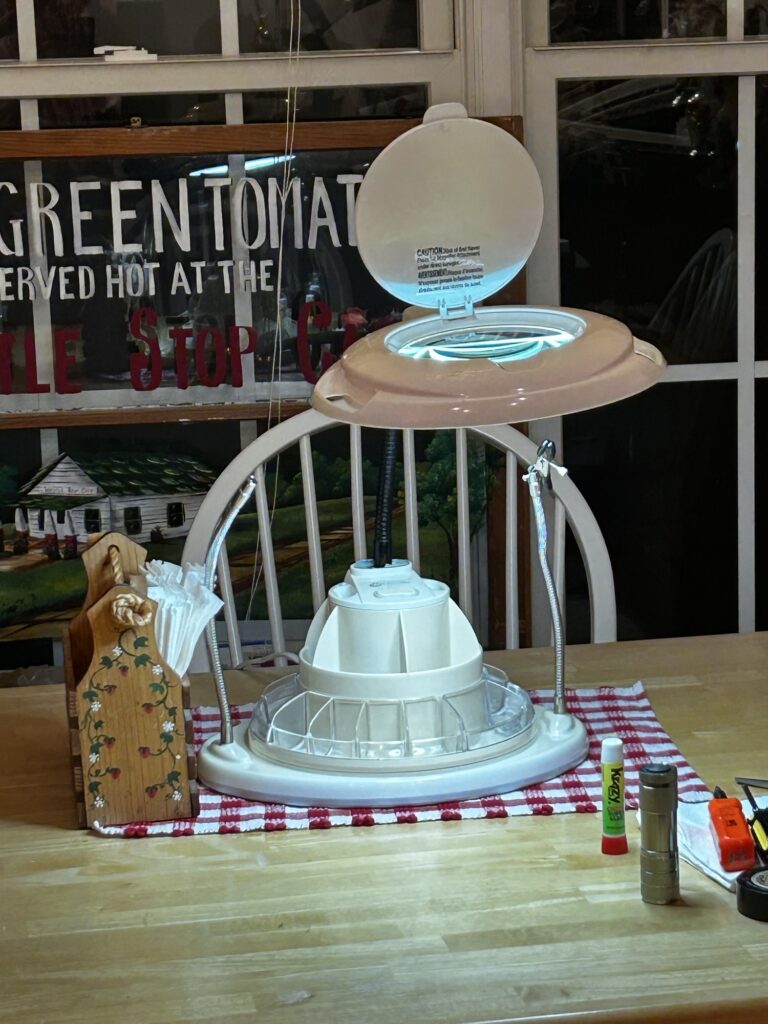
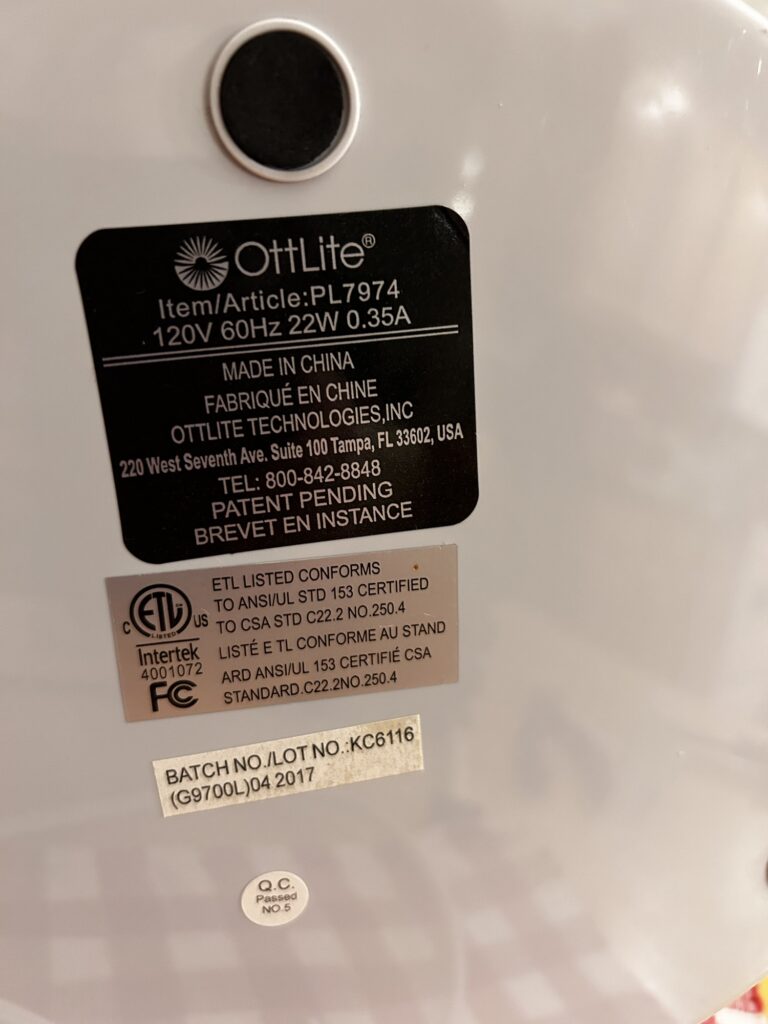

And I fixed my husband’s Ottlight lamp. He’d asked me to take a look at the switch, which wasn’t working.
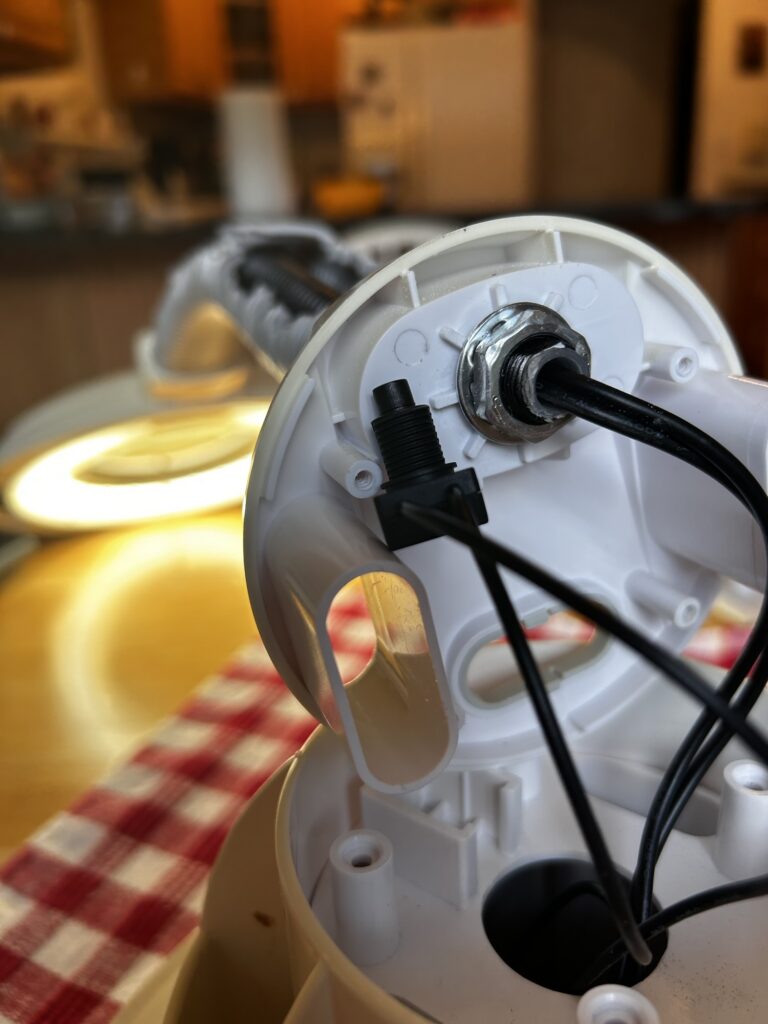
I had to take the whole thing apart to get to the switch. I got the idea of what might be wrong from an appliance repairman who fixed a faulty dryer switch a few weeks earlier. The actual switch was under a button that had become misaligned.
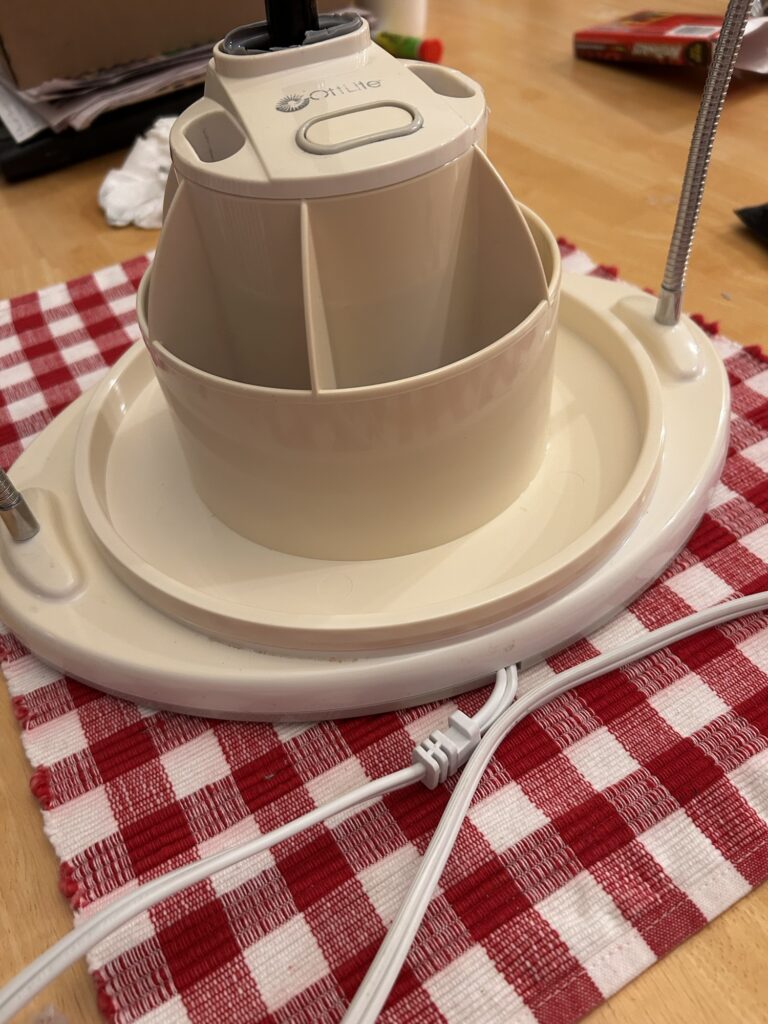
After removing 15 very reluctant, tiny, Phillips head screws, I discovered that’s what had happened, the switch had worked itself out of the slot that was supposed to hold it under the on/off button.

I glued the switch back in place, with crazy glue.
I plugged the lamp up, and the switch worked!
Now, after a much needed break, I need to get those 15 screws back in.


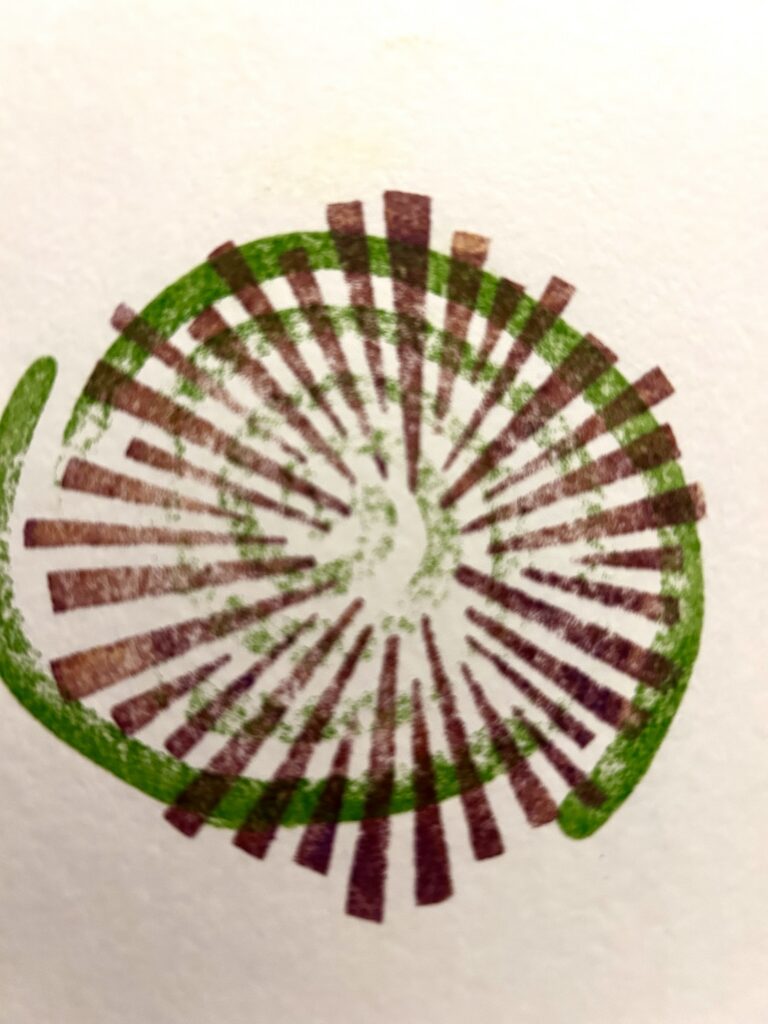
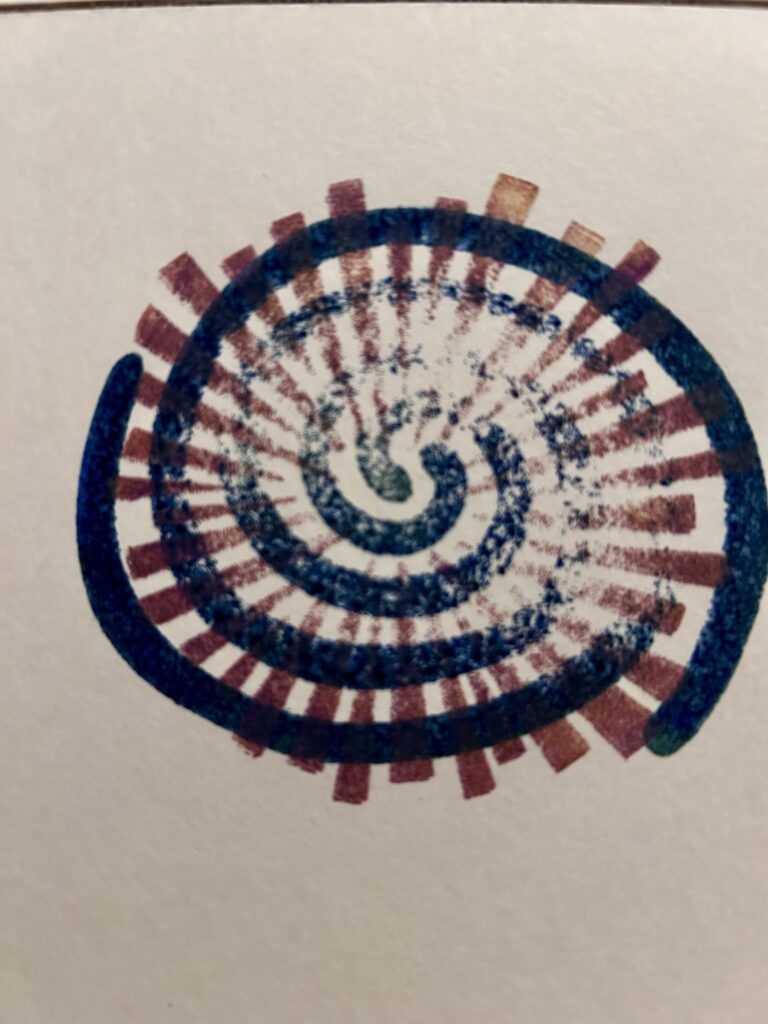
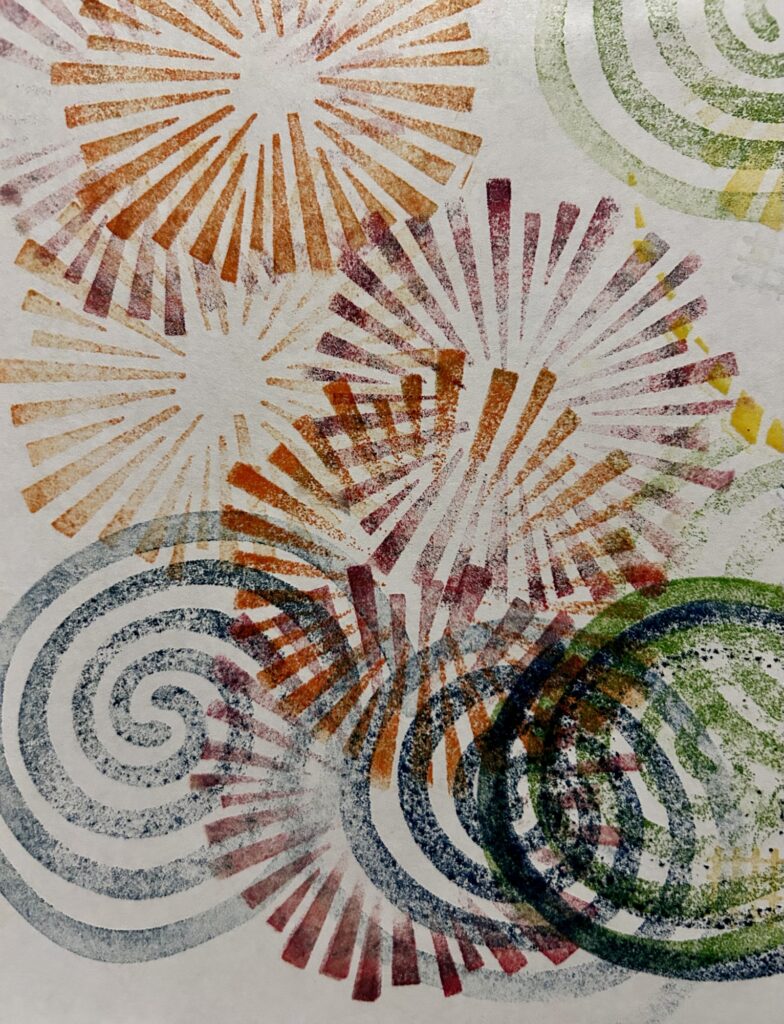
I tried Rhonda Dohna’s “Light Rays”stamp over Eddie Reyes’ “Water” stamp.
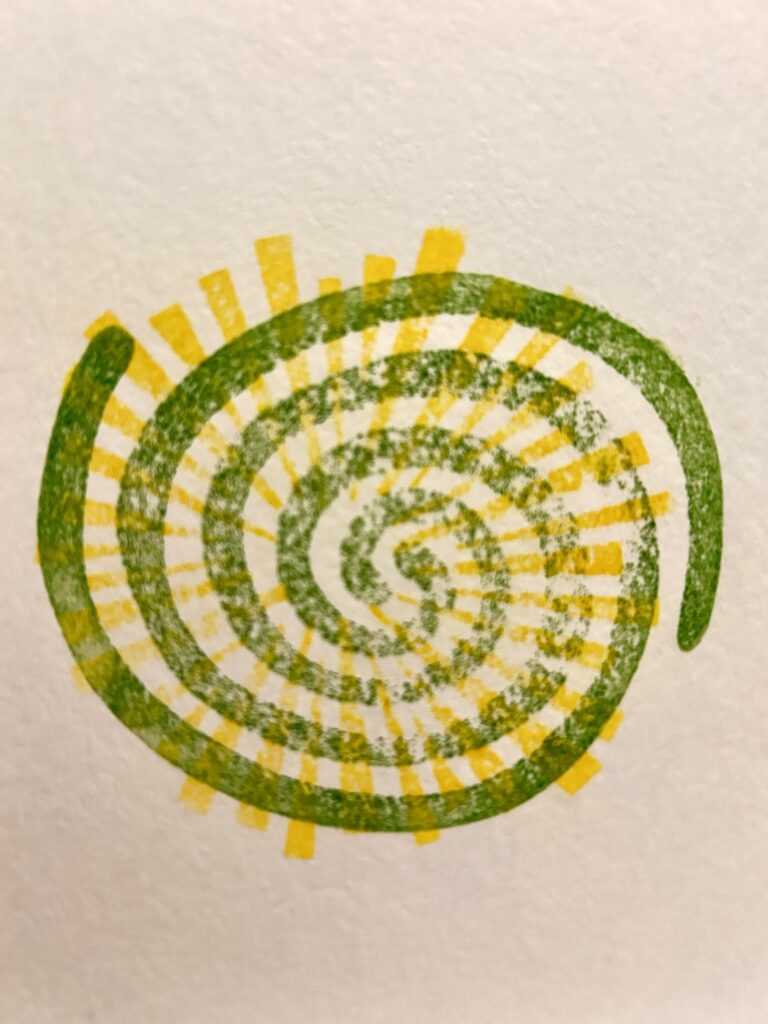
They are on heavy watercolor paper (cardstock, really,) and I didn’t get the absorbency I expected. I also used an old, but unopened, pack of assorted Izink ink pads.
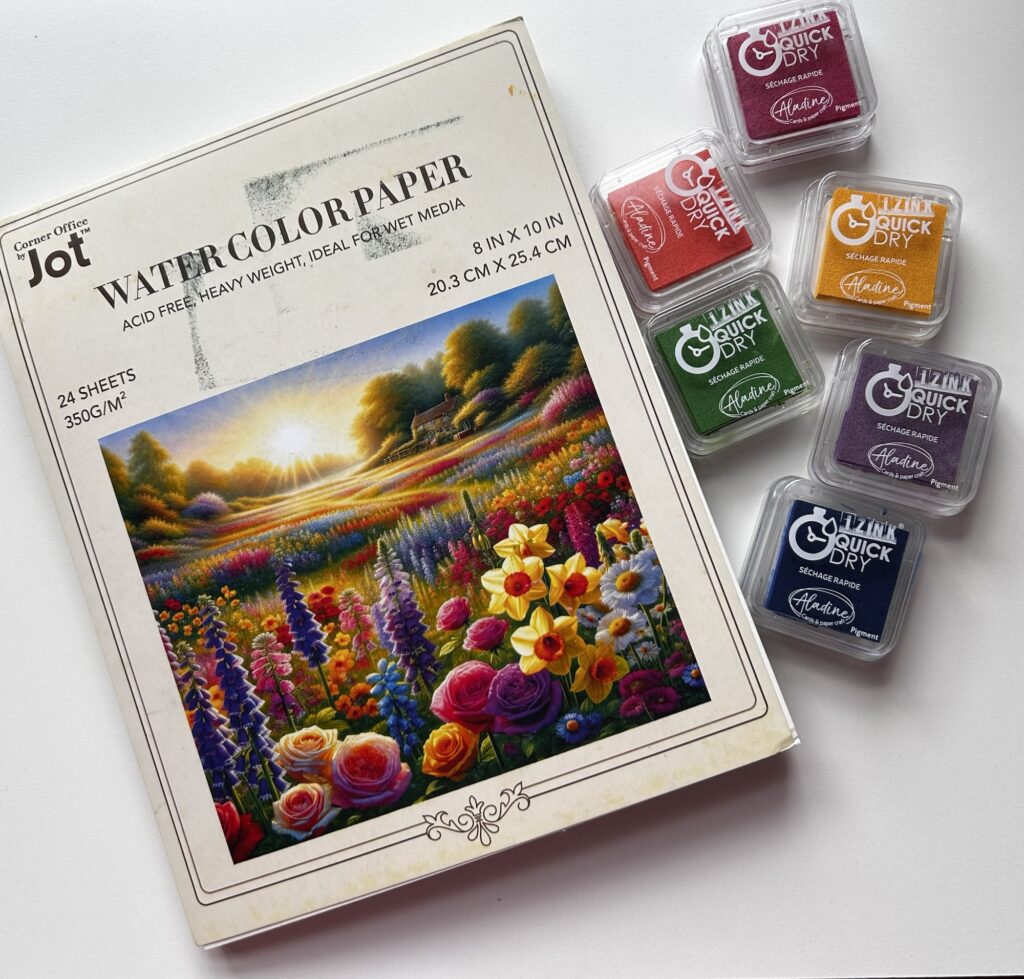
I still like the combination very much, and it suited the fireworks I was hearing in the distance while stamping last night (7-4-26.)
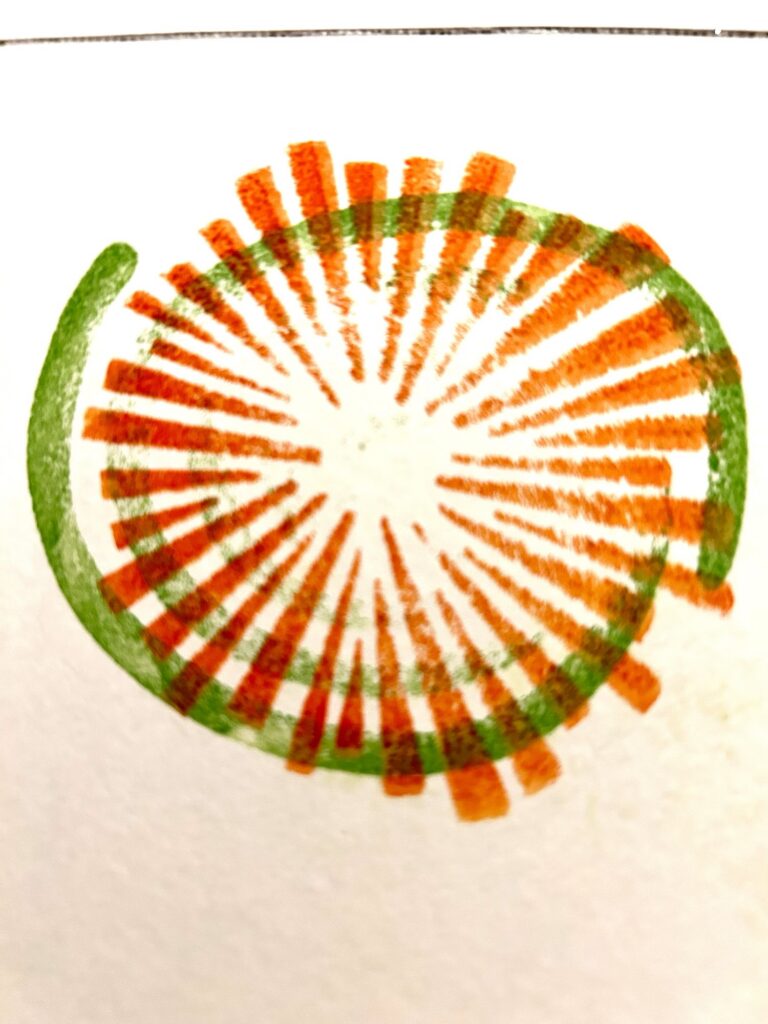
I’m excited at the possibilities of using these stamps with metallic paints, mica and embossing powders, and maybe even glitter glue!
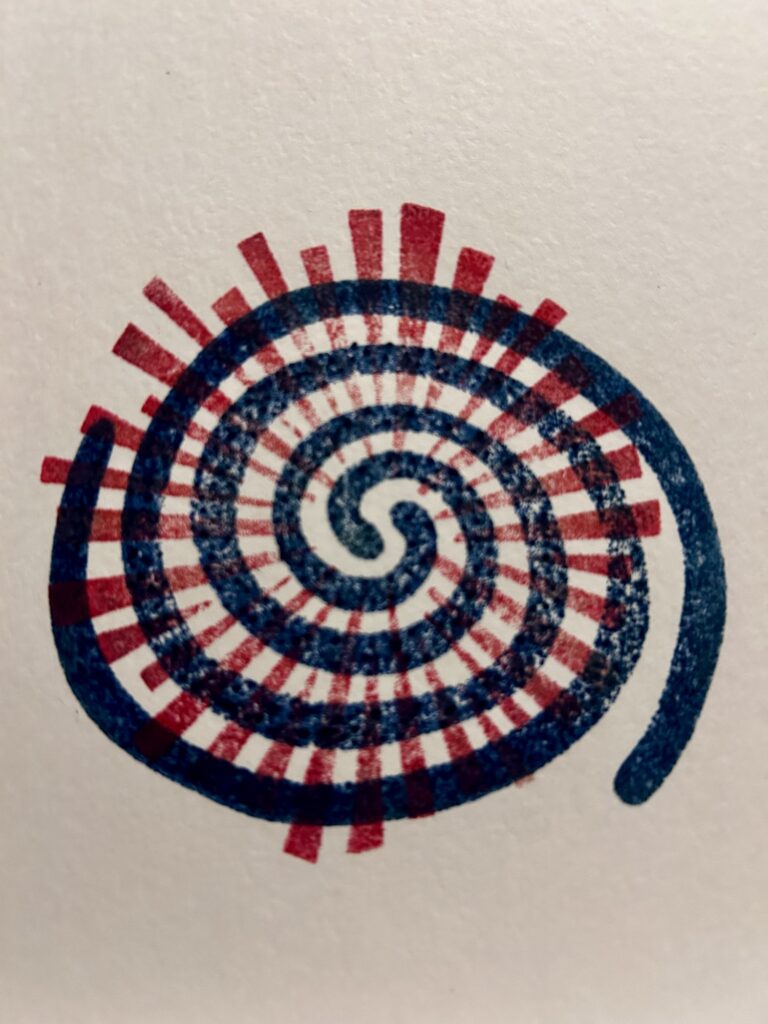
Both stamps are available at PMartist Studios.
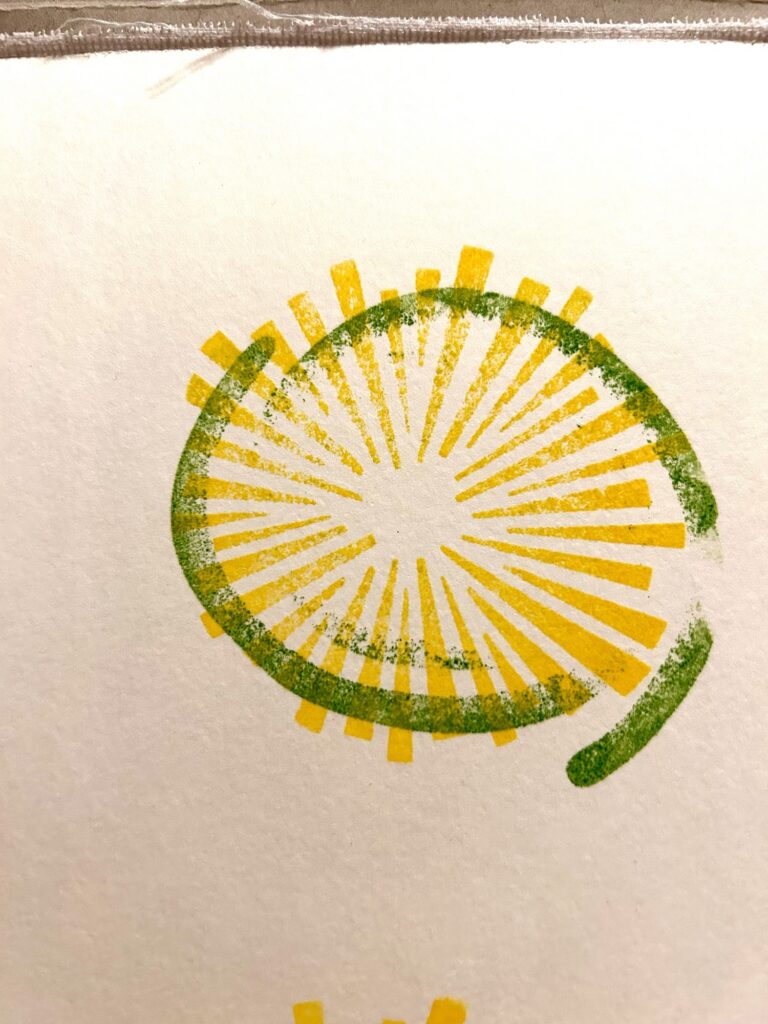
I really like my “stamp off” paper!

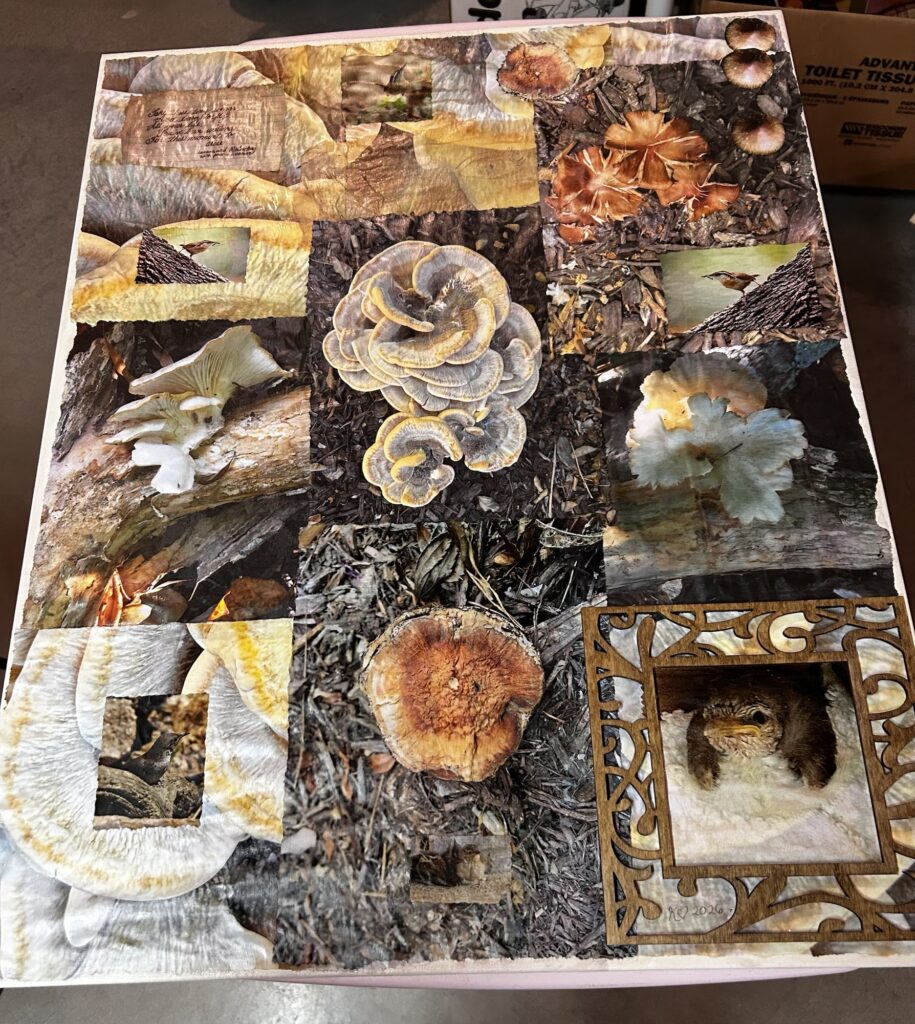
That’s what I call this collage, but I have just finished, “The Glazing of Gutsy.”
I used my favorite satin gel medium and a wide foam brush. Foam brushes introduce bubbles so you have to really watch and smooth them out. I started in the middle and worked out and around counter-clockwise, beginning and ending with Gutsy.
If I ever make something like this, again, I will make sure I glaze the images under the frame before I add it. I couldn’t remember doing that, so I worked some into the openings in the wooden frame, being wary of bubbles.
This collage was in response to the #makerscollageprompt2026 for January. The prompts were bird, mushrooms, eyes, lyrics and frame. The photos are mine, except for the adult birds which were used by permission.

I was watching Karen McKoy’s live stream yesterday, when she mentioned a funny way a friend said orange. It reminded me of the way my granddaughter said it, and I thought I’d share this video from once upon a time.
And don’t miss the rest!