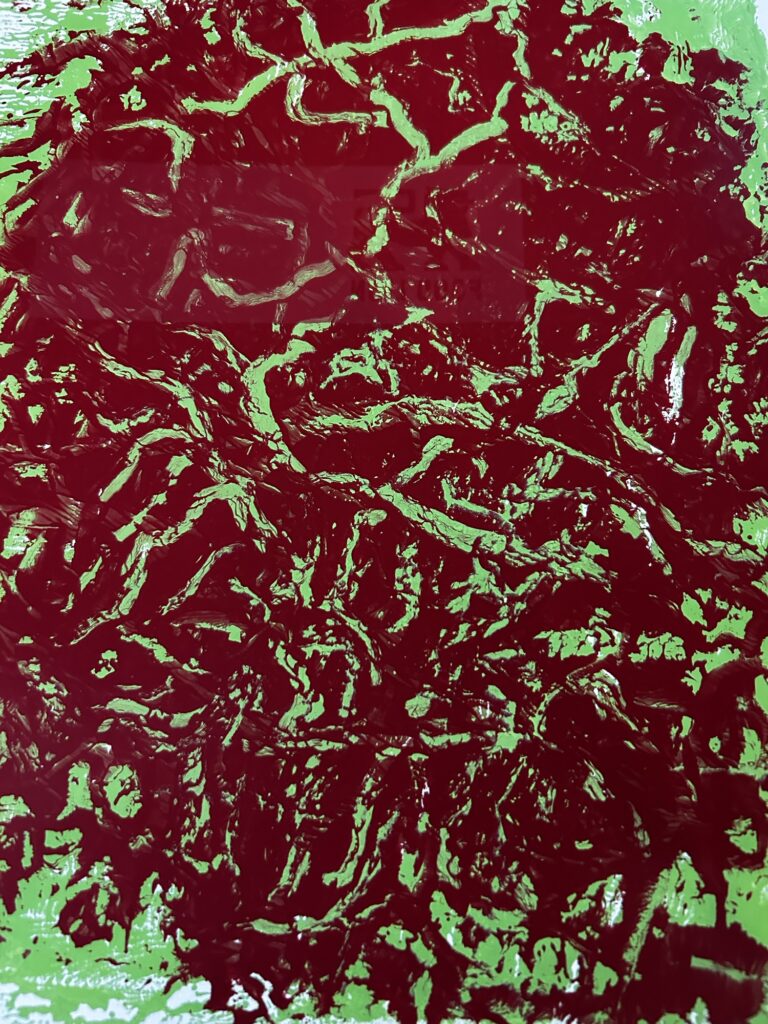
No, it’s an acrylic paint gel print. The stencil/mask I used is Bramble Branches from PMartist Studio. It was supposed to be green branches on a red background.
The design is unrecognizable because I used too much paint. I tried to remove some of the red with a cotton swab, and it seems to have made matters worse.
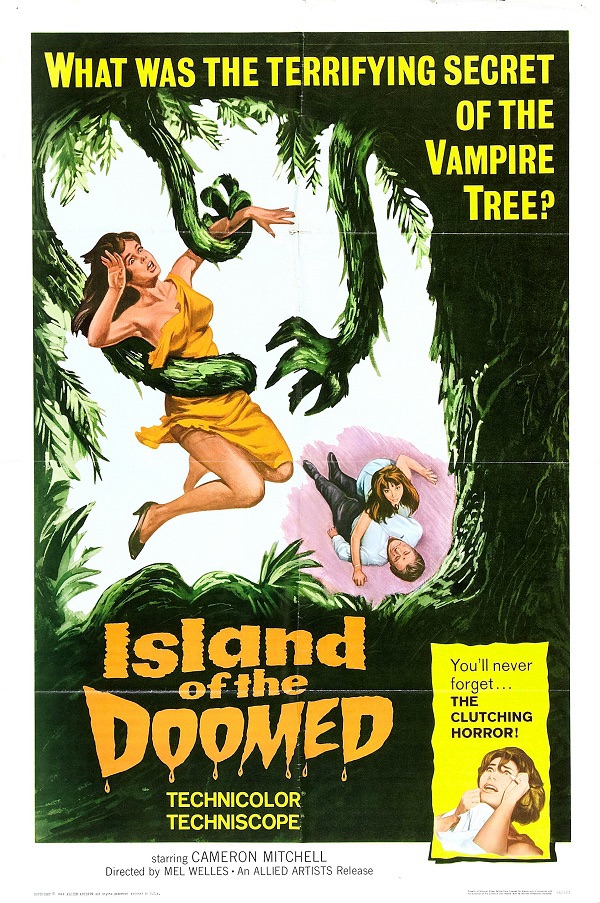
It does bring back memories of a horror movie from my childhood. It was one of the first ones in color, and I think it was called, “Island of the Doomed.”
There was a large tree on a tropical island that would send out tendrils at night that would suck the blood out of people. In the end, when they chopped it down, it was a blood bath, not unlike my gel print! Maybe I should give it the axe!
Look! I found it! I was 11 years old. I can’t believe I remembered! I’ll have to watch it again!
Island of the Doomed https://www.imdb.com/title/tt0059215/mediaviewer/rm2197102080
It was not too successful. It could use some doctoring.
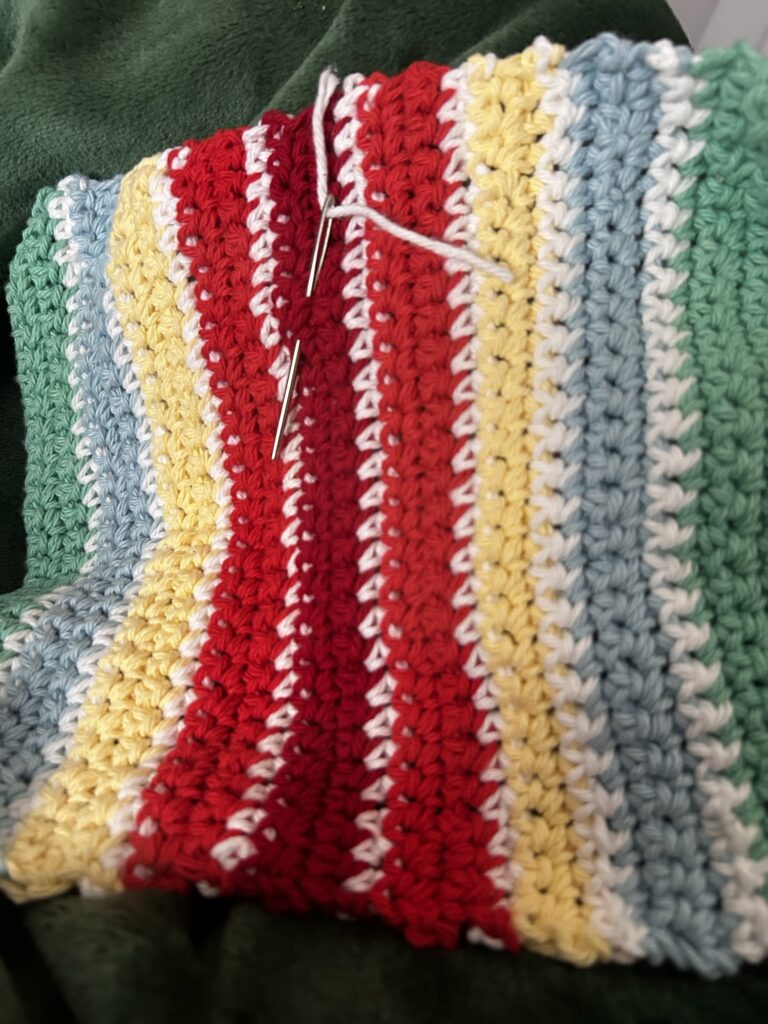
I got the loose ends of my old dish cloth worked in. I don’t know how many years ago I crocheted this.
I saw something on social media that set my teeth on edge, and finished it up in a few minutes! I have an old quilt that needs lots of mending. Maybe I should work on it while I watch the news.
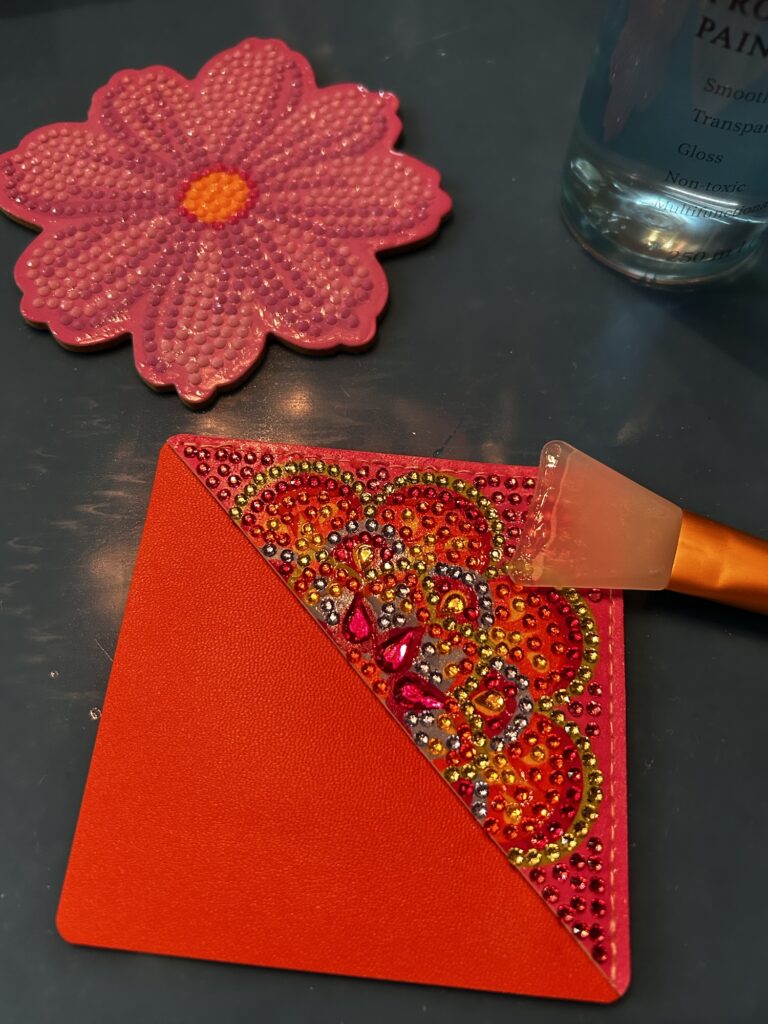
I sealed these diamond dot pieces.
I didn’t feel particularly well, today, so that’s about all I accomplished besides napping and watching videos. I learned a lot about hardy perennials and alternatives to using wire guardians with beading wire. The day was not lost.
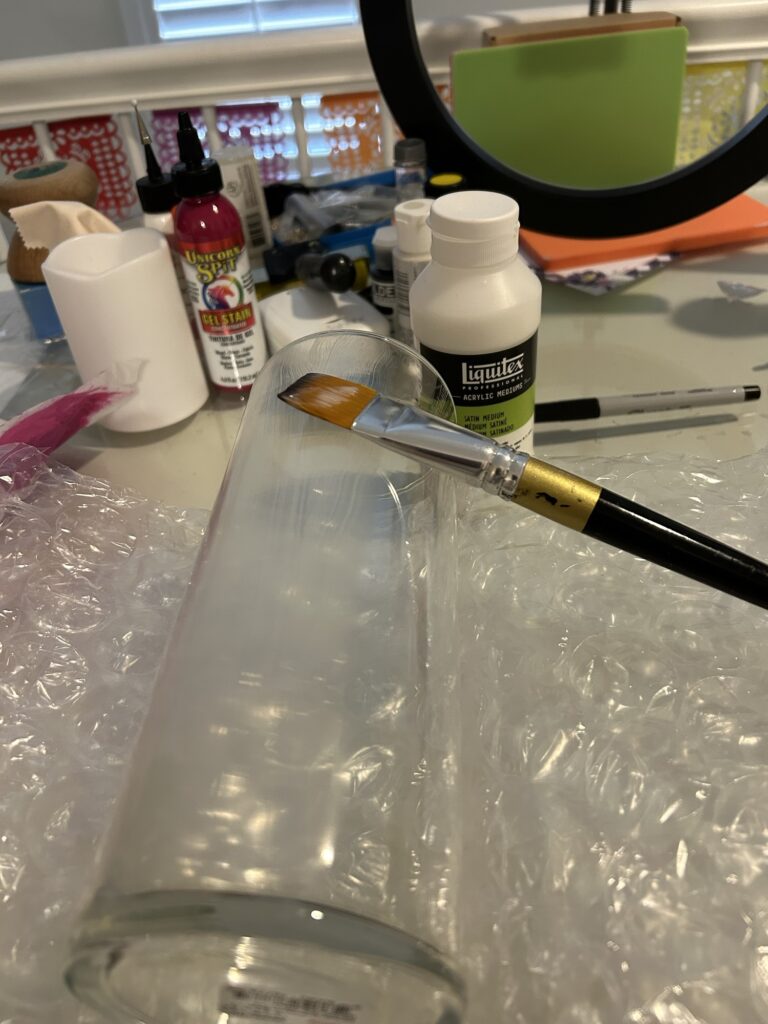
I just put the last coat of gel medium on the bottom of my lantern/candle!
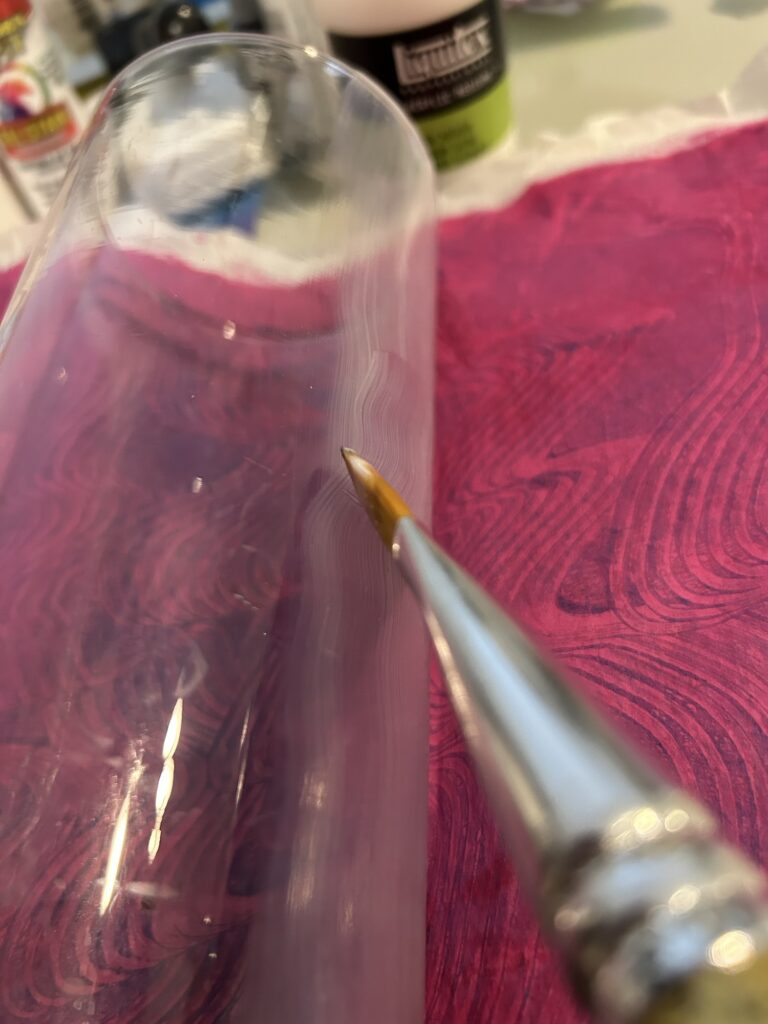
I used Liquitex Satin Gel Medium both as an adhesive and as a sealant.
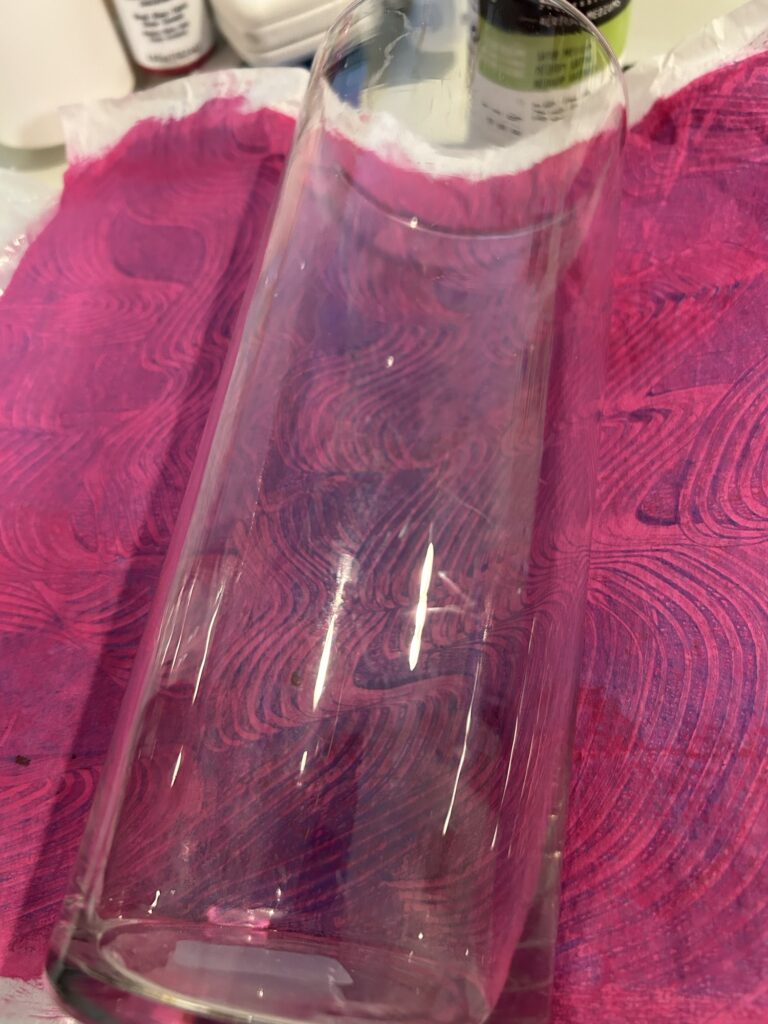
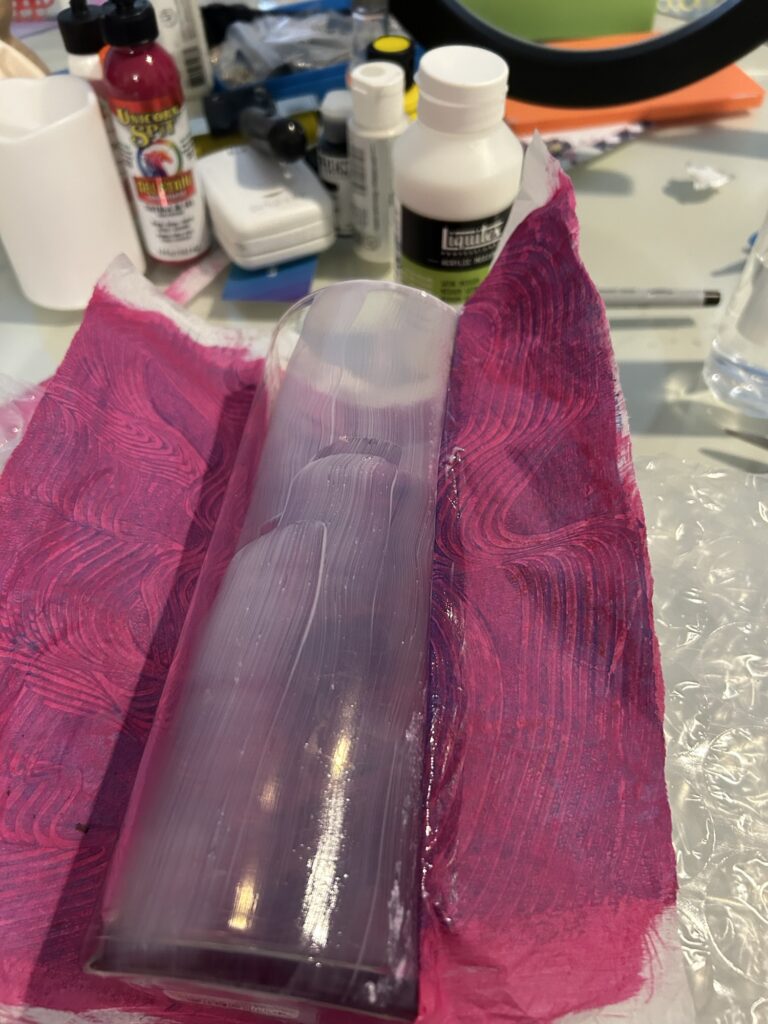
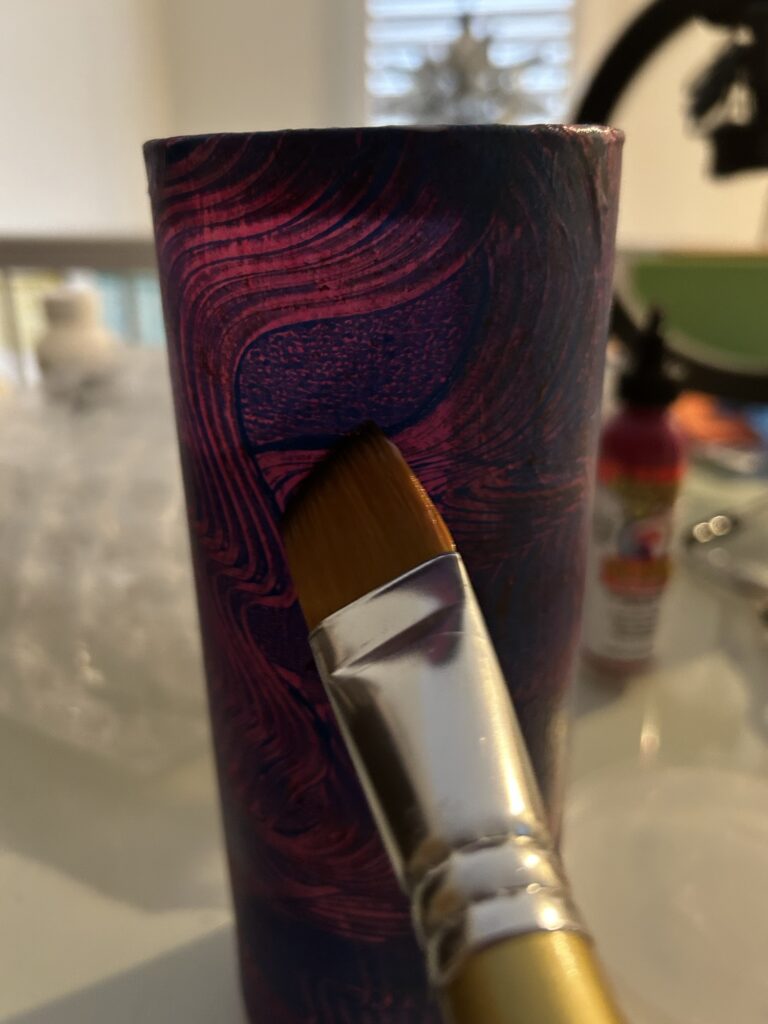
Since the cylinder is round, I made it a cradle of big bubble wrap. I painted on a thin layer of gel medium, just on the exposed surface. I used a soft, wide bristle brush.
I draped Patricia Carmichael Cline’s print, stained side down, over the glued area. Using a tip I learned from Sharon Duran Wilson, I used my misting bottle to wet the print. Sharon said when applying paper to a wet surface, wet the paper lightly, to prevent wrinkles.
I pulled and smoothed, like making a bed.
Then I placed the cylinder with glued paper down into the cradle, while I continued to glue and wrap from the right.
glue, roll, stretch, smooth and repeat.
I used a tip, also from Patricia, for smoothing. Use a dry paper towel to help smooth wrinkles. It also removes excess water.
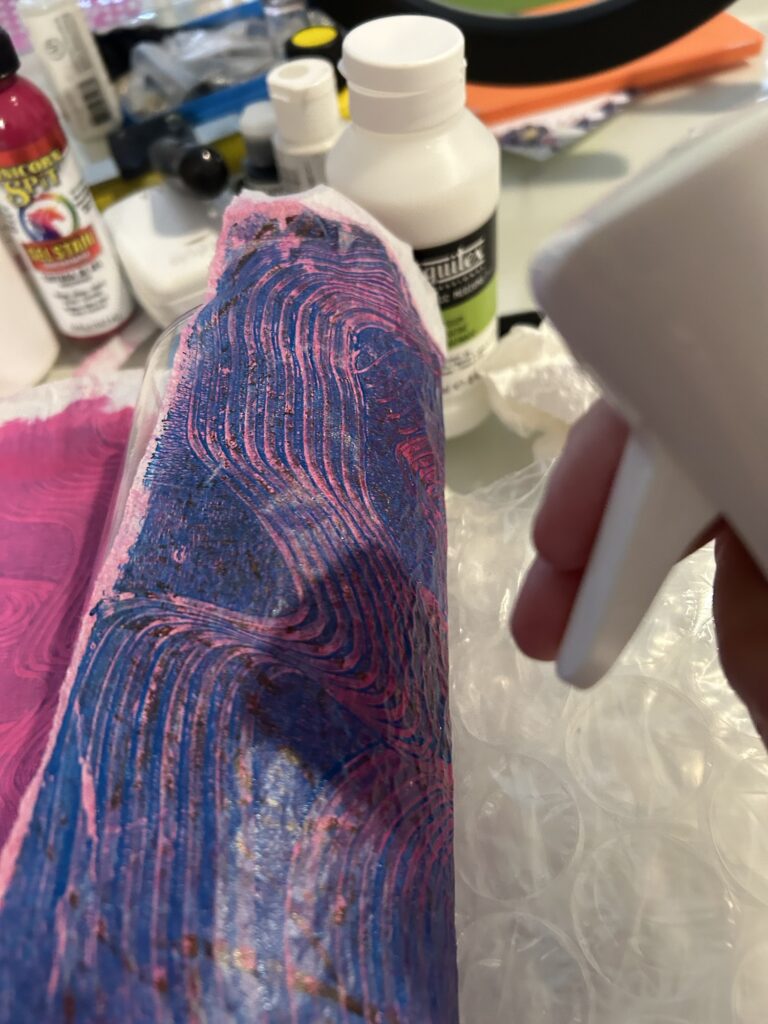
I tore the white edges from the sides of the paper and finished gluing the right side.
Next time, I will pay more attention to getting the paper straight in relation to the bottom of the glass.
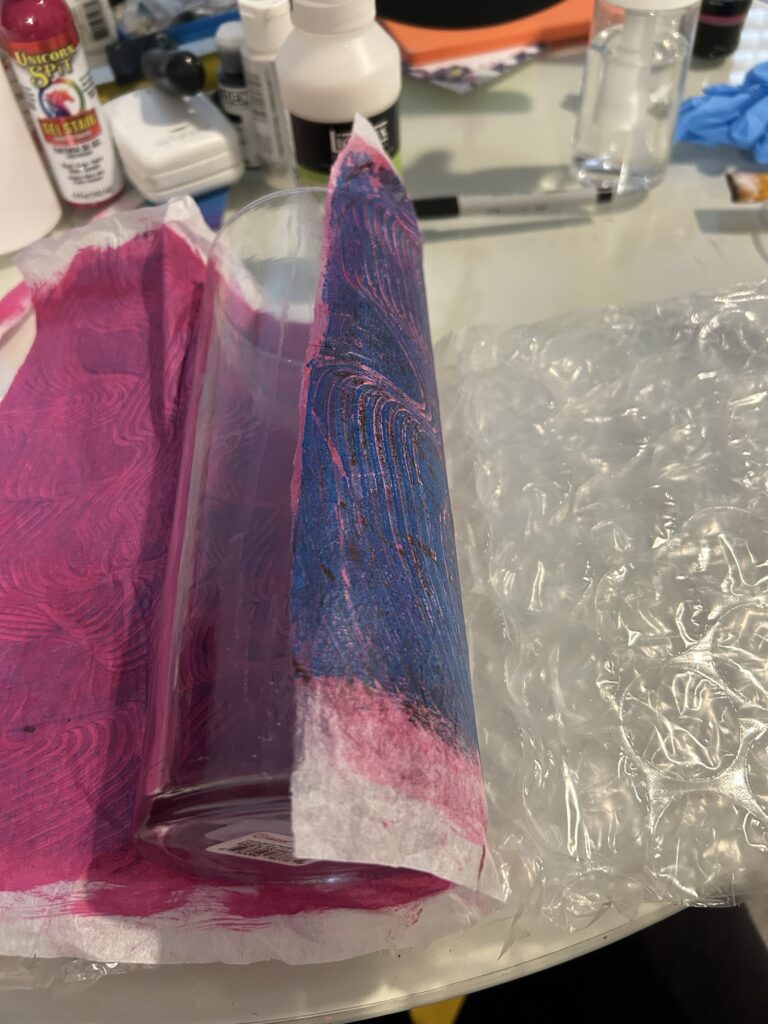
I trimmed the white edges, and stained what was left with the pink gel.
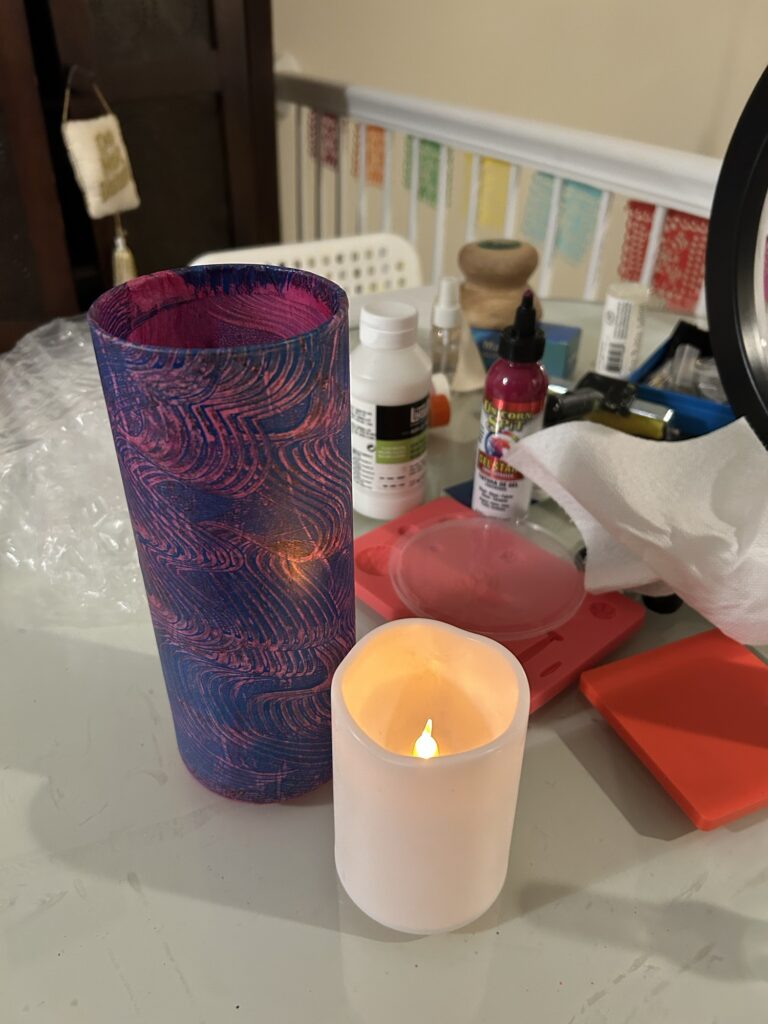
The next day, I glued and pulled and tugged and sprayed and smoothed the left side. I folded the extra paper on the bottom underneath and glued it with the gel medium.
I turned the upper edges over the rim and glued them down, too.
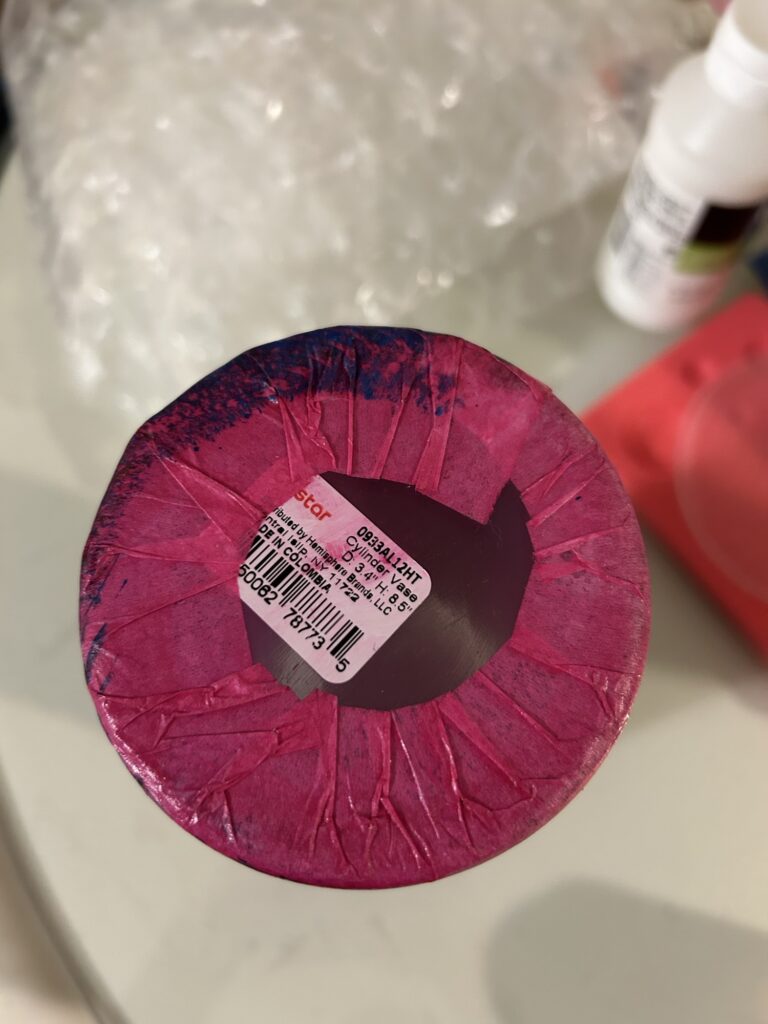
I finished everything up with a coat of gel medium.
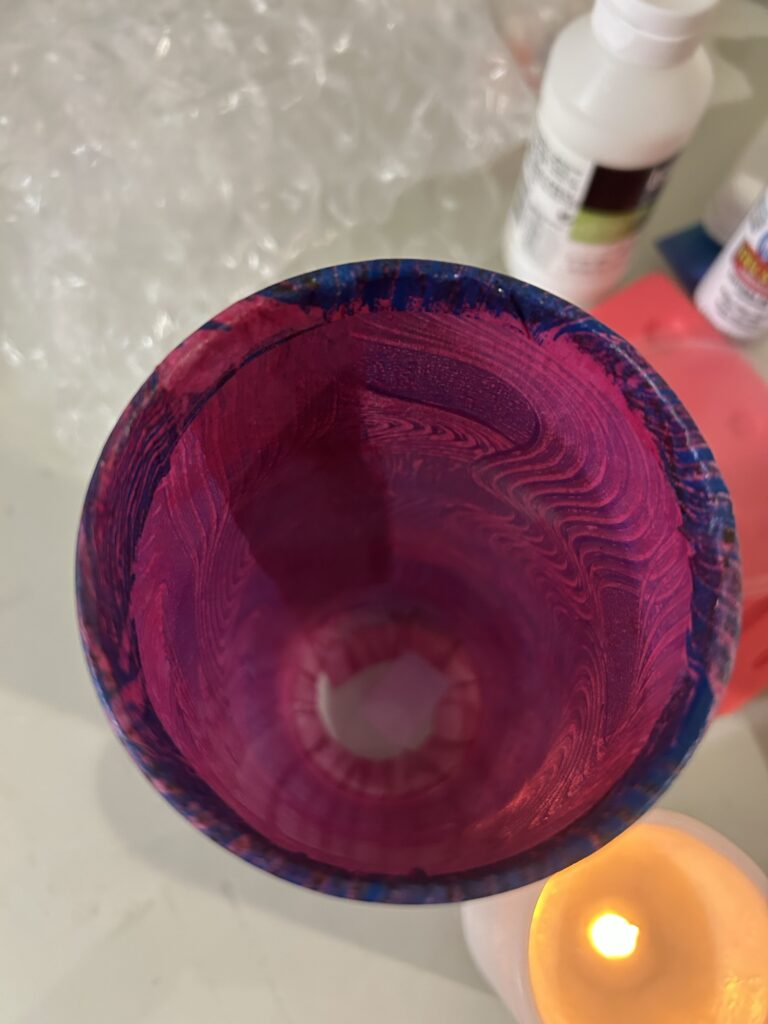
I let it all dry, lit the electric candle and dropped it inside the cylinder.
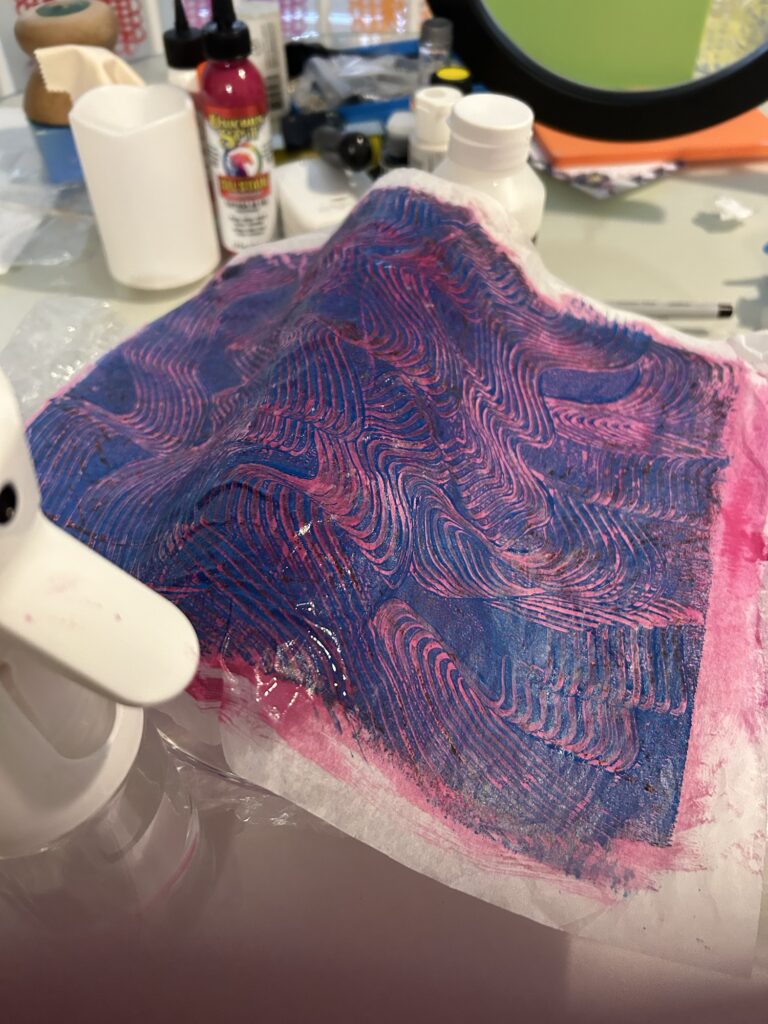
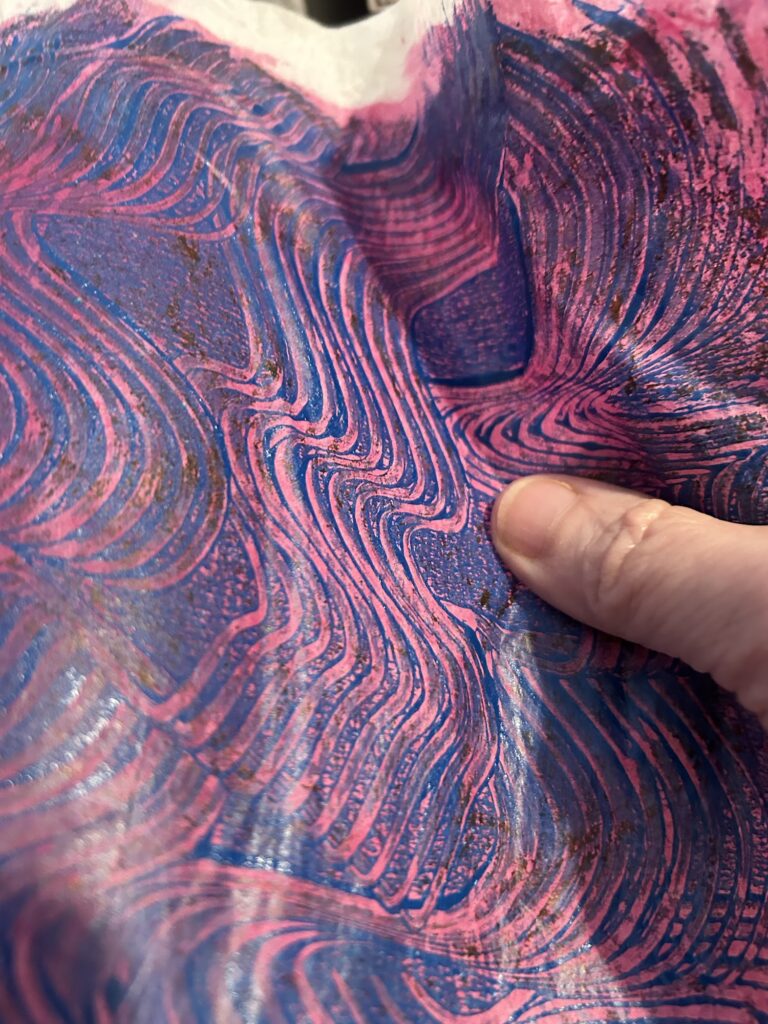
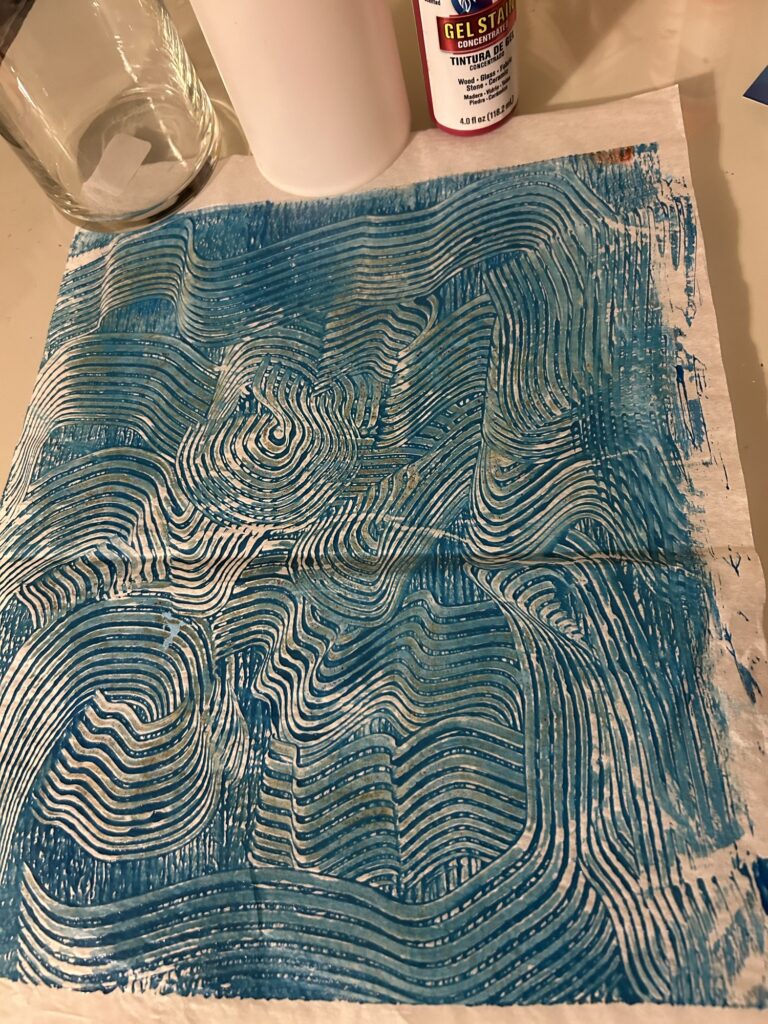
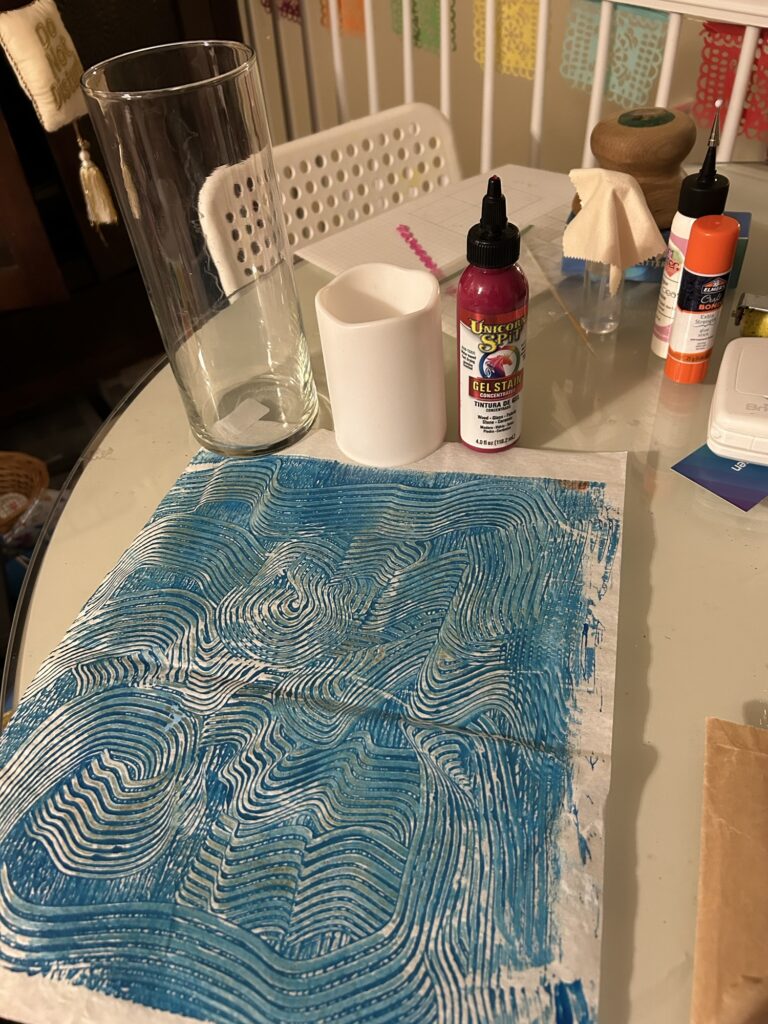
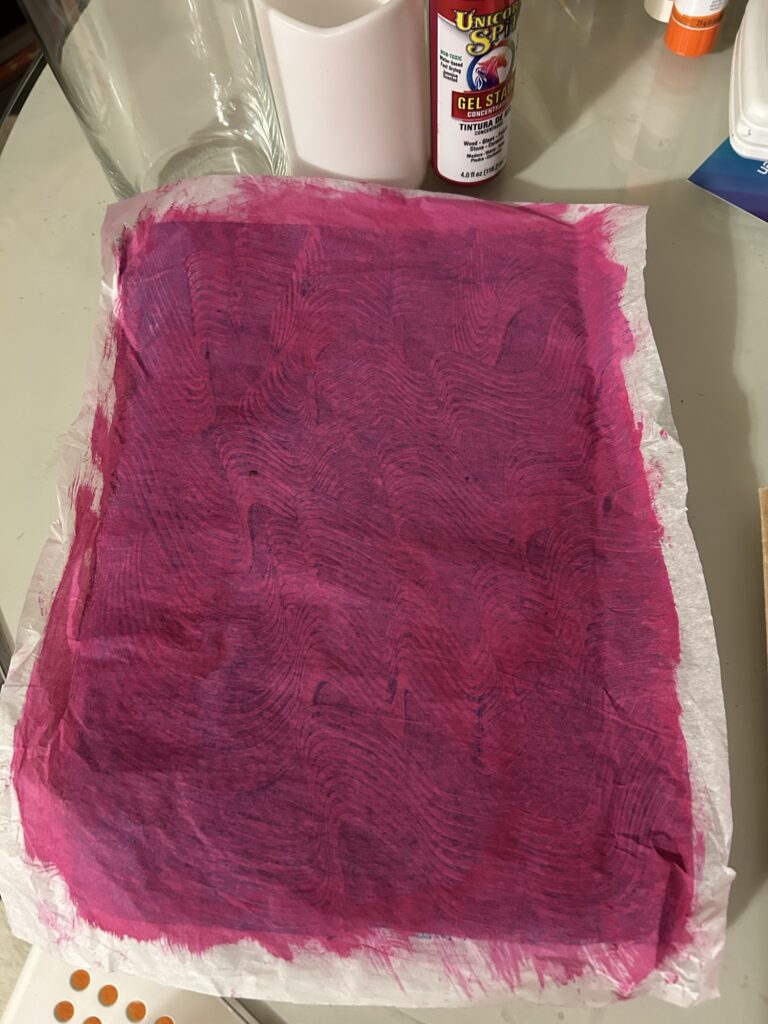
It’s a gel print by Patricia Carmichael Cline of PMartist Studios. I won it in a drawing, along with a whole pack of papers and stencil pieces. I remember when Patricia printed it. She used acrylic paint and a comb-like tool to make the swirls. She pulled it with wet strength tissue. I liked the transparency of the tissue and got an idea.
I bought a glass cylinder vase and an electric candle from Dollar Tree. The Unicorn Spit was a previous clearance purchase from Michael’s. I used a foam brush and spread the Unicorn Spit on the back of the tissue. Unicorn Spit is a water-based gel stain. The color is Party Punk Pink and it is intense! The tissue dried like this:
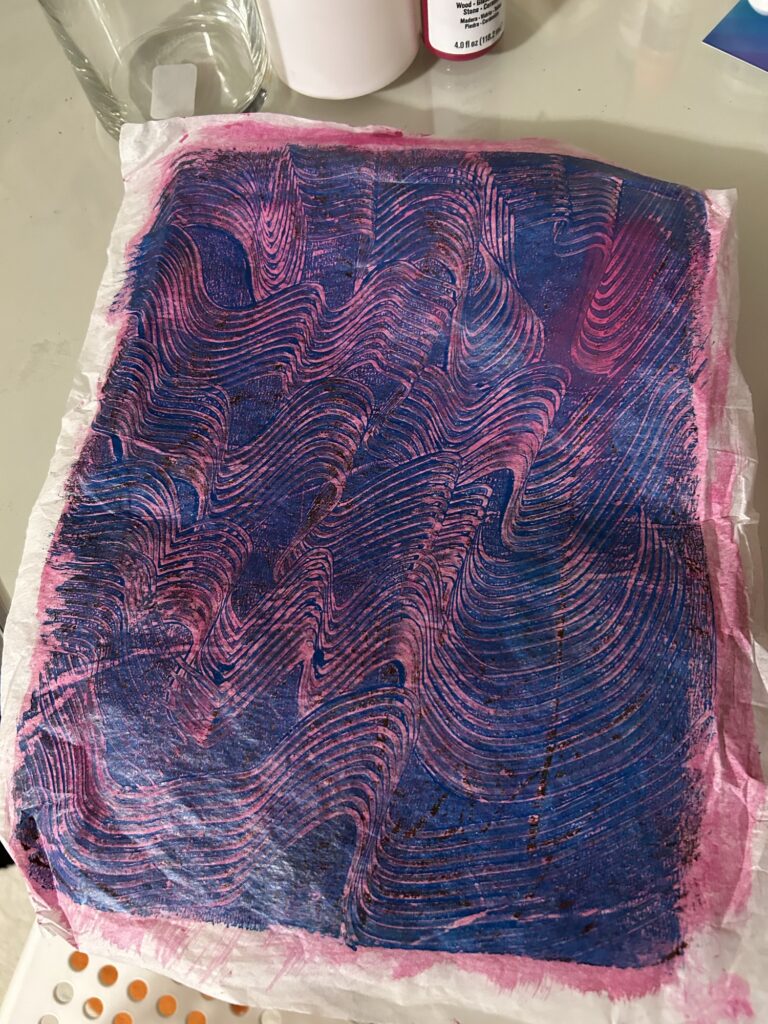
The front:
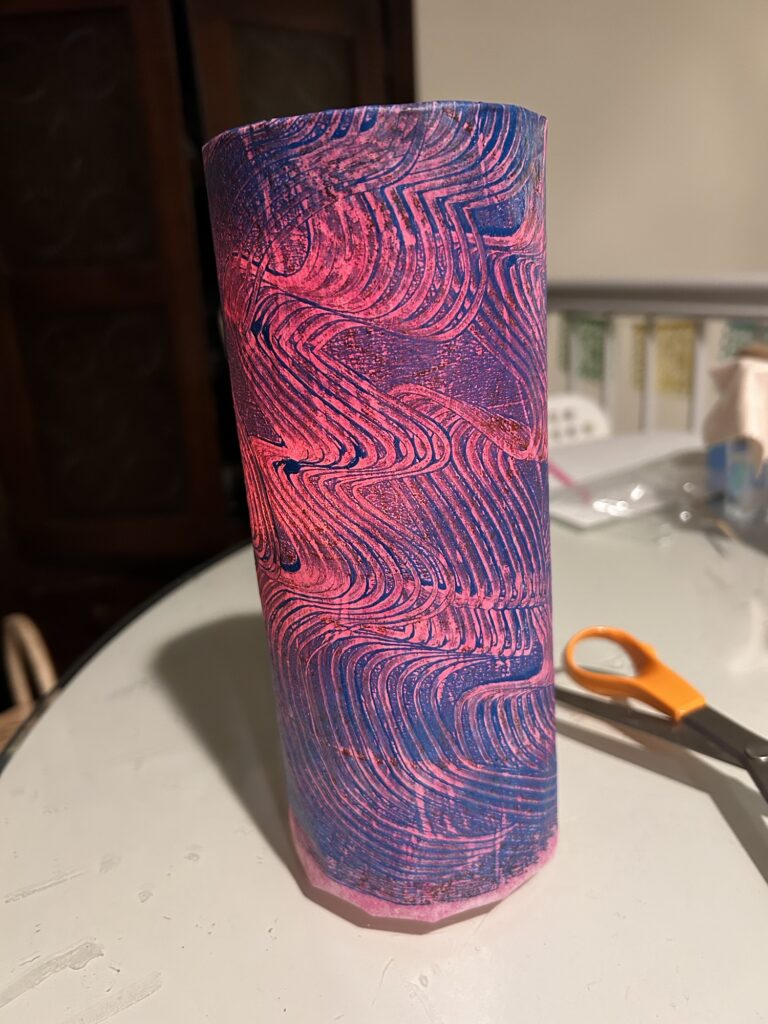
I wrapped the tissue, pink side against the glass and folded edges in and under. I turned on and dropped in the candle:
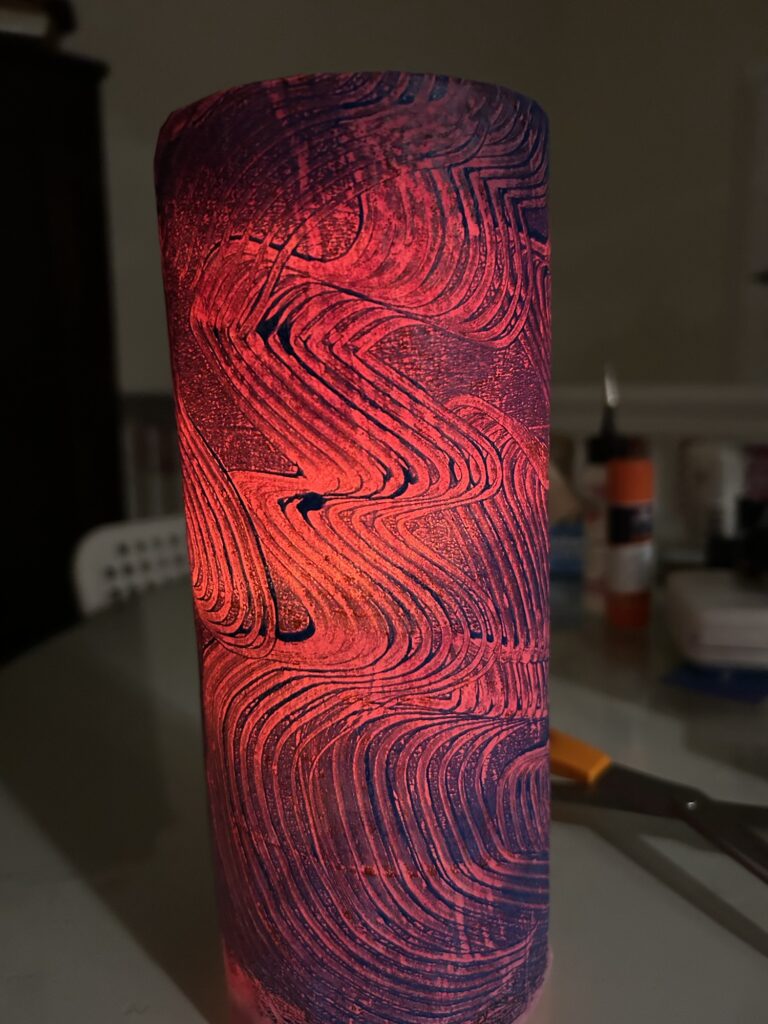
I turned down the lights:
And let her dance!
Next, I’ll finish up by attaching the tissue to the glass with clear gel medium. I am pretty pumped about this!