Tag Archives: images

Catalog Washi?

Catalog Washi?
Catalog Washi?

I’ve been wanting to try this experiment for years! (Off and on, when I remembered it.) Have you ever looked at all the luscious colors in a catalog and thought, “What a waste for that to go to recycling?” Well, I have.

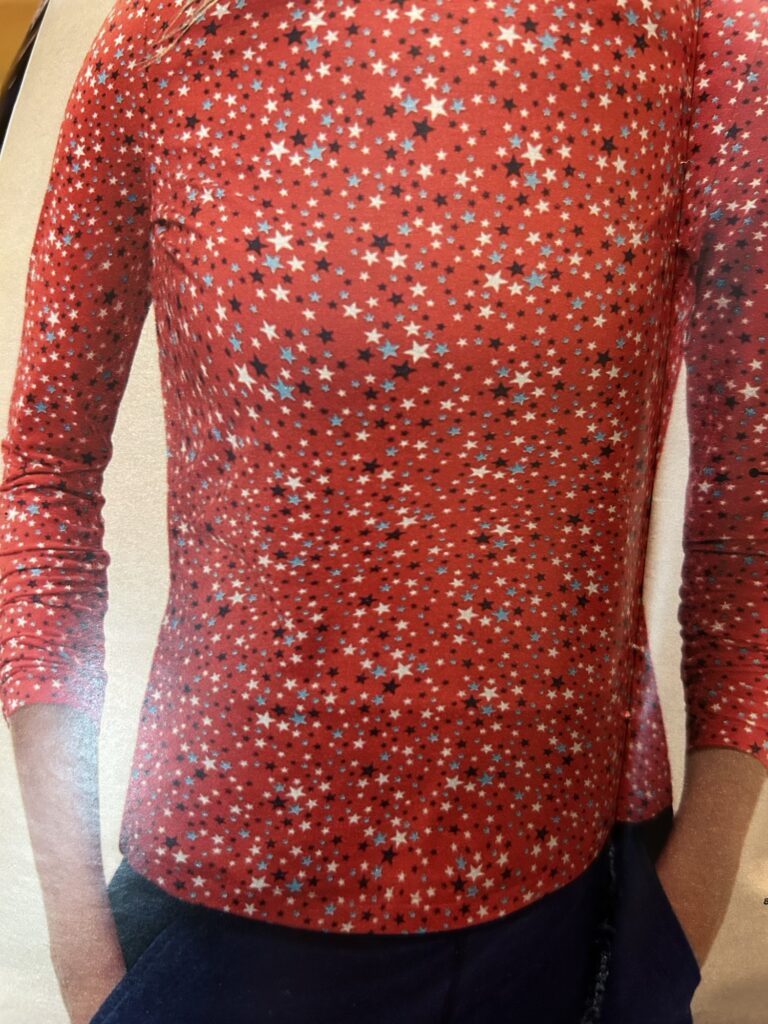
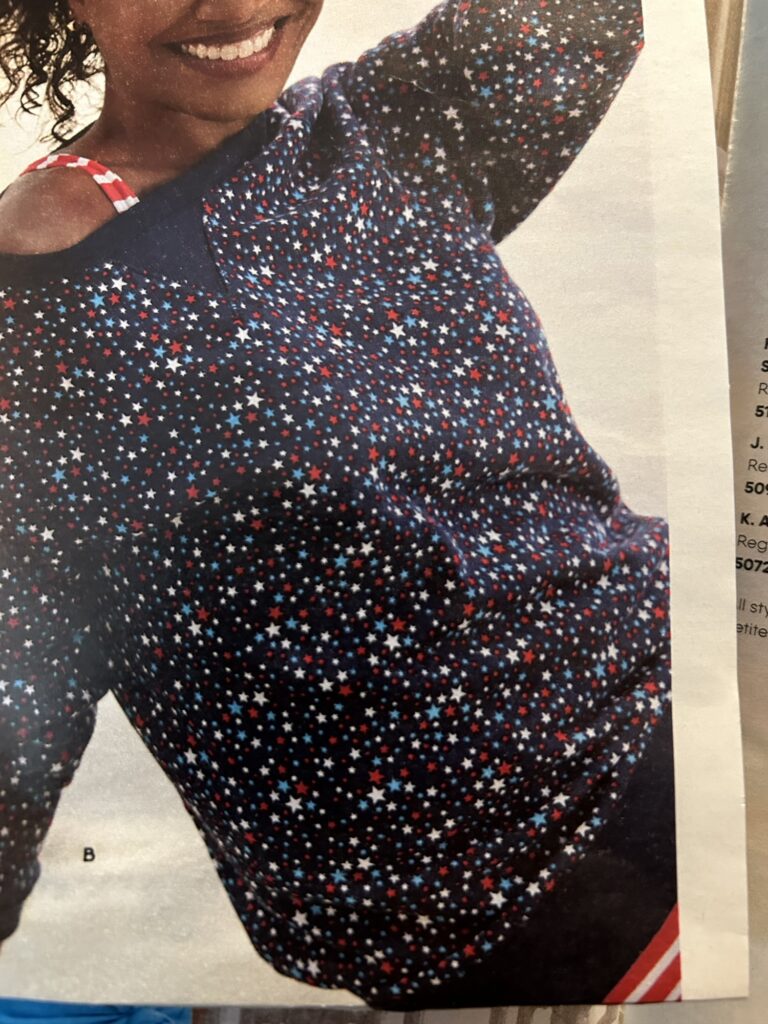
If it’s a large enough area, I punch a shape out of it. Imagine this with a star shape punched out.

(I should say that I’m using an old Land’s End catalog for illustrative and educational purposes.)

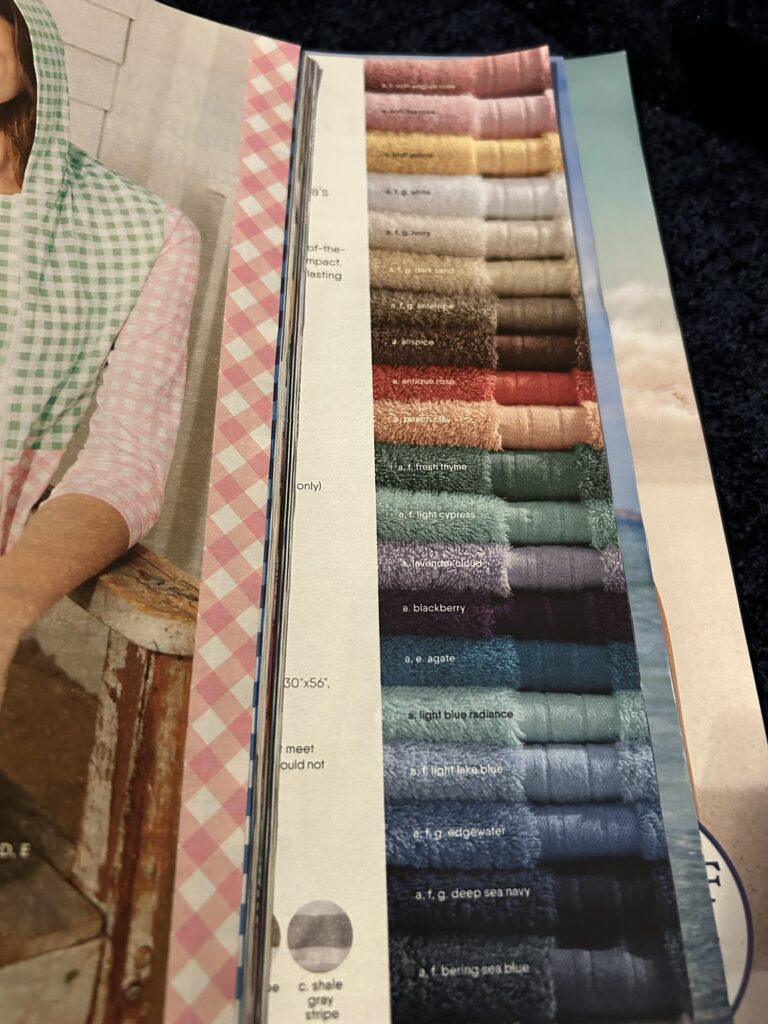
But what if it’s a stack of colored items in that image, or a pretty page border:

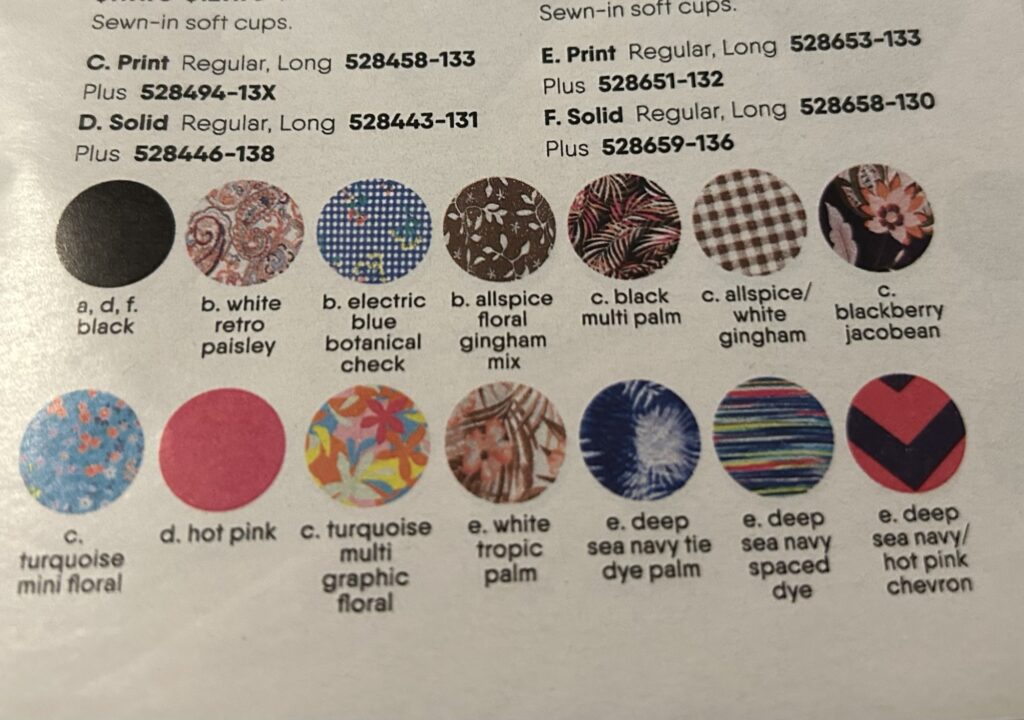
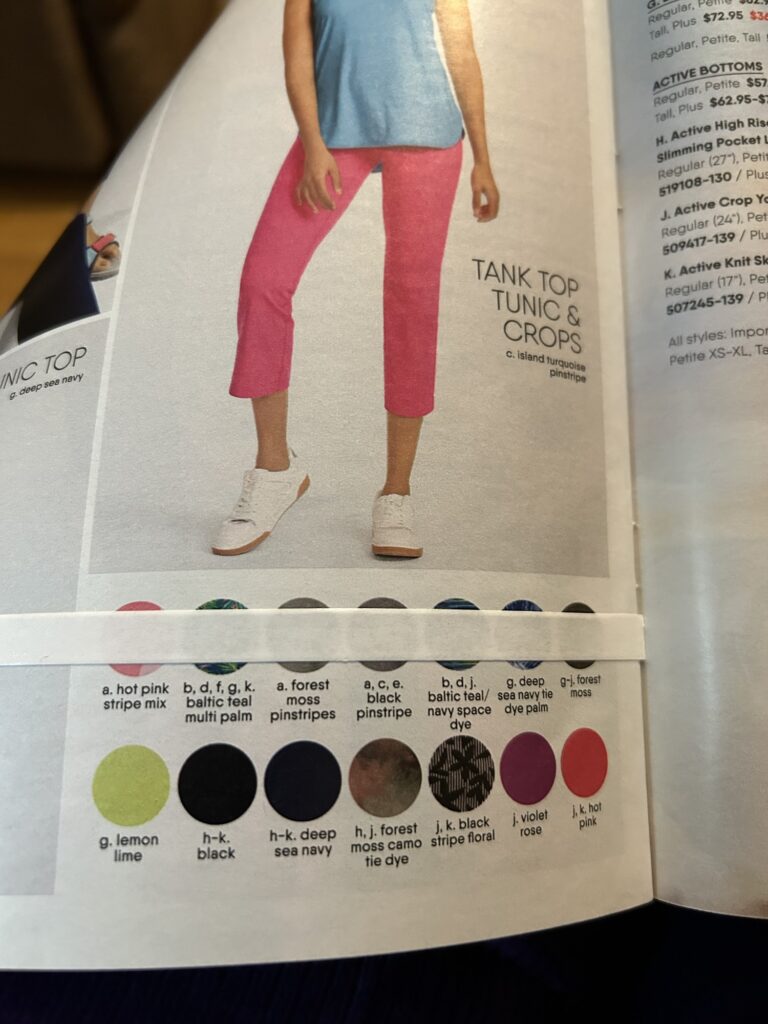
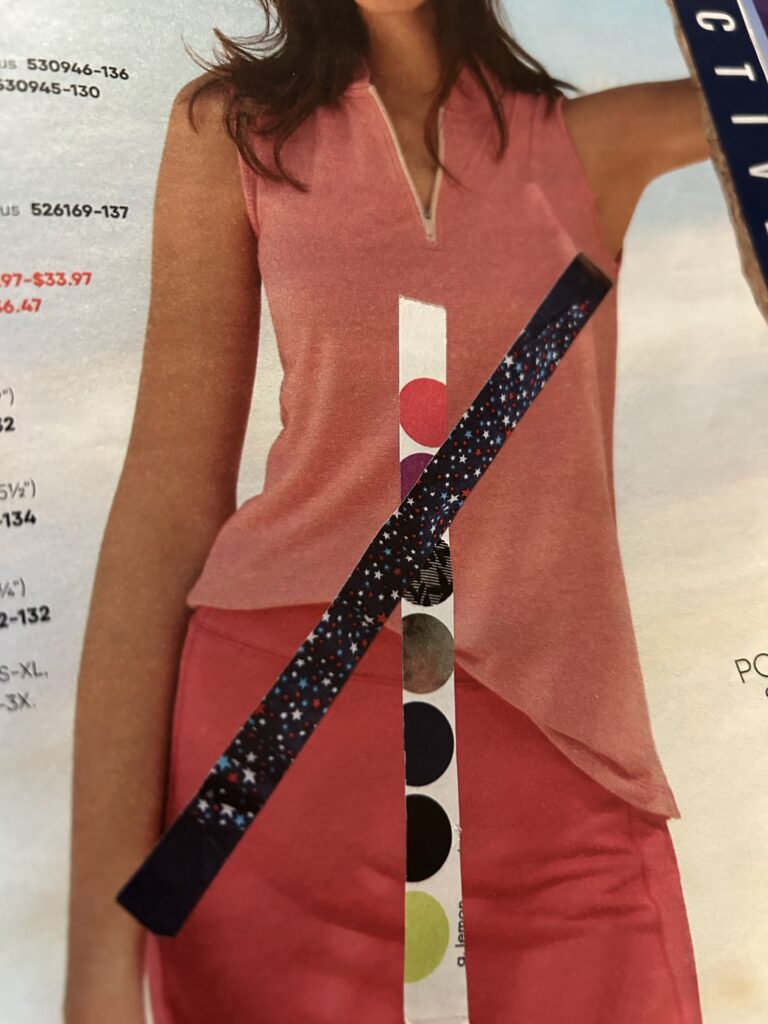
What if it’s a row of dots?

Sure, you could take your scissors, cut a strip, and save it in a baggie or envelope. That pink checked page border would be easy, but the others? I hope you can cut straighter than me!

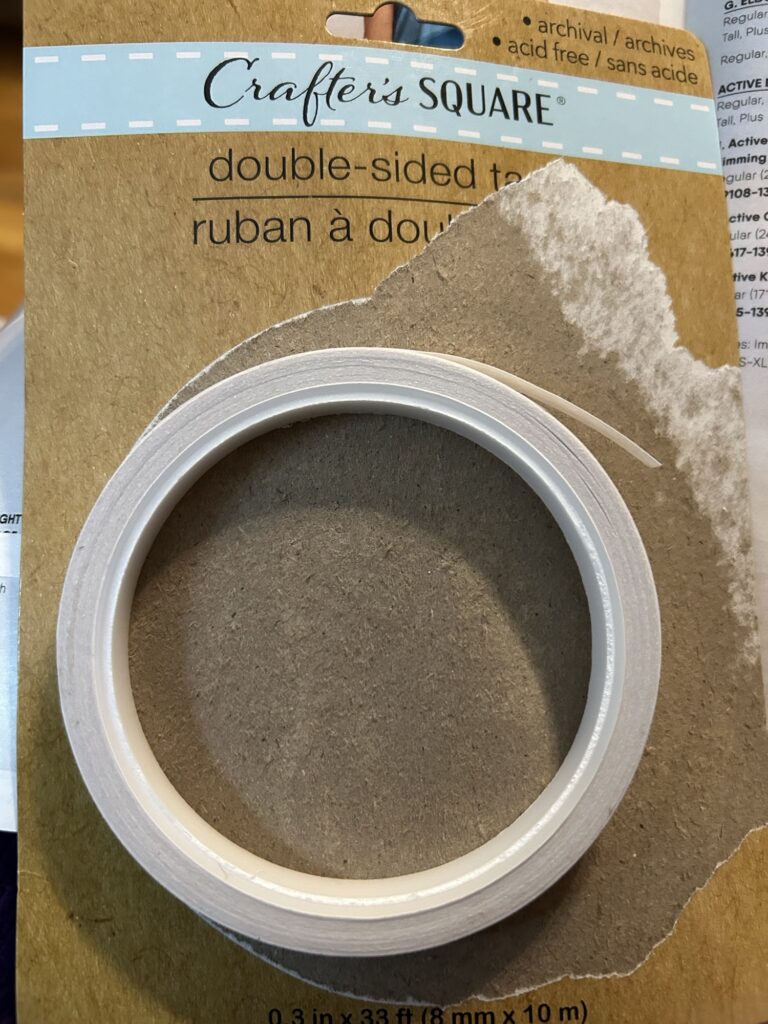
Enter double sided tape. I like this skinny stuff from Dollar Tree.

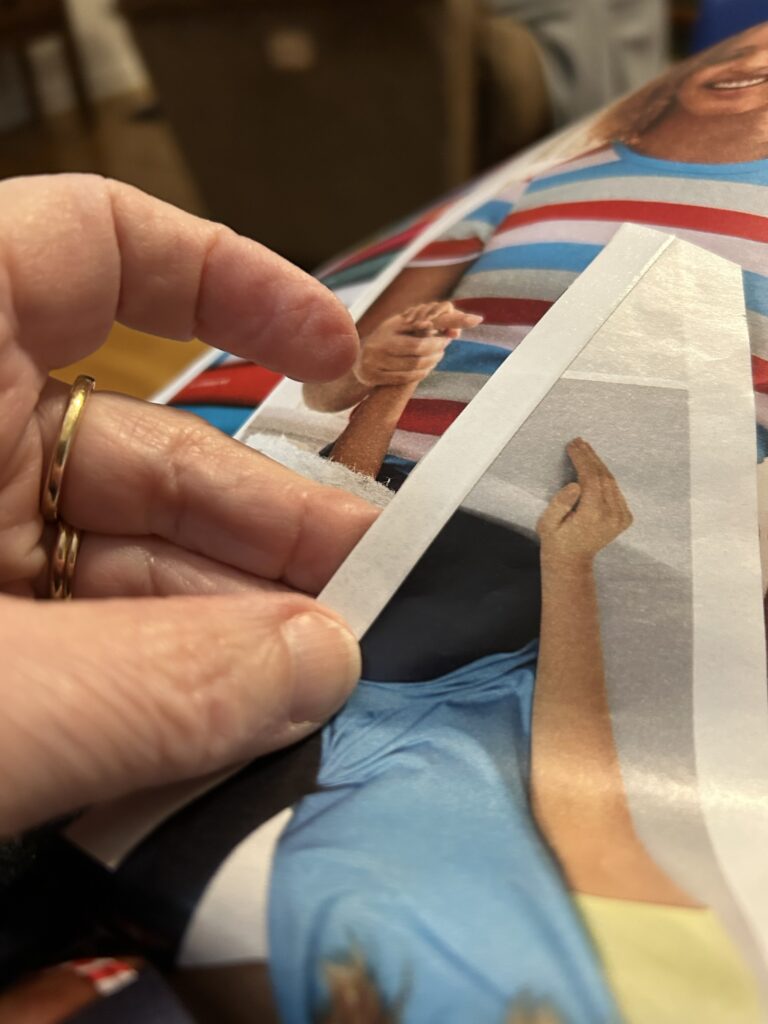
Now’s the tricky part. Choose an image you want to turn into decorative tape. You have to put the tape on the BACK of the image. (A light box would’ve been helpful, but I was too lazy to go hunt mine. A tablet or iPad set on a white screen might have worked as well, but I just thought of that.)

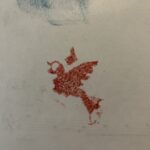
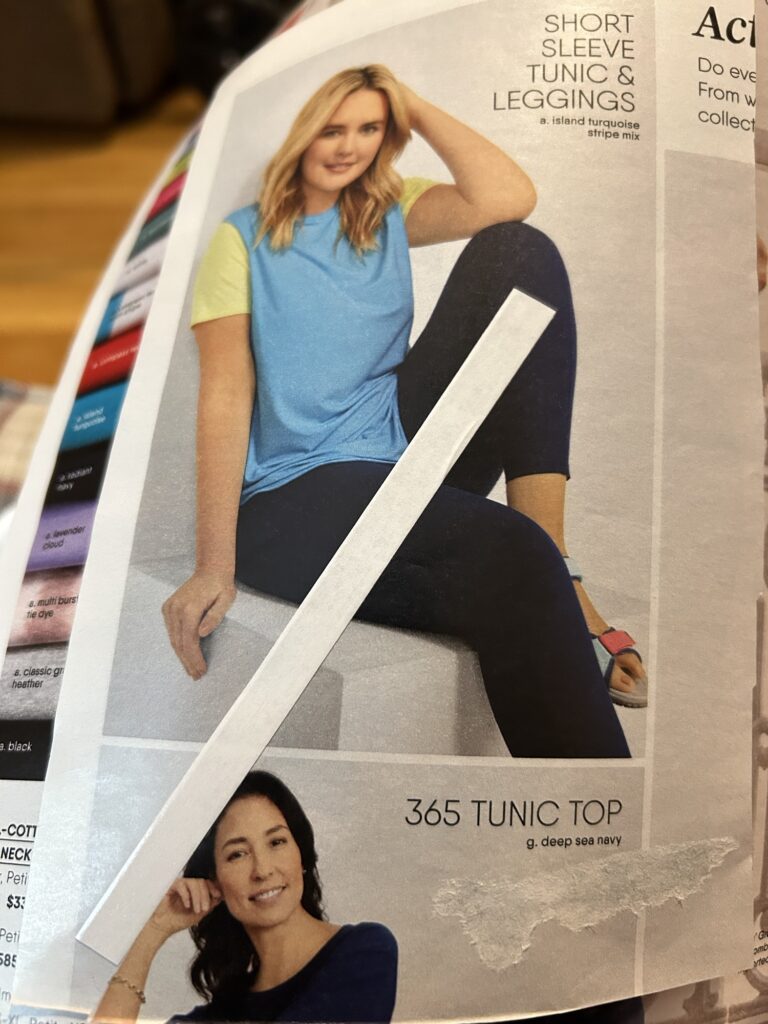
This is my first goof up. Remember, you got to go for the back of the image. So, I aimed for the lower row of dots. My result:

Shoulda used a light box!

Next try. I chose an image where I thought I couldn’t miss:

Here’s the back with one side of the tape adhered:

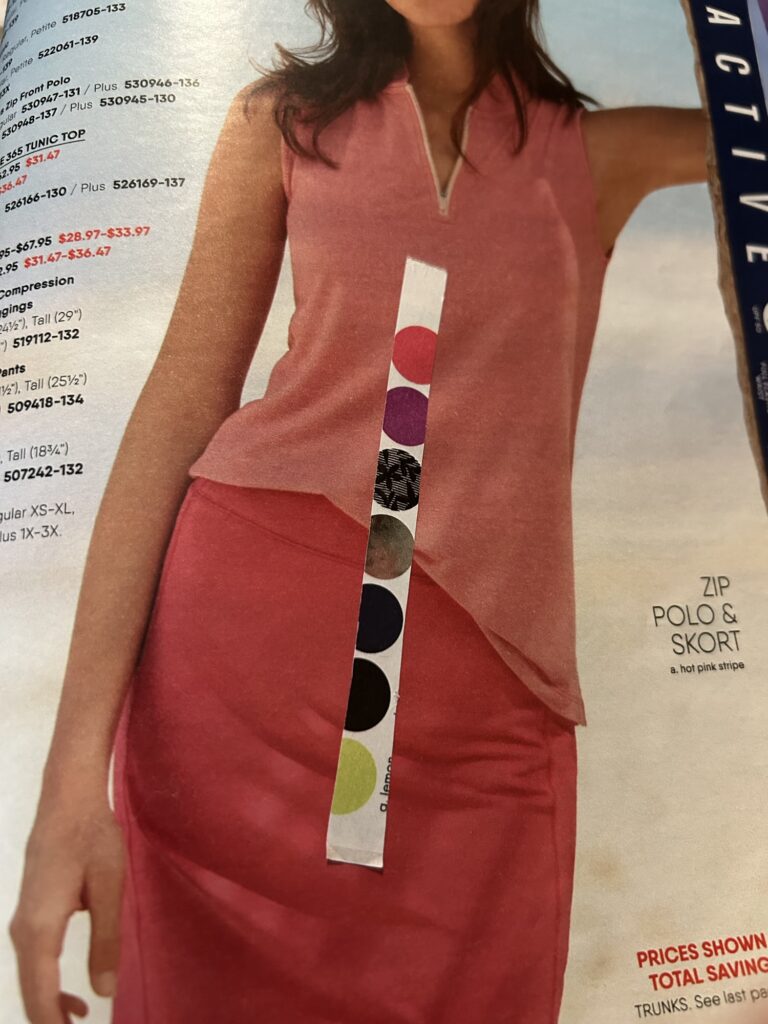
(Yes, I was working in my lap.) I trimmed the tape:

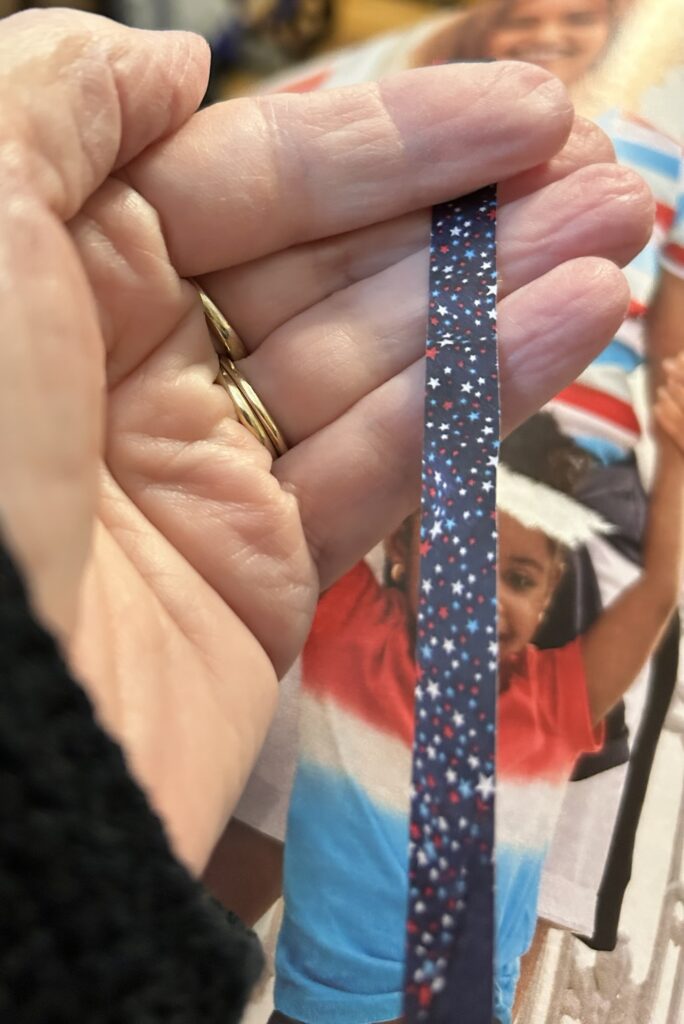
This is what I got:

Next time, I’ll use a light box or iPad. I’ll still call this a success!

I hope it goes without saying that I pulled off the other side of the tape. (I’m saving those strips, too. They look like they’d be good for applying alcohol inks.)

Next try, MAGAZINE WASHI!

A Win for Chatgpt!

A Win for Chatgpt!
A Win for Chatgpt!

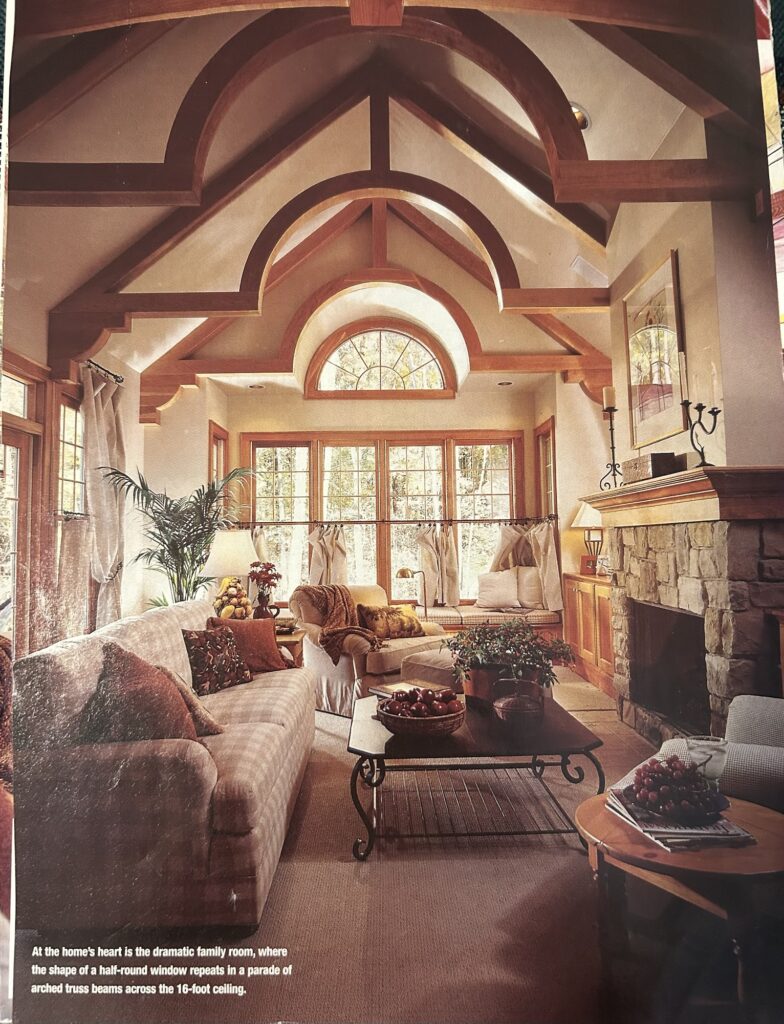
If we remodel our house for accessibility, we’d like to add a roomier living room. I’ve kept this photo of my “dream room” for 30 years.

I know it’s been 30 years. Here’s the cover of the magazine:

See the date, Winter 1996. It’s a photo from the same room.

Now, the curved beams are delicious to me, but so impractical. For one, they are expensive, and for two, they’d be a nightmare to dust.

The room is also narrow for wheelchair mobility. The plan says 15ft. I changed it to 18. I kept the window seat, and lowered the vaulted ceiling. I covered that ceiling with wood.

I kept the arched window and echoed it with an arched doorway, which there is just a hint of in the version Chatgpt rendered:

I am exceedingly pleased!

Using Mark-Up; Where to Find It

Using Mark-Up; Where to Find It

In an earlier post, I showed how I use Mark-Up to add color to my photos.

The photos don’t have to be black and white, but I do enjoy “colorizing” them!

Mark-Up is part of photo editing on an iPhone. (I’d bet there’s something similar in Android phones. Most have Google Photos.) I have an iPhone 14 using iOS 26.3.1

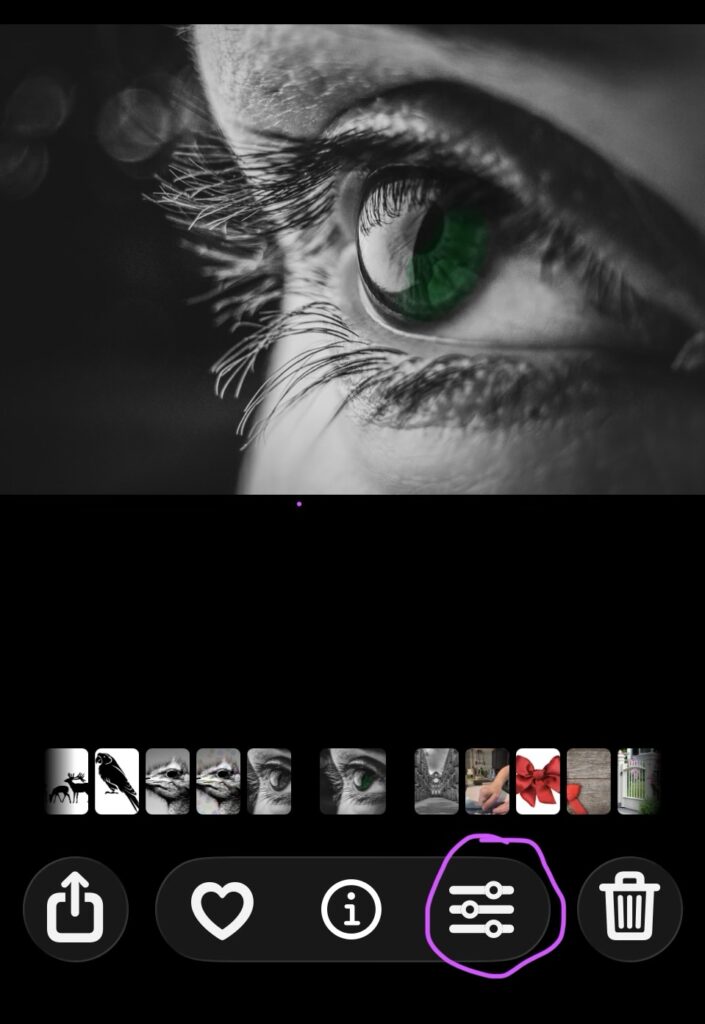
During a recent upgrade, all the photo editing icons were combined into one slider. It looks like this:

It appears at the bottom of any iPhone photo you open.

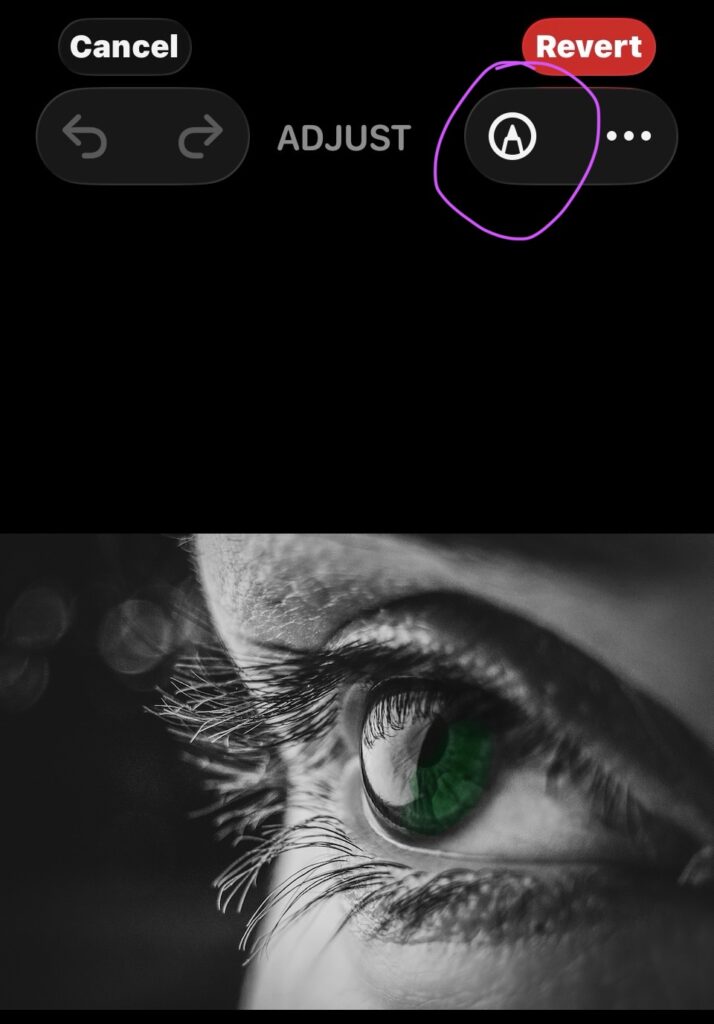
Click on (touch) that slider and a whole new set of icons appear.

Look for a little pen tip at the top right. It can do magic!

It can do magic! What happens next will be in a future post.

Go ahead and click on it if you want to explore on your own!

Glueless!

Glueless!
Glueless!

Not really, but I did spend the day cleaning and packing and driving back to Charlotte.

I was anxious to get back to seal and finish this big collage:

Gutsy

There’s a whole story behind this collage. It’s my entry for the January Collage Challenge at Makers of Mixed Media Art/Artists, a group sponsored by PMartists Studio. I’ll share more in the future.

My favorite sealant is Liquitex Satin Gel Medium. I have 2 containers and both are left at home. I’m off to the web to see if Michael’s has any in stock, or order more for here. 🙄

My First Big Stencil!

My First Big Stencil!

I had copied several Japanese family crests, or Kamon, to turn into stencils for gel printing. I found them at Encyclopedia Japan.

I printed this one to make a large stencil.

I realized that I needed to connect the round circle to the white areas, or my Scan N Cut would cut the entire outer circle in one piece and would leave me the insides as a round stencil.

I got out my white Posca acrylic paint pen and a ruler. I made several white marks across the outer circle before I scanned it. I had to go over them several times, letting them dry between. It looked like this:

I scanned this image into the machine and saved it. I removed the image and added a sheet of thin Yupo plastic paper to the cutting mat.

I pulled up the saved image and began cutting. I realized I had misjudged the placement of the image and the cutting knife went off the Yupo. I hit the Stop/Start button, and removed the mat. It appeared I had enough uncut Yupo to cut the stencil. I could even turn the mat around and start again! But First, I had to adjust the position of the image in the machine. The display screen is very small.

This is what I got:

I was able to cut the bottom off:

Not perfect, but not bad for a first!
#the100dayproject2024, #fix,finishandfind Day 47

Scan 2 Cut Data

Scan 2 Cut Data

One of the special features of the Brother Scan N Cut is a built in scanner! One of the functions is scanning images to saved data that can be recalled at another time. I practiced that function yesterday and today. These are some of the images I scanned and saved as cutting files:

I found these images on a poster-making app called Free Form.

#the100dayproject2024, #fix,finishandfind Day 46

Star Gazing

Star Gazing

The star was the sun, and we had on our protective glasses, of course.

That’s my neighbor, Mary, and me. The glasses were compliments of our neighbor, Tom Huber. That’s him and his wife, Jane, behind us. Here they are:
That’s their dog, Lou, (Thelma Lou.)

Lots of other neighbors came out. I’ll add pictures when I get copies.

I had given my glasses to Vivi to take to school. I knew Peter’s school would provide them. I used some homemade gadgets until Tom shared glasses.

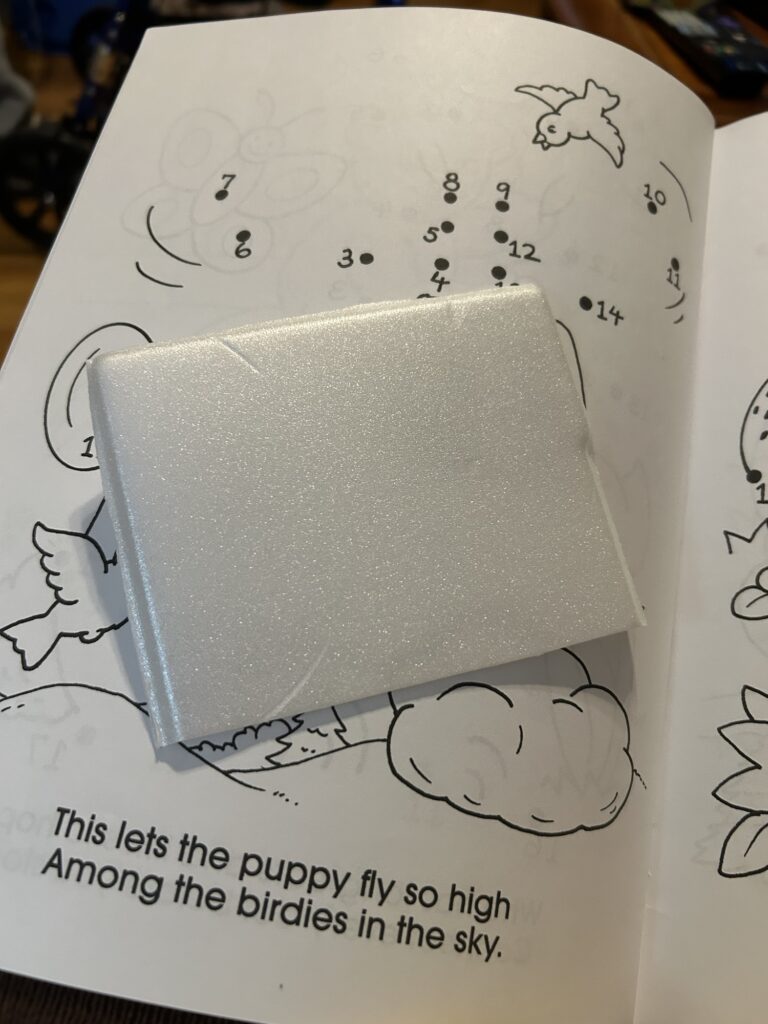
I made a pinhole camera from a cardboard box. The box had another small hole in a corner, so I got Two images with it!

I also used a colander, and got lots of images!

I fixed that box, so I’m counting today. It was great fun!

#the100dayproject2025, #fix,finishandfind, Day 44

Extending My Challenge

Extending My Challenge

I have decided to extend my challenge tag to, “fix, finish and FIND!” Look what I found, yesterday!

This is a Carol Doak paper piecing box that I do not have! I found it in a thrift shop in Matthews, NC. $2! It’s in new condition and still has its CD of patterns in adjustable sizes.

I also found this:

It was $4 but has three full page circus posters like this one:

Despite the title, there’s really not much else worth harvesting. I still thought 3 prints were worth the money. I feel a triptych coming on!

#the100daychallenge2024, #fix,finishandfind, Day43

Nice Try!

Nice Try!

Tonight, I tried combining images to form a “scene” with my stencils. One boat, though, sailed too far down stream! I can fix that by moving the stencil slightly when I print.

#the100dayproject2024, #fixandfinish, Day 42

Another Harvest!

Another Harvest!

Tonight, I finished harvesting this 2022 Hammacher Schlemmer Christmas catalog.

The Hammacher Schlemmer is one of the absolute best for harvesting images! The catalog can be requested for free! I got this many images:

I have sorted them by size and shape. One category is words. I store them in different size baggies.

There was something usable on every single page, including the covers.

Back cover

What a great choo choo on the front!

Day 38, #the100dayproject2024, #fixandfinish.