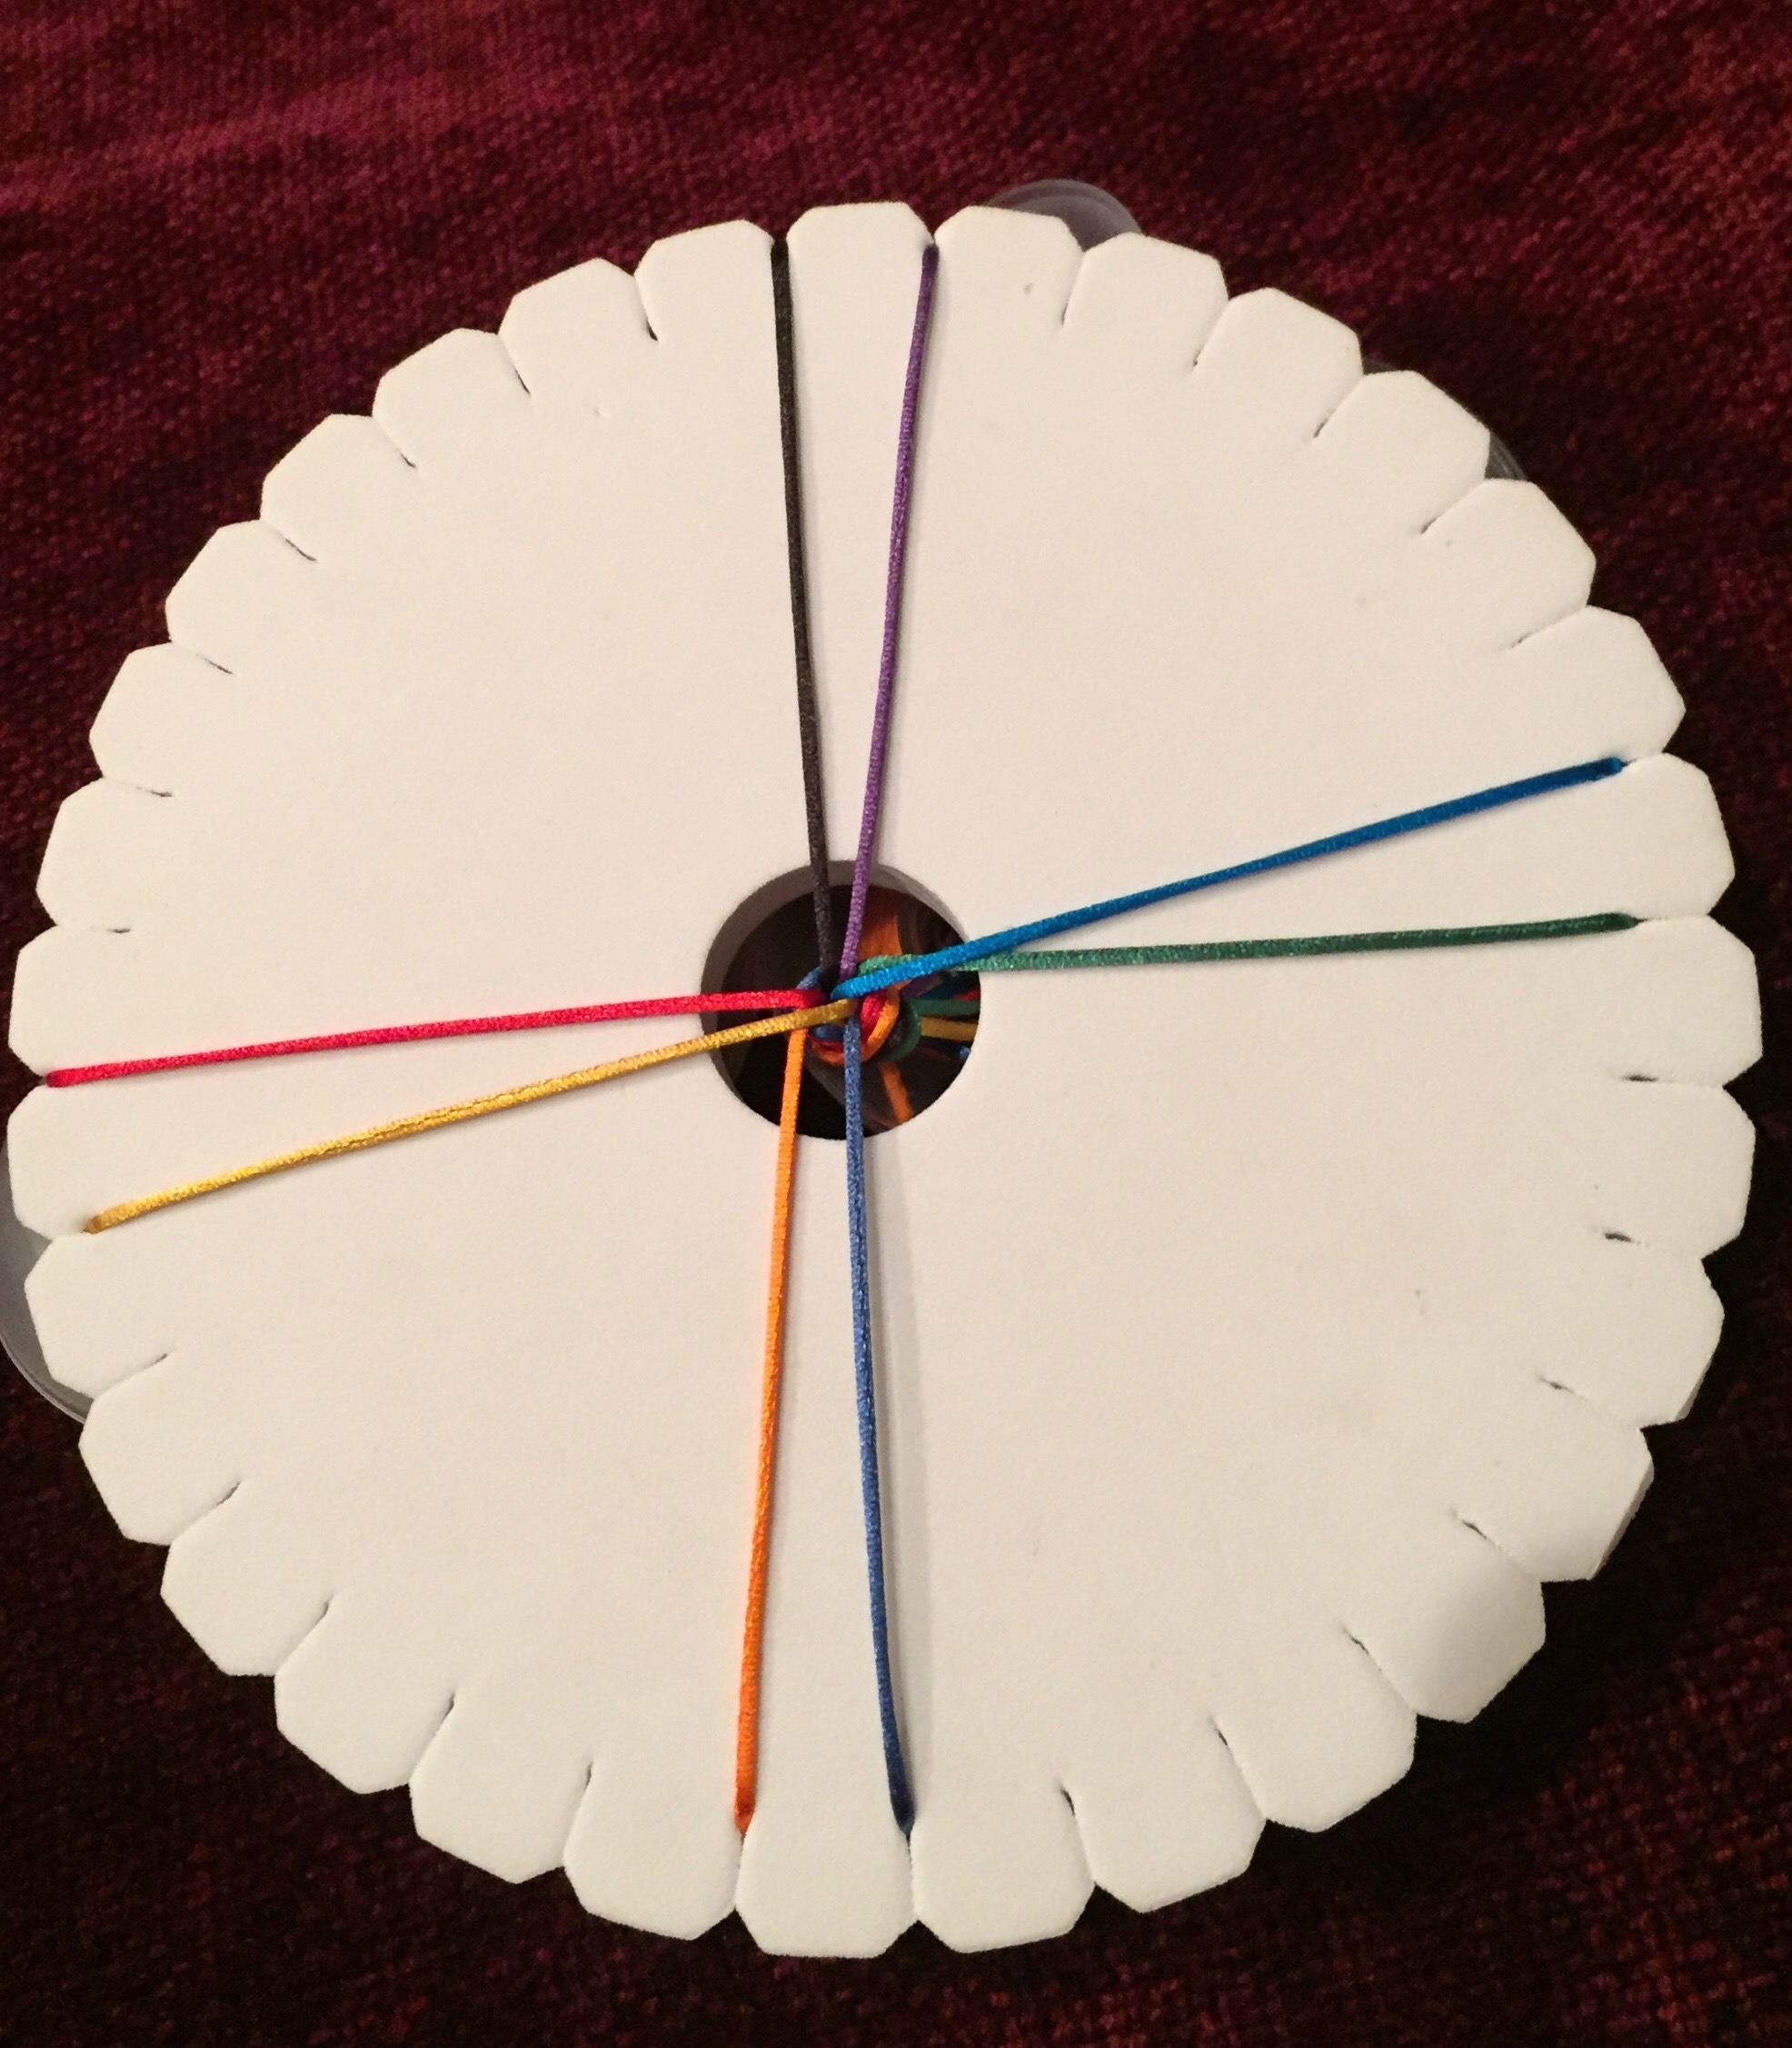
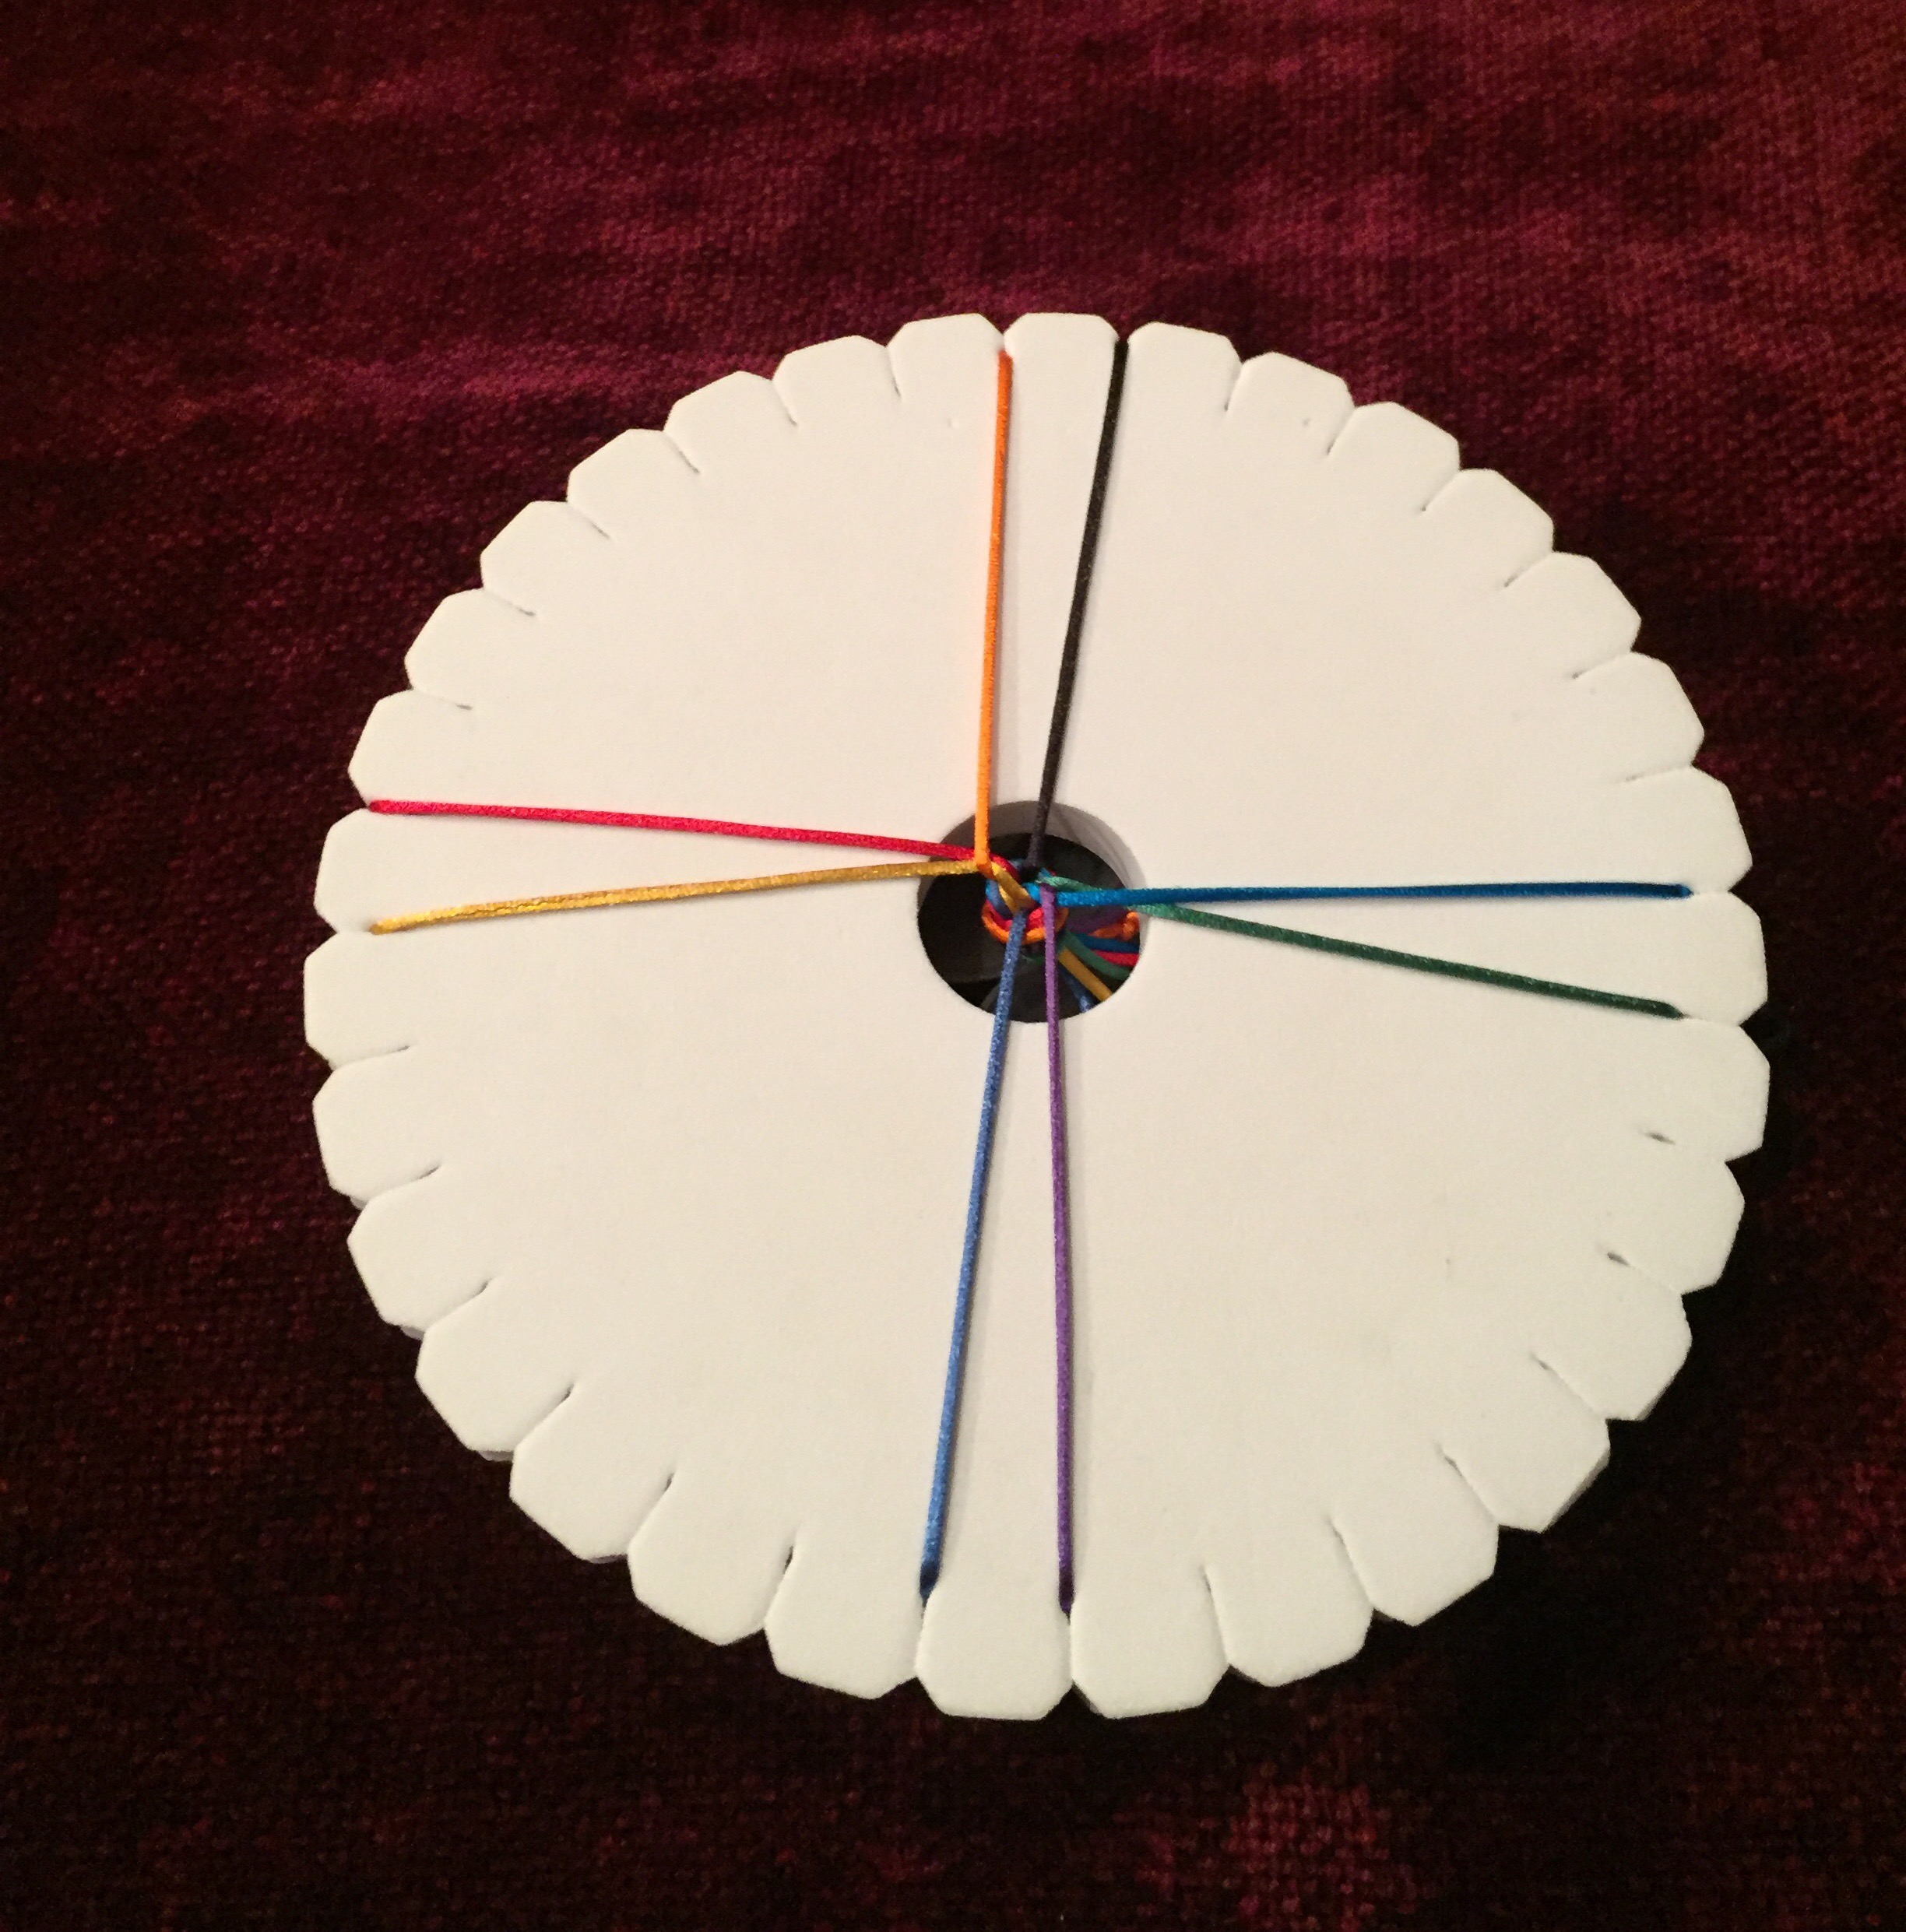
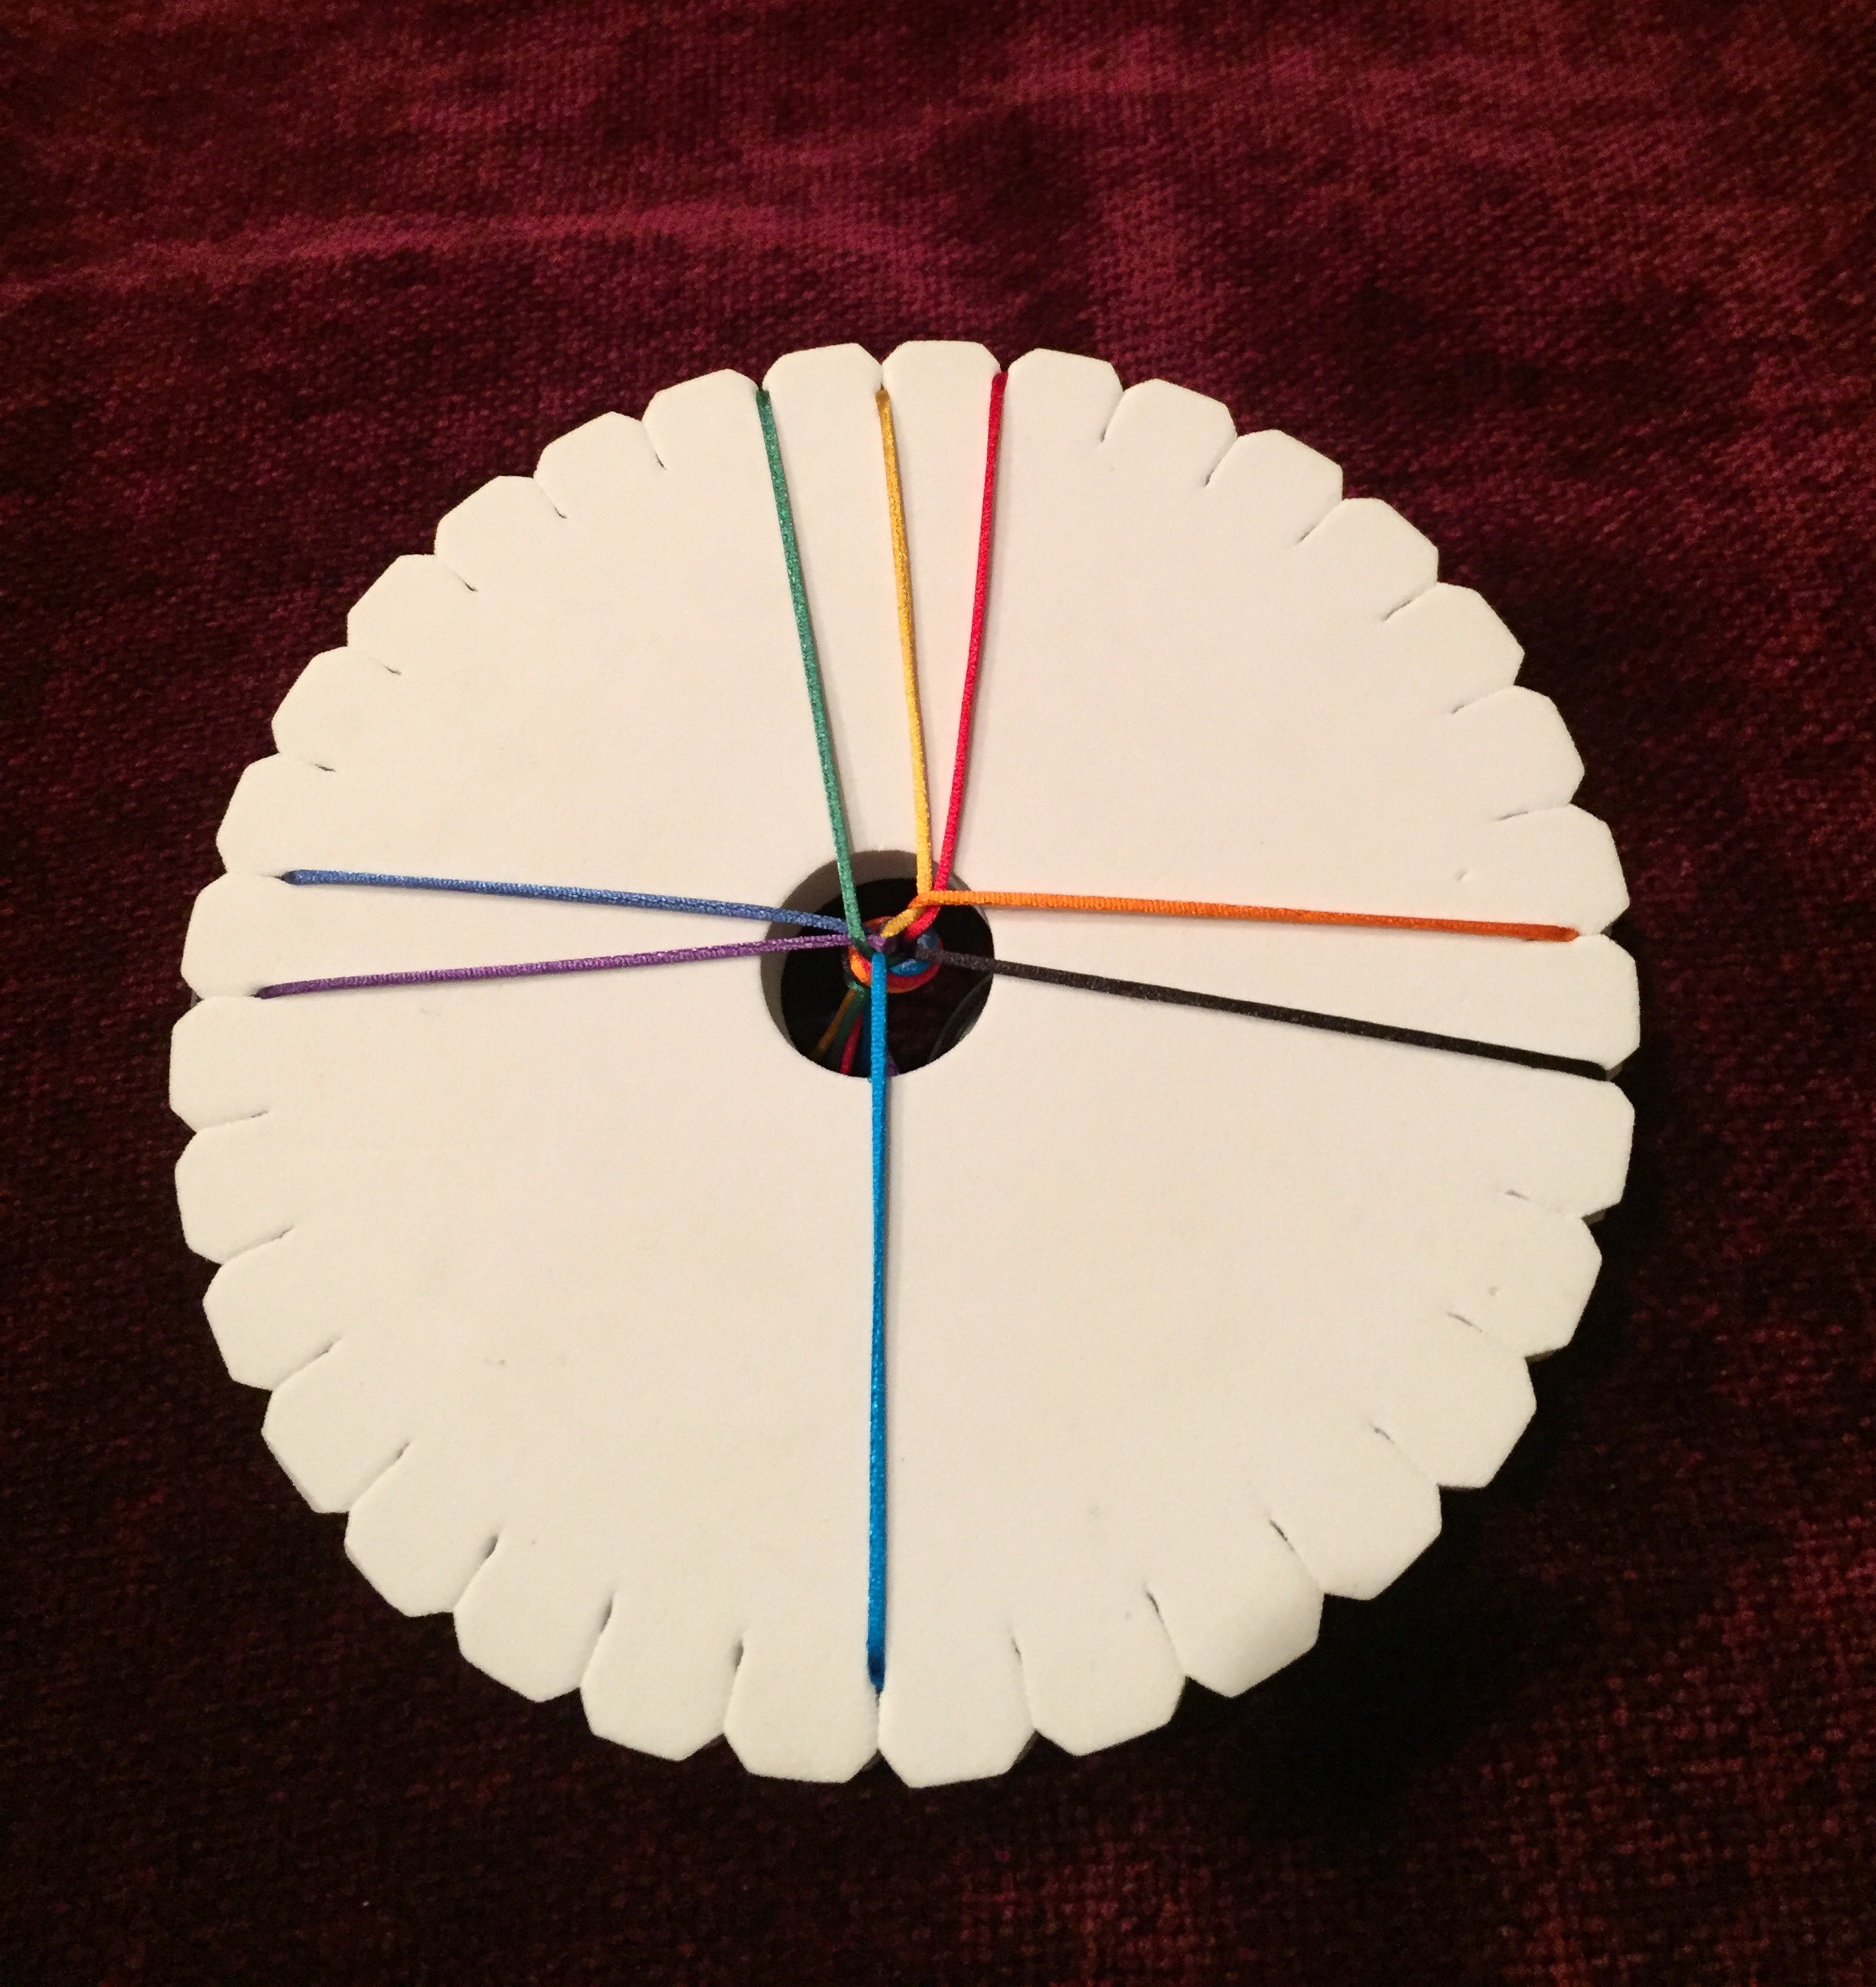
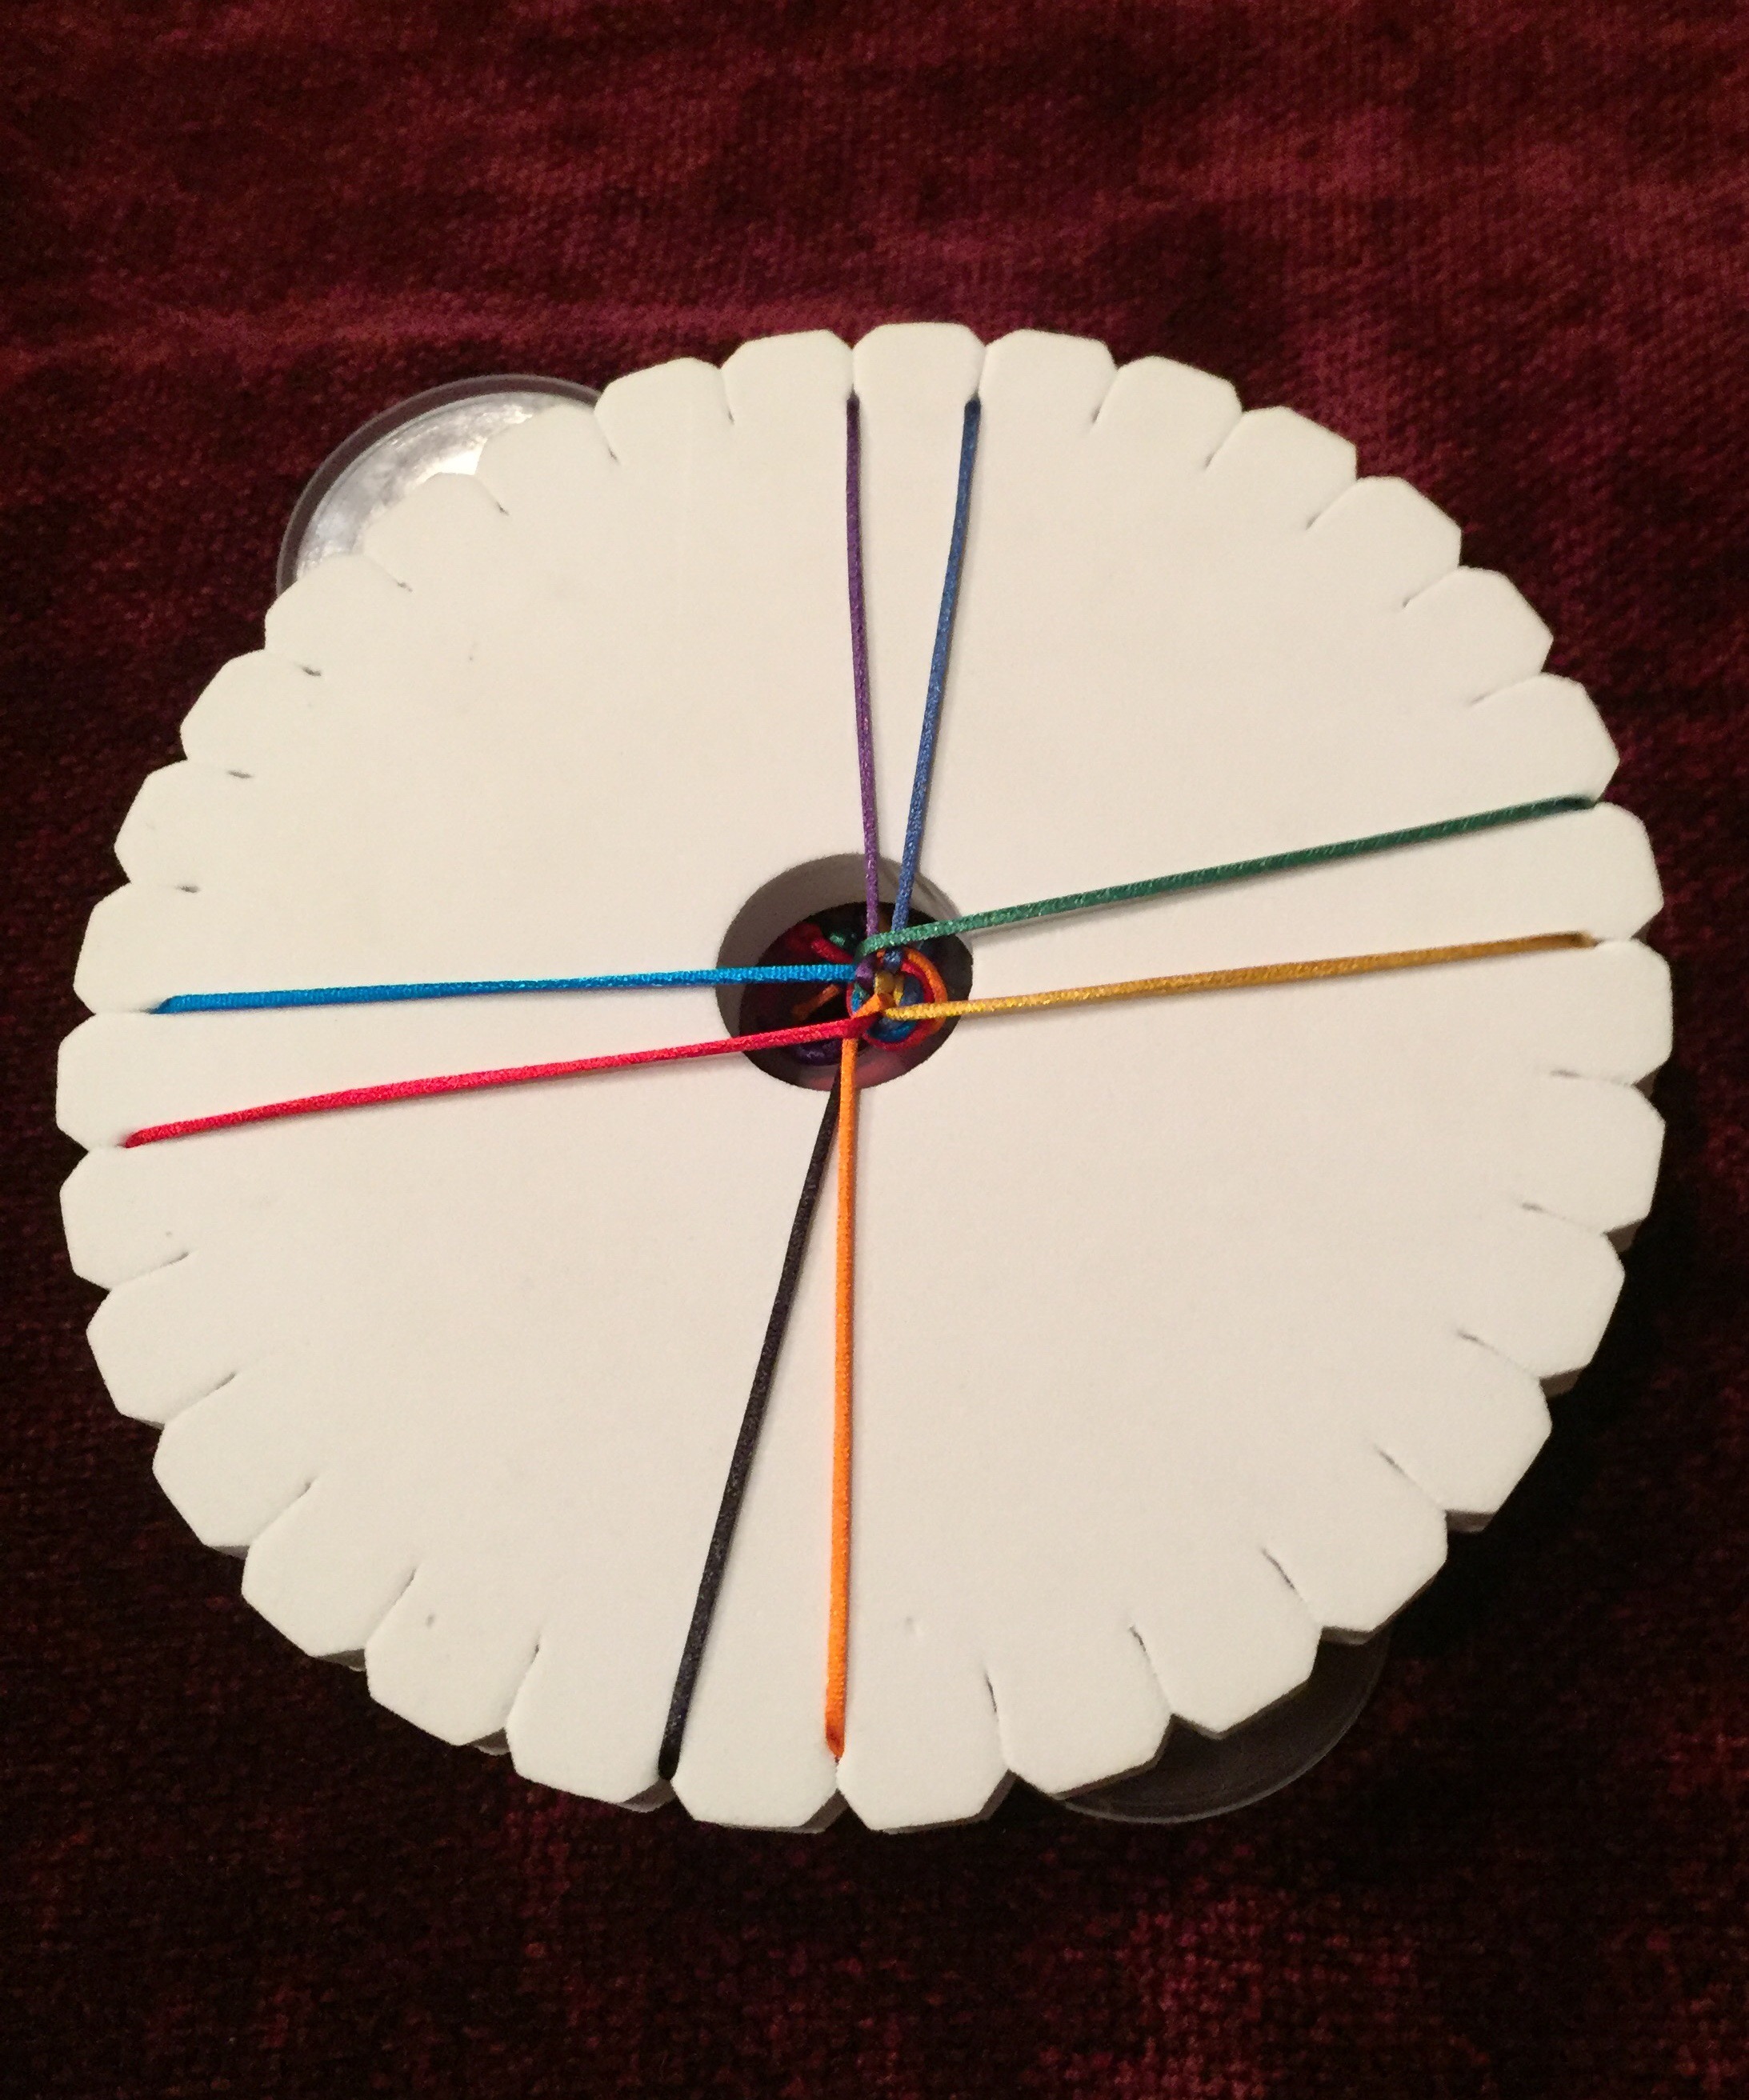
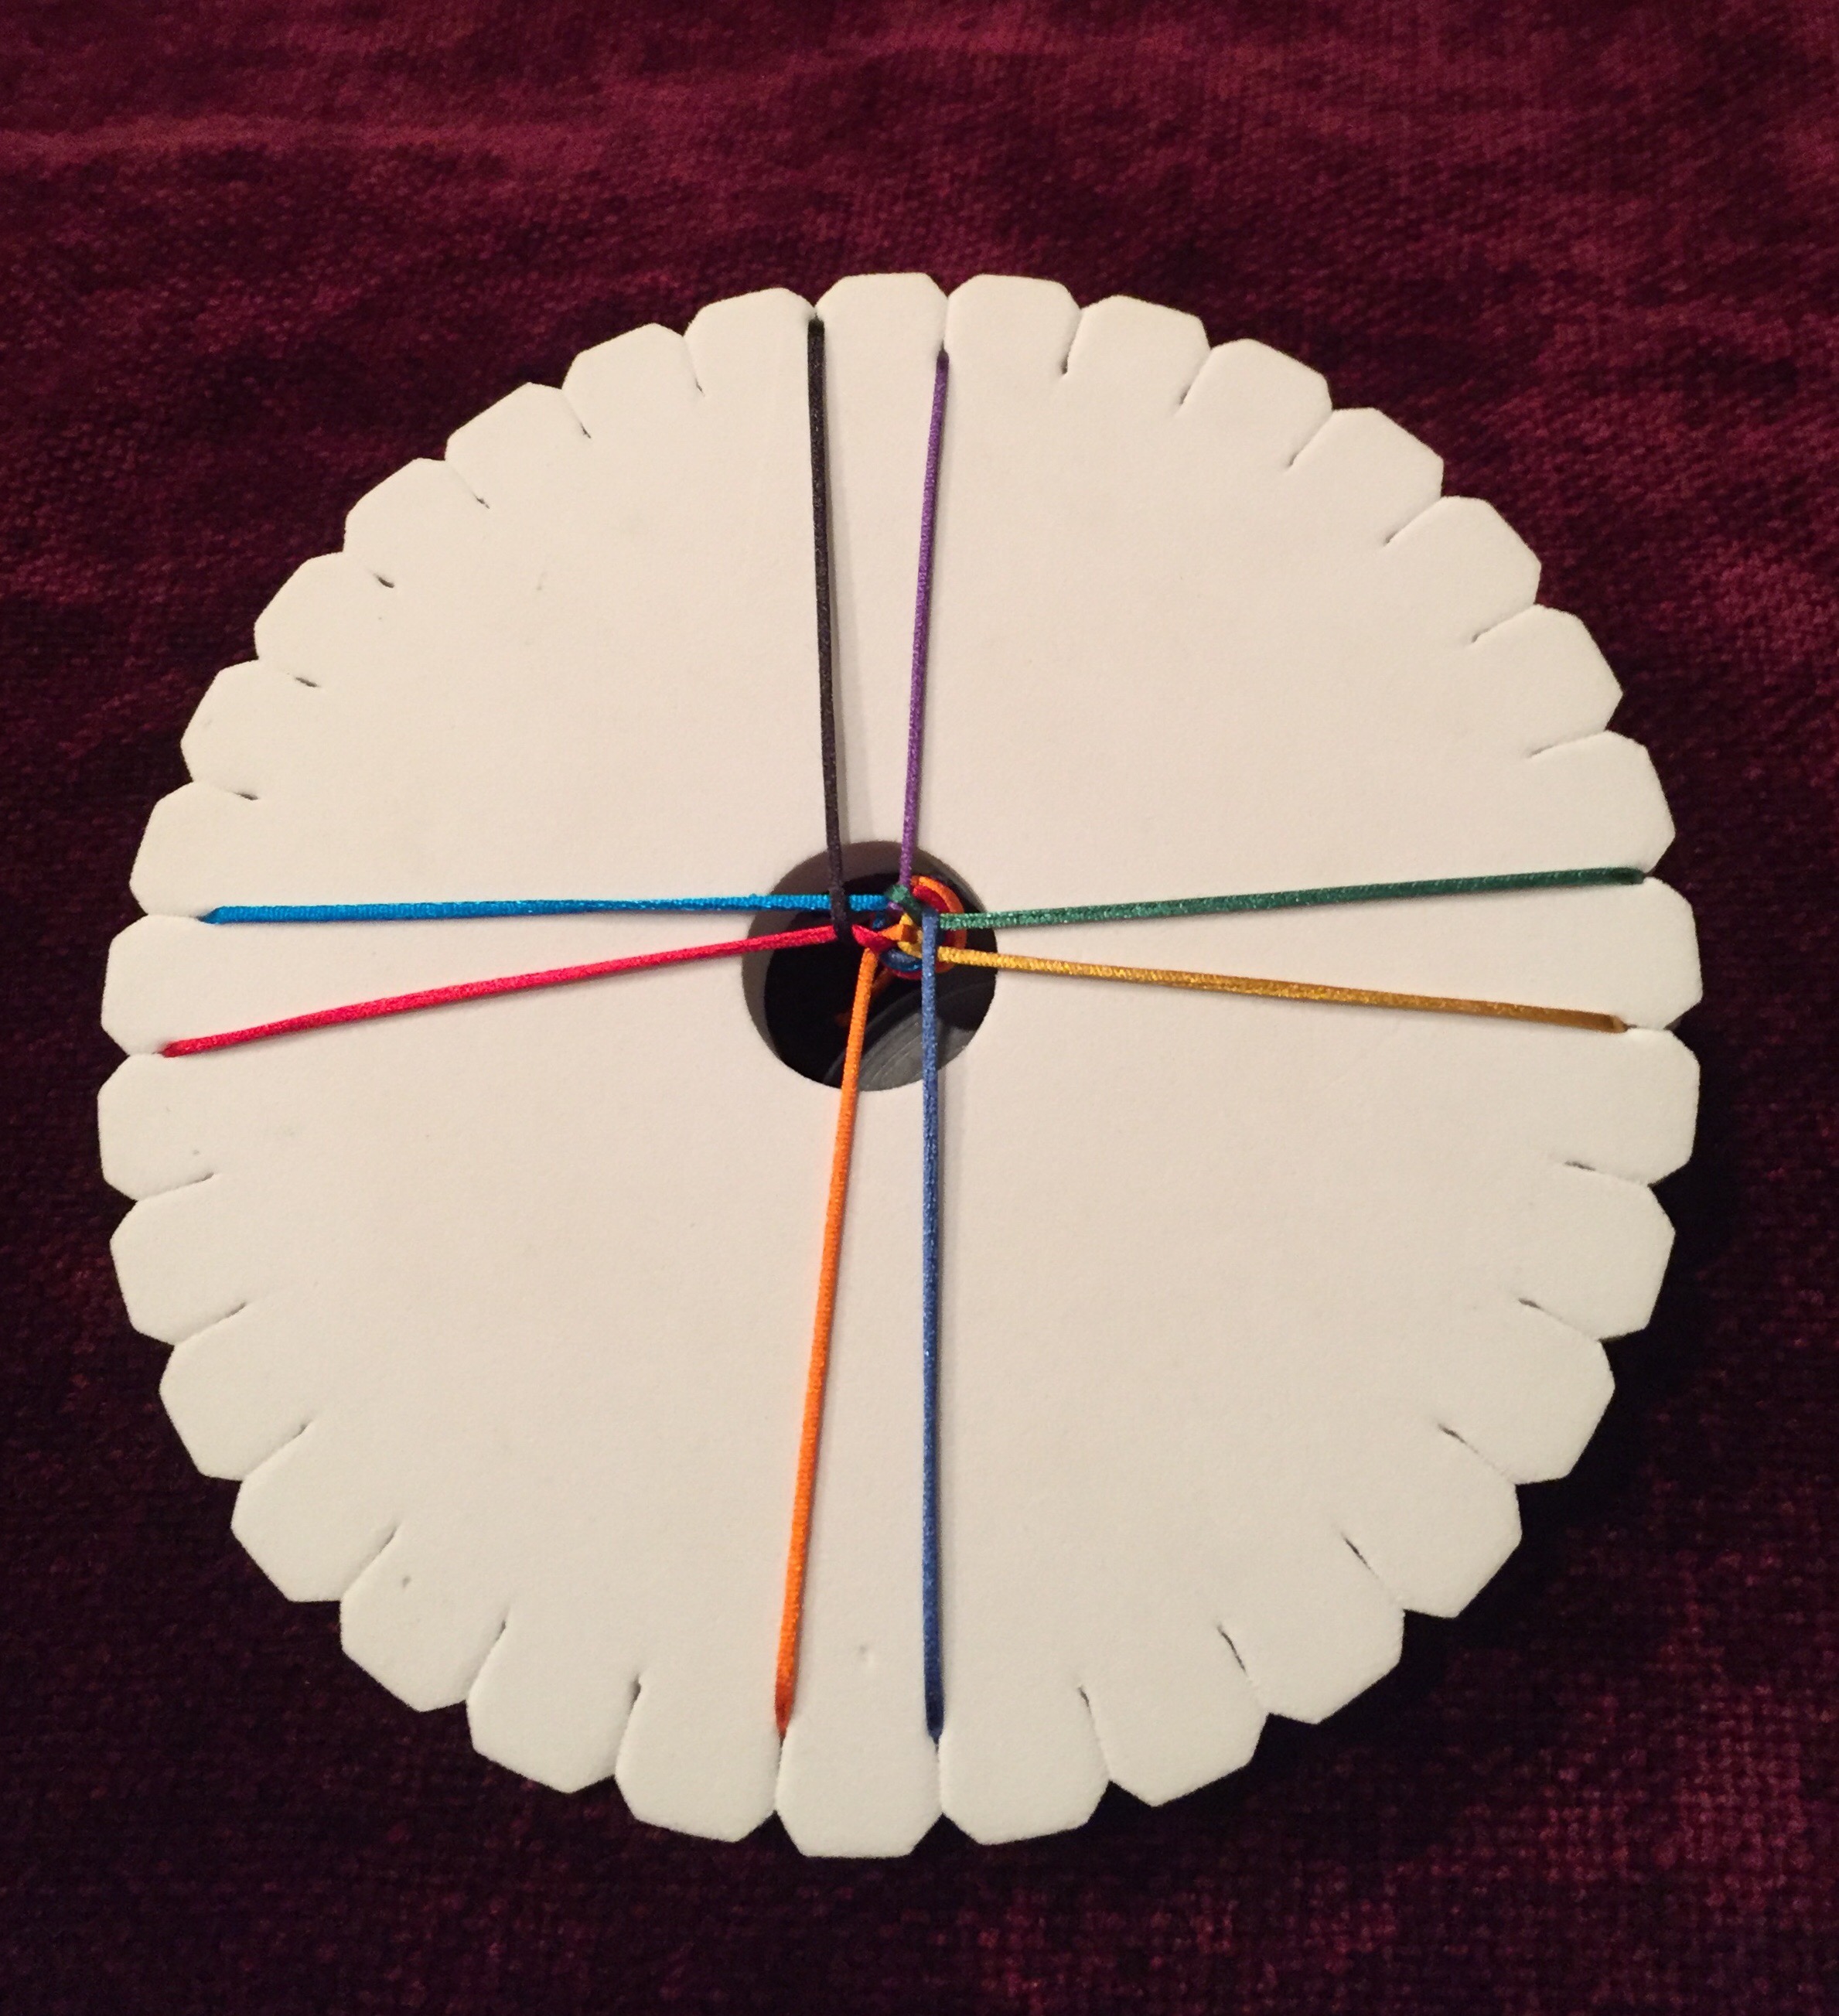
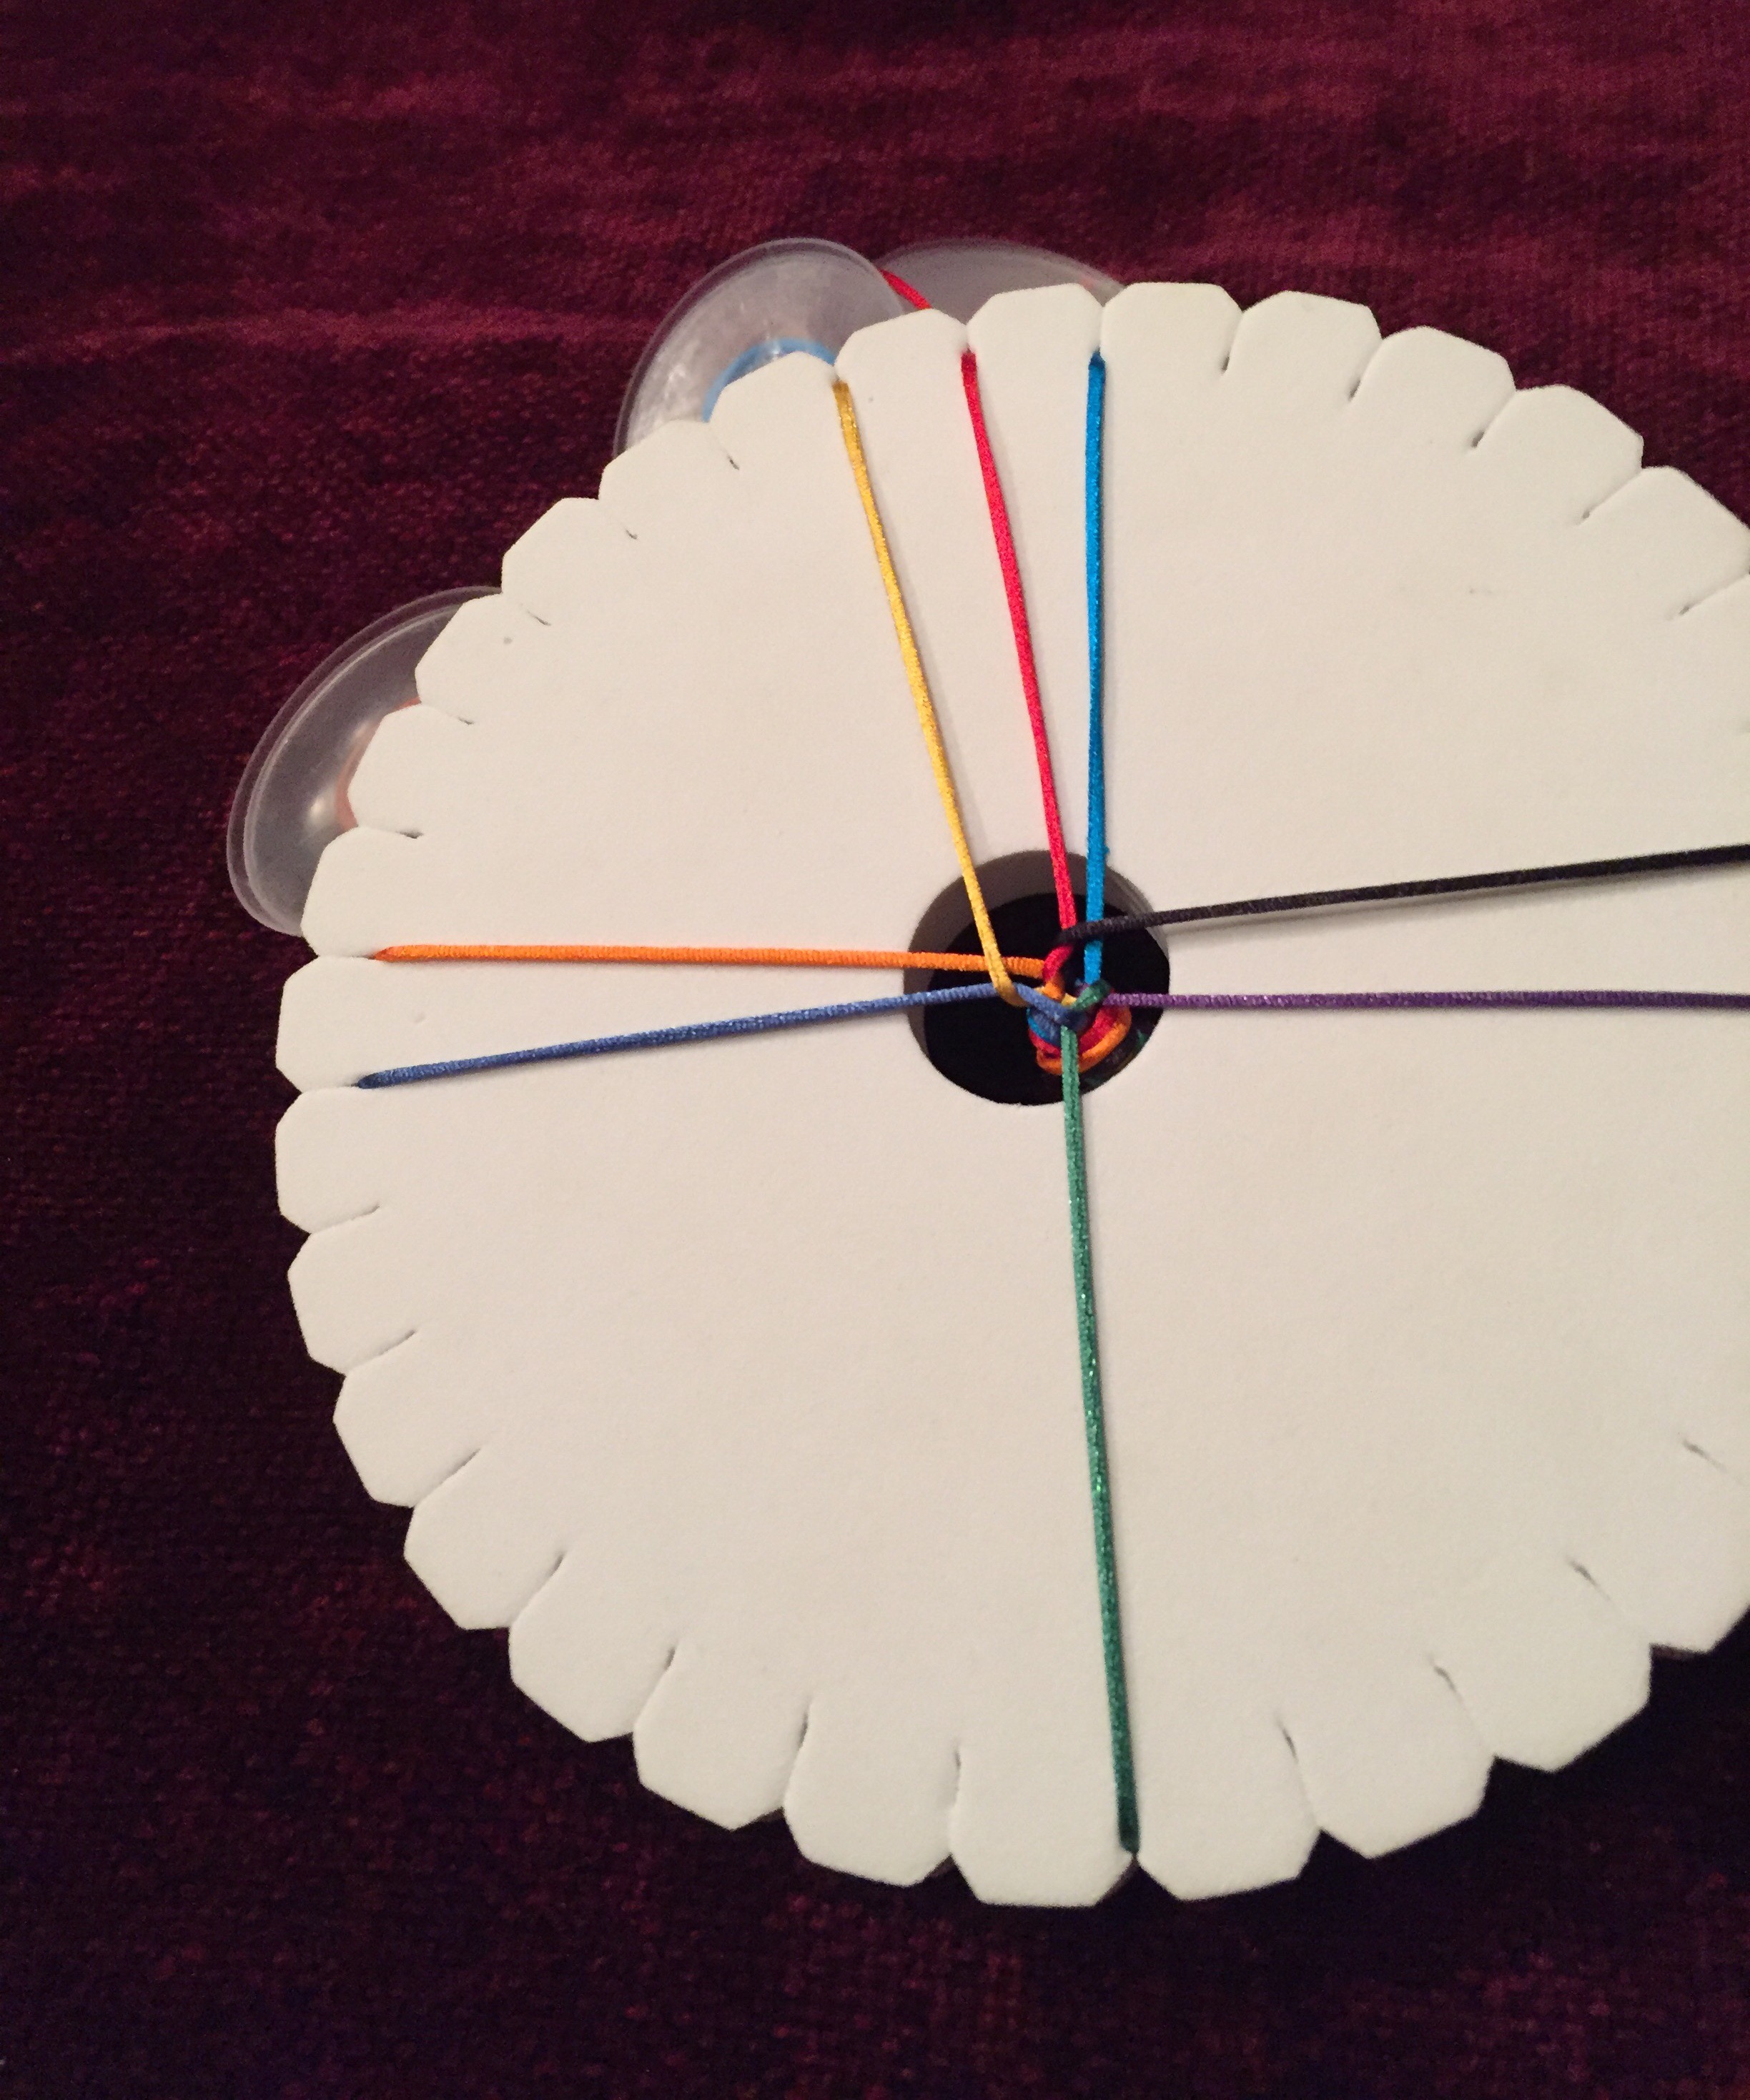
Here we are at the braiding! Your disk should be set up like this. It doesn’t matter what color or kind your 8 cords are, but they should be arranged in pairs, in this, “+” formation.
You can begin with any pair of cords you like. Whichever you choose, start with them at the bottom, or south, position. I’m starting with turquoise and red.
Step 1) Lift the bottom left (turquoise) cord out of its slot and move it up to the slot to the left of the top left (green) cord.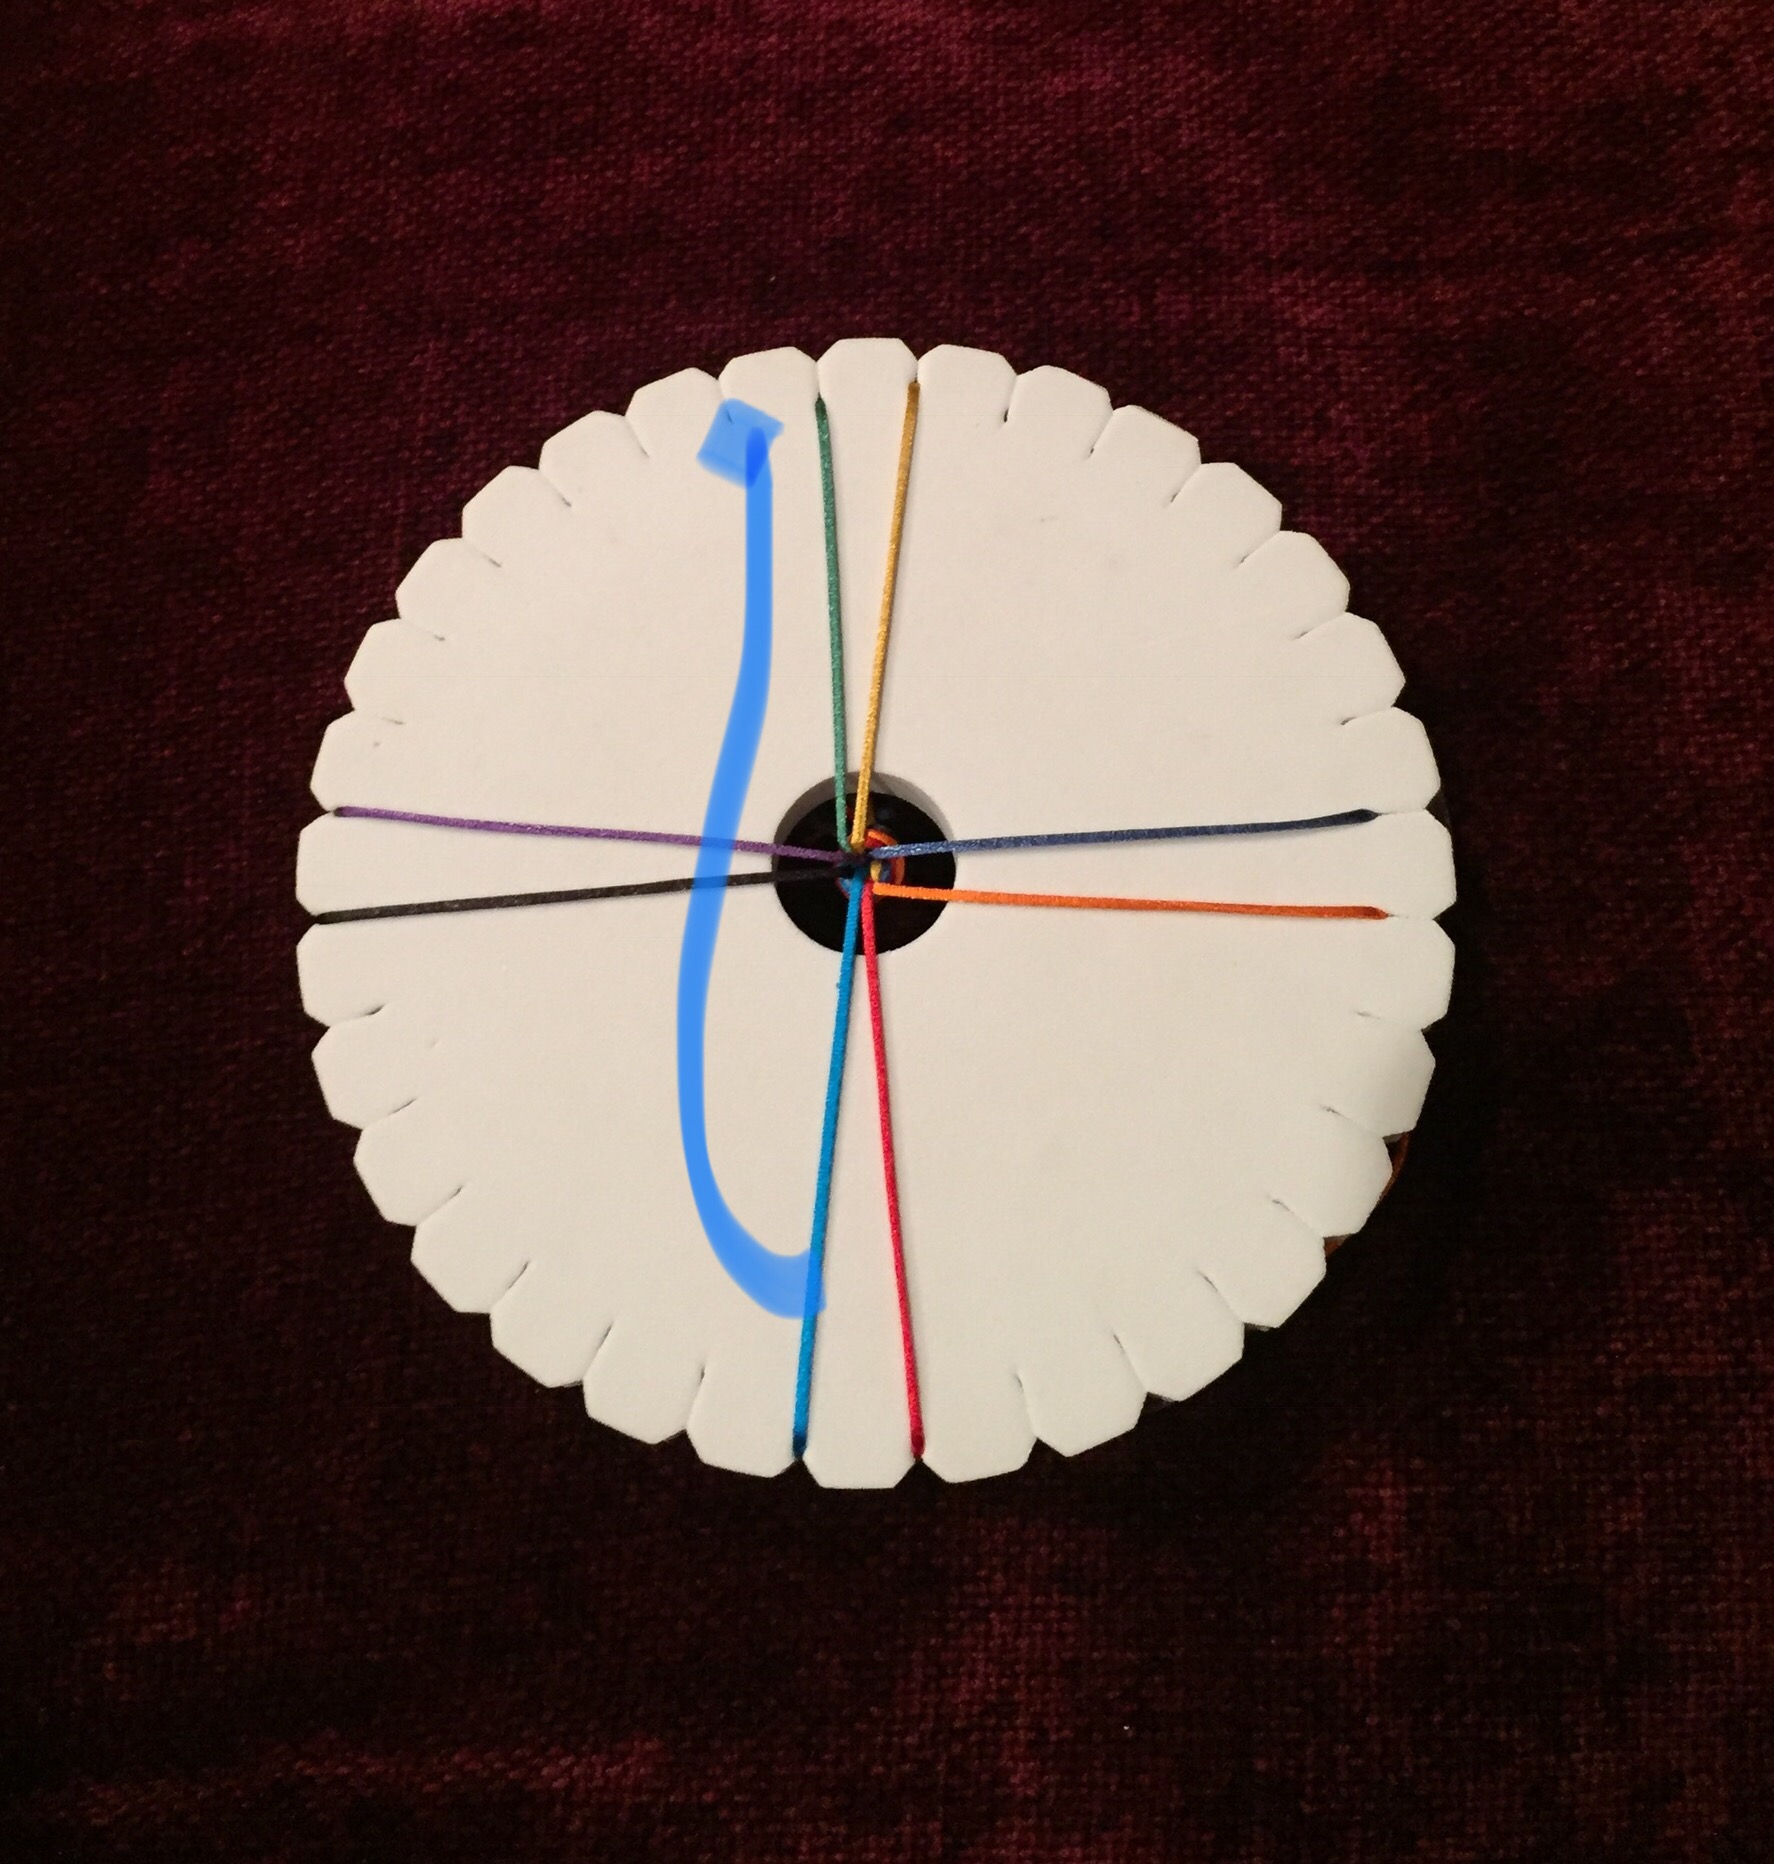 You will have 3 cords at the top and one at the bottom like this:
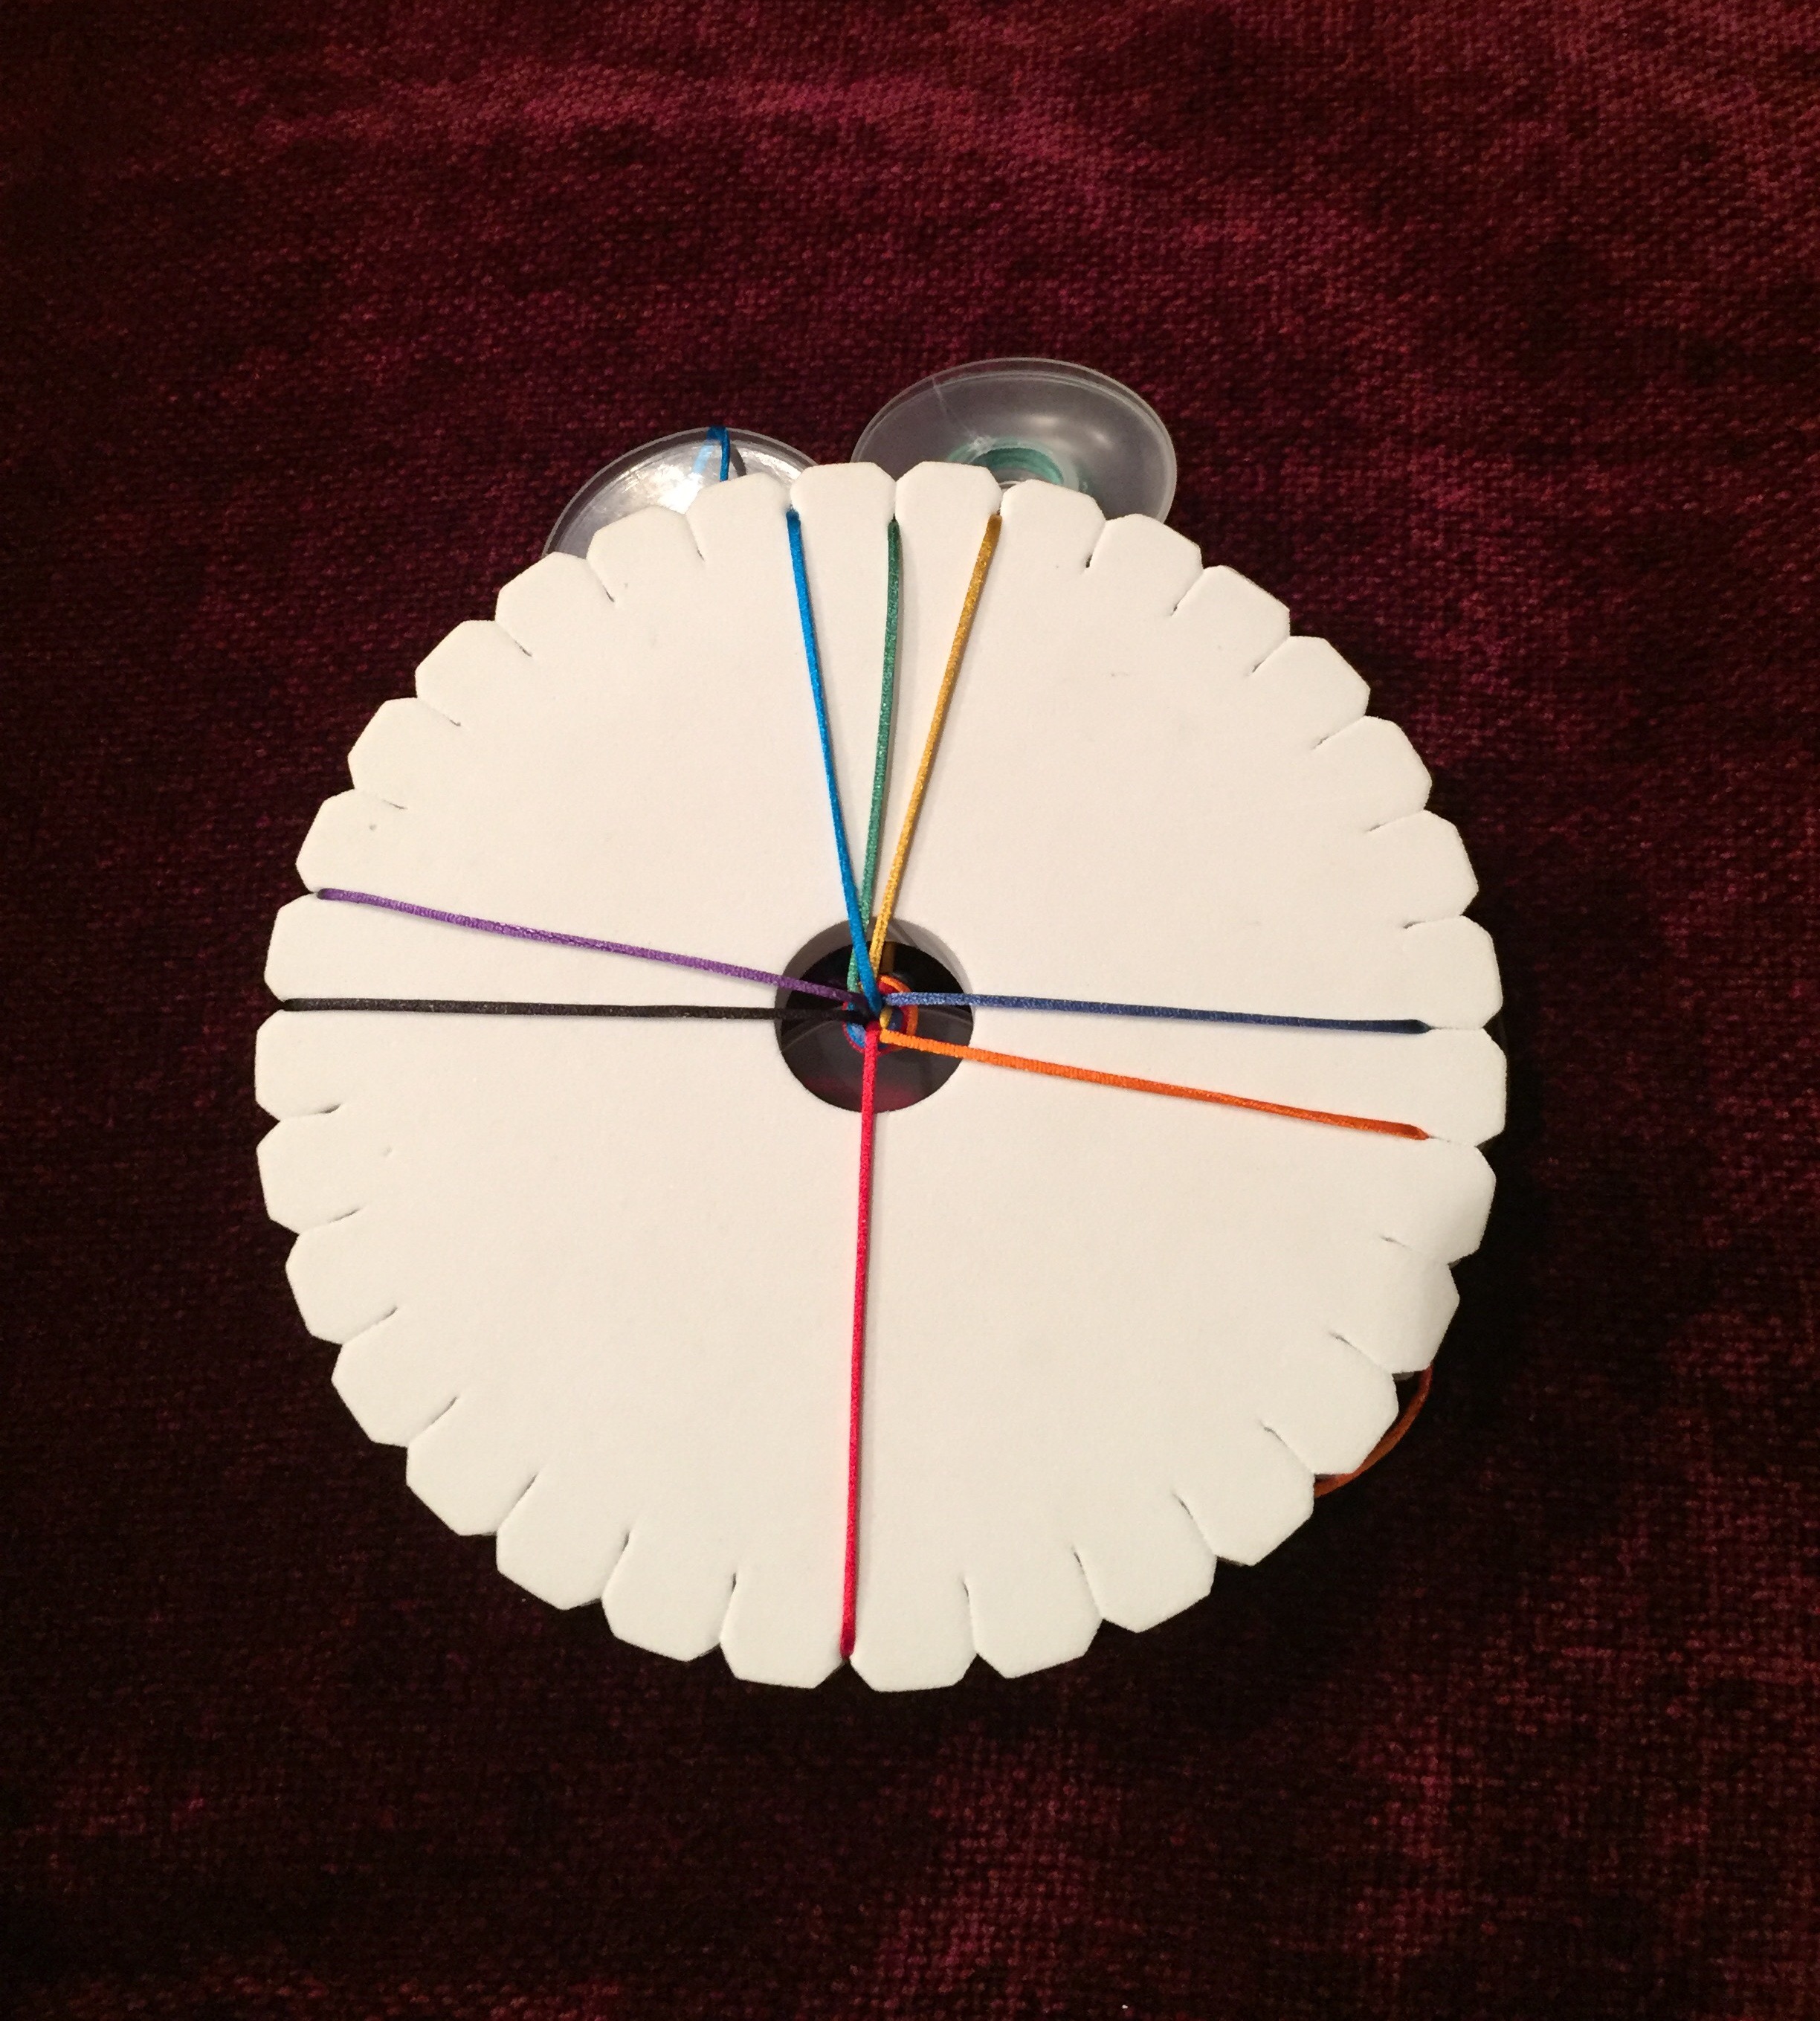
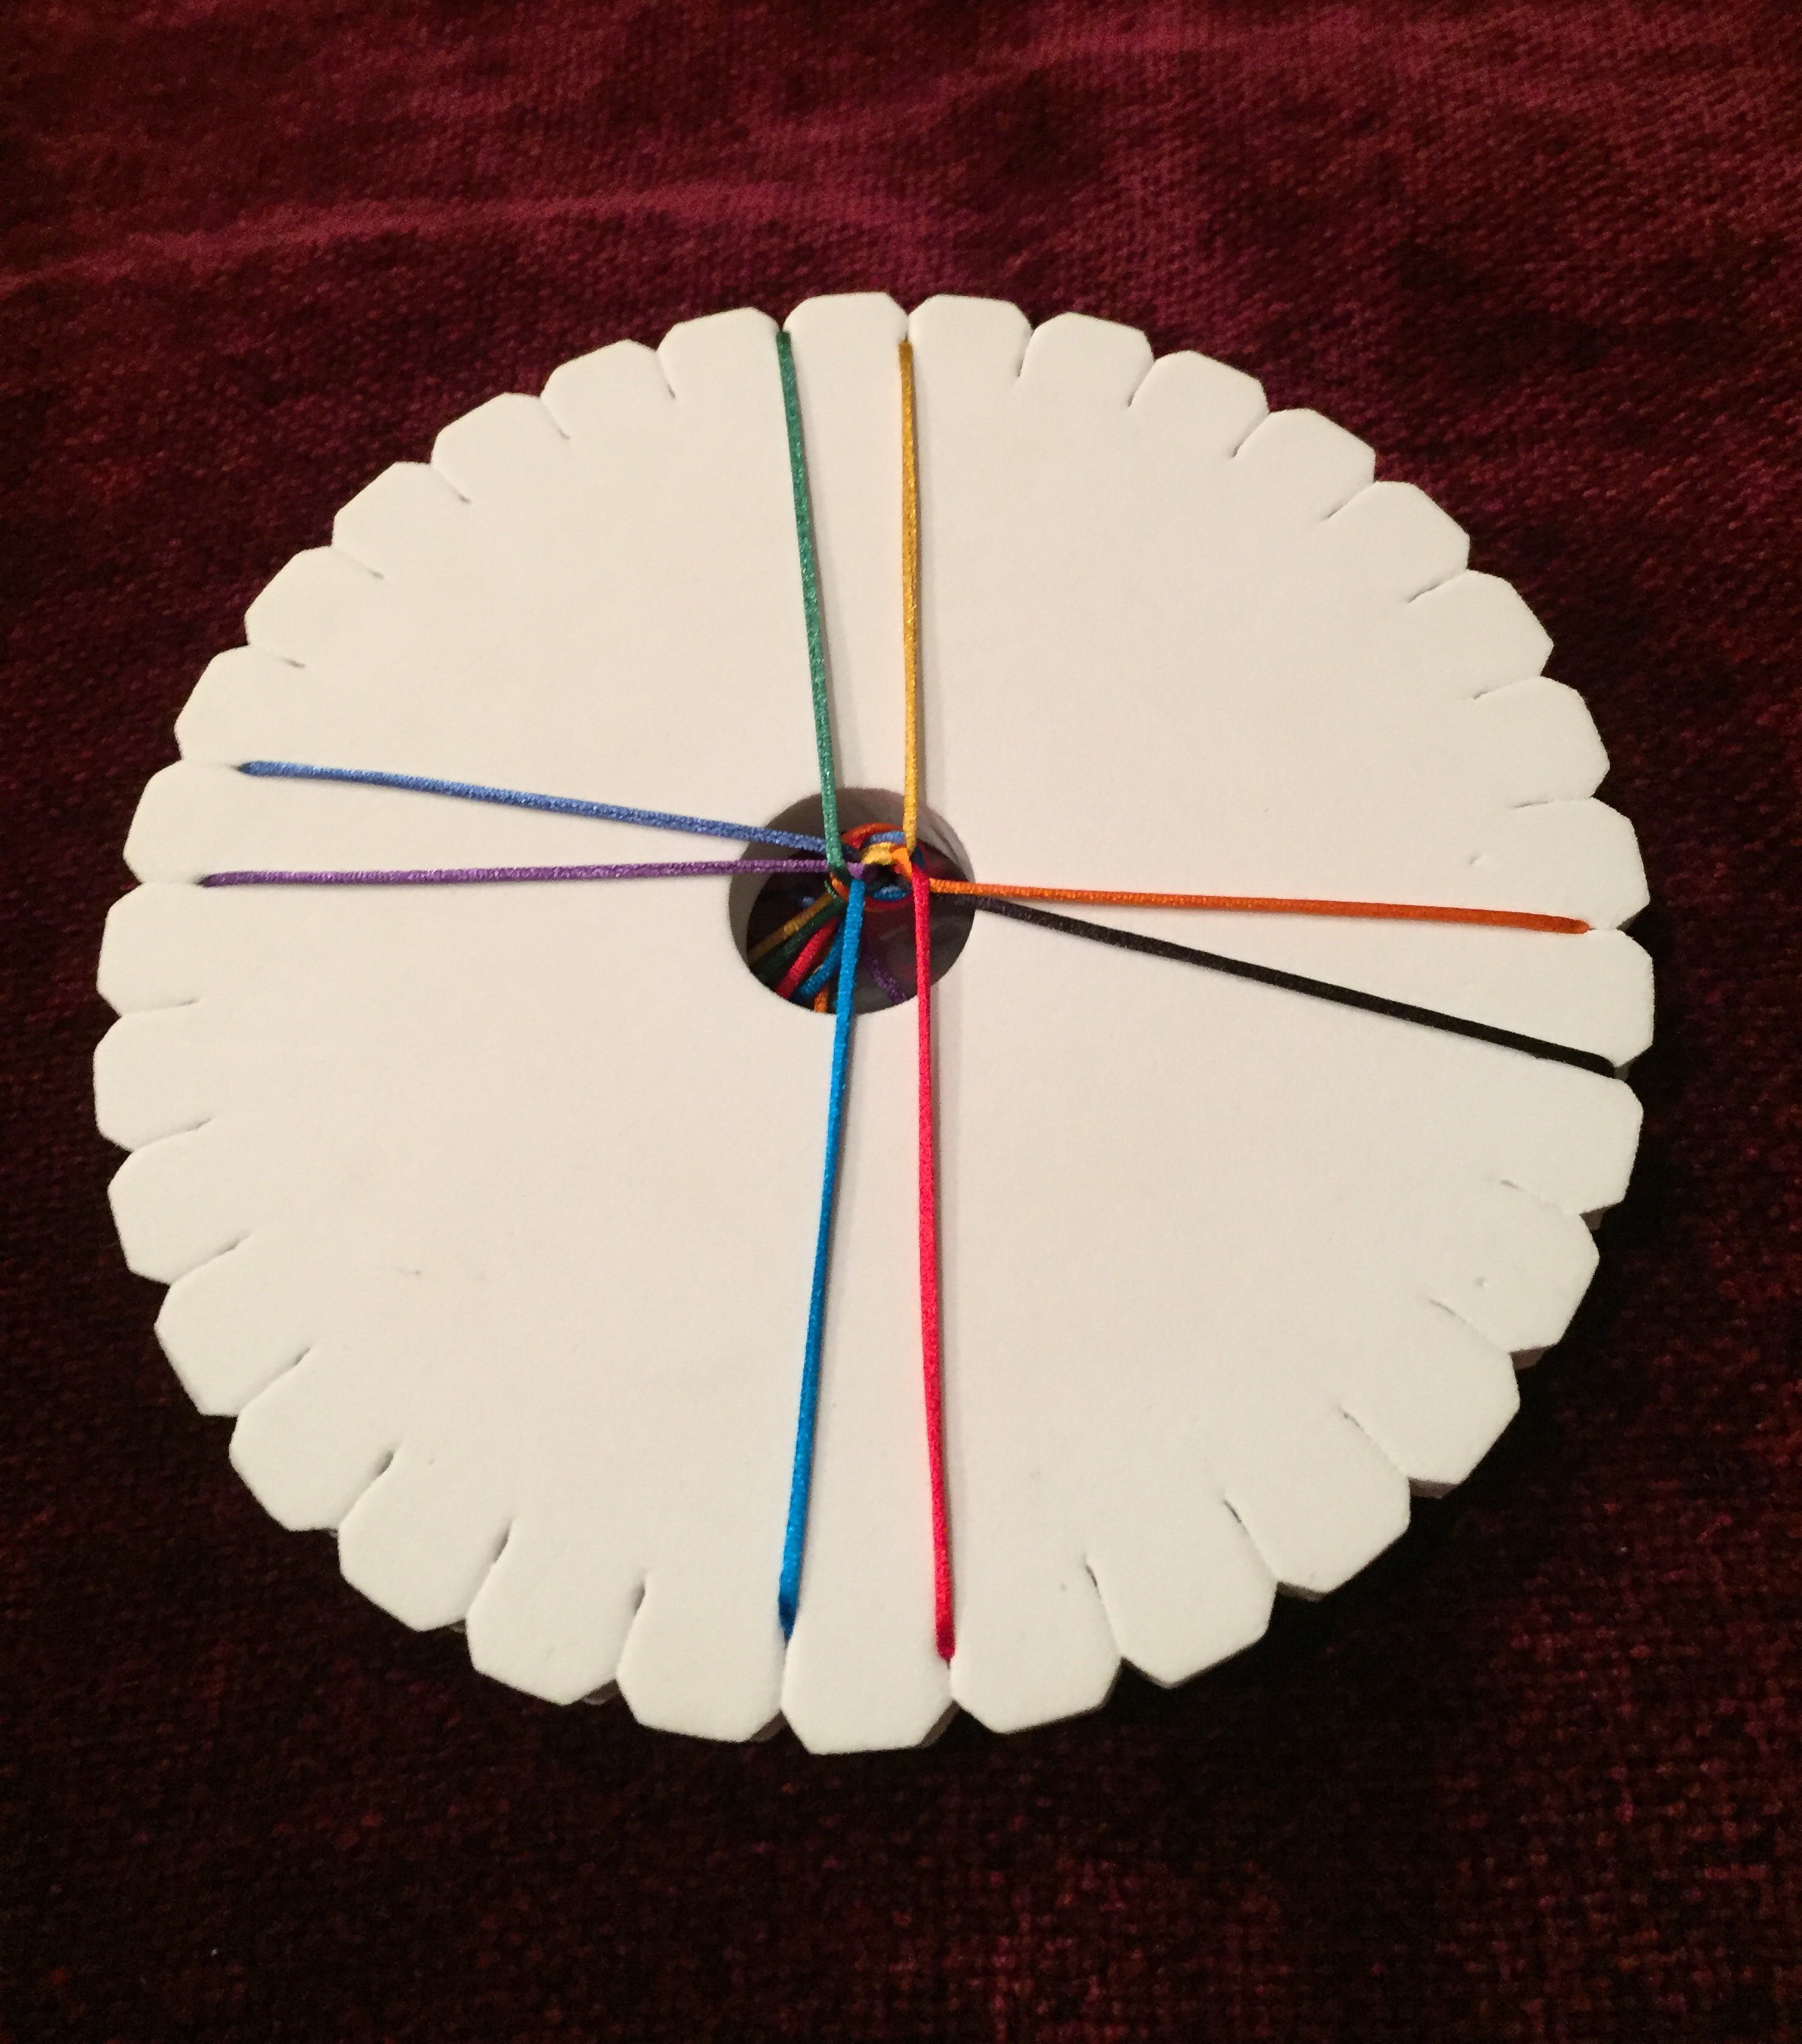
Step 2) Lift the upper right (yellow) cord out of its slot. Move it across the disc and into the slot just right of the bottom (red) cord.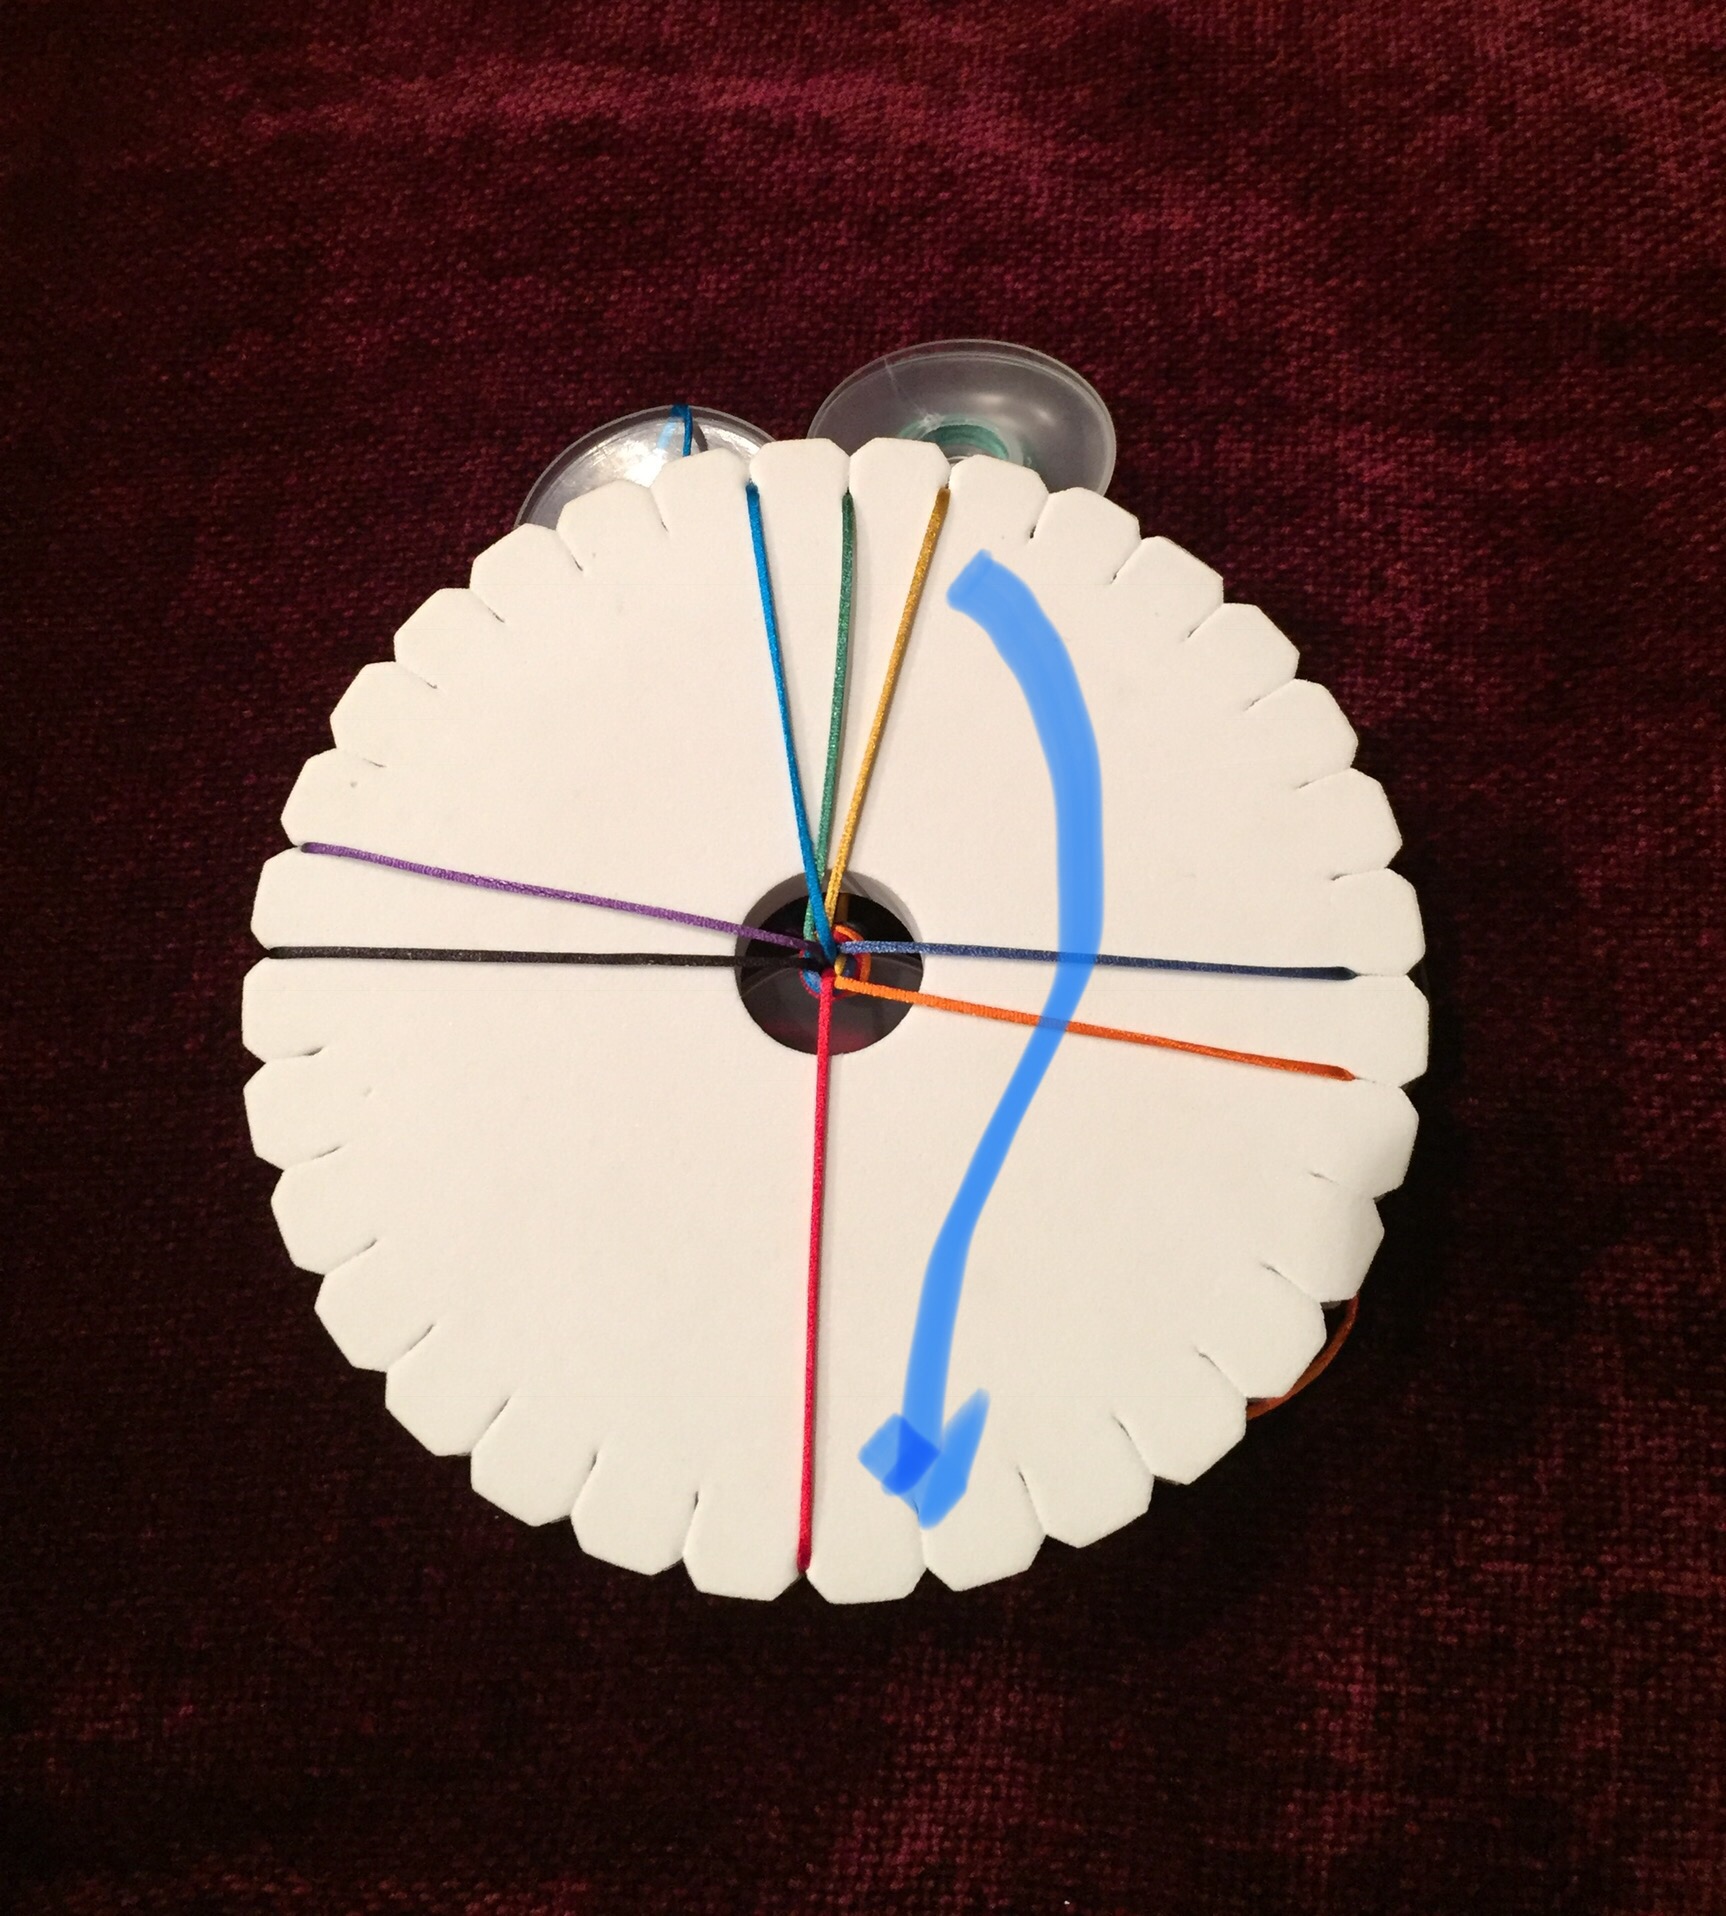
Your cords should be arranged like this: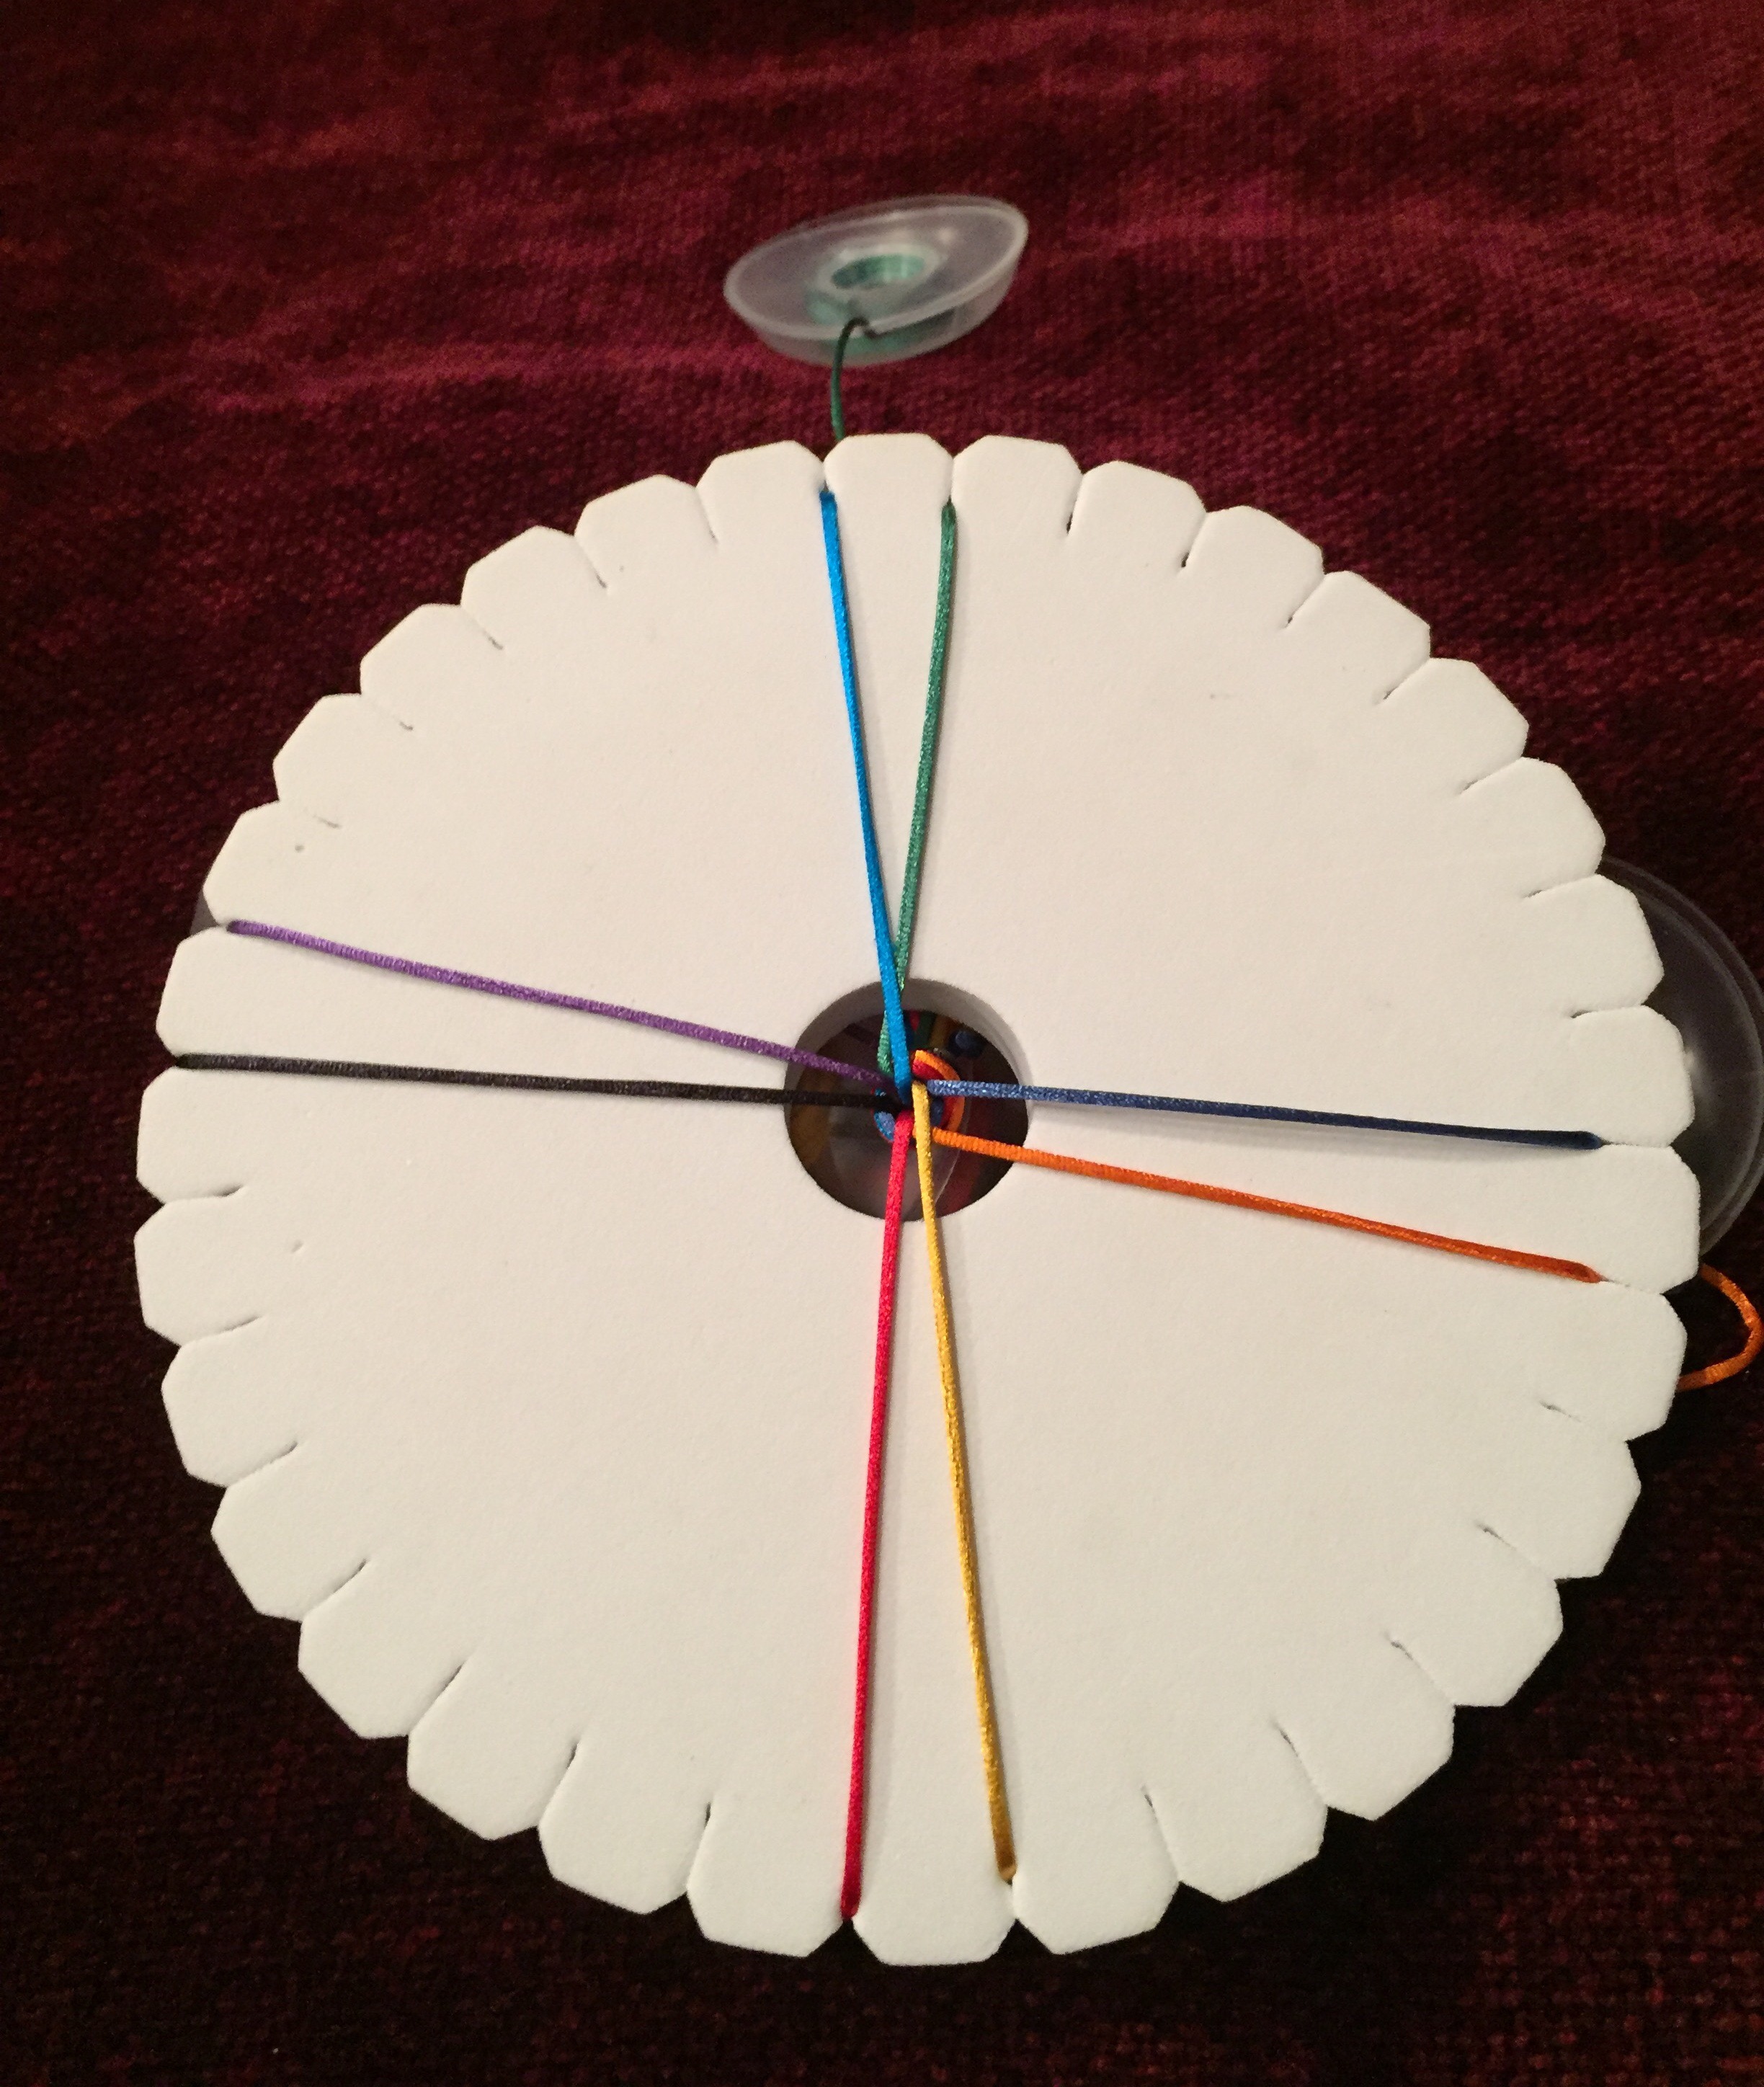
Step 3) Turn your disk one quarter turn to the left, or clockwise: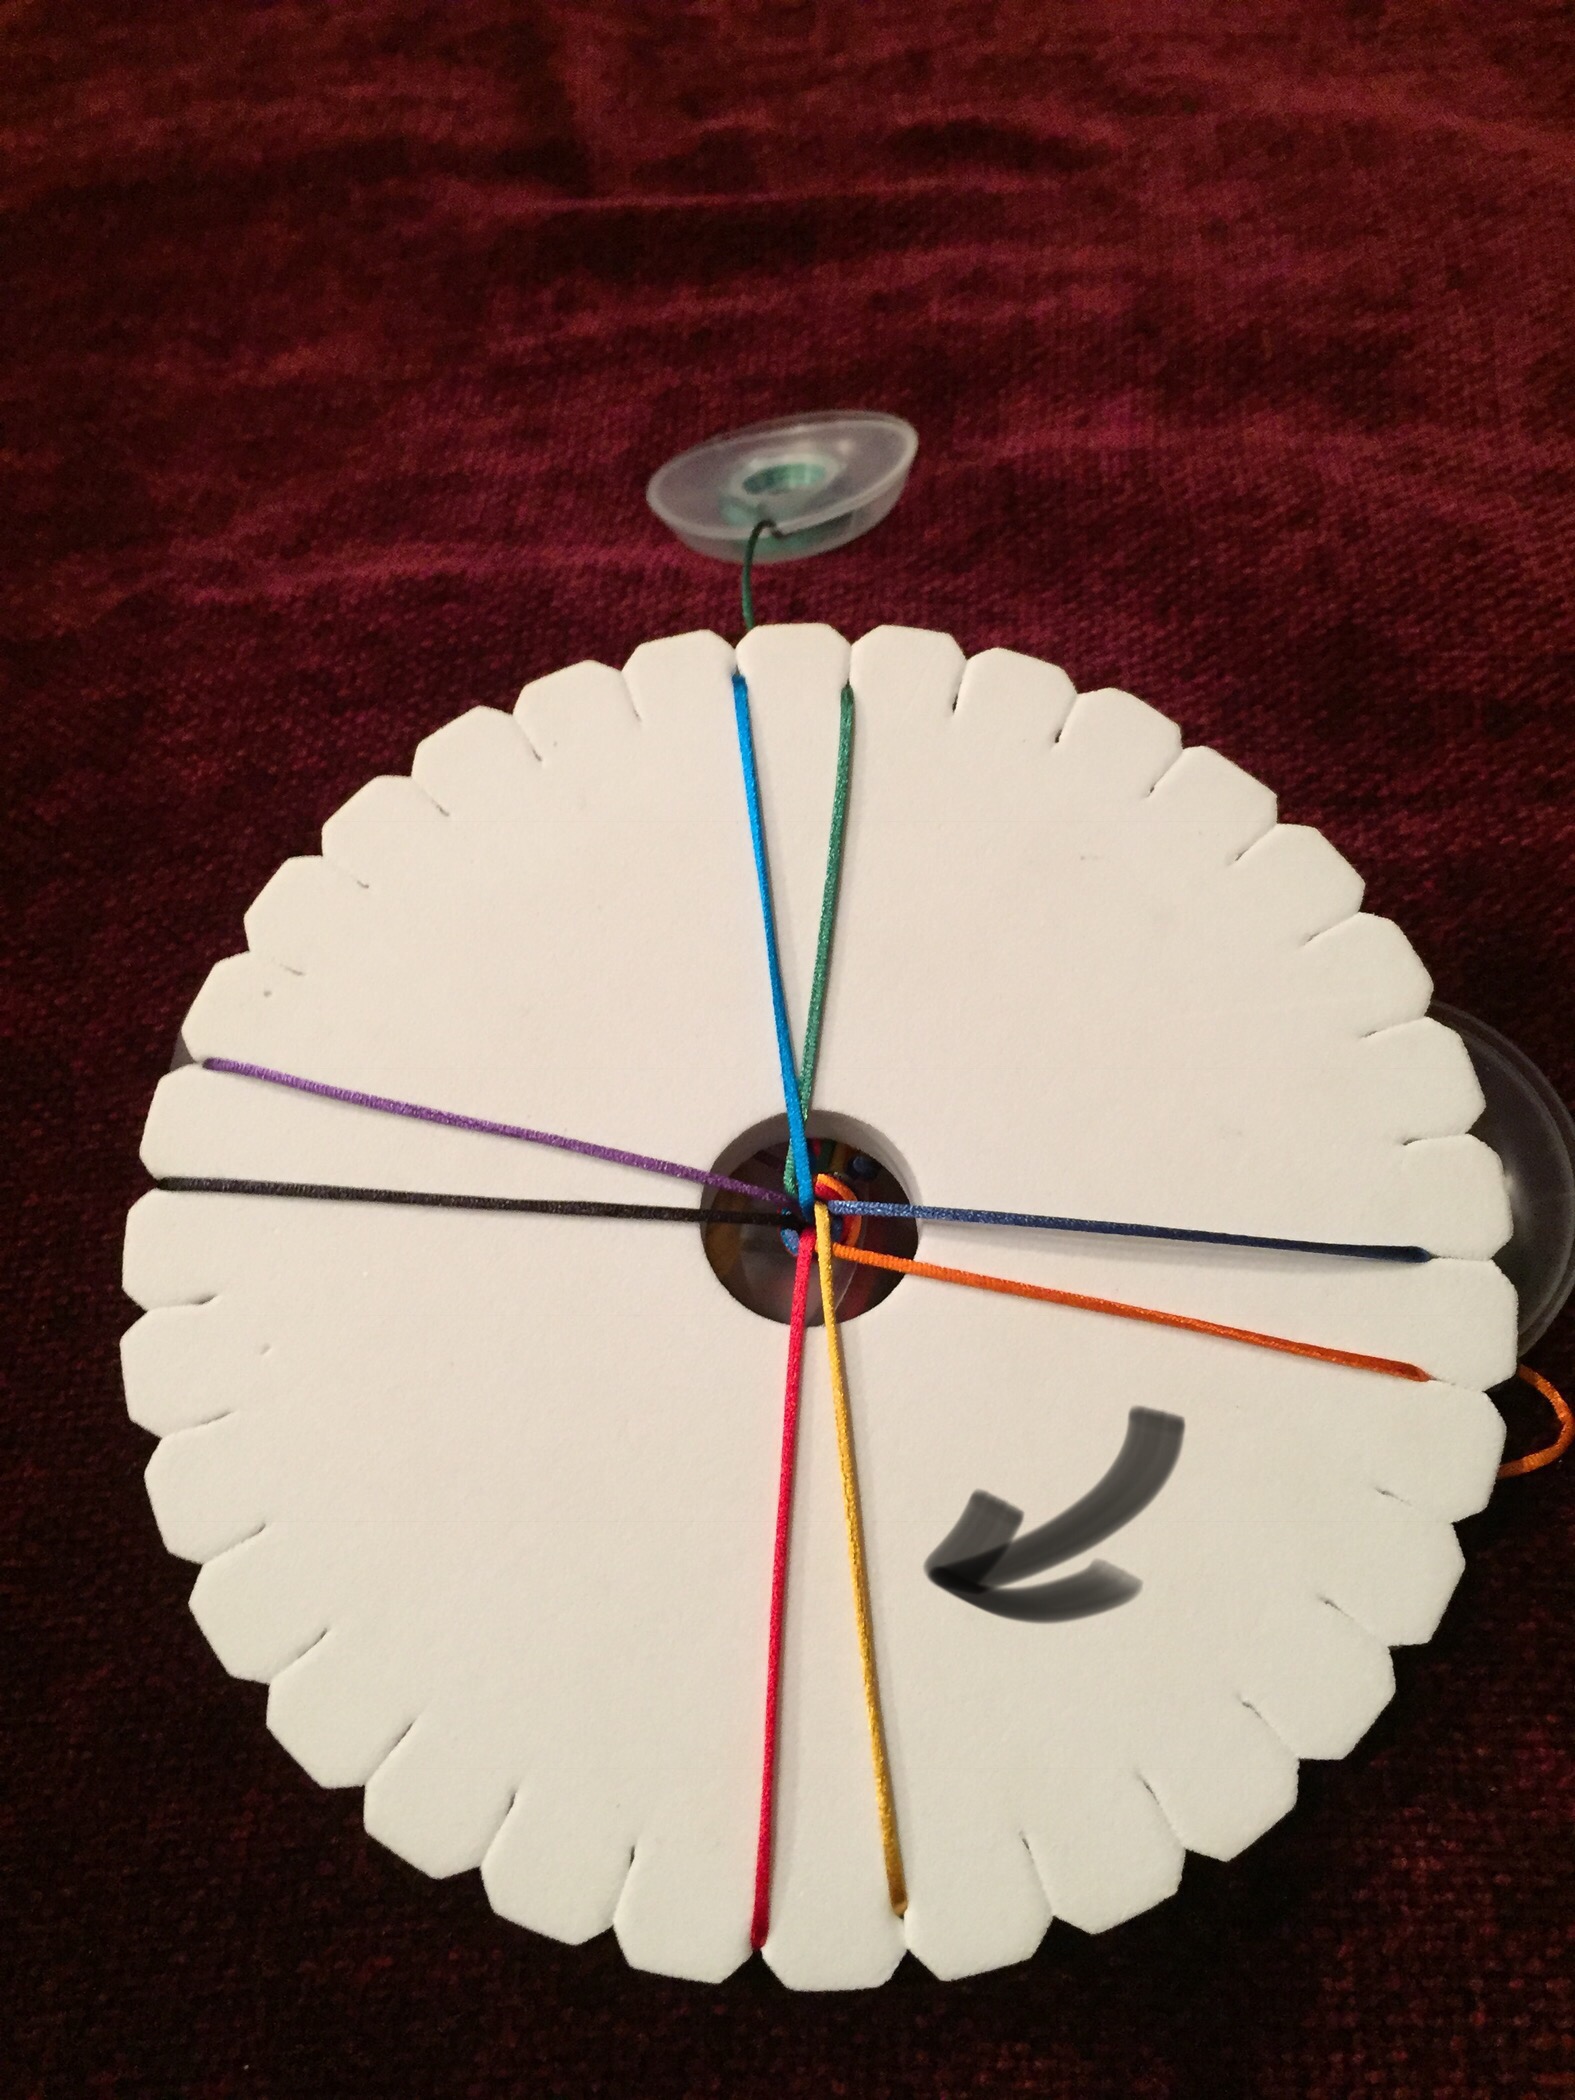 (Some people turn it to the right, or counterclockwise. It doesn’t matter, as long as you are consistent.)
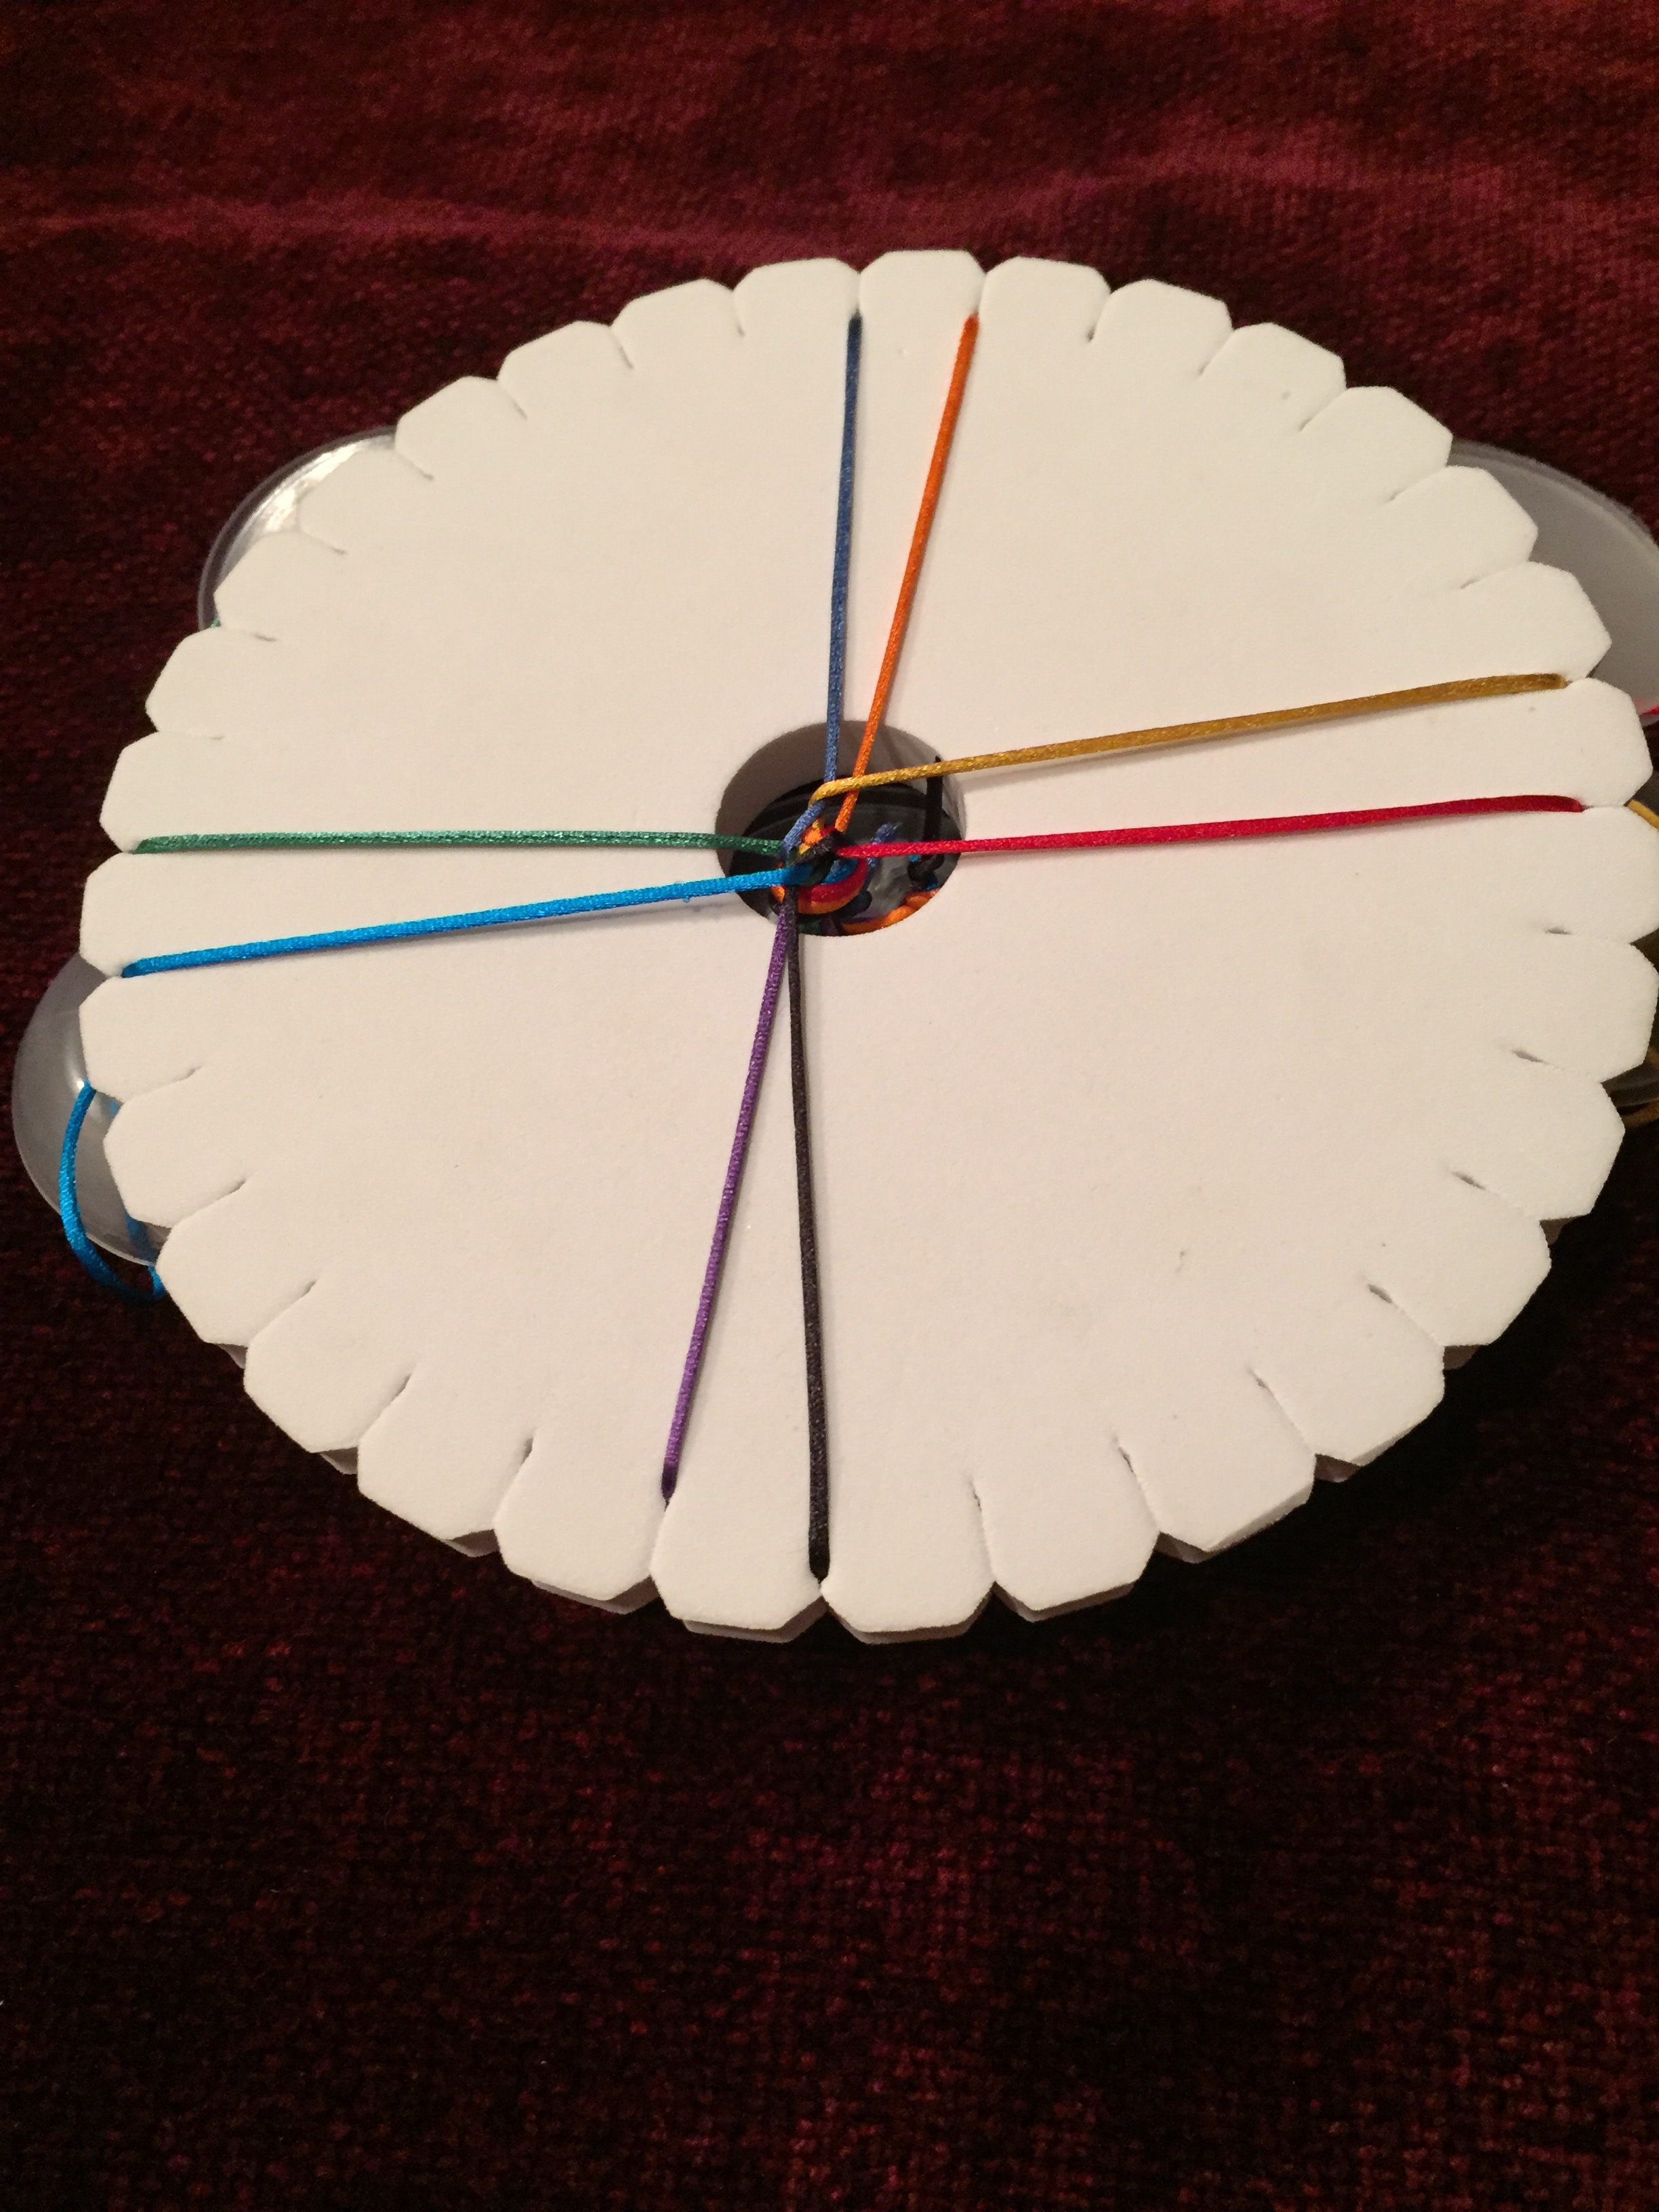
 Do not worry that your pairs of cords are no longer perpendicular to one another.
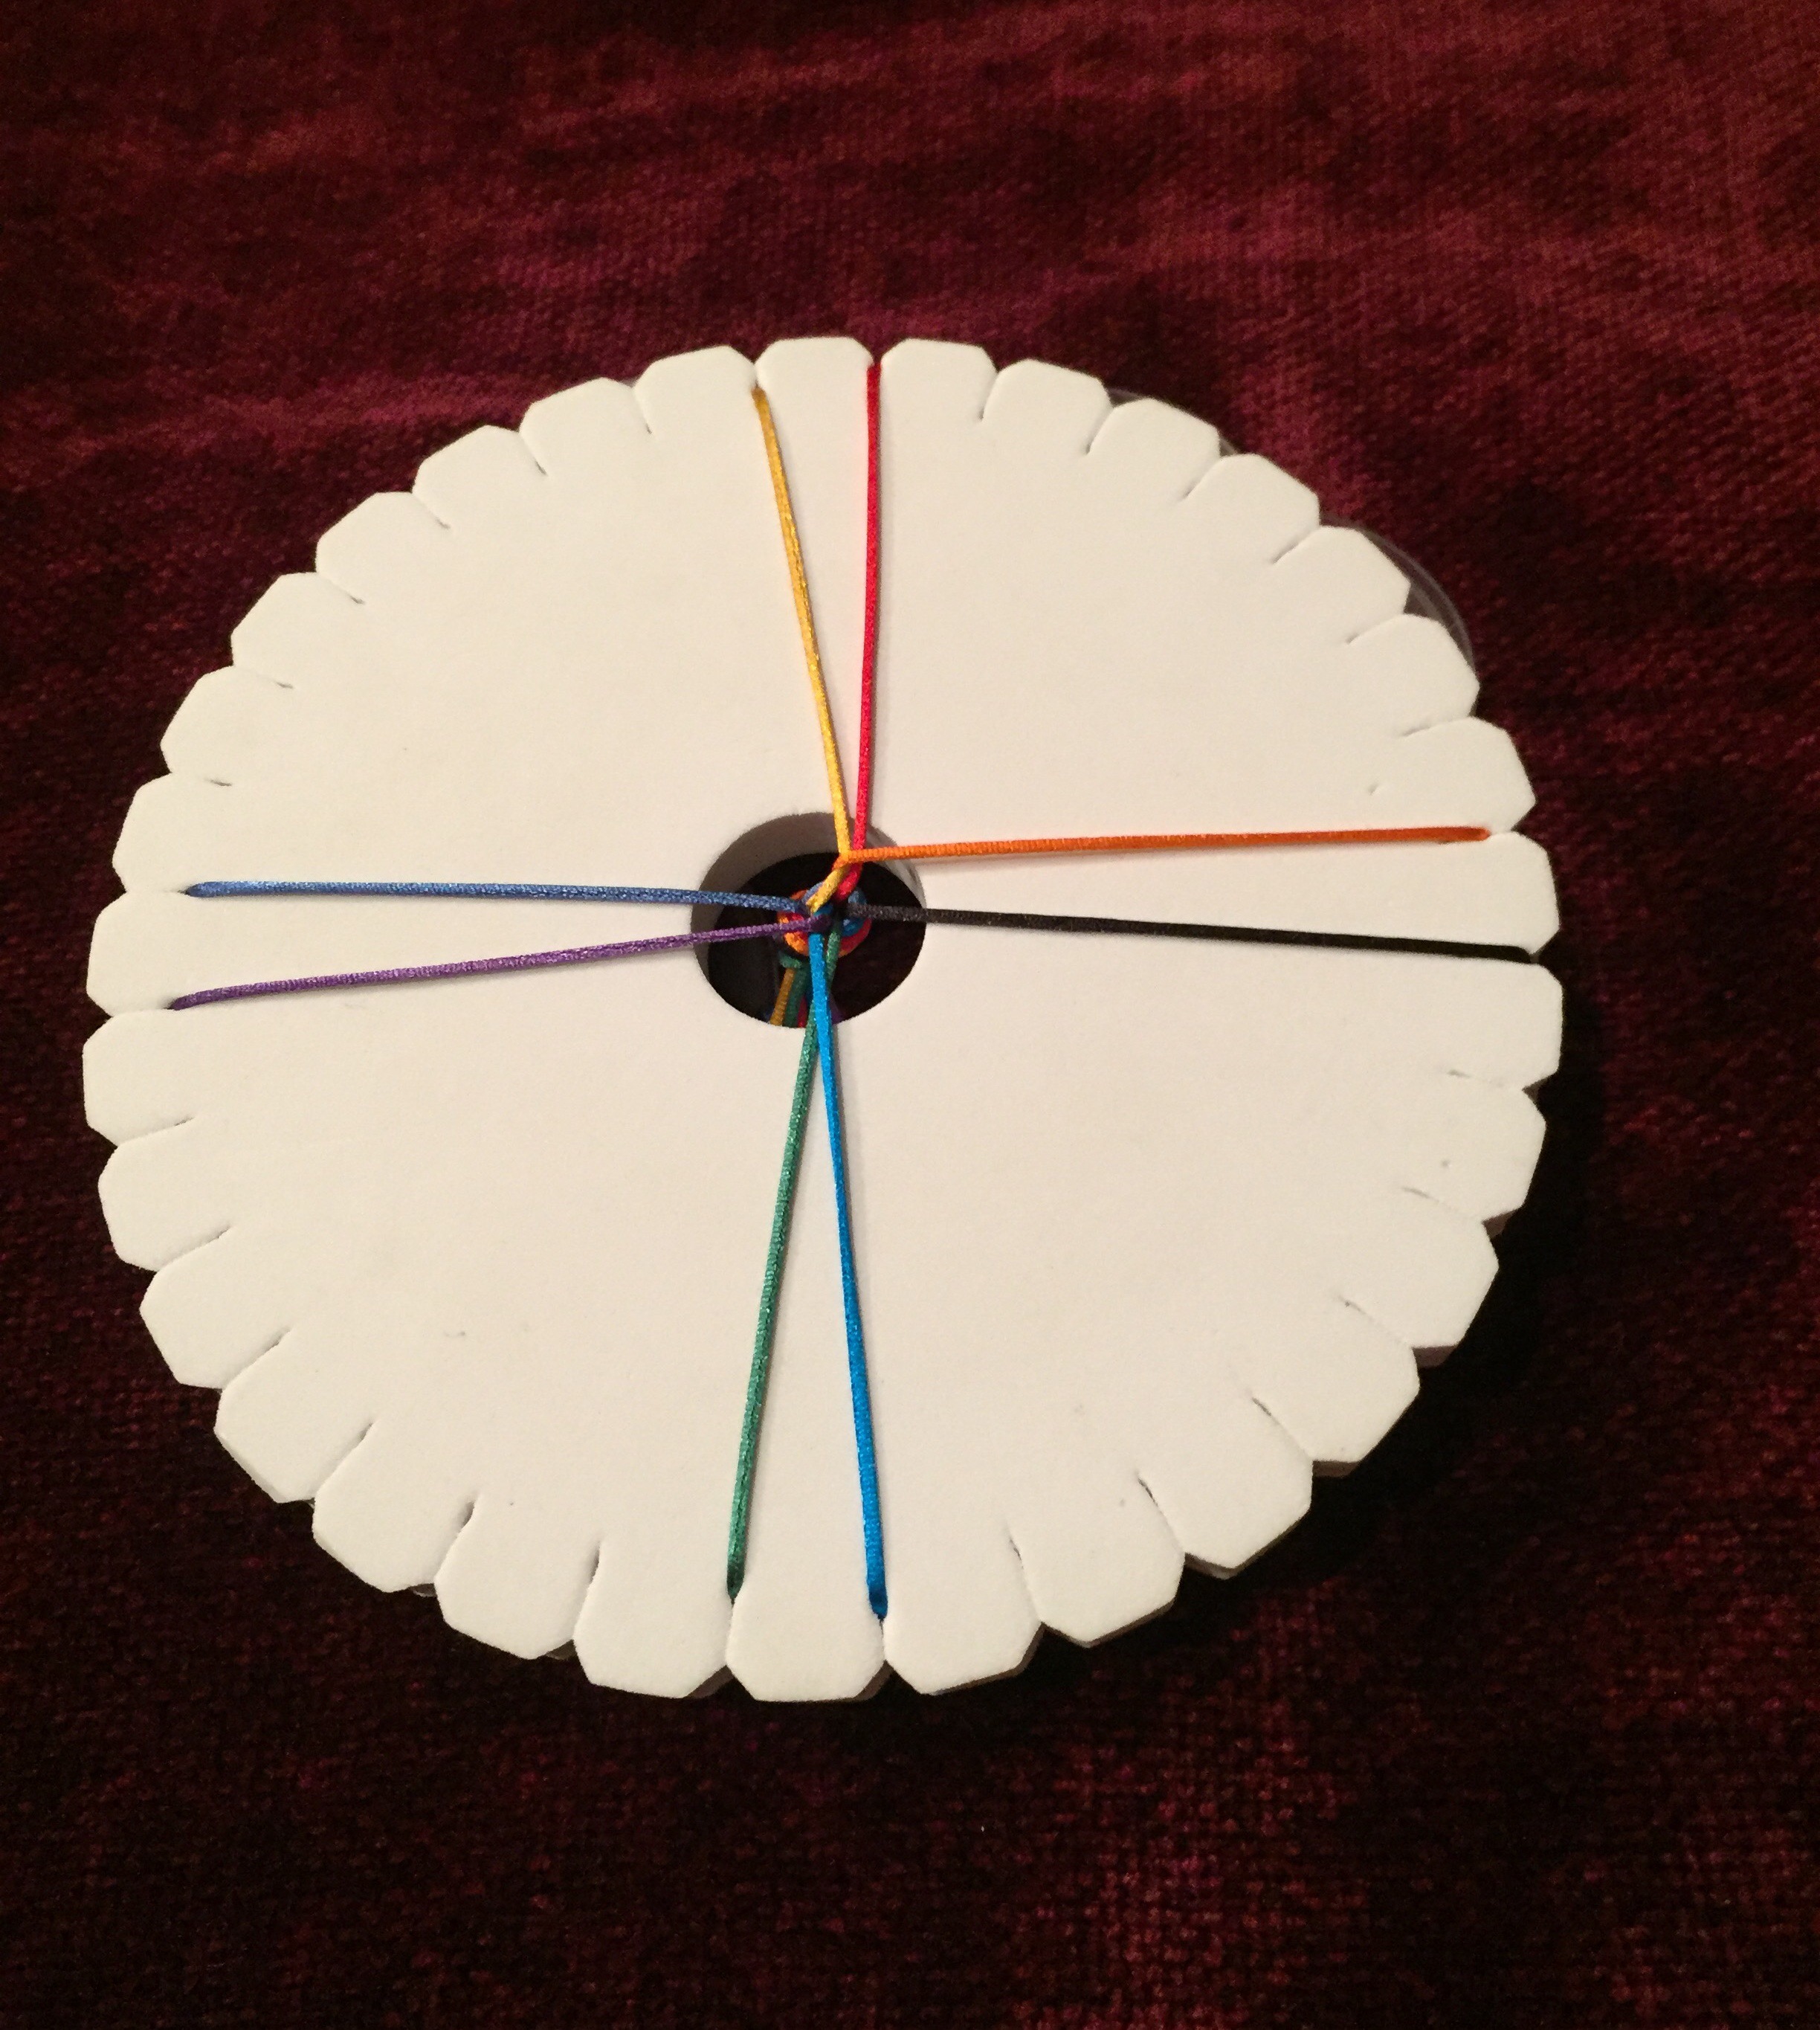
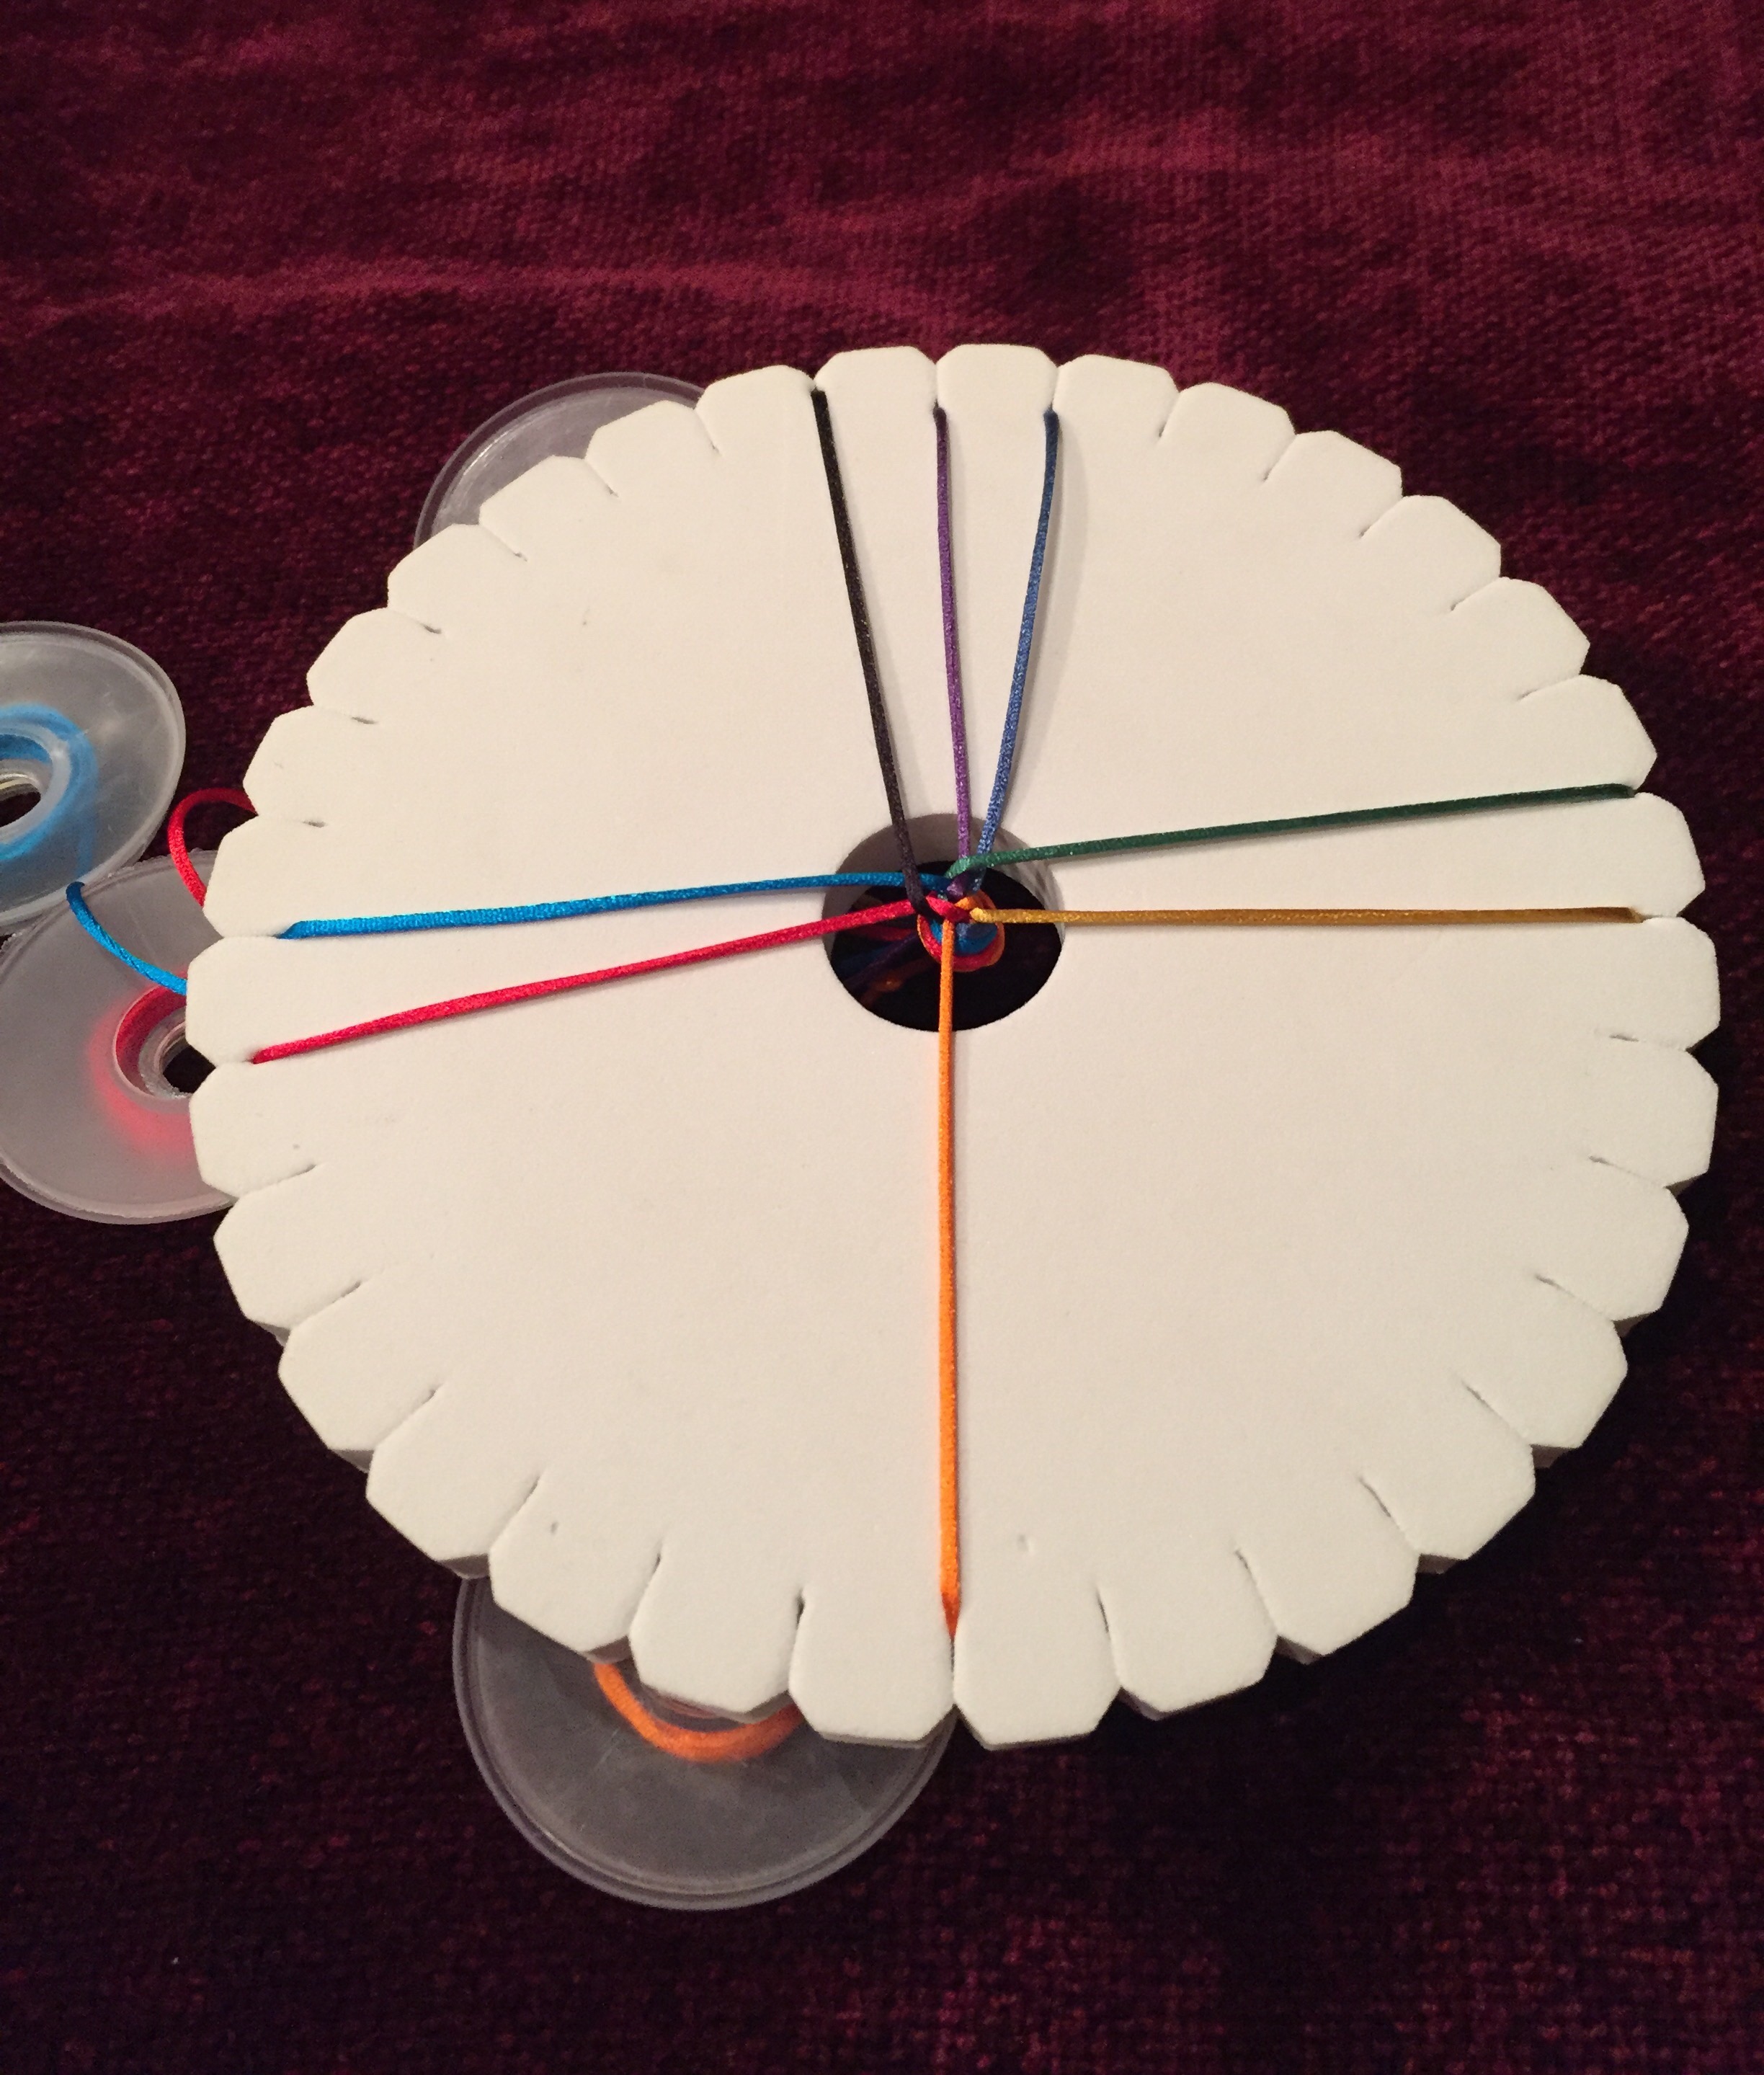
Now, repeat the process. Lift the lower left (orange) cord and move it to the slot just left of the upper cords: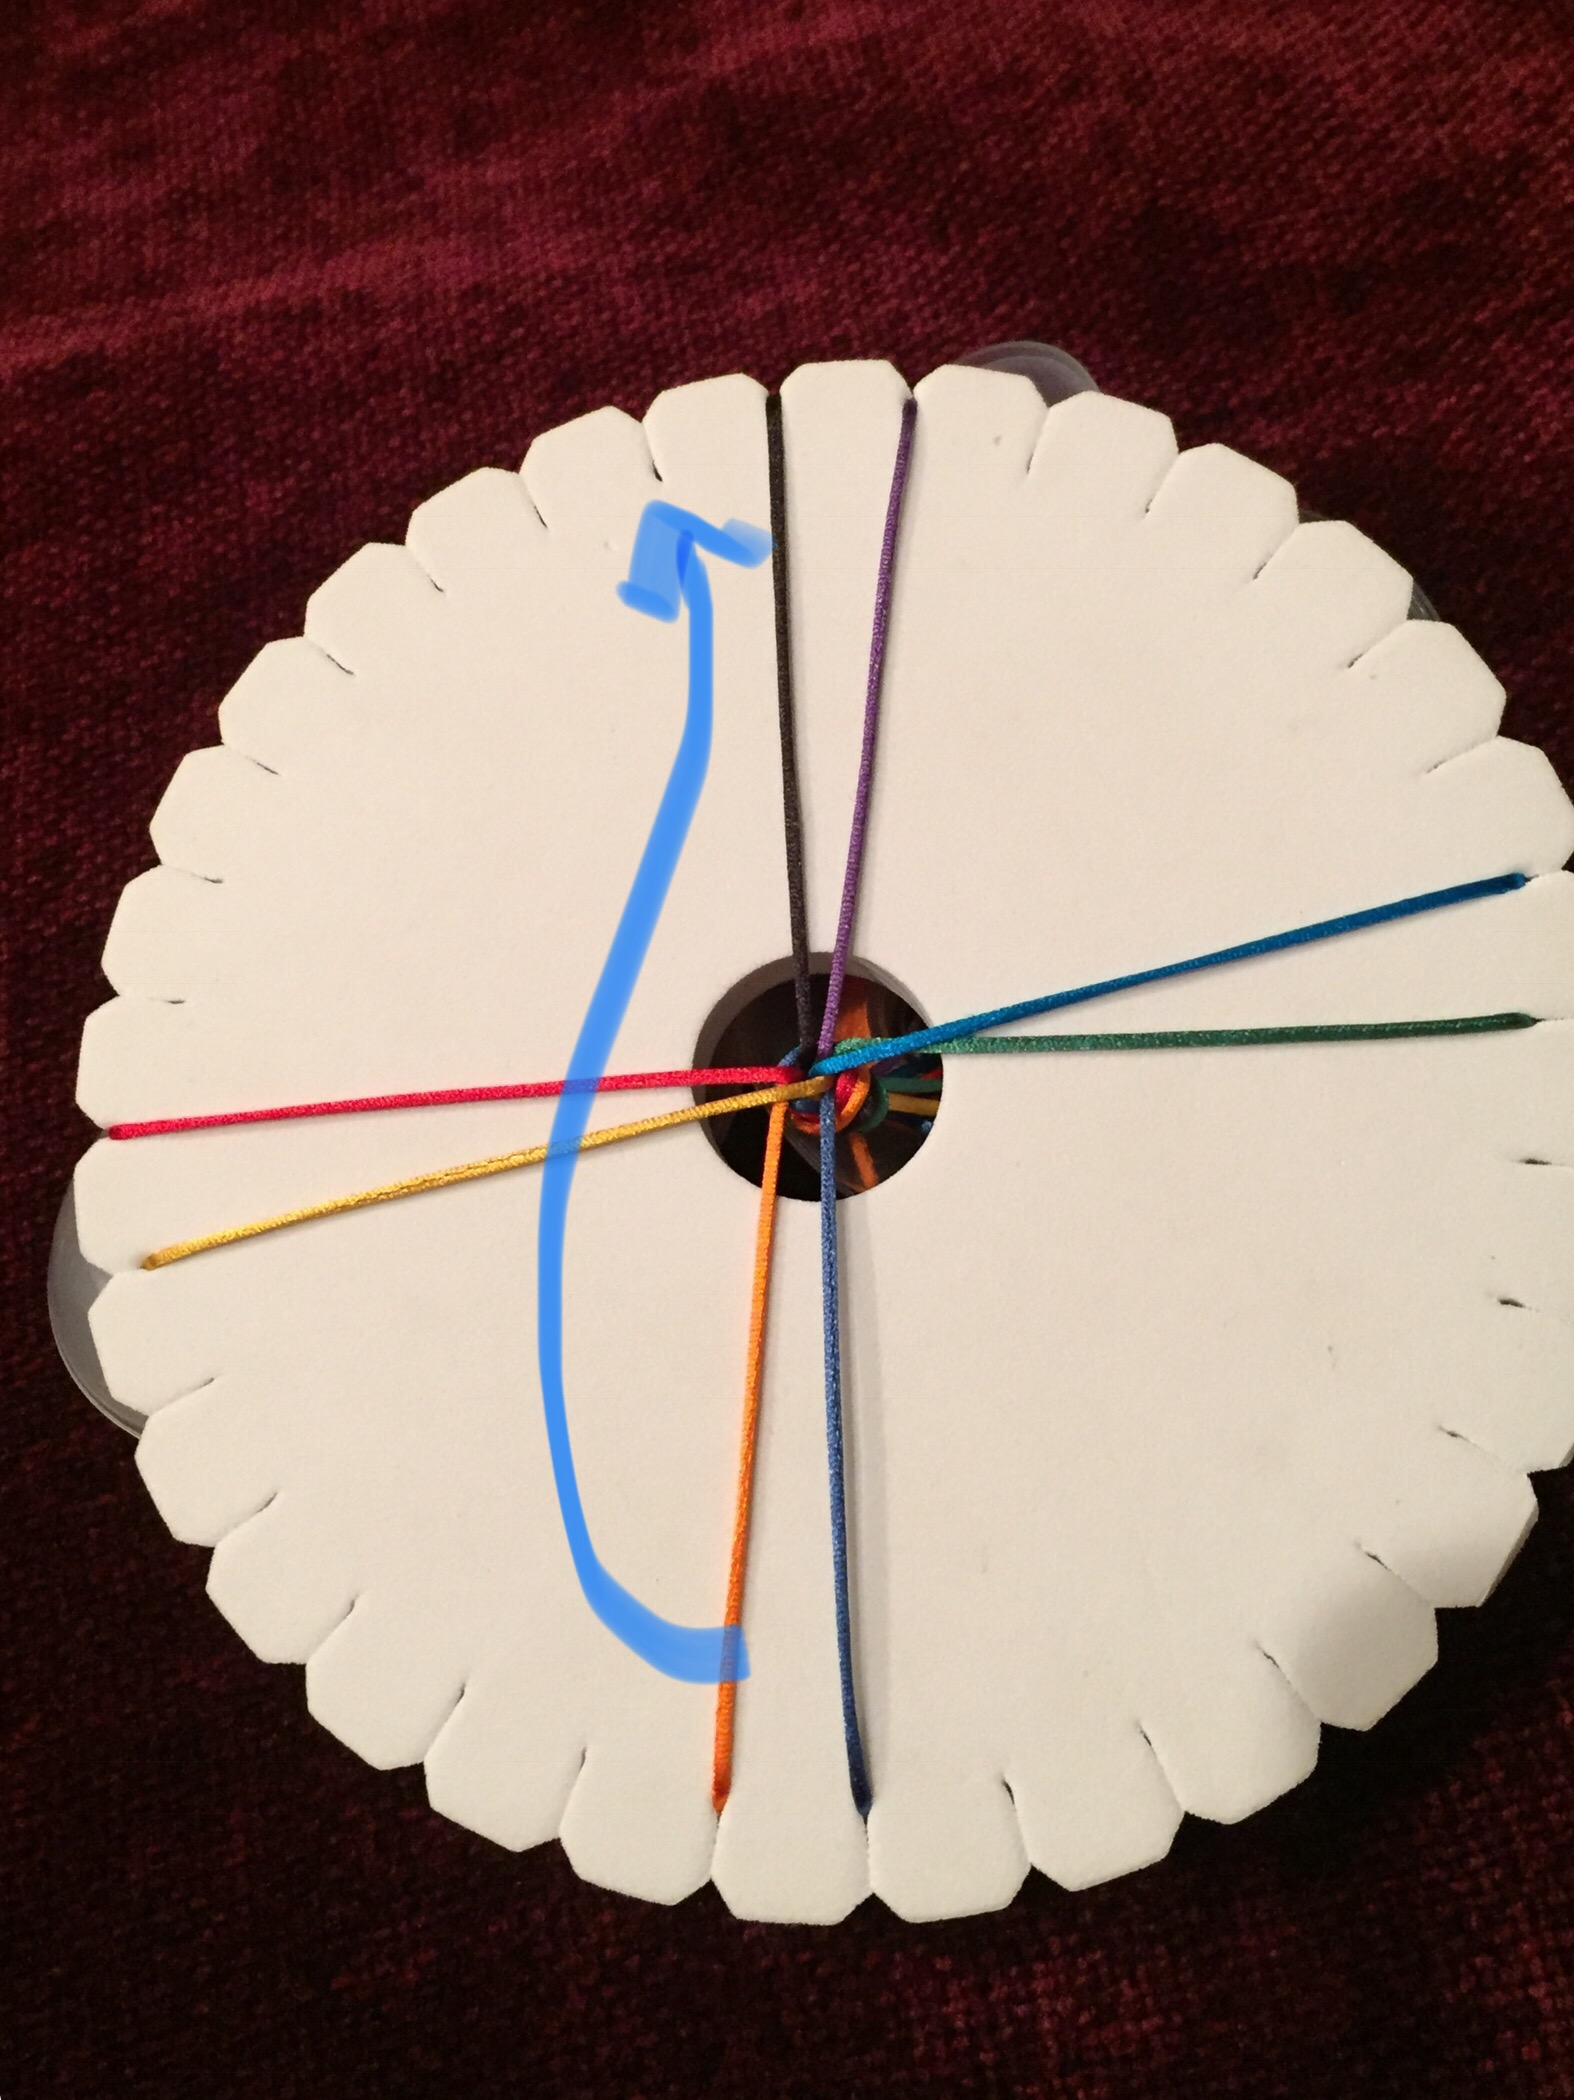
Next, lift the upper right (purple) cord, and move it to the slot just right of the lower (blue) cord. 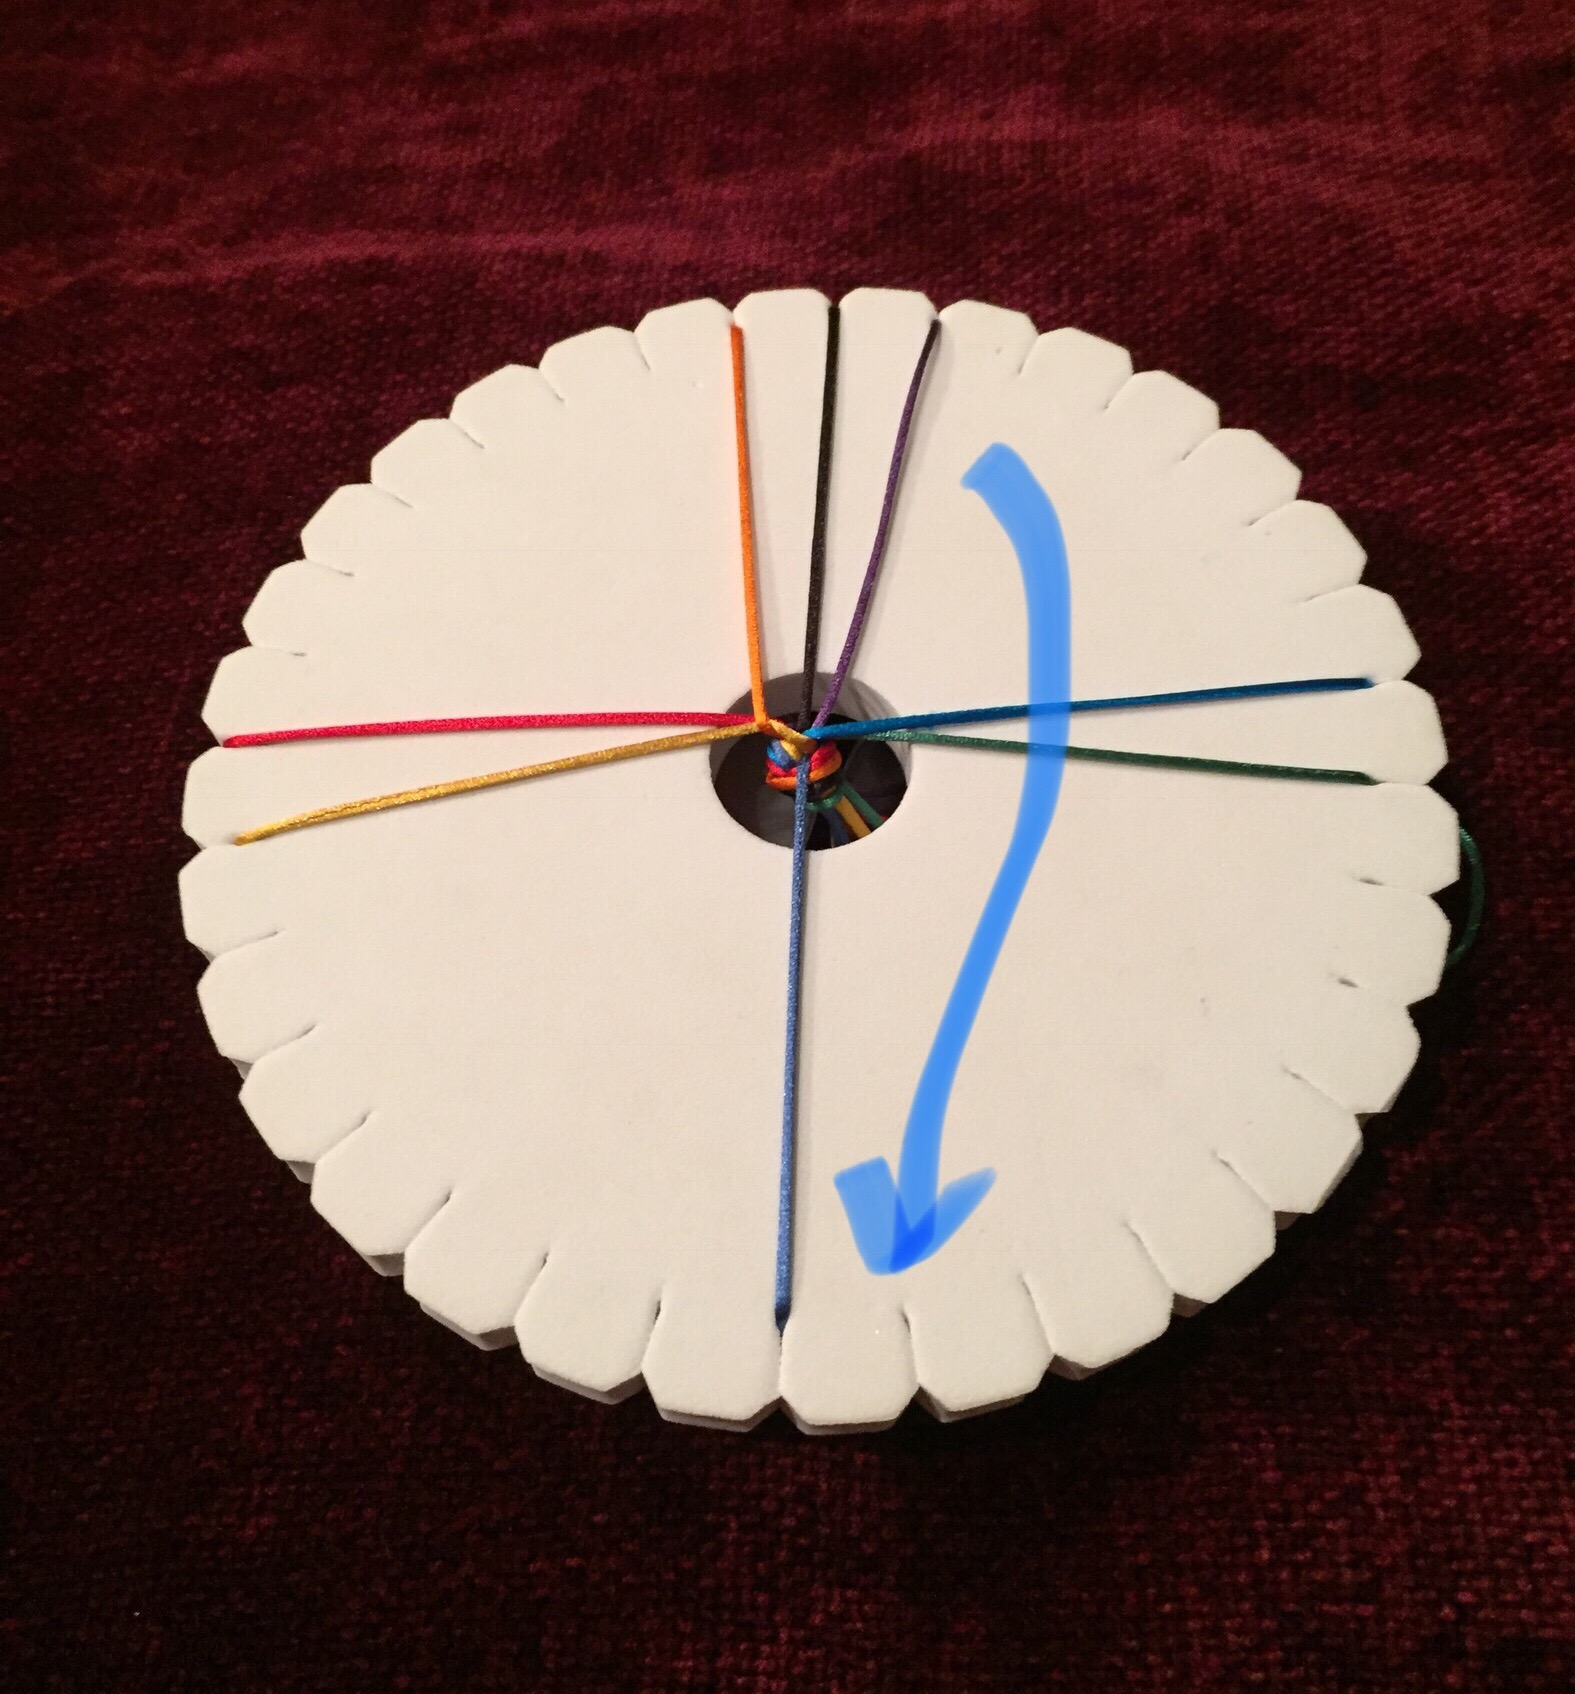
Now turn the disk one quarter turn to the left. 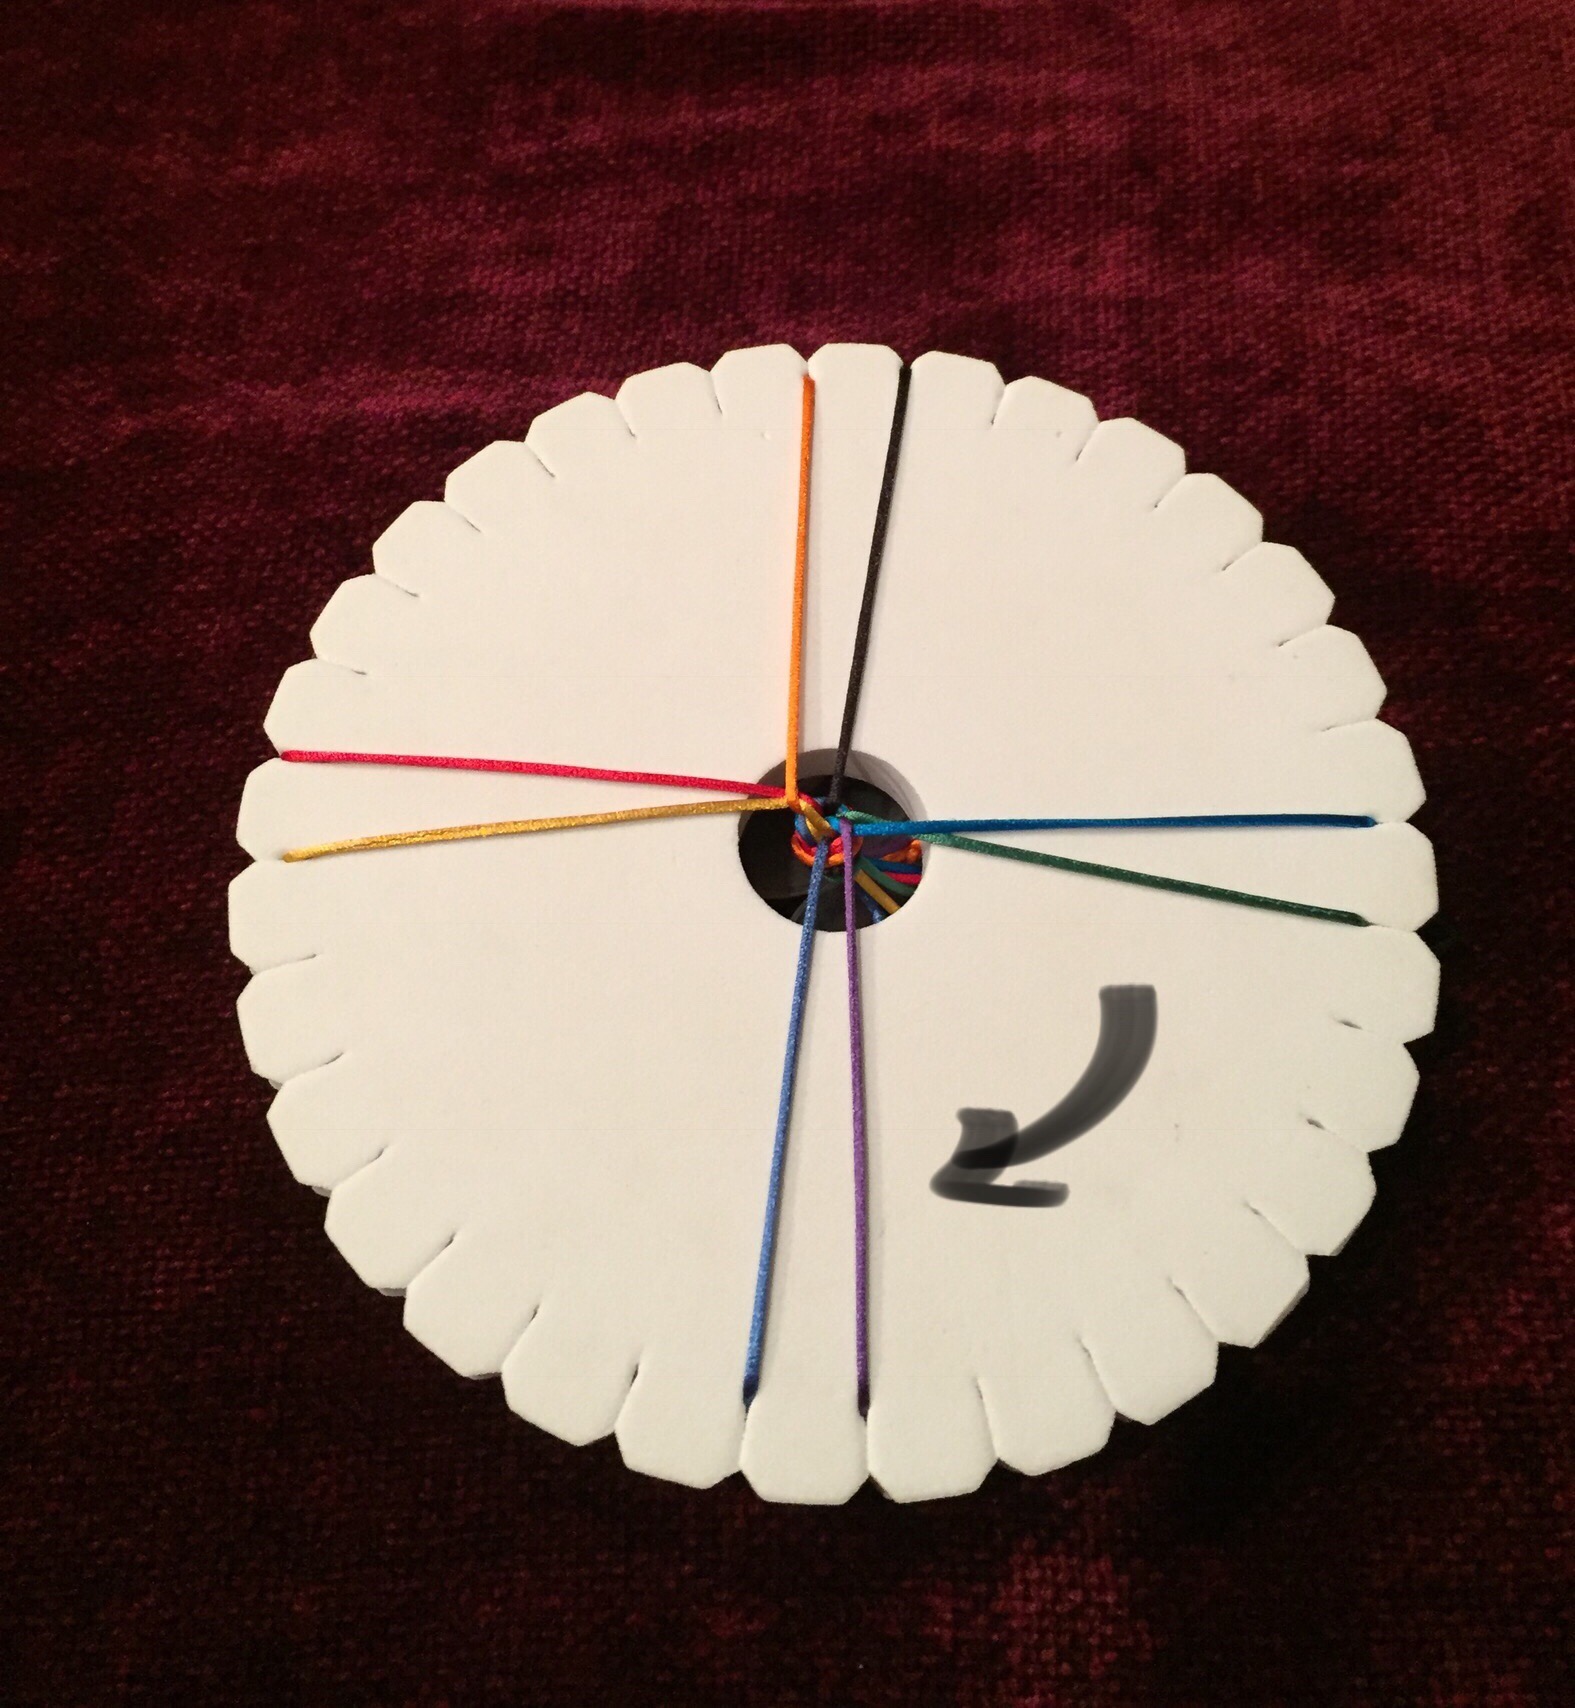
Here we go again!
Step 1) Lift the lower left (green) cord out of its slot, and move it up to the slot just left of the upper left (yellow) cord.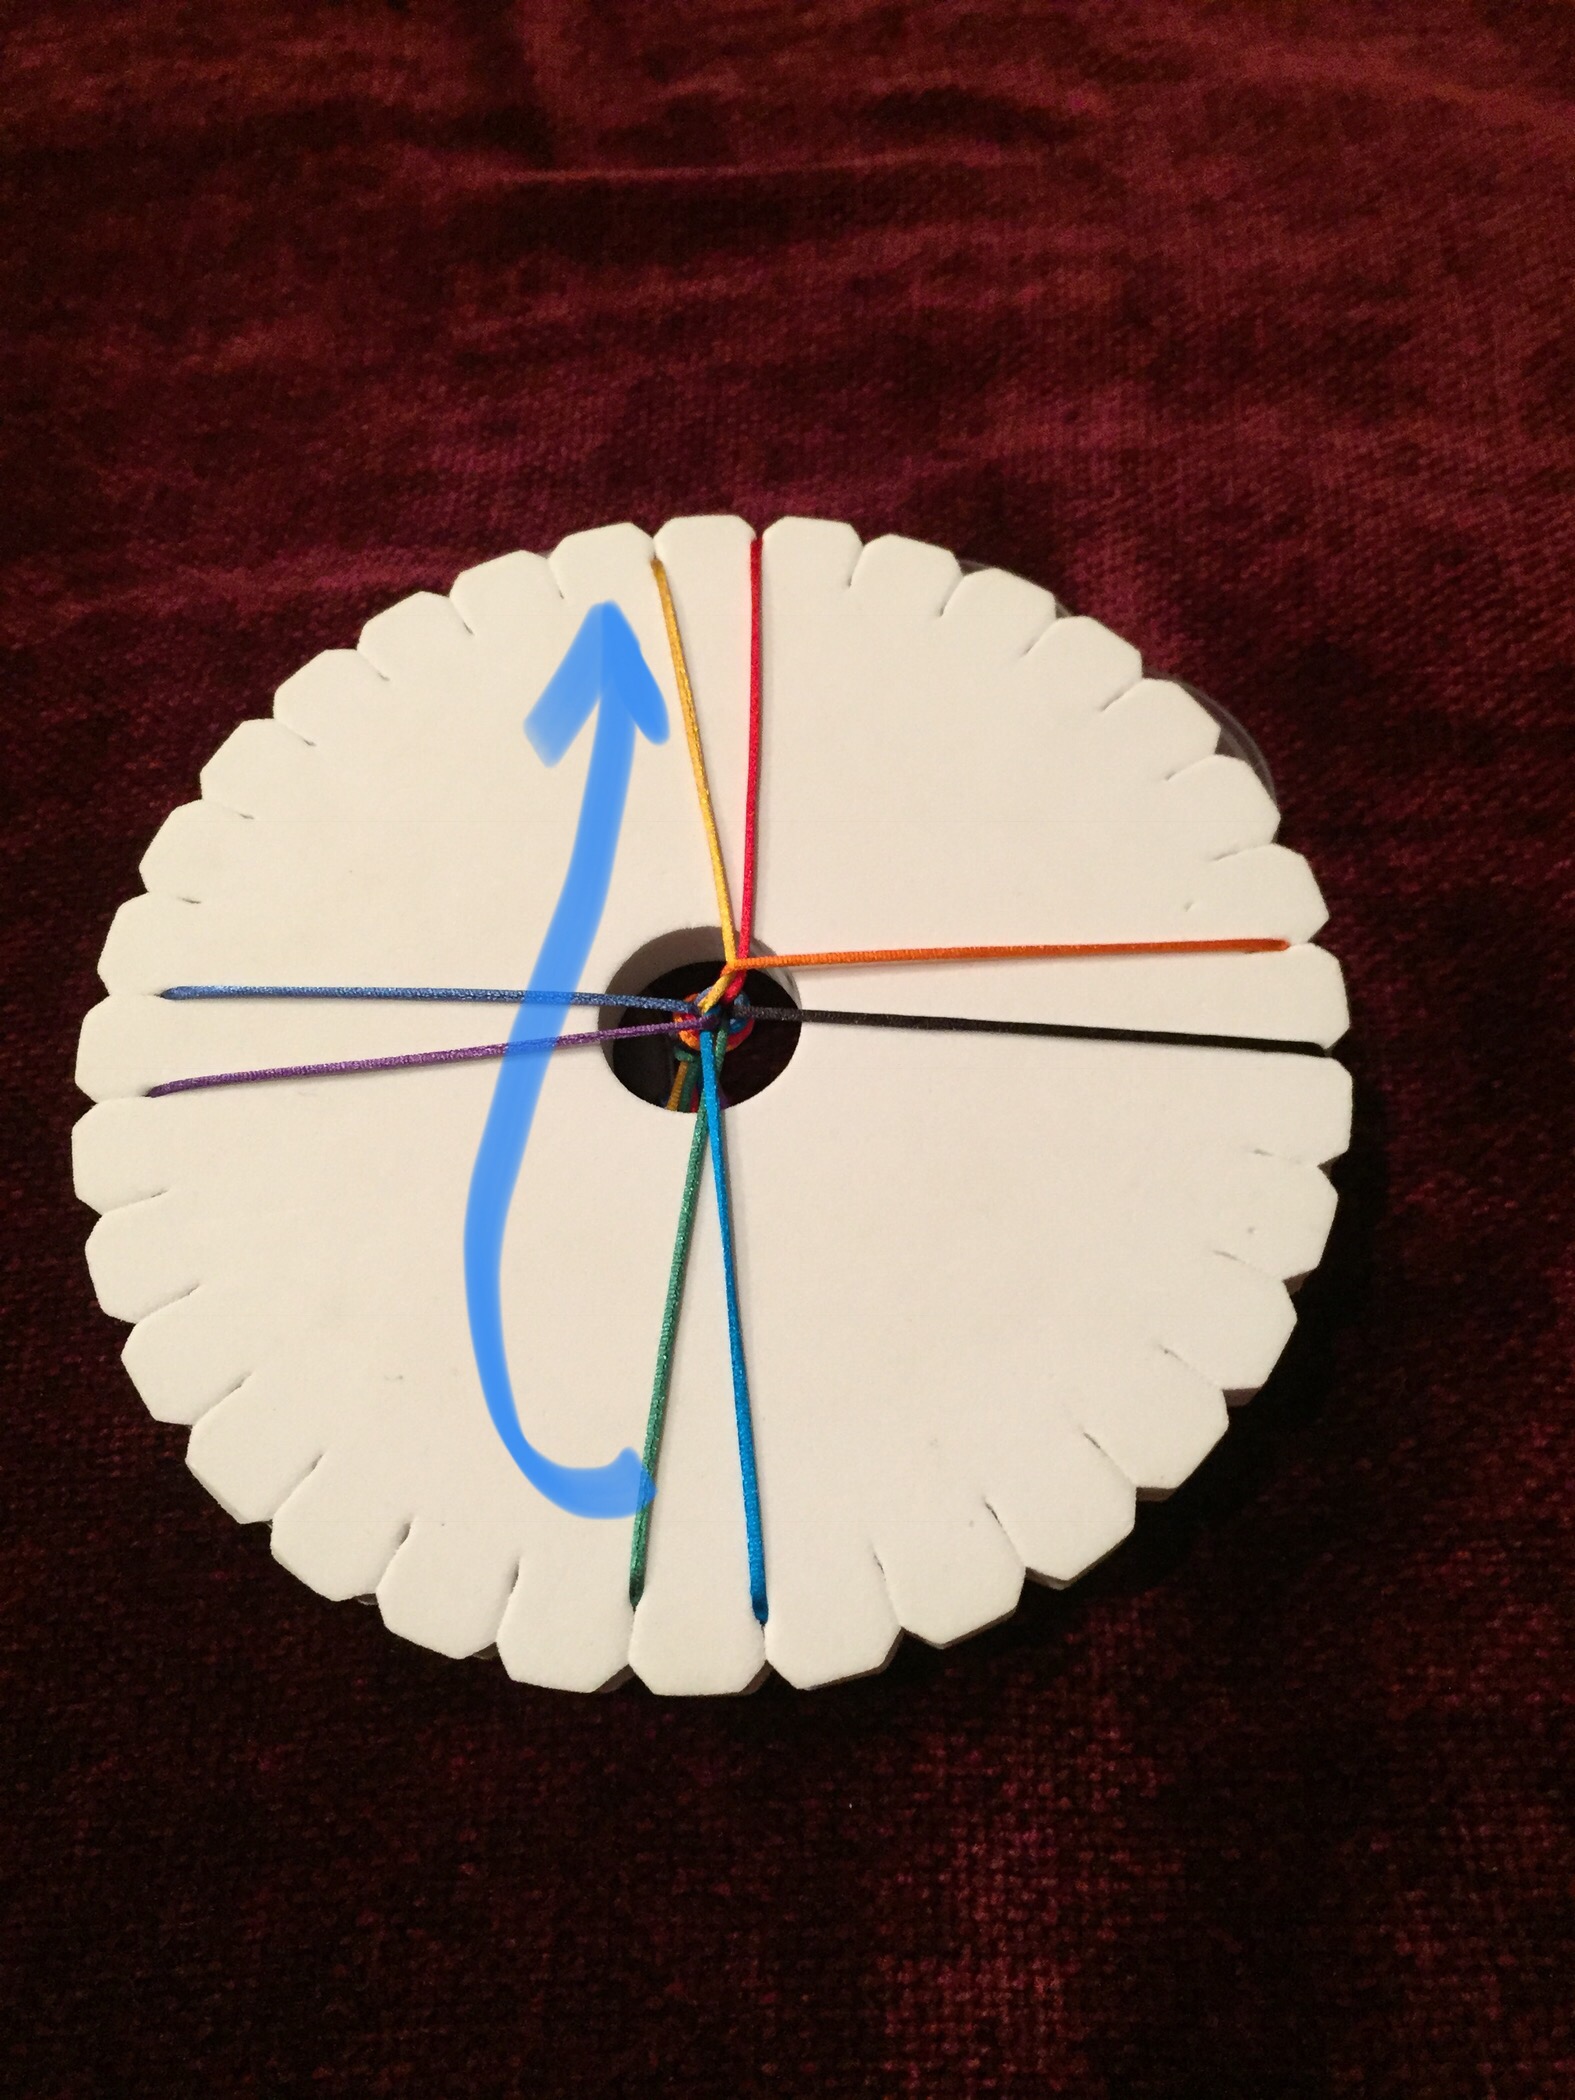
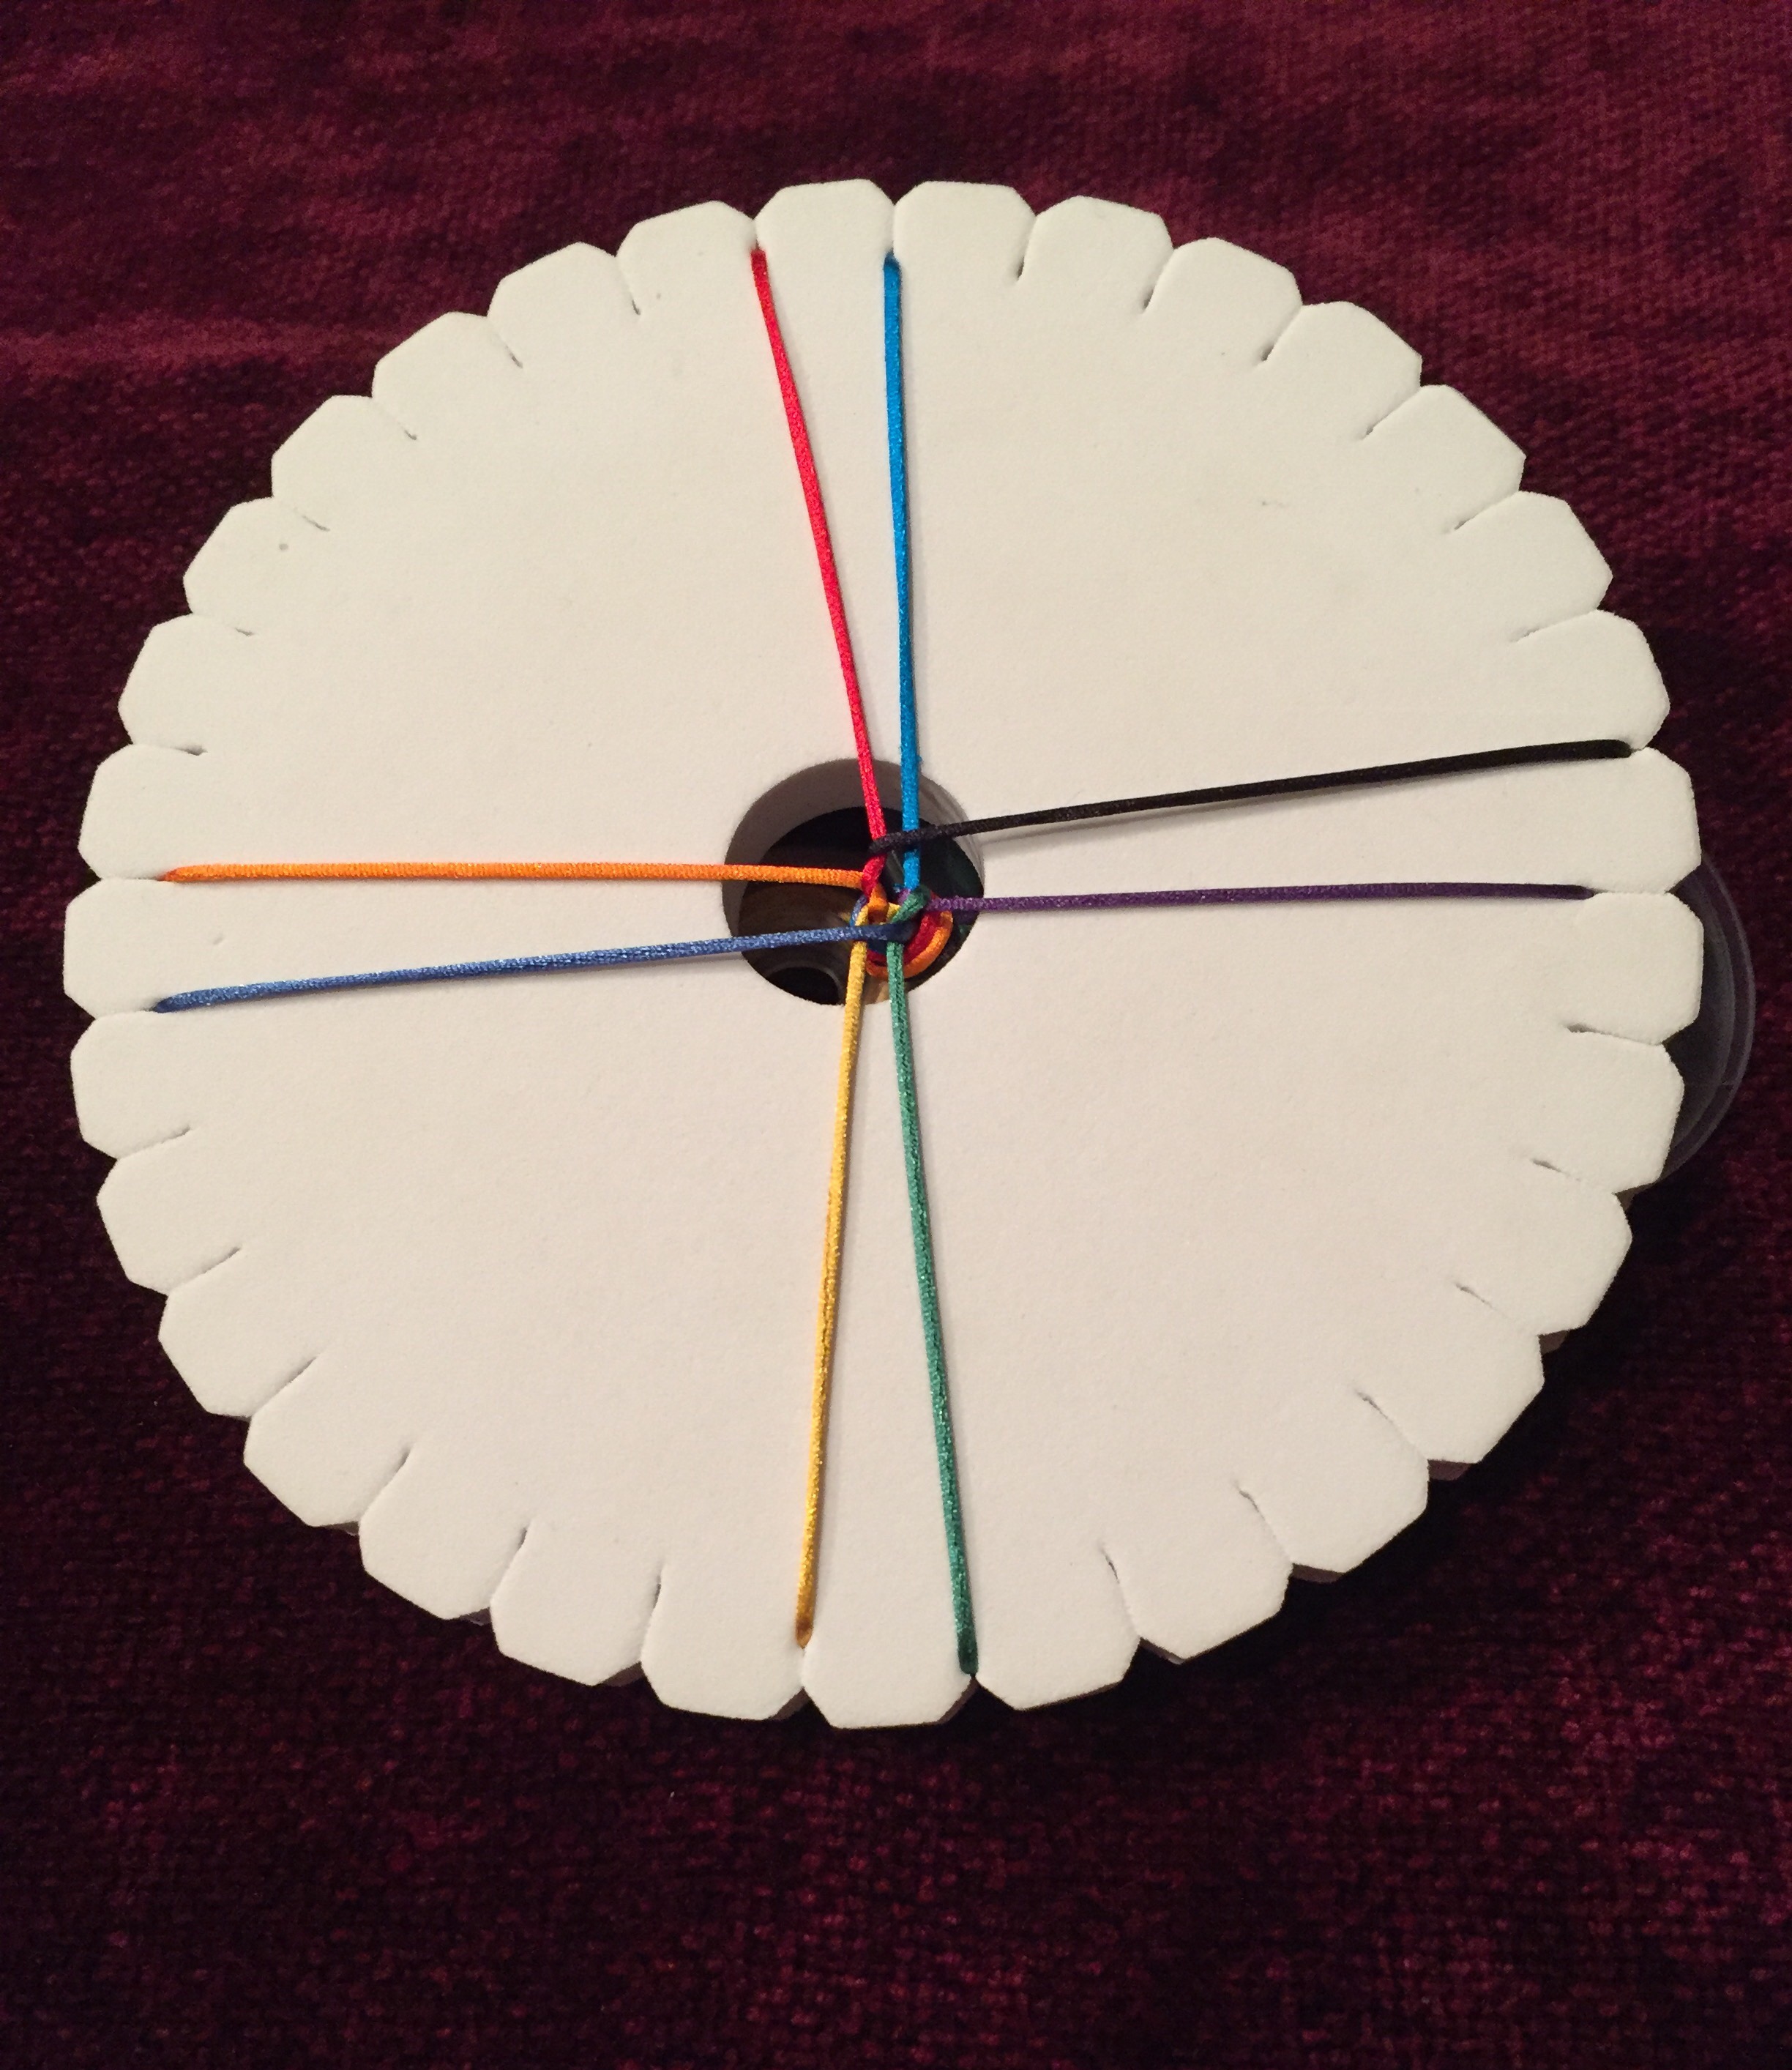
 (Notice that once again, you have three cords up and one down. This is the best place to pause if you have to, so when you start again, you’ll know to start with the upper right cord.)
Step 2) Lift the upper right (red) cord out of its slot, and move it to the slot just right of the lower (turquoise) cord.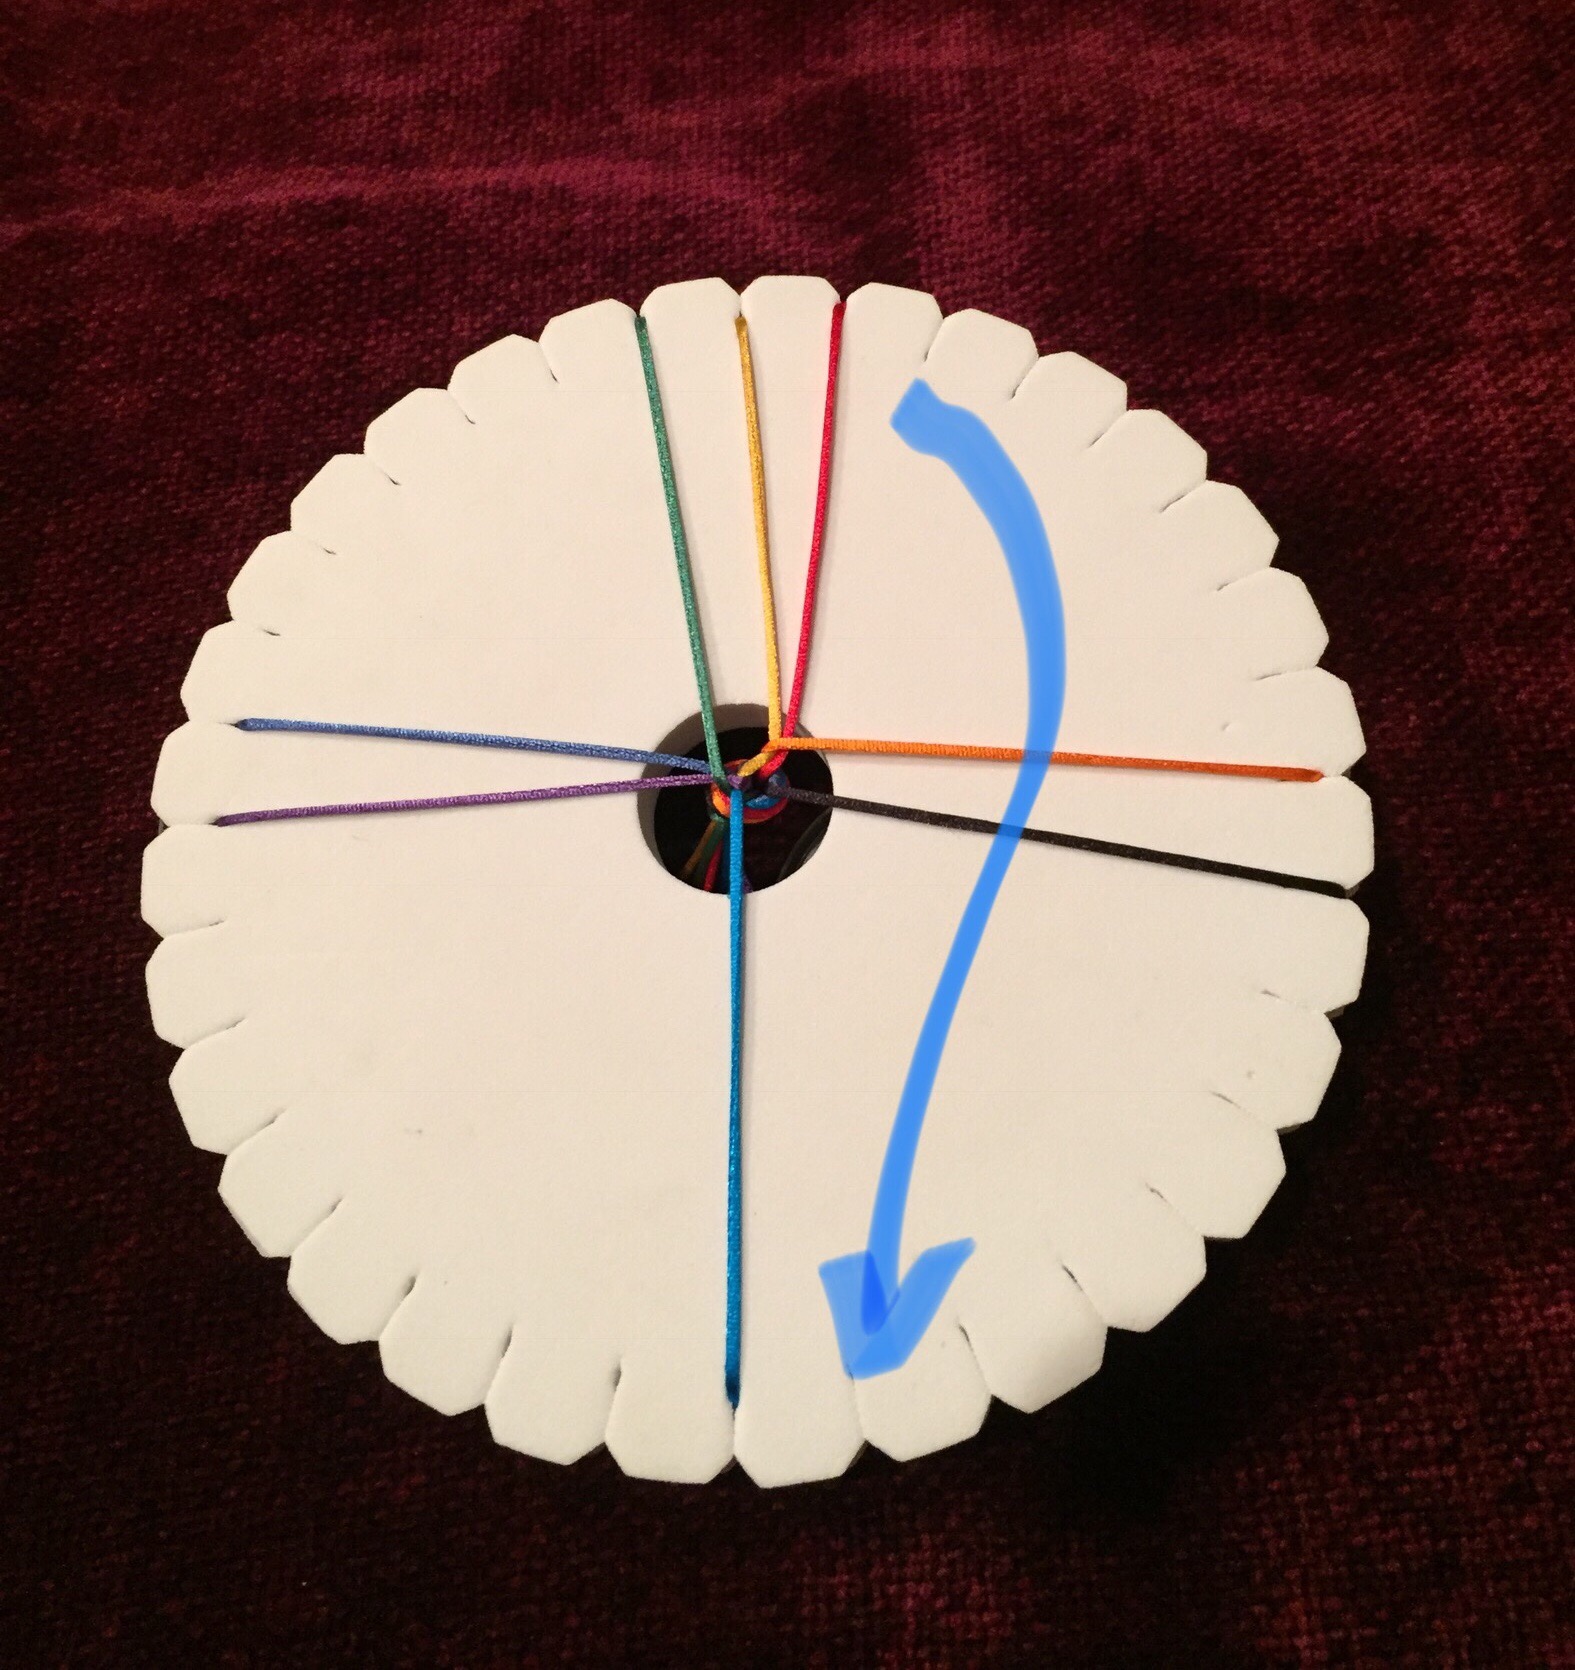
Step 3) Turn the disk one quarter turn to the left.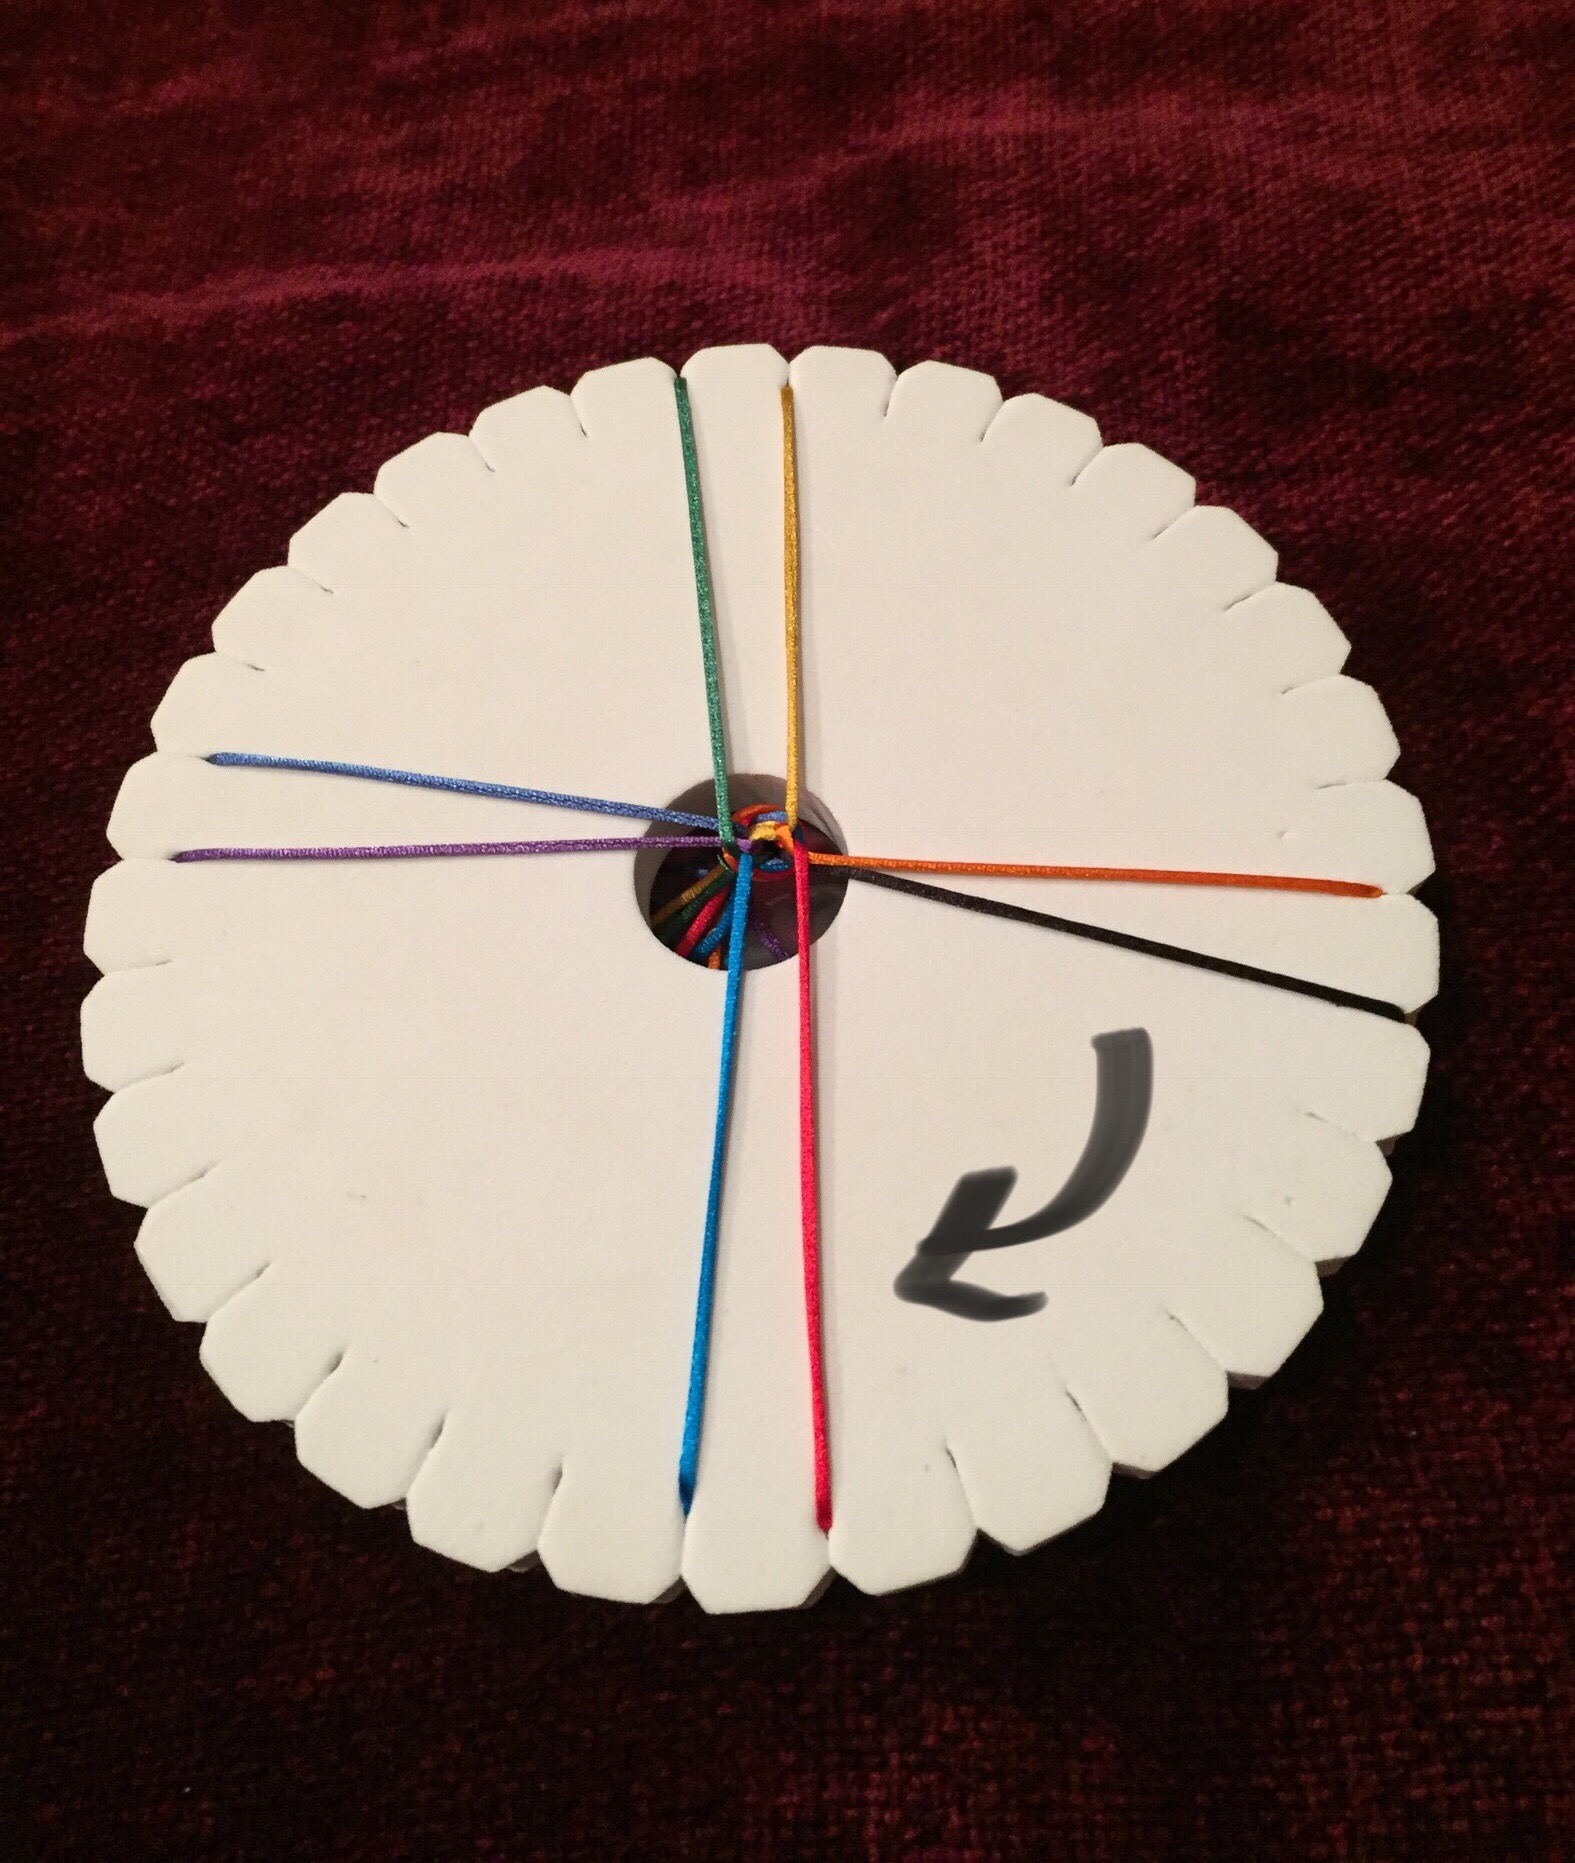
Now, repeat these three steps over and over. THAT IS ALL YOU DO! It seems too simple to be true!
Step 1) Lower left (black) cord moves up: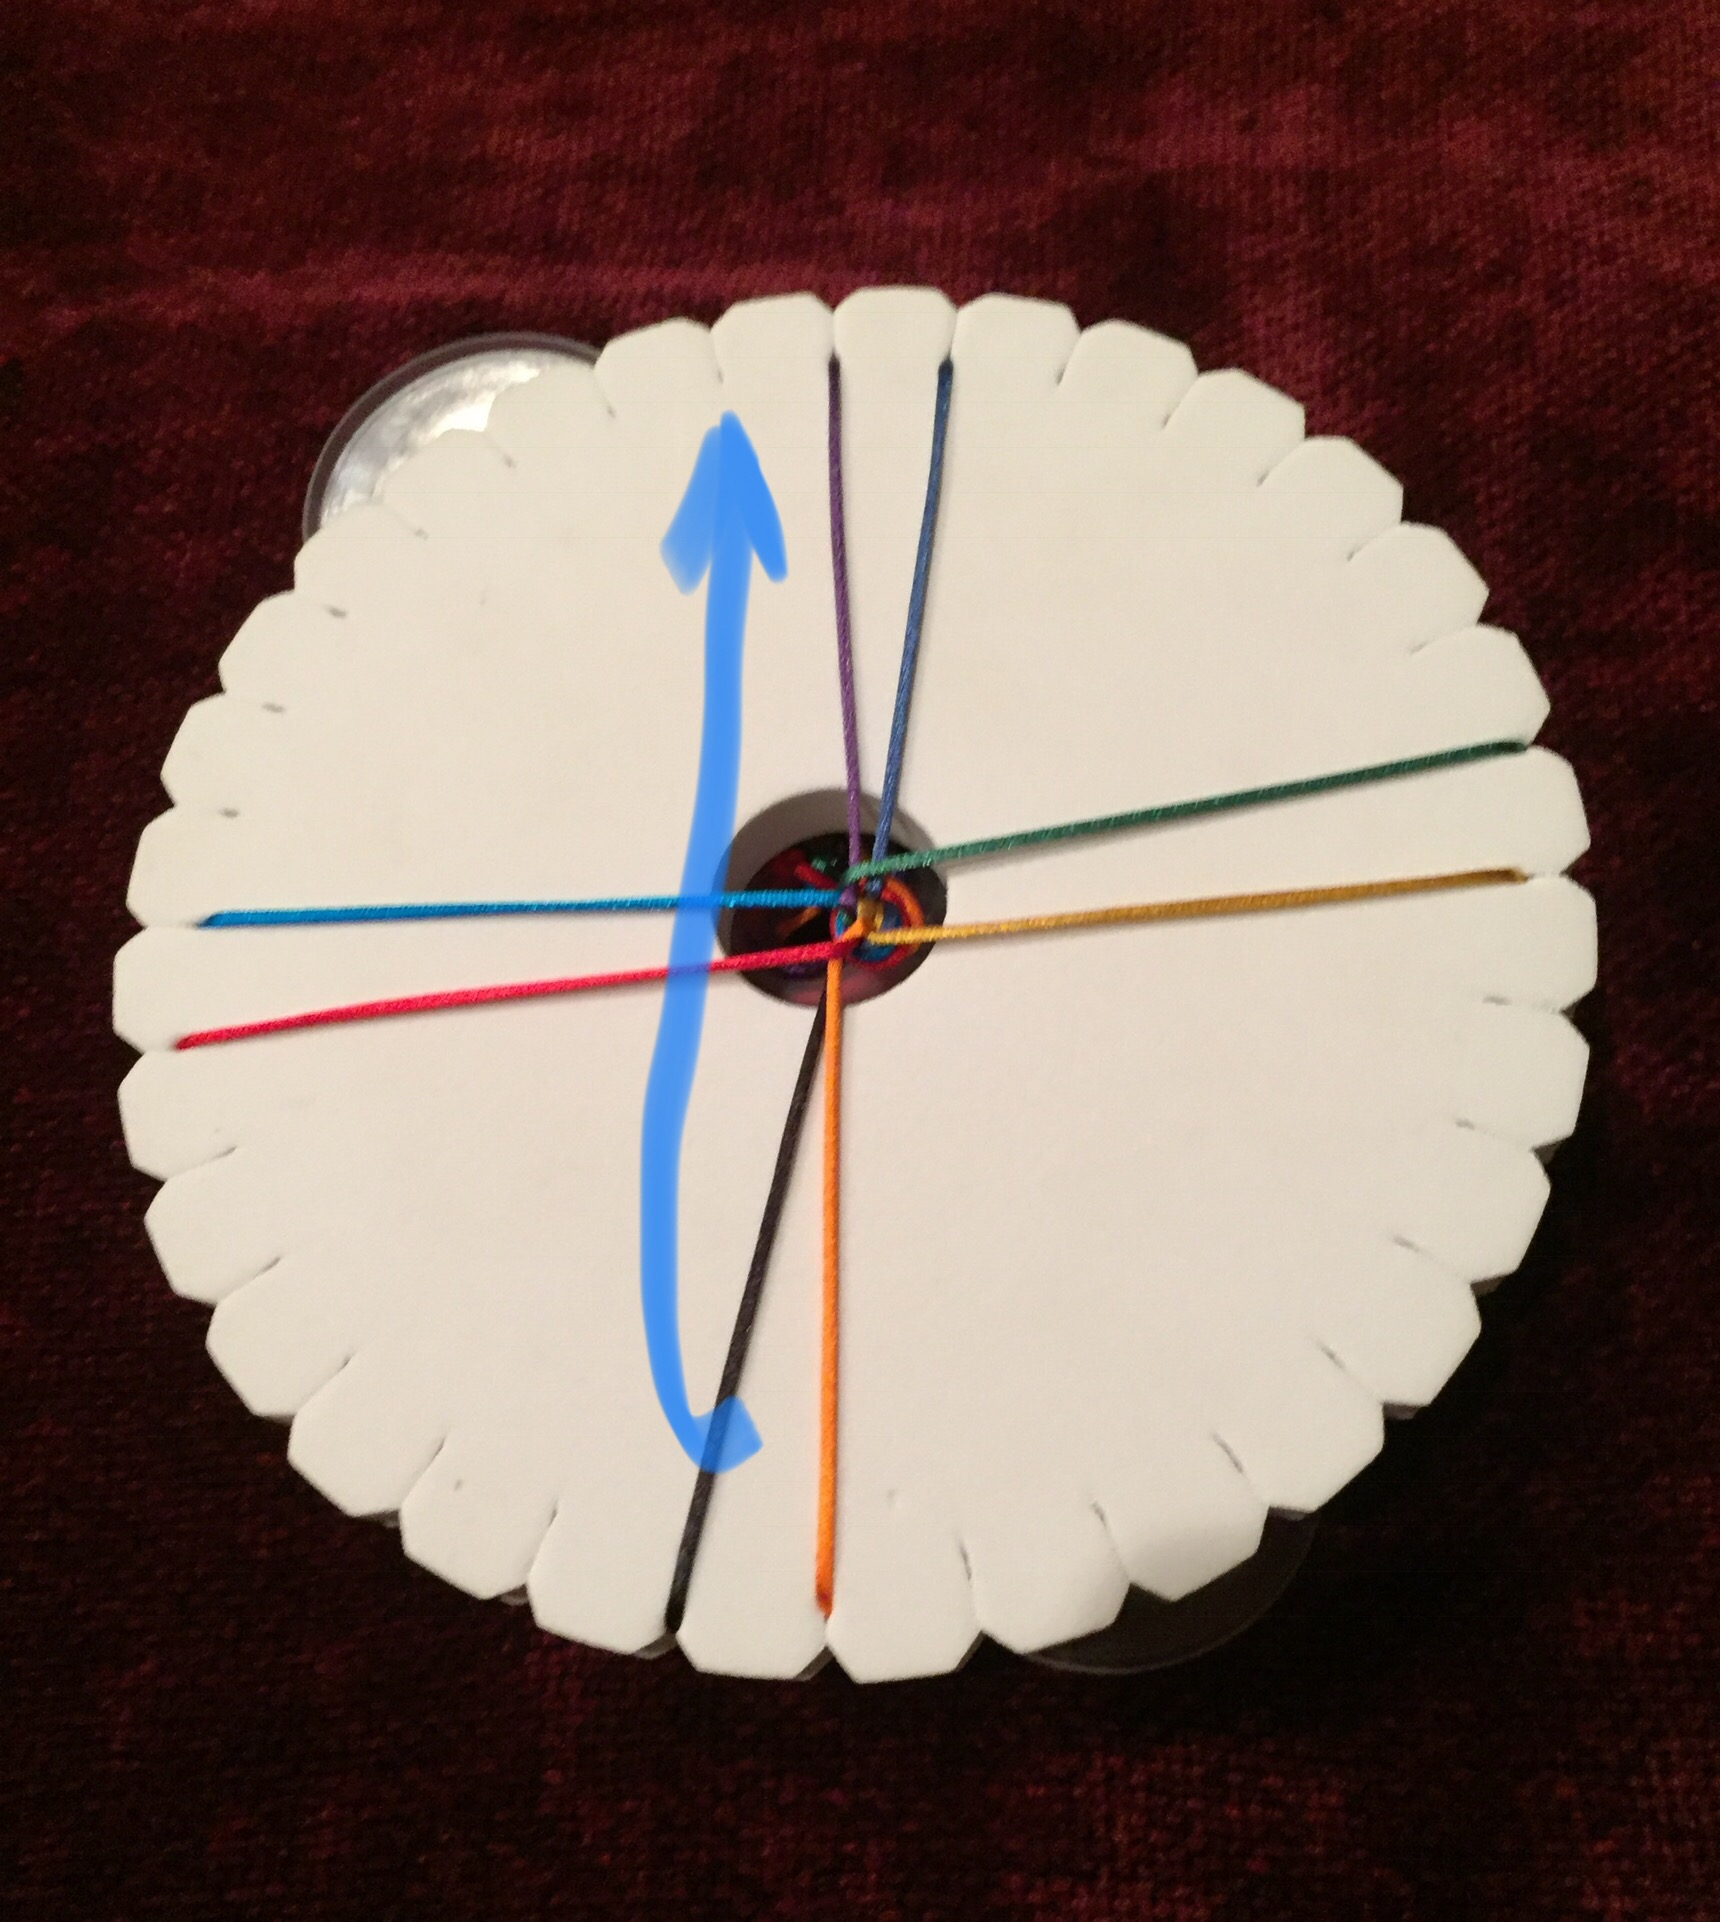
Step 2) Upper right (blue) cord moves down: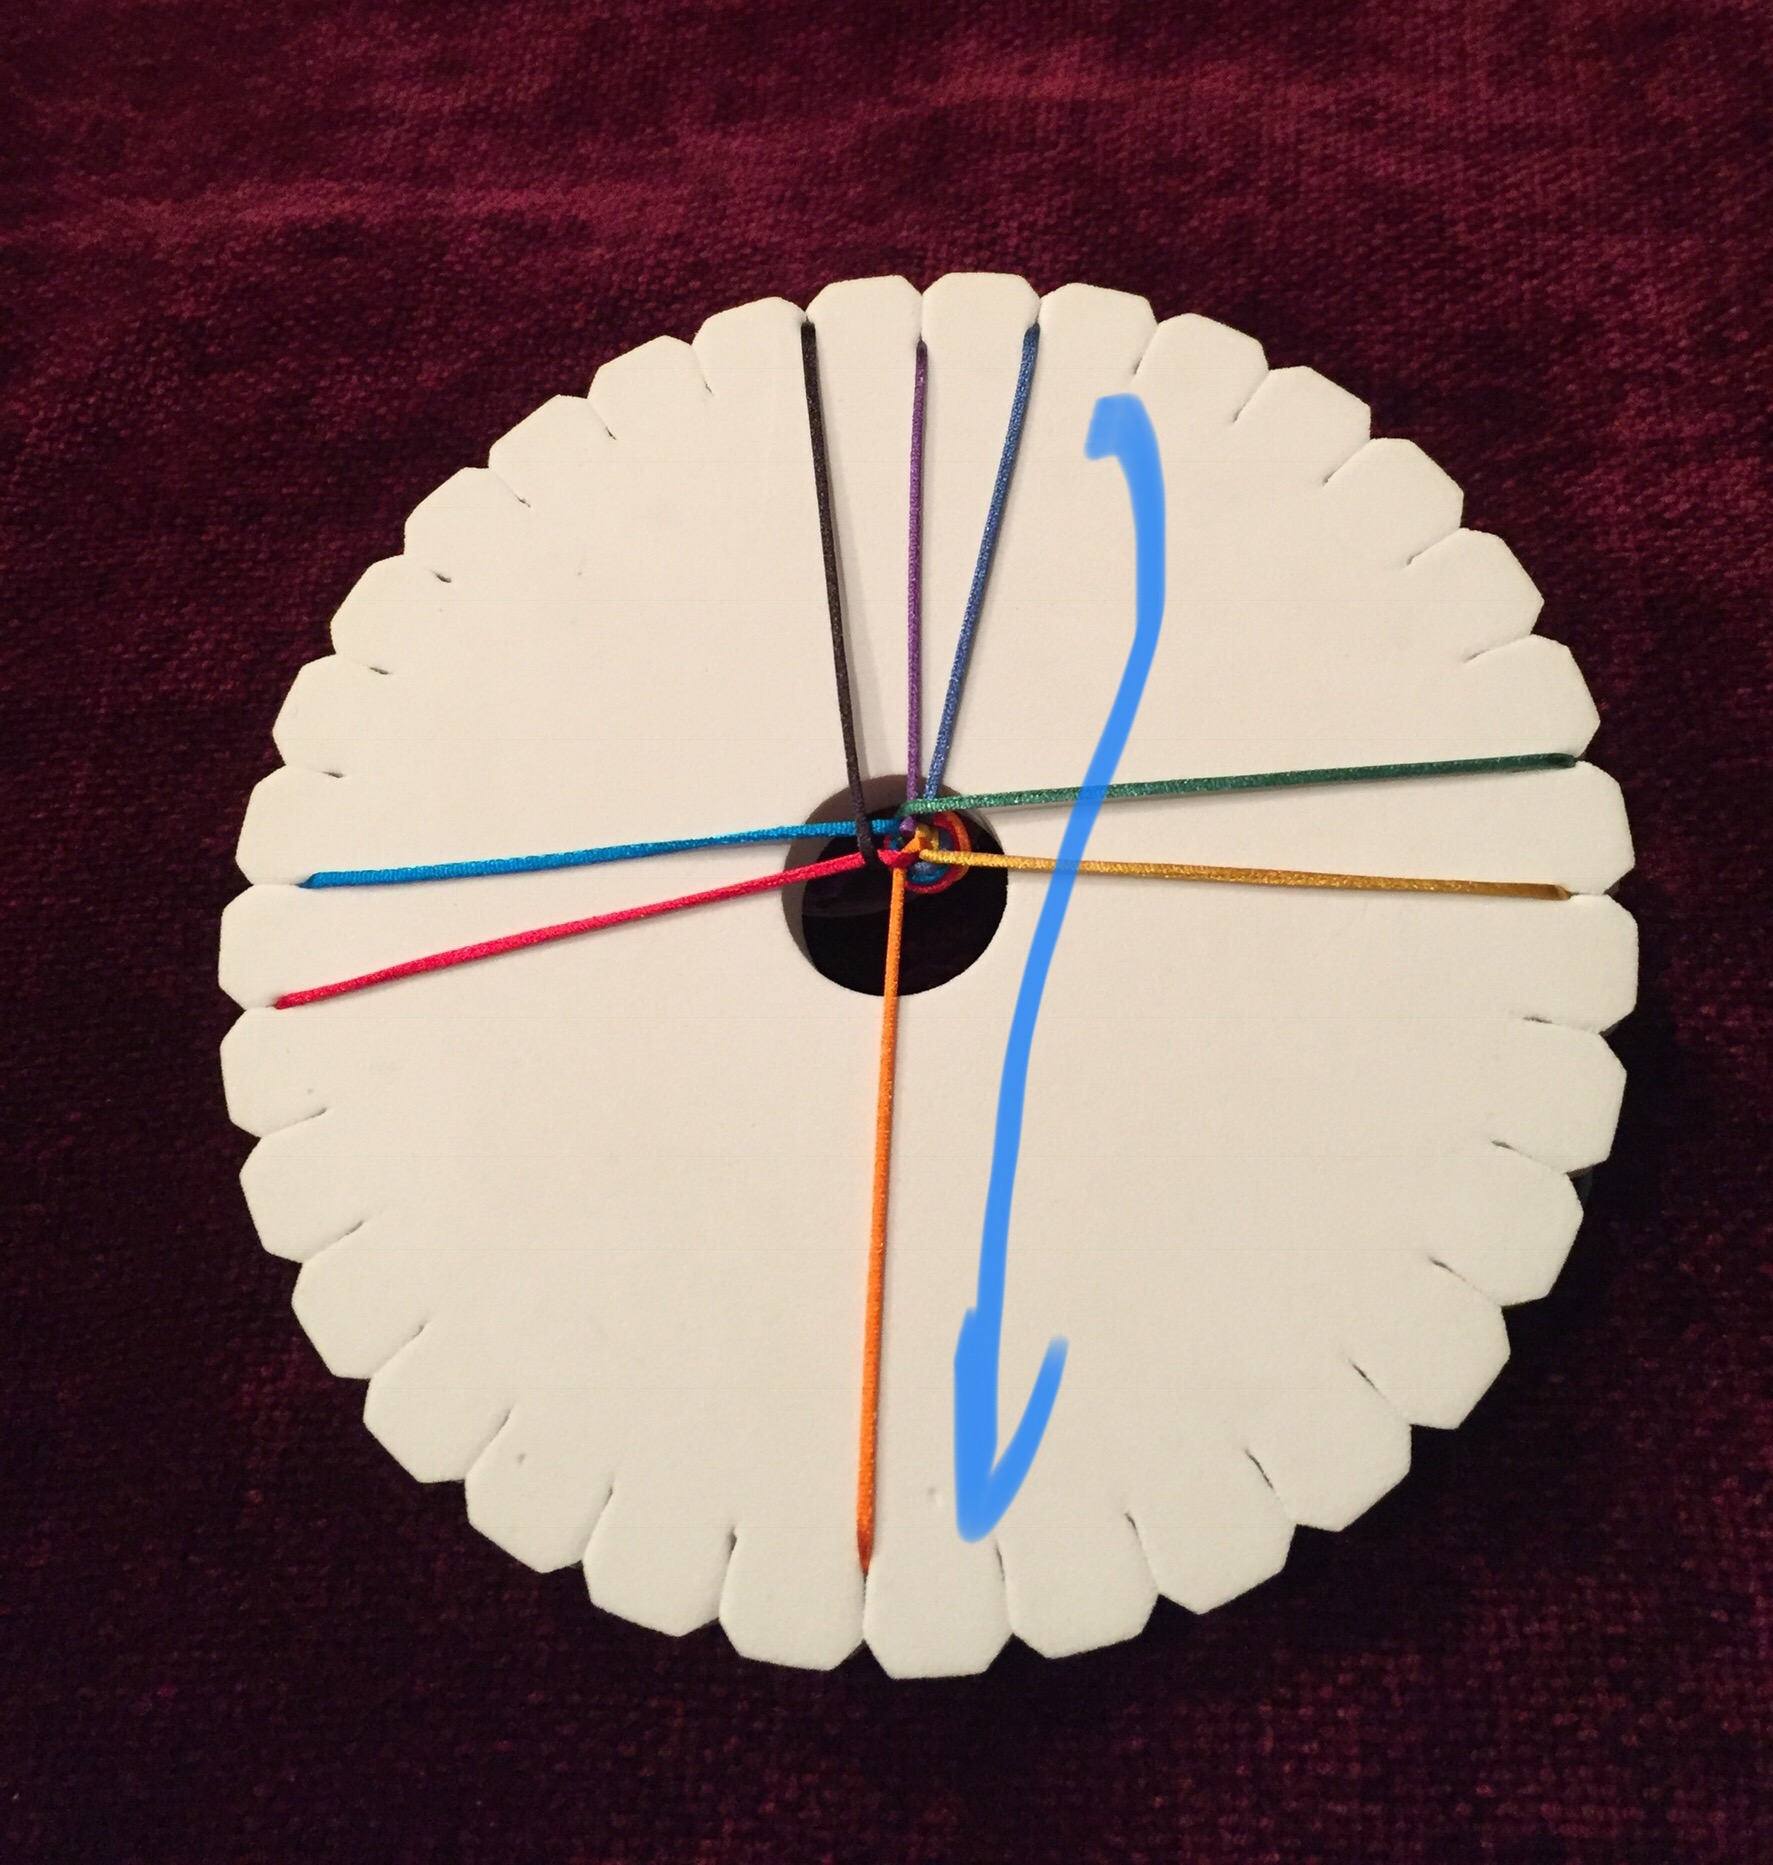
Step 3) Turn your disk: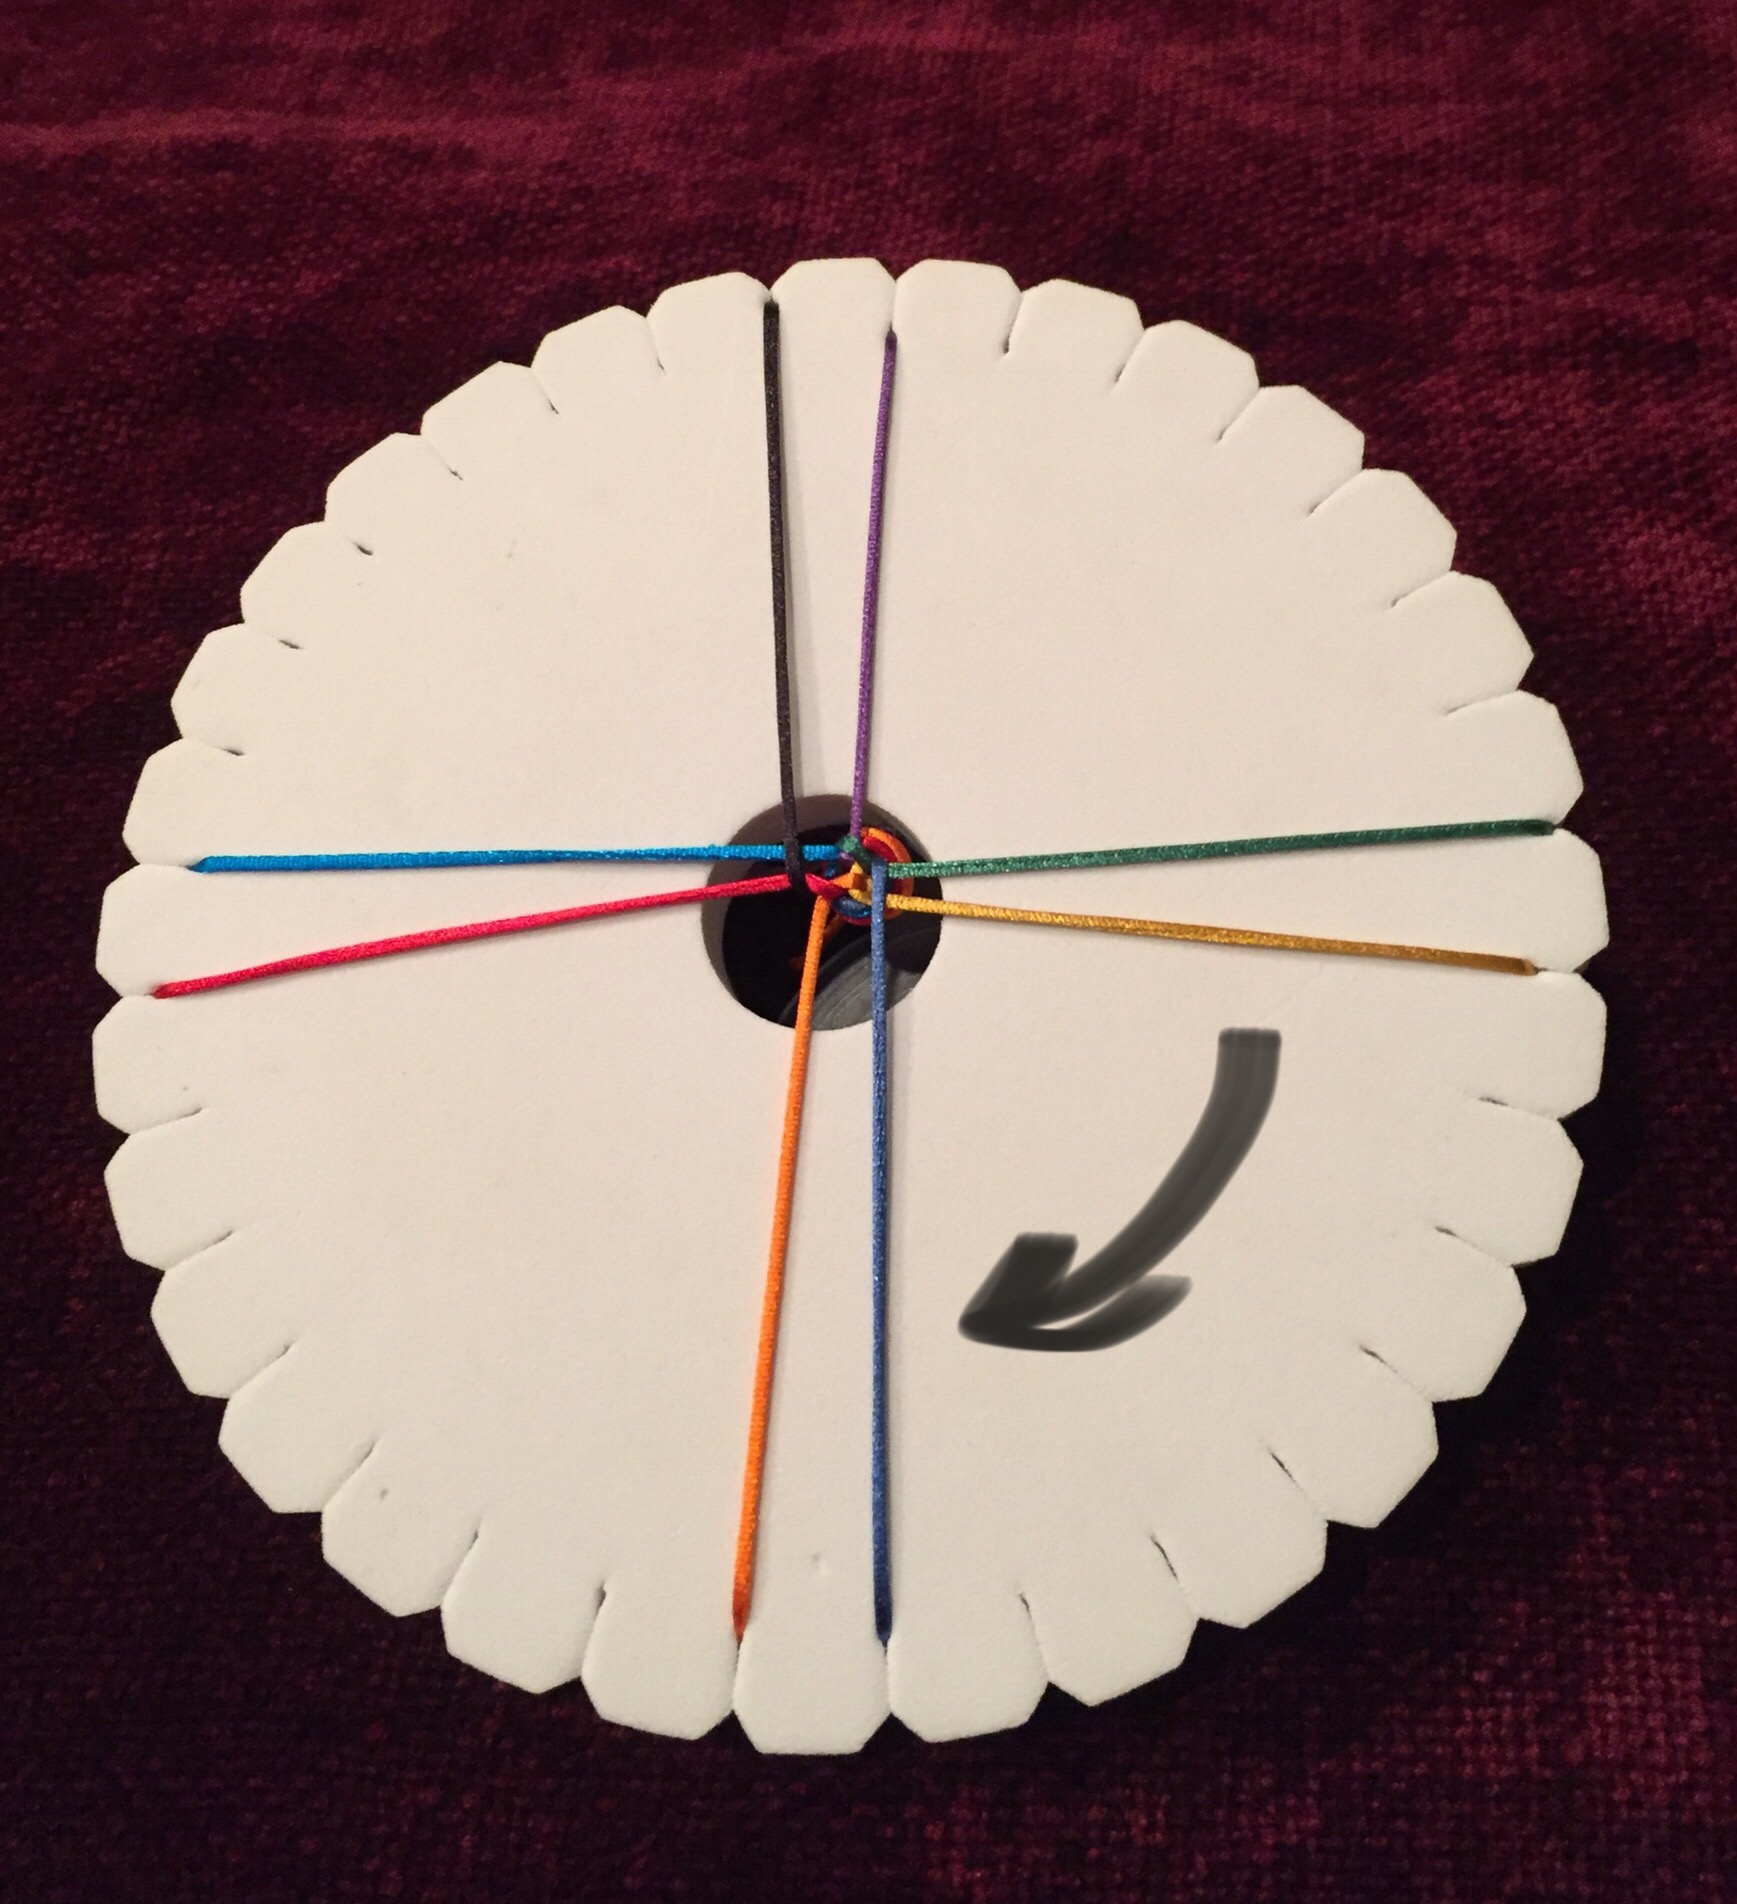
DO IT AGAIN!
Left up: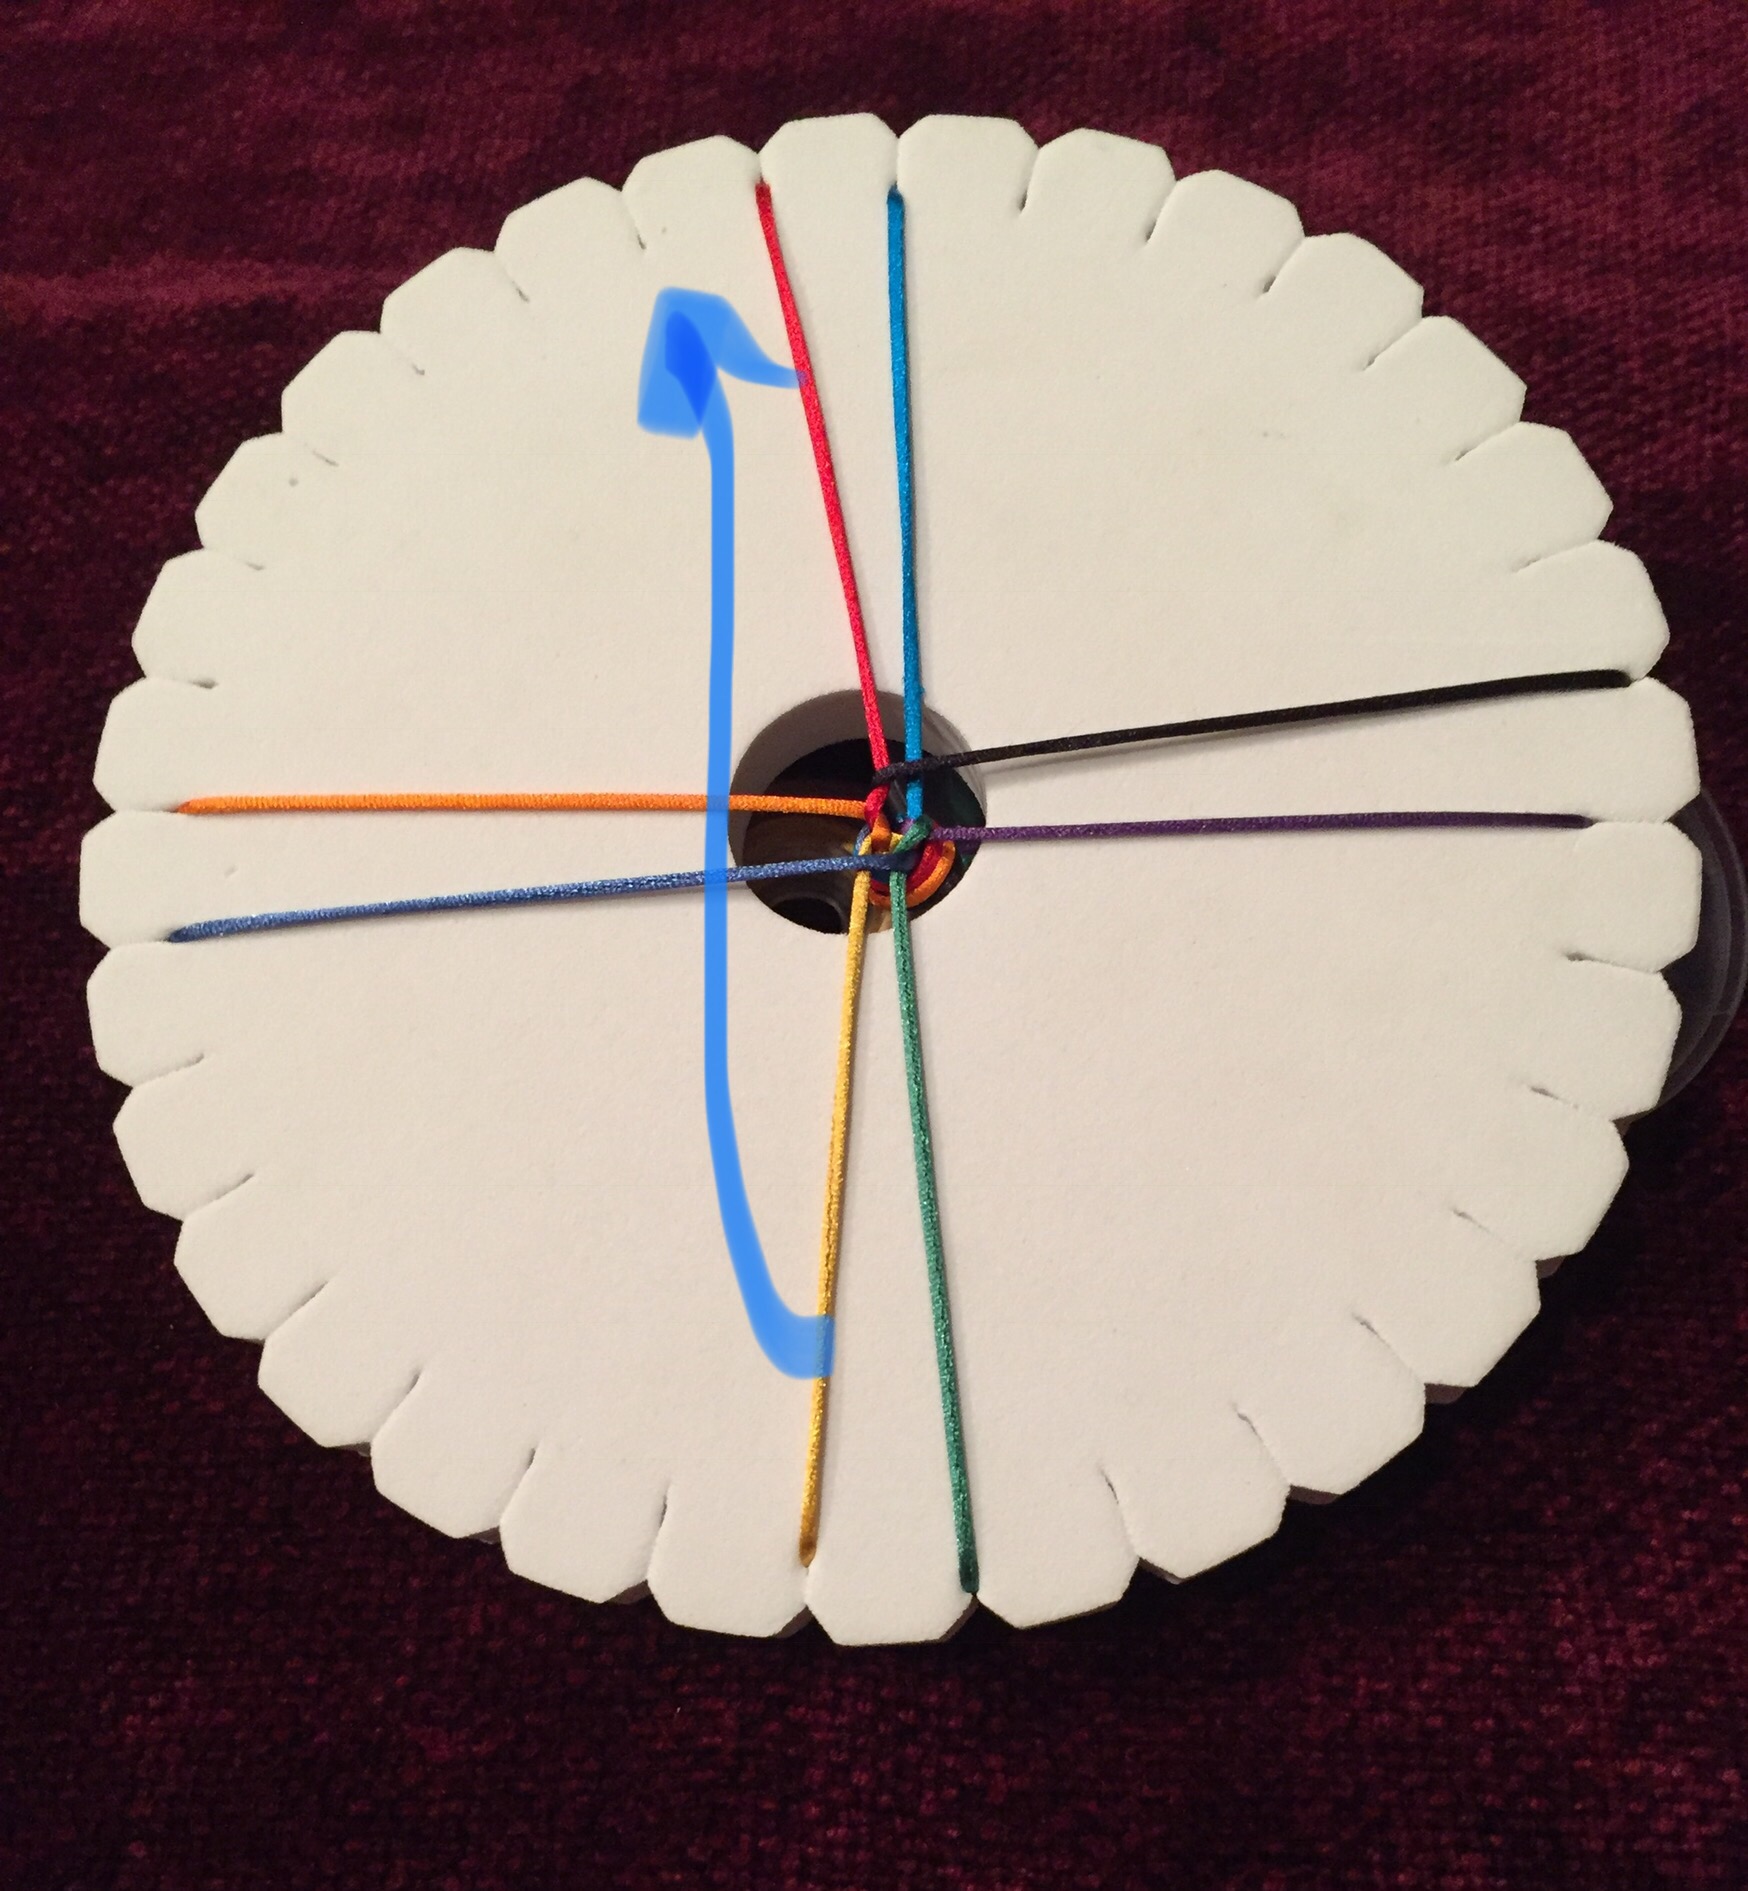
Right down: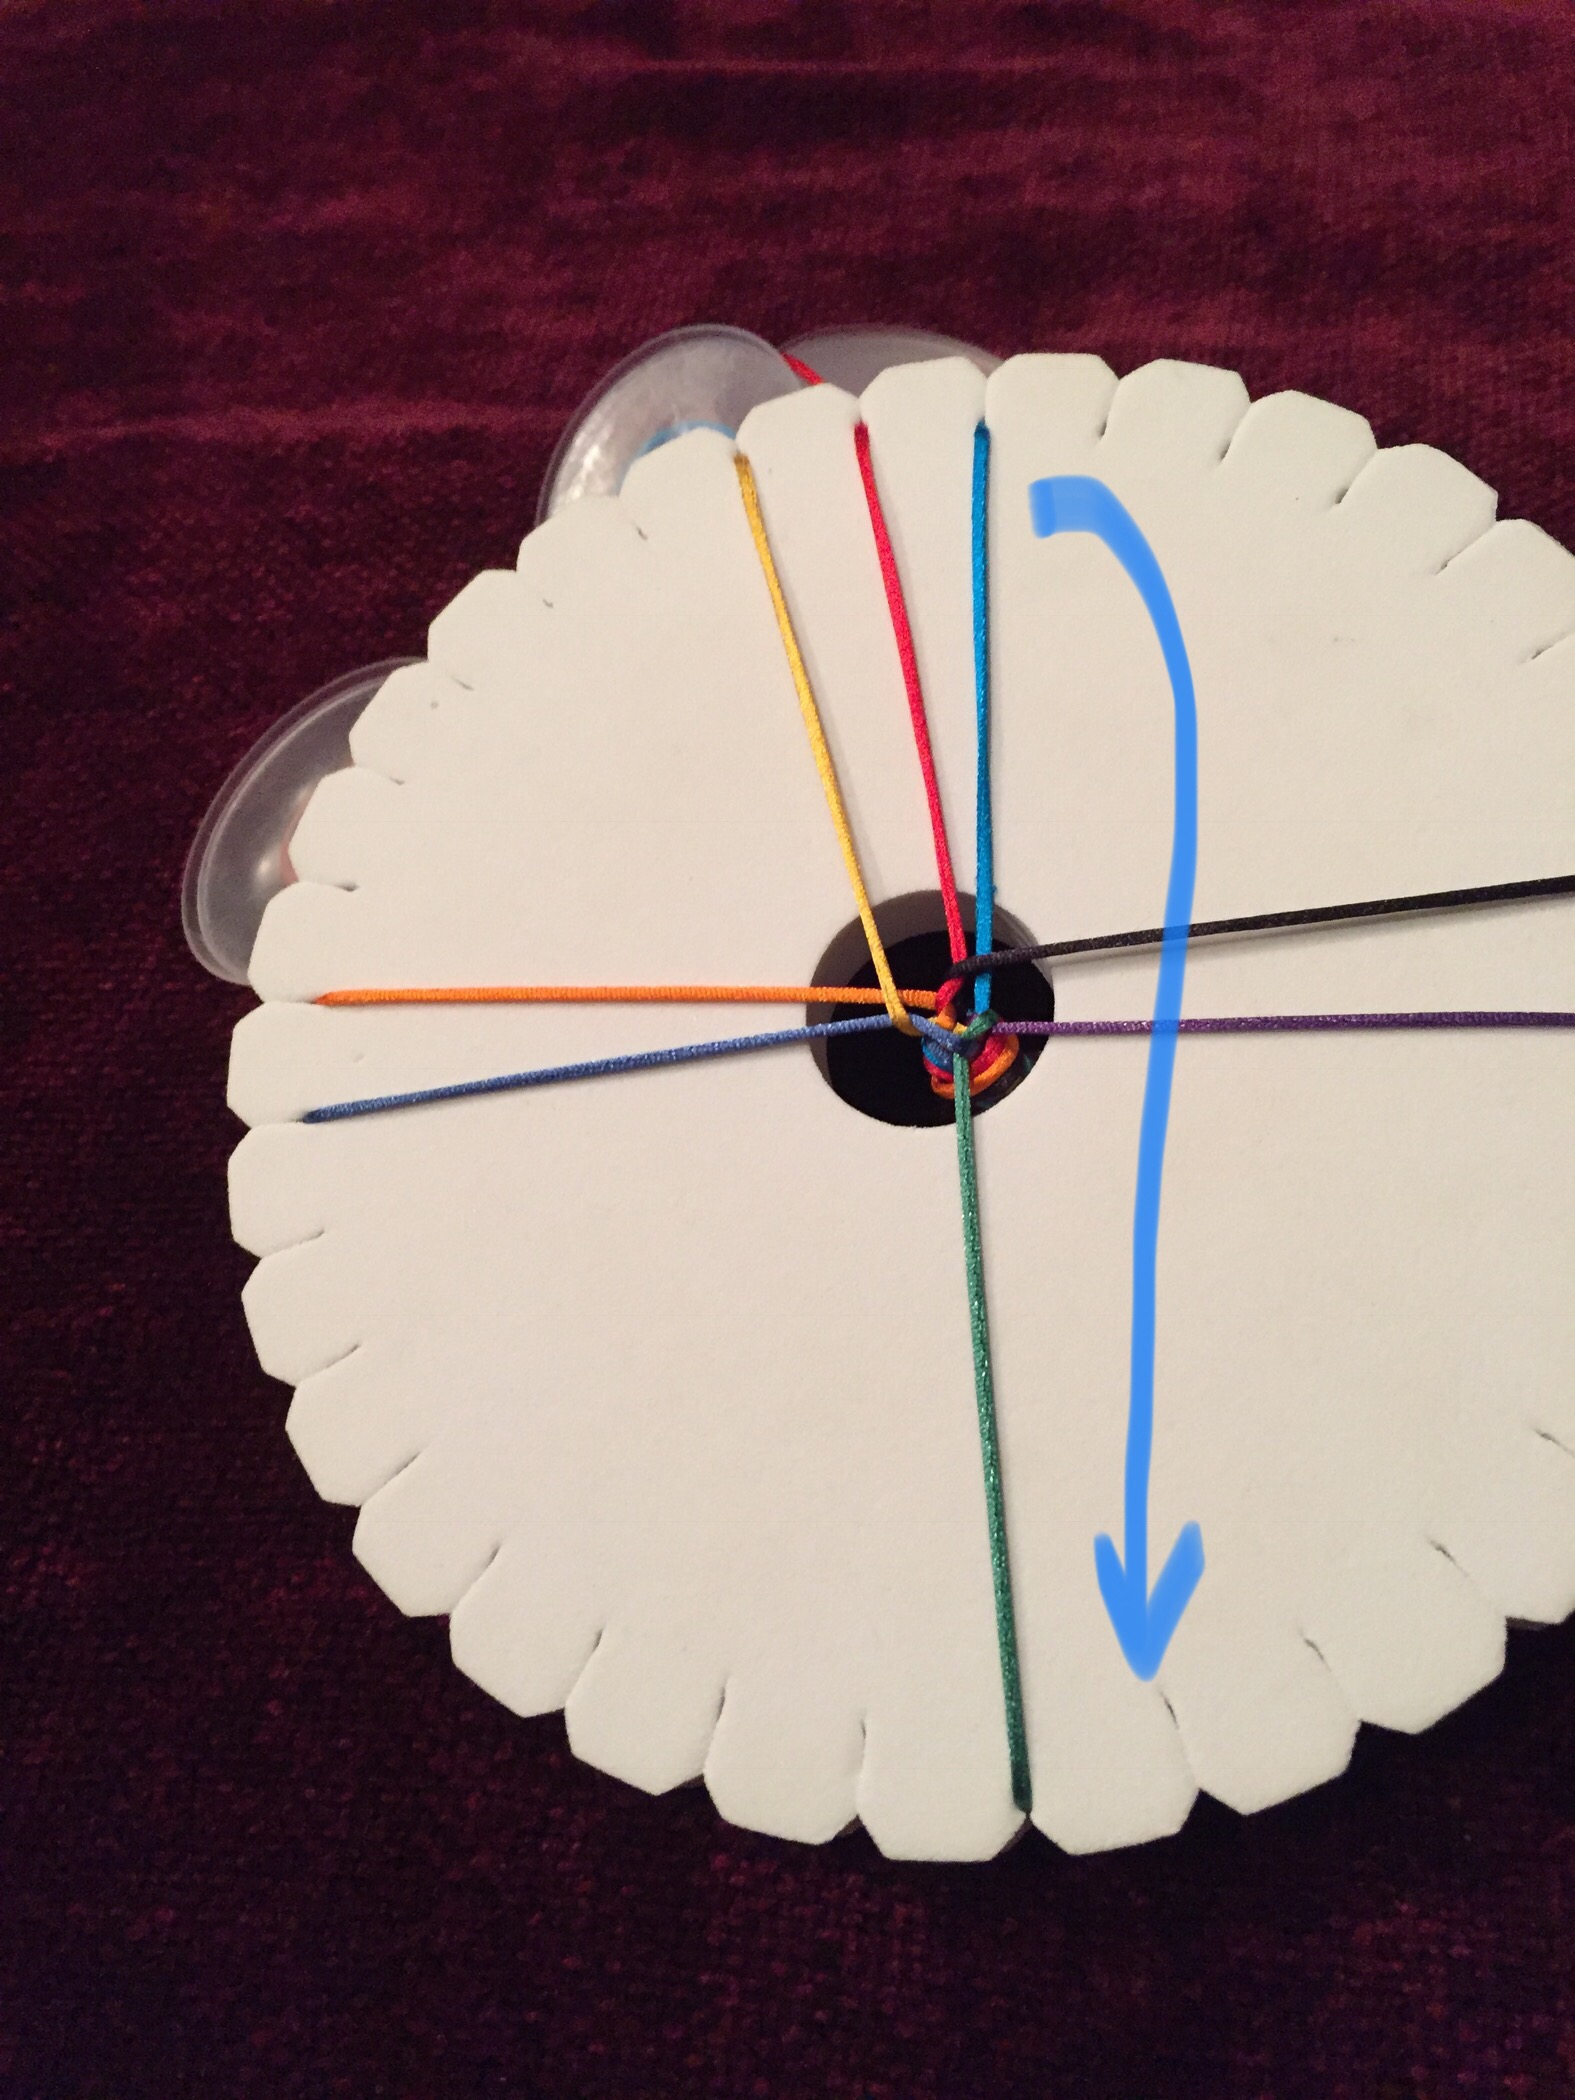
TURN!
Keep going; up, down and around! You can use this mantra, “Left up, right down, turn.”
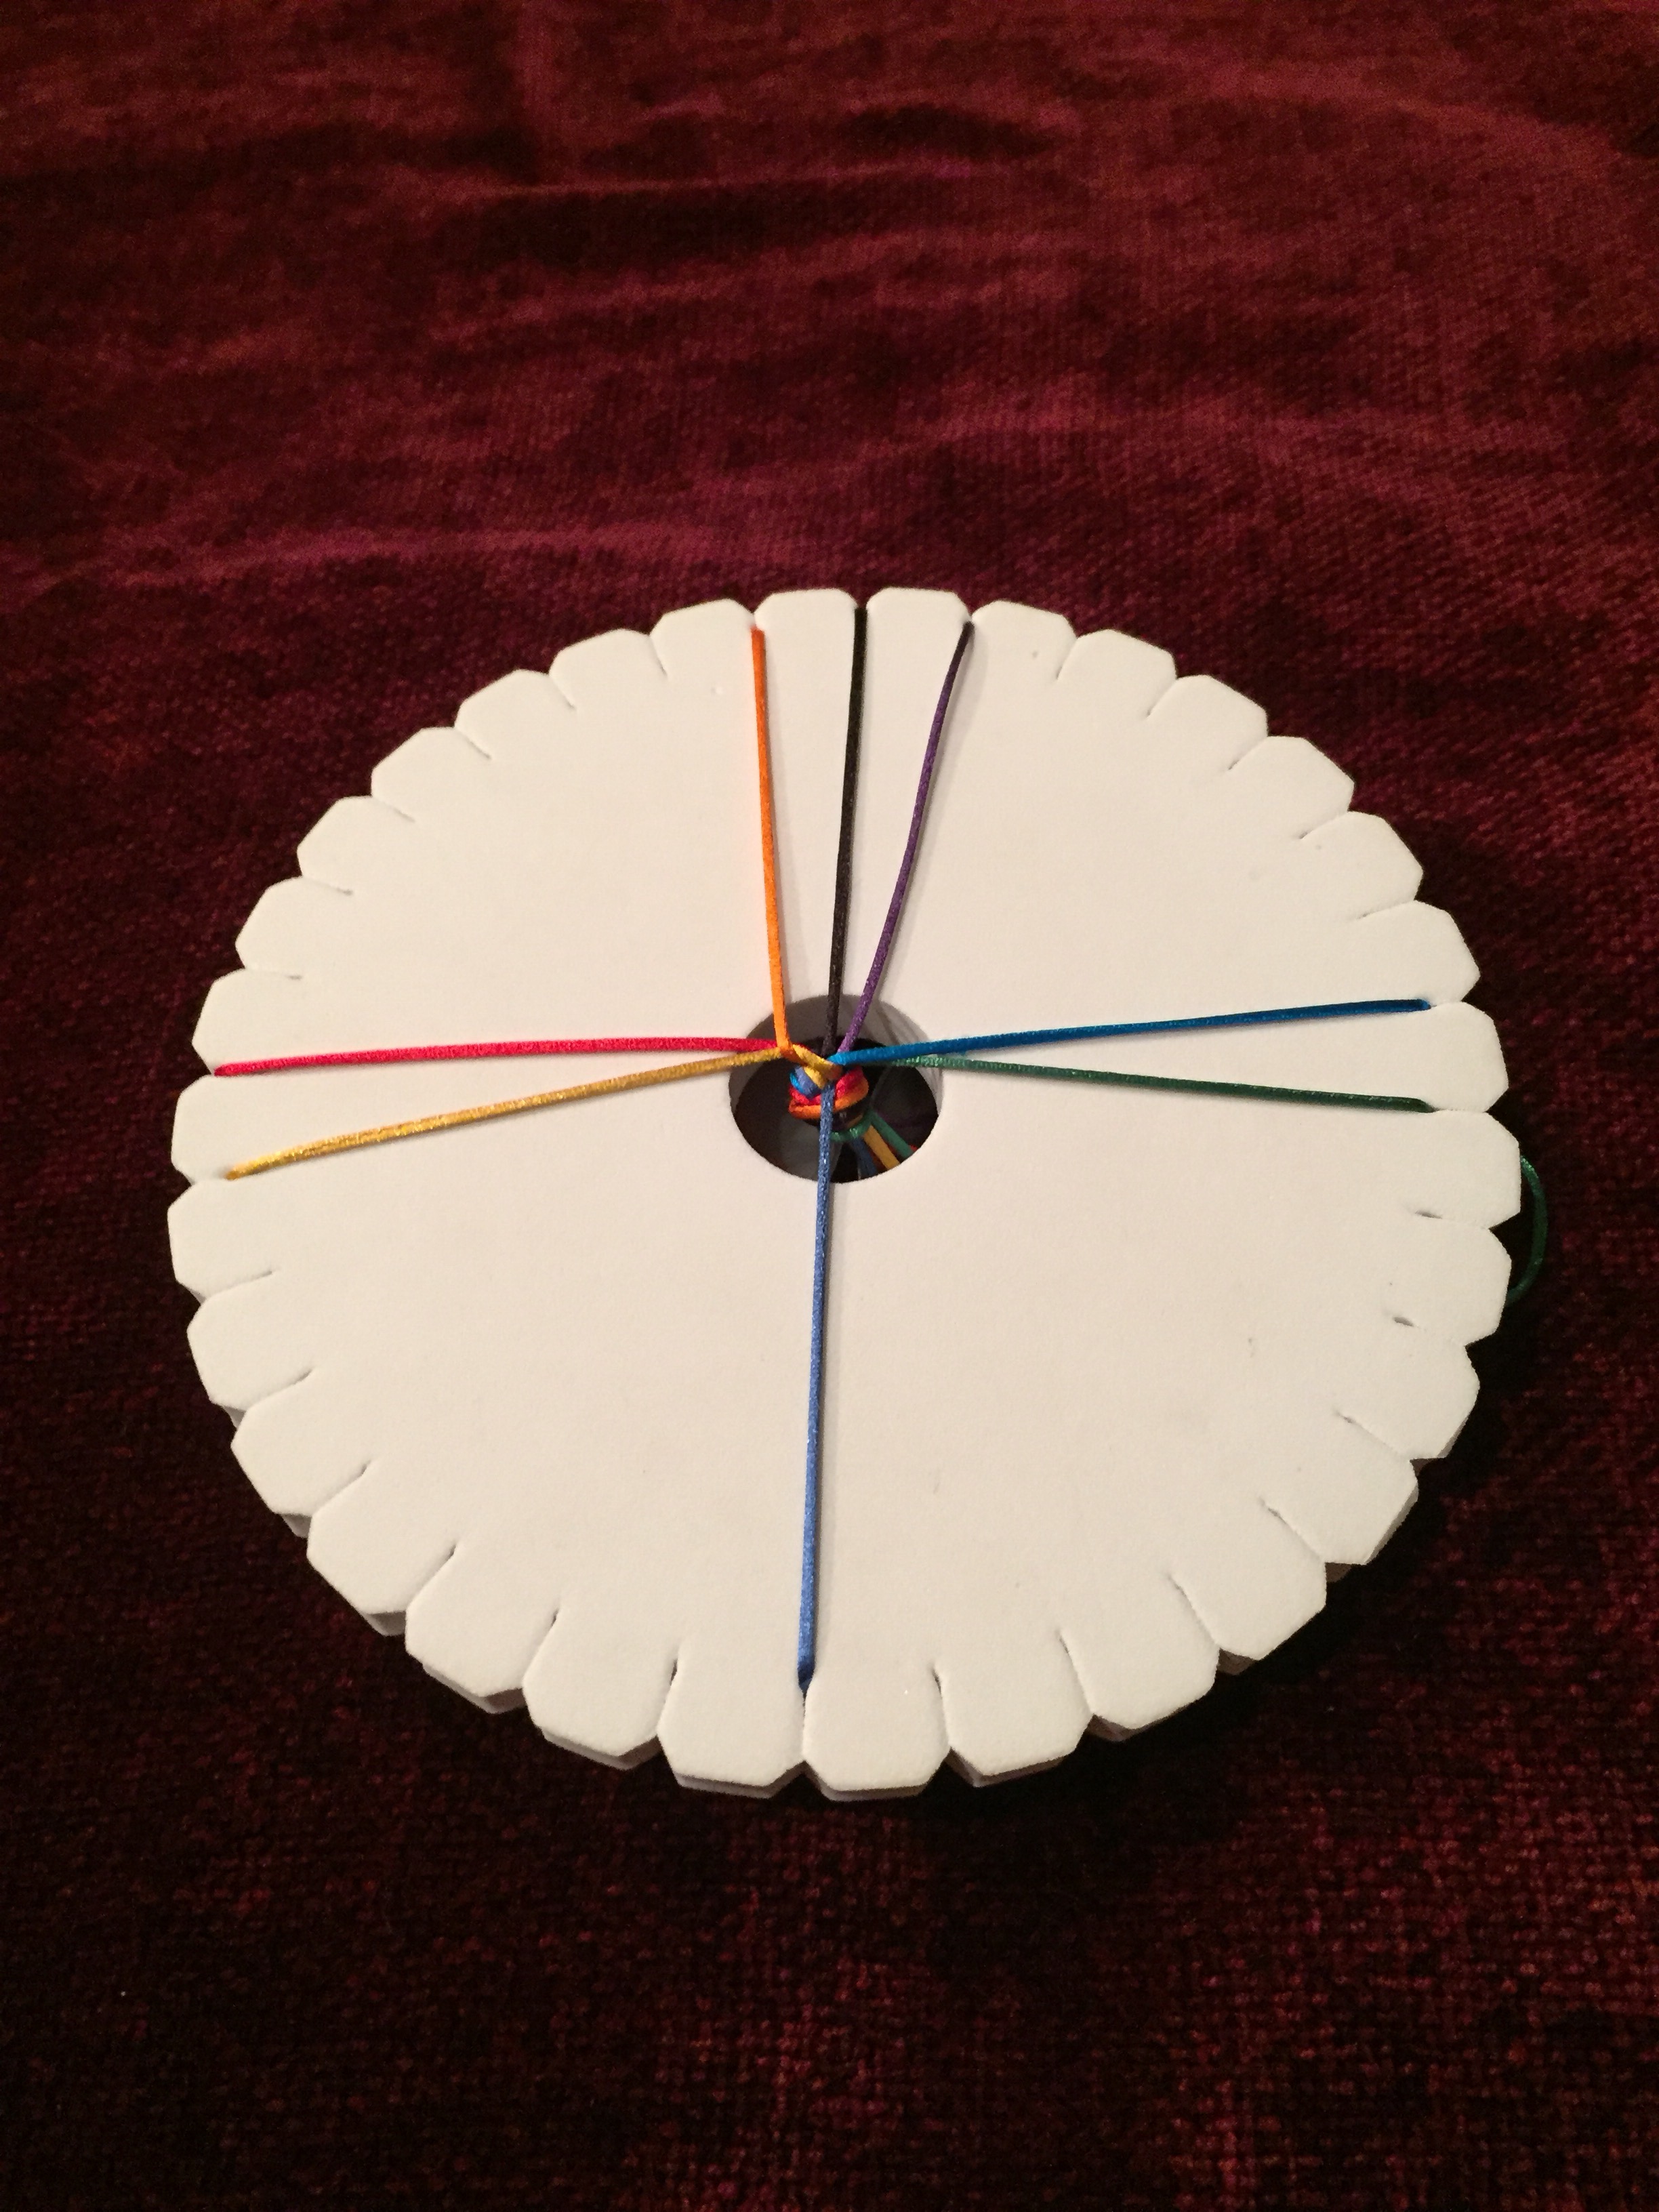
Sometime, when you are in the 3 up, 1 down position,  turn the disk over and admire what you are making:
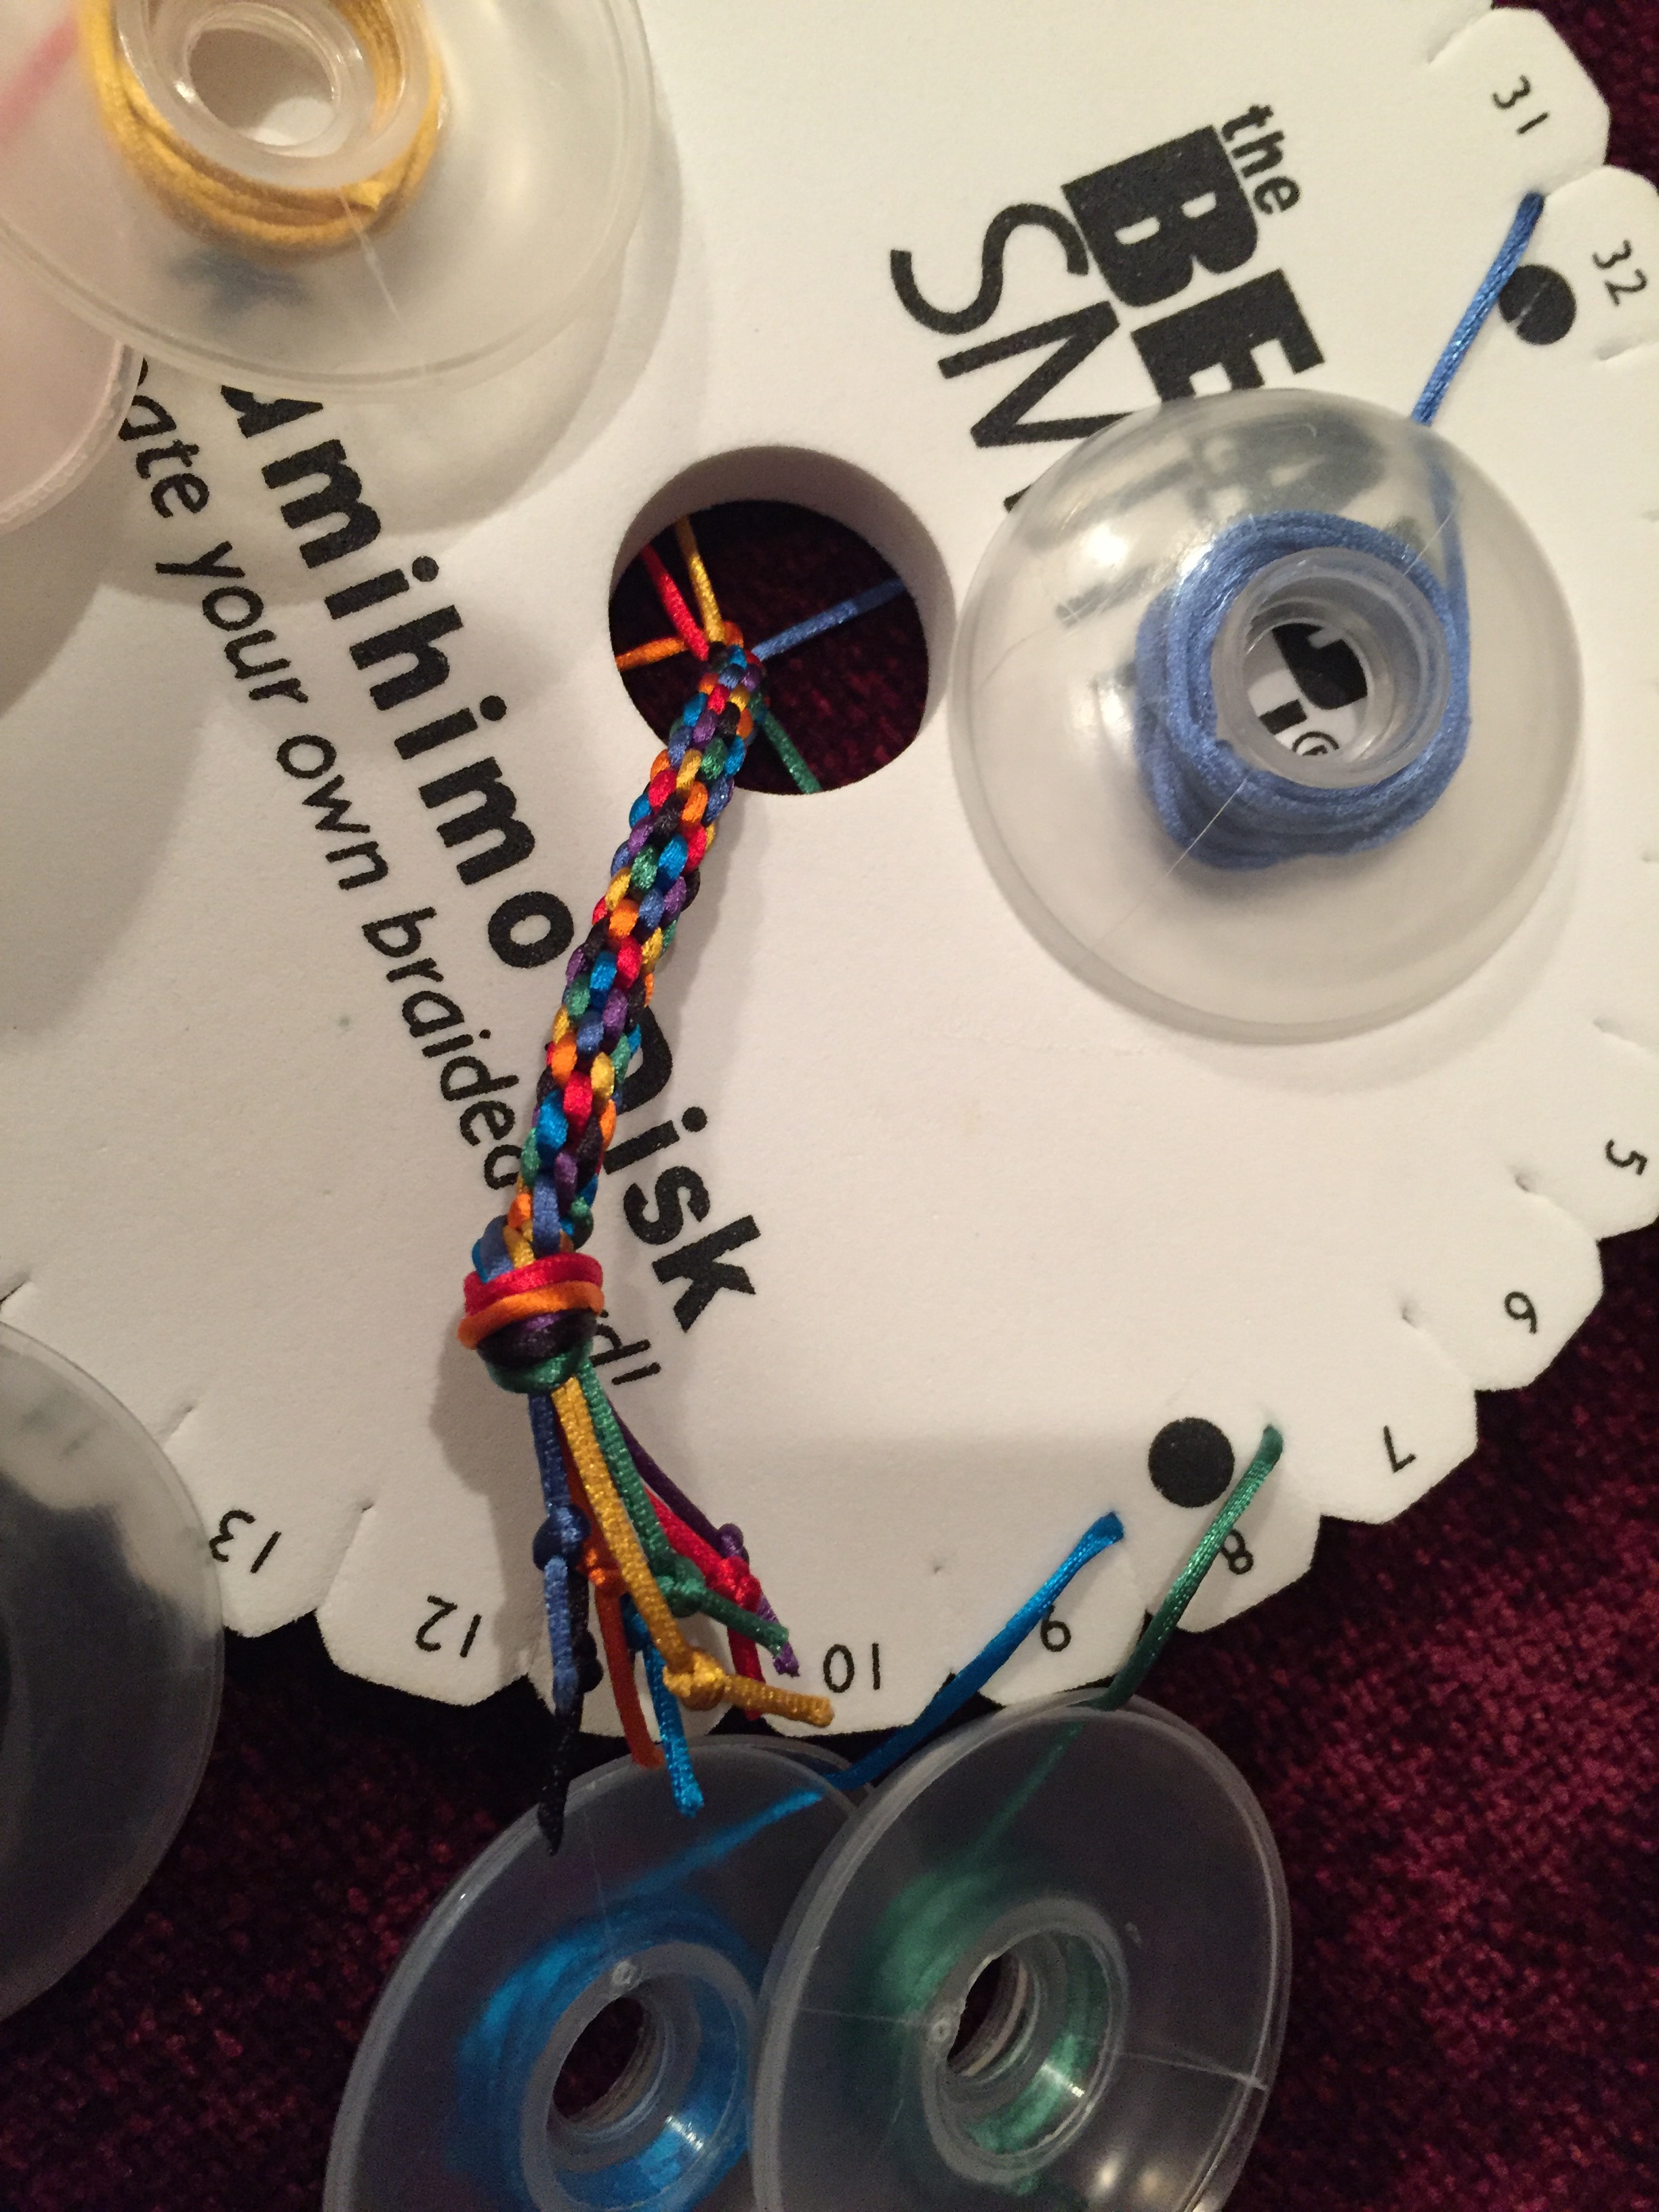
Some kumihimo kits will include a weight attached to an alligator clip. Some people clip or add a weight to the knot to provide tension to the braid. Some people do not use a weight at all. That’s a debate for another post. In this case, the mouse tail has enough structure that I don’t need a weight.
Now, turn the disk over and pick up where you left off. Keep going till the braid is the length you want, or you run out of one of the cords.