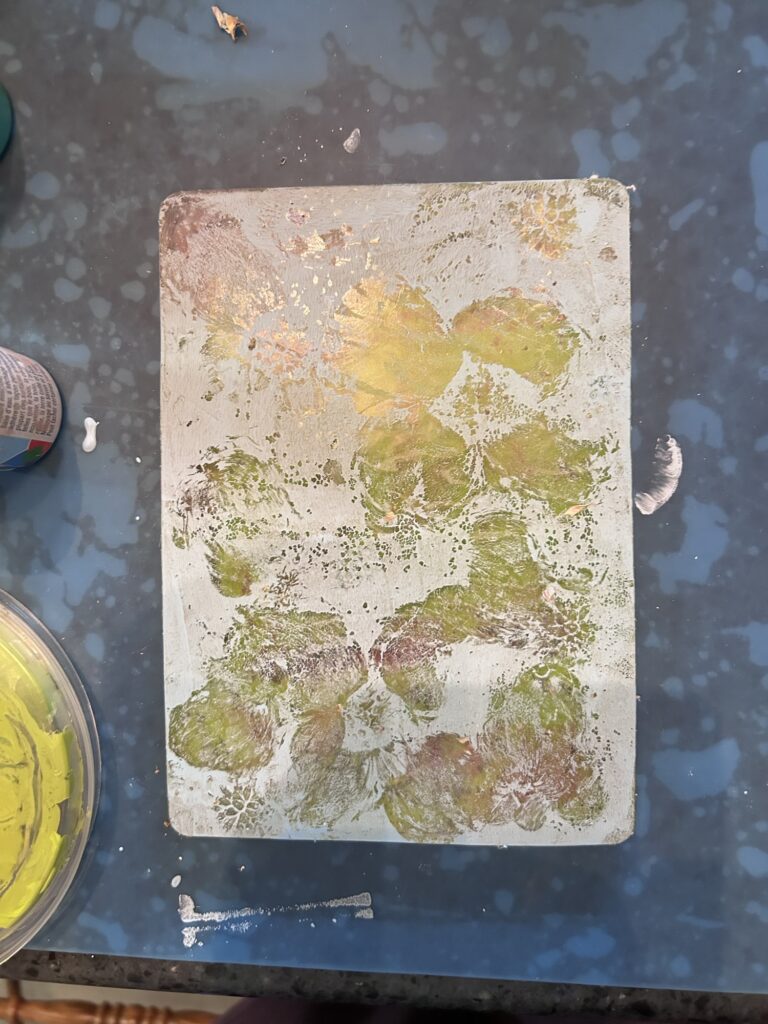
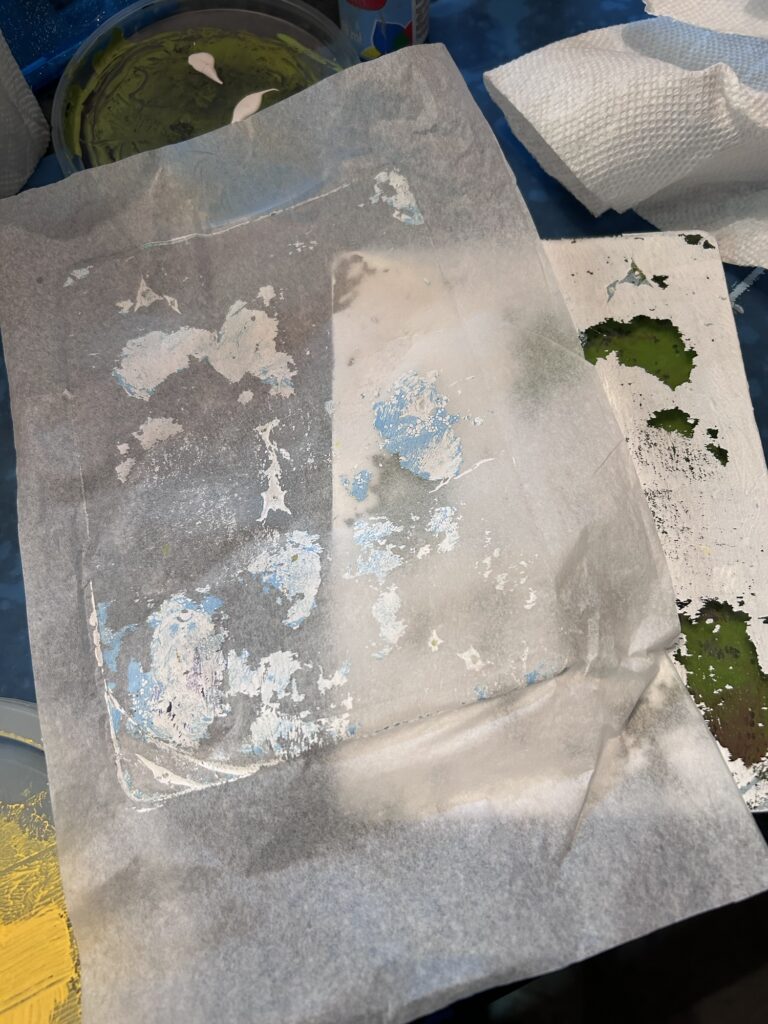
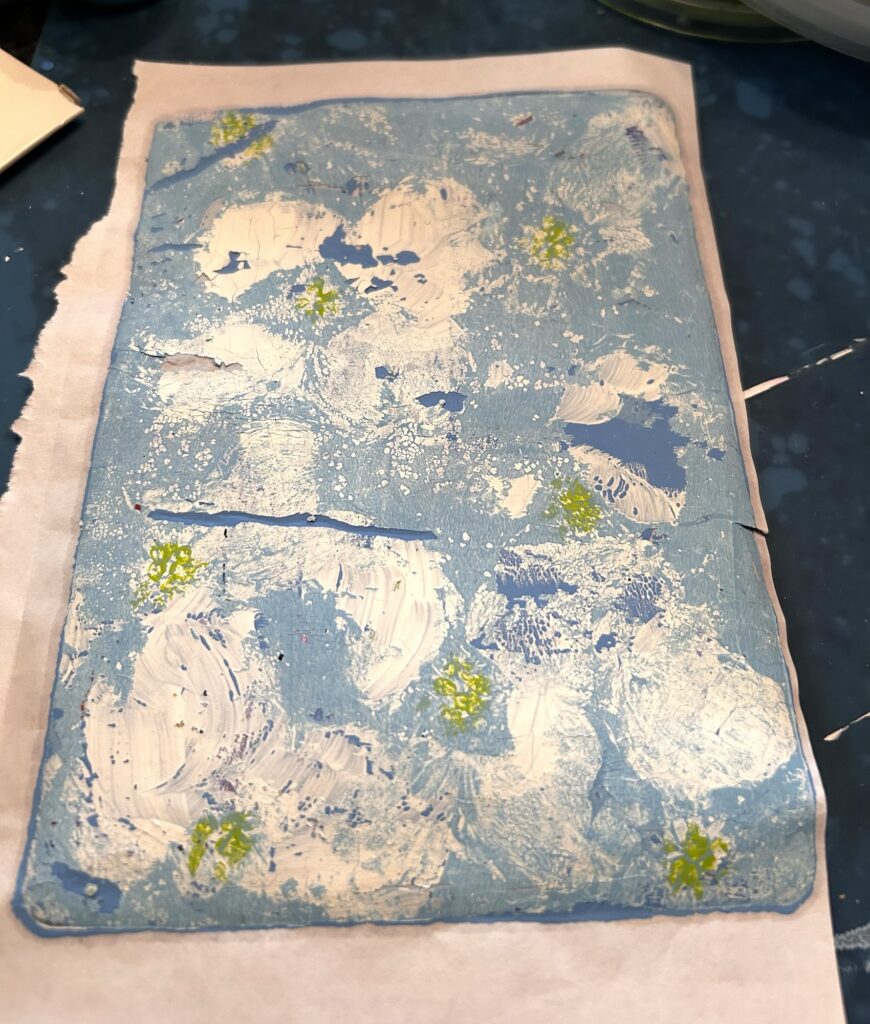
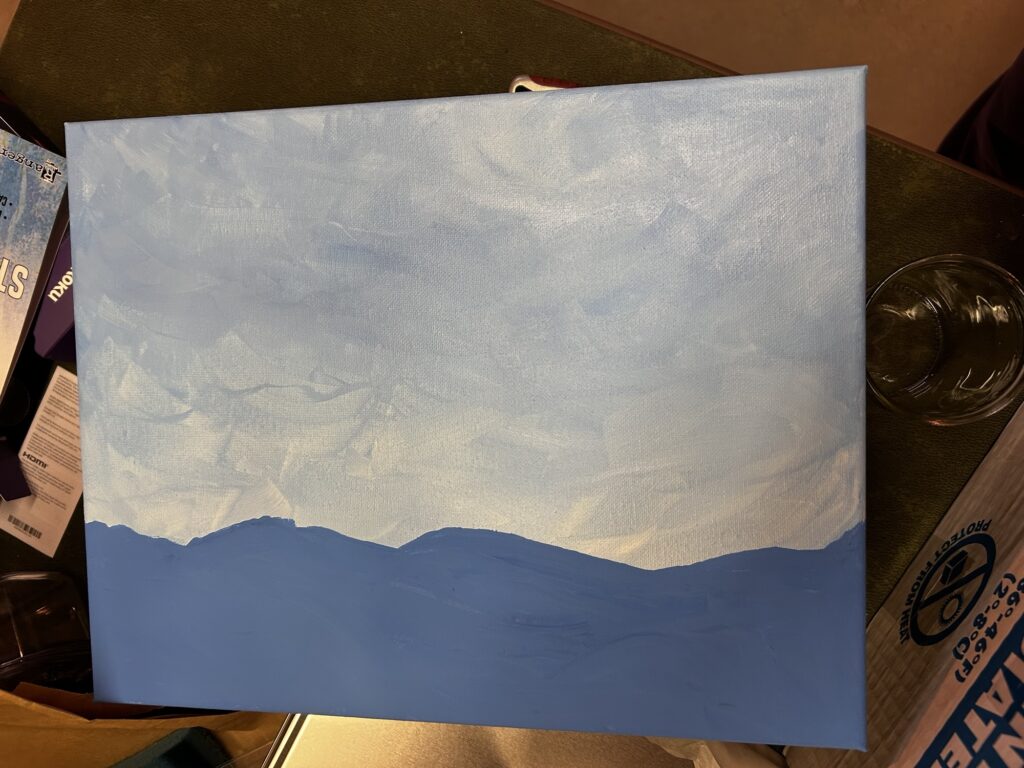
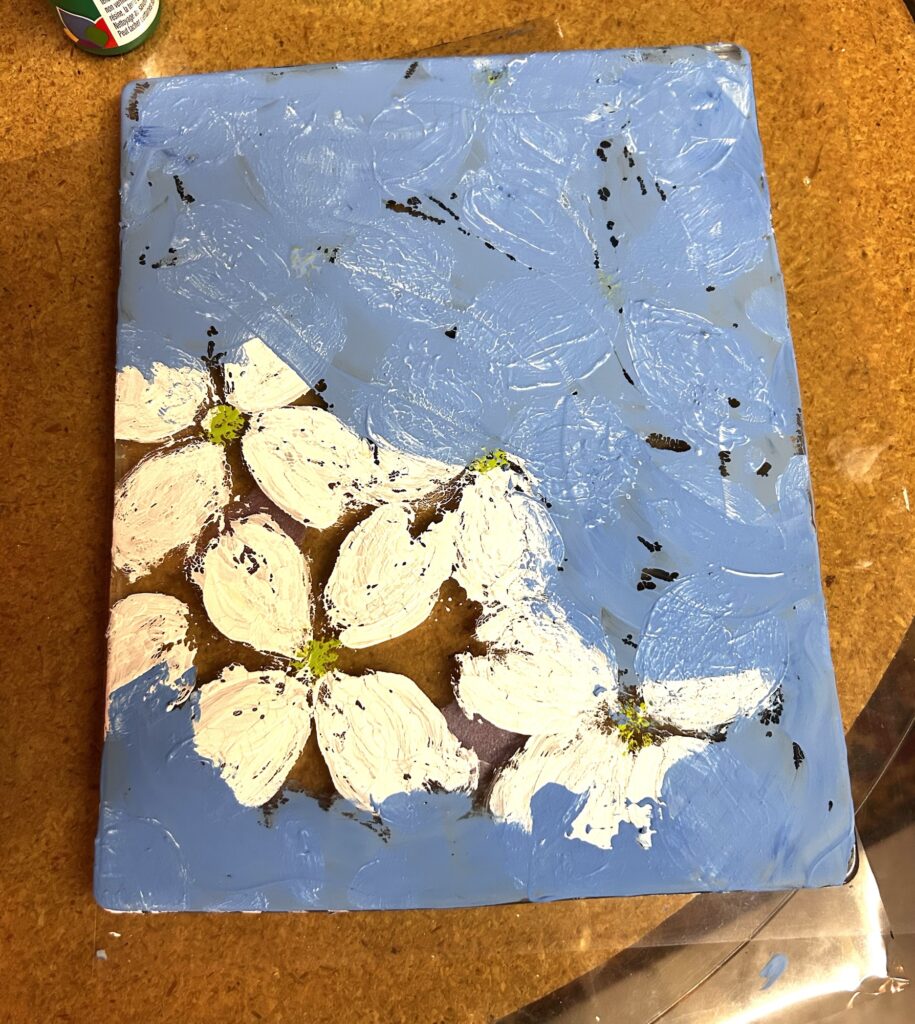
You bet I am. I thought my friend, Loretta, and sister-in-law, Pam, were having a paint party tonight at 7:00. No, it was at 11:00 this morning. They finally got in touch with me, and I got there in time to paint this.
Actually, I only painted the upper portion. I brought my dollop of unused paint home with me and painted the lower portion.
Well, almost. I need to seal it, then I can hang it! Look how translucent and stain-glassy it is!
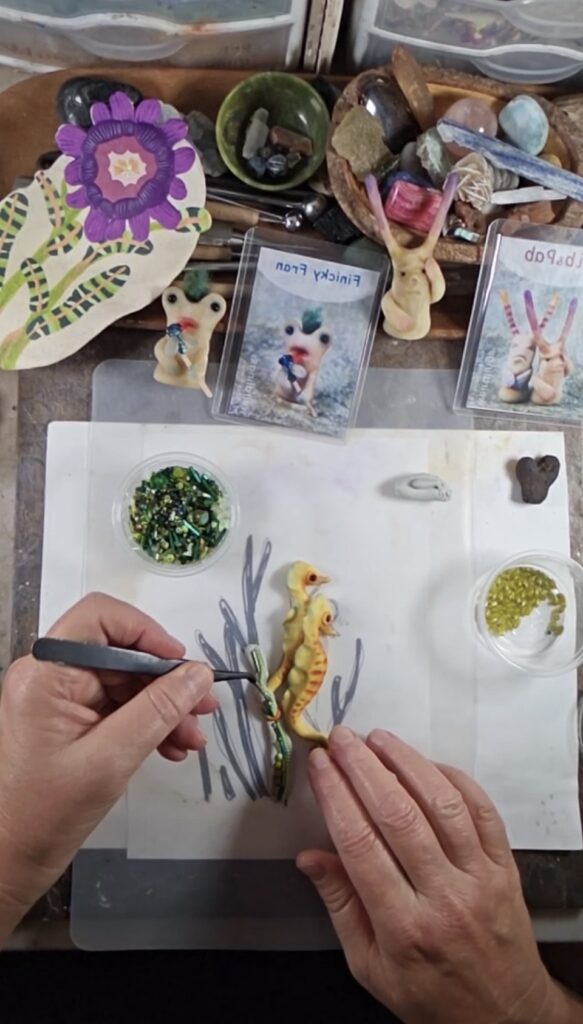
Earlier, today, I watched Christi Friesen begin creating a beaded background for a couple of sea horses she had sculpted.
Even earlier, I went to church. It wasn’t creative, just heartwarming. I spotted a dear cousin, and sat with him. We were talking, and a voice beside me said, “What are you doing sitting up here near the front?” as she slid in beside me.
“I’m sitting with my cousin,” I replied, “and now I’m sitting with my oldest friend!” It was a great blessing.
So was the birth of my daughter, 50 years ago, today!
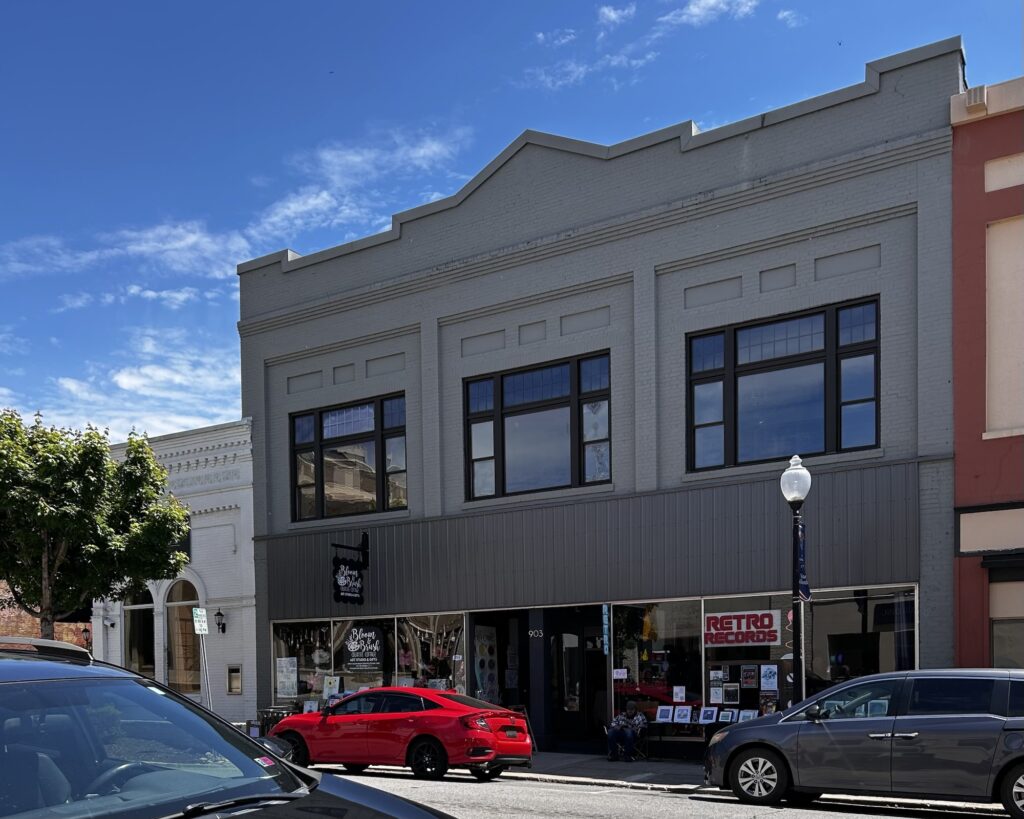
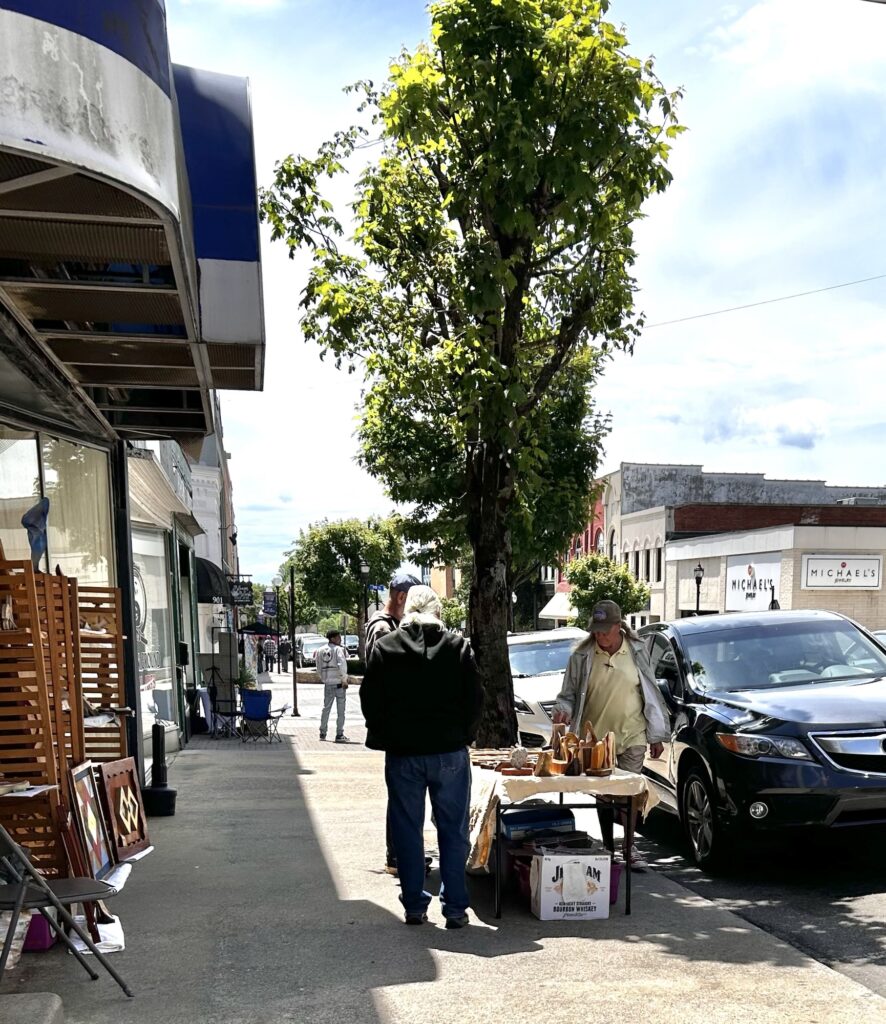
It was a small event, but oh, so enjoyable! My hometown of North Wilkesboro, NC., hosted art vendors, all set up along Main and 10th Streets, today.
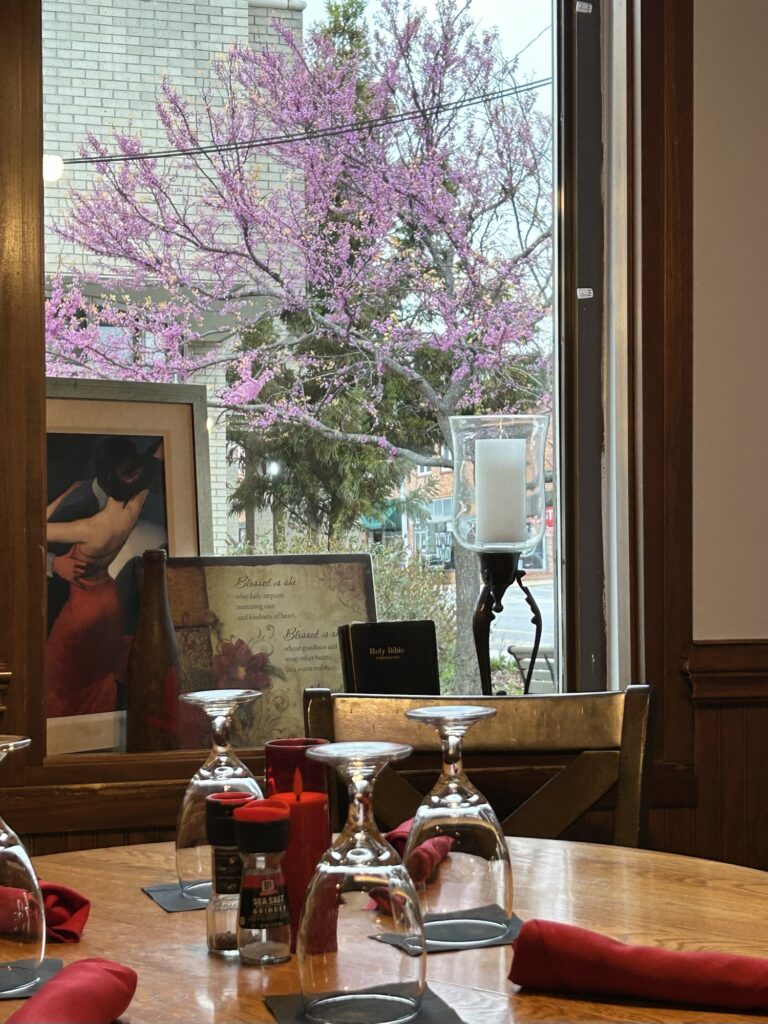
I met my friend, Connie, for lunch at Roselli’s on 10th.
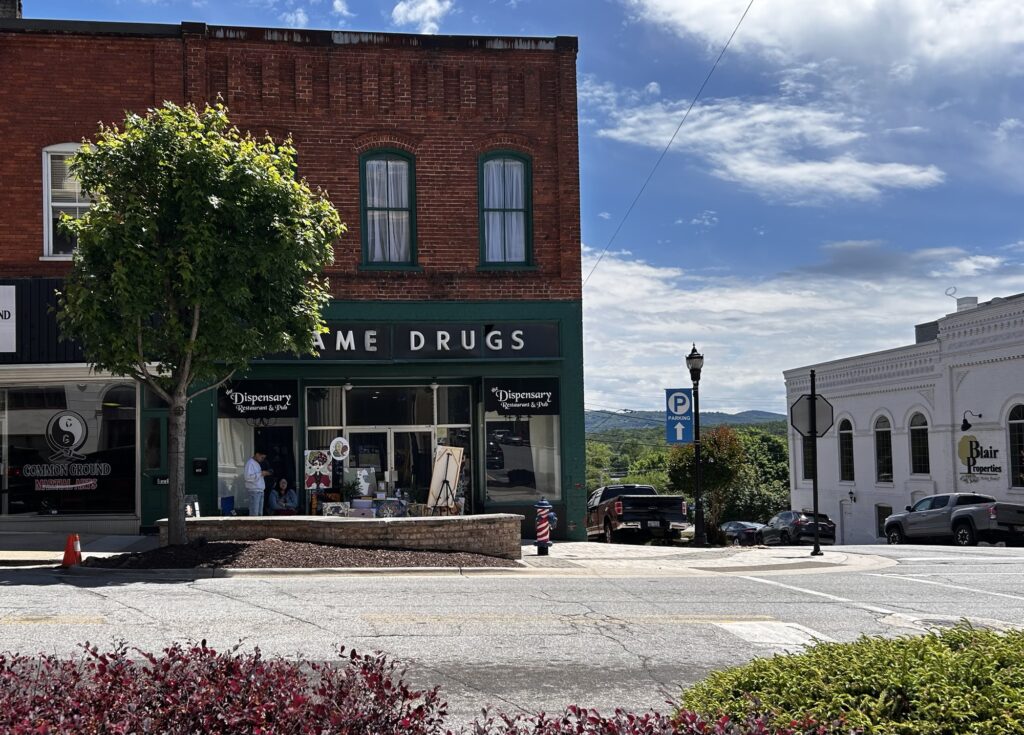
Remember this place?
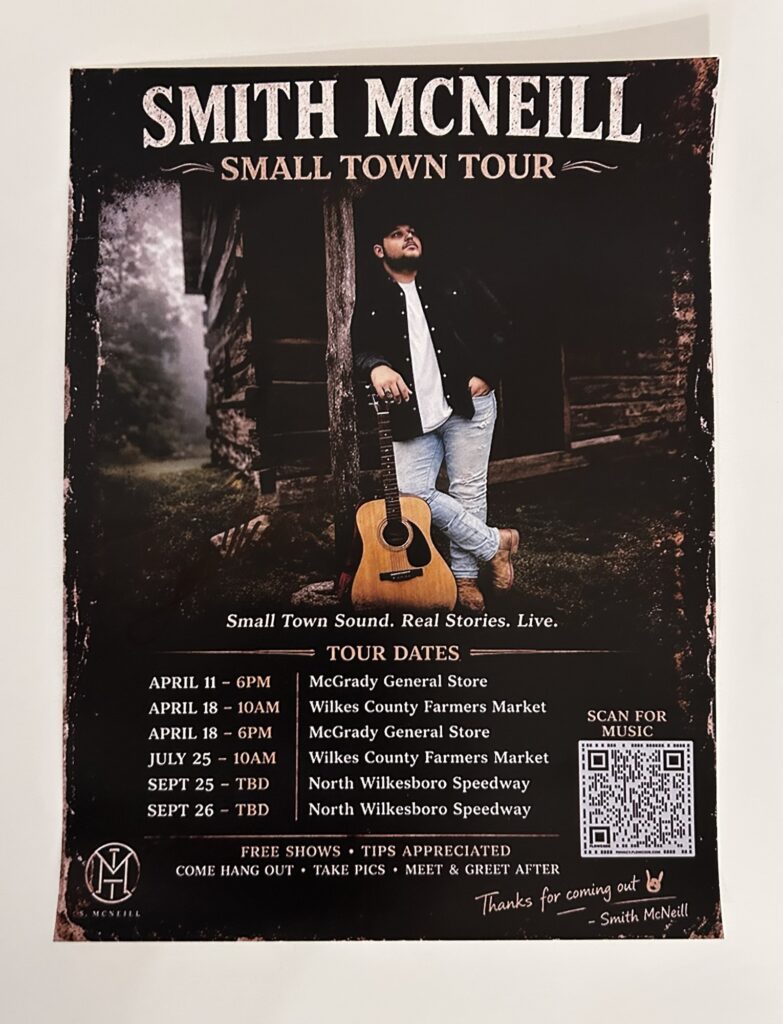
After a delicious meal, Connie and I strolled down 10th. We saw lots of nice art work and met some very interesting people. I discussed the merits and shortcomings of poplar with a woodworker. We met an interesting lady who had worked for Disney and done Johnny Depp’s make-up and dreds for Pirates of the Caribbean. Connie visited with a potter while I chatted with the owner of a hardware store about a mutual friend from the beach. We strolled back down to the corner of 10th and Main where we heard this young man singing:
I later learned his name was Smith McNeill. He autographed a poster he gave me.
I told him I would keep it and treasure it when I saw him on tv! (I had asked if he was going to audition for the Voice, and he said he was just getting started and hadn’t thought that far ahead.)
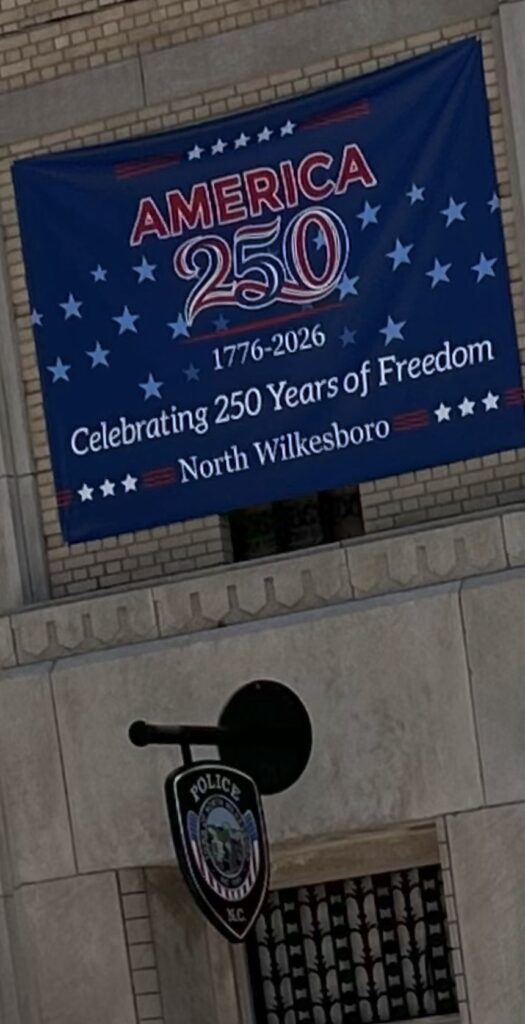
We continued all the way down main to the police station, which had this lovely banner posted.
Across the street we visited the wine store and purchased some gourmet treats. Connie shared her blueberry and lavender dark chocolate, and I had to have a bar for myself!
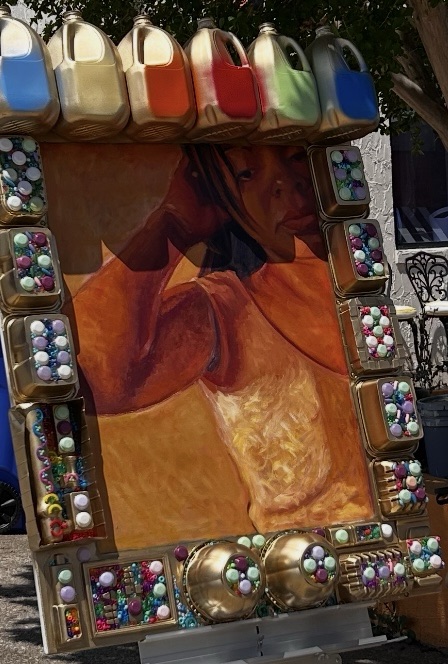
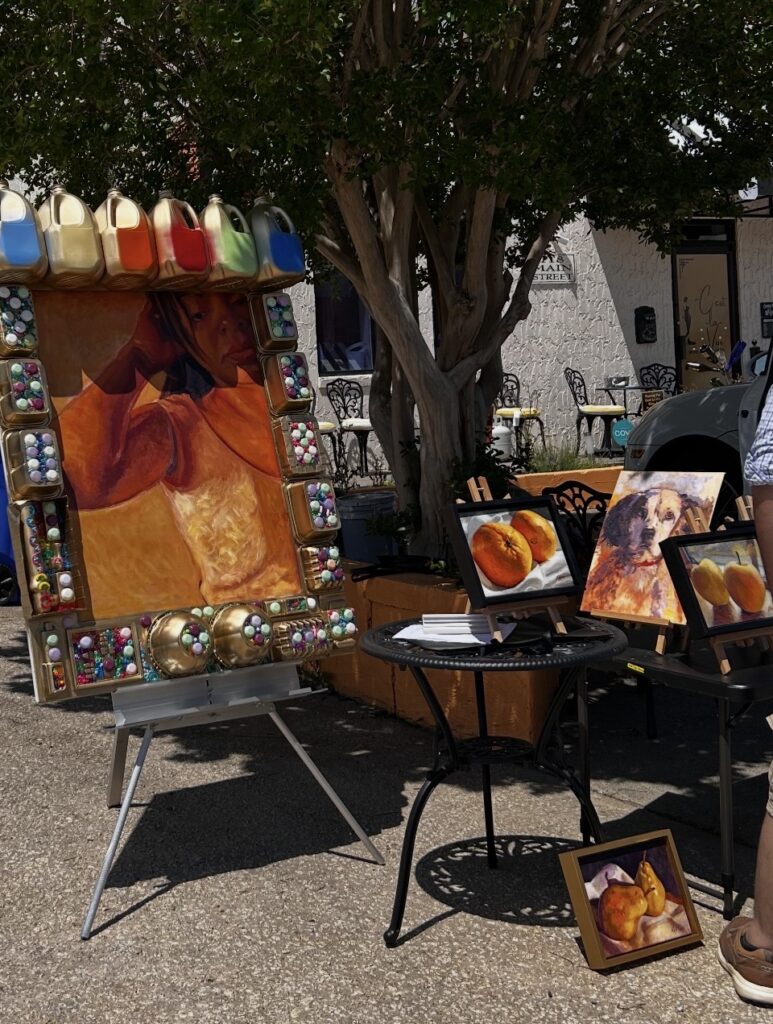
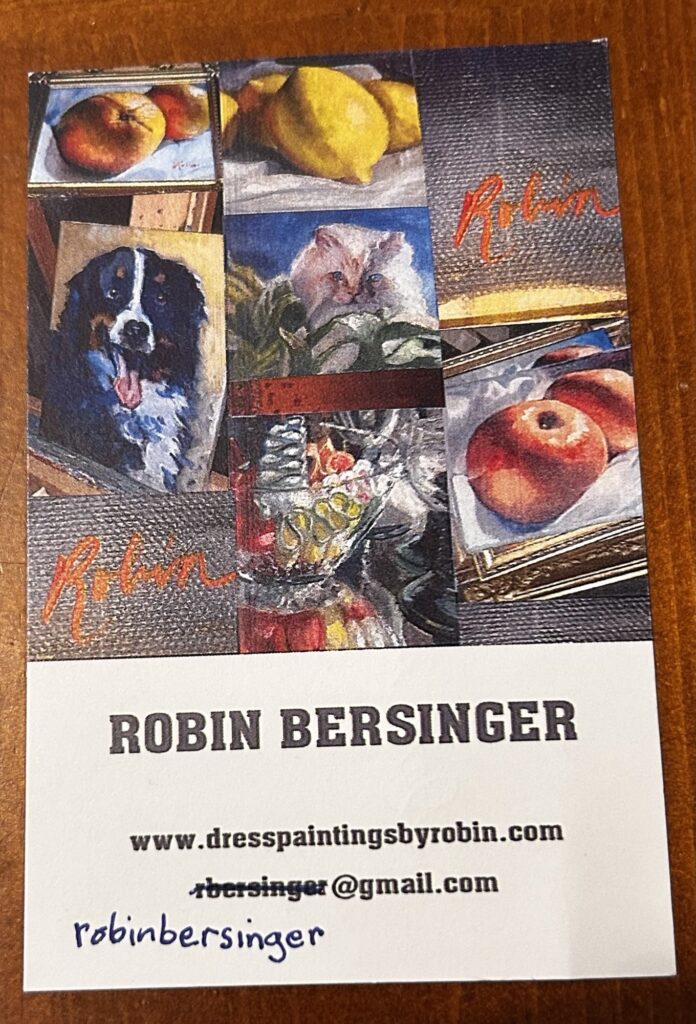
Outside, we encountered this striking piece of art work by Robin Bersinger:
It’s called, “Don’t Sugar Coat It,” and is a statement piece about microplastics. The artist was a very engaging woman who had a lovely collection of paintings she had done from photographs she had taken herself.
Check out that bowl of ribbon candy!
Connie also introduced me to the ceramics teacher from the Wilkes Senior Center. I look forward to taking classes there when I return home full time! (They have their own kiln!)
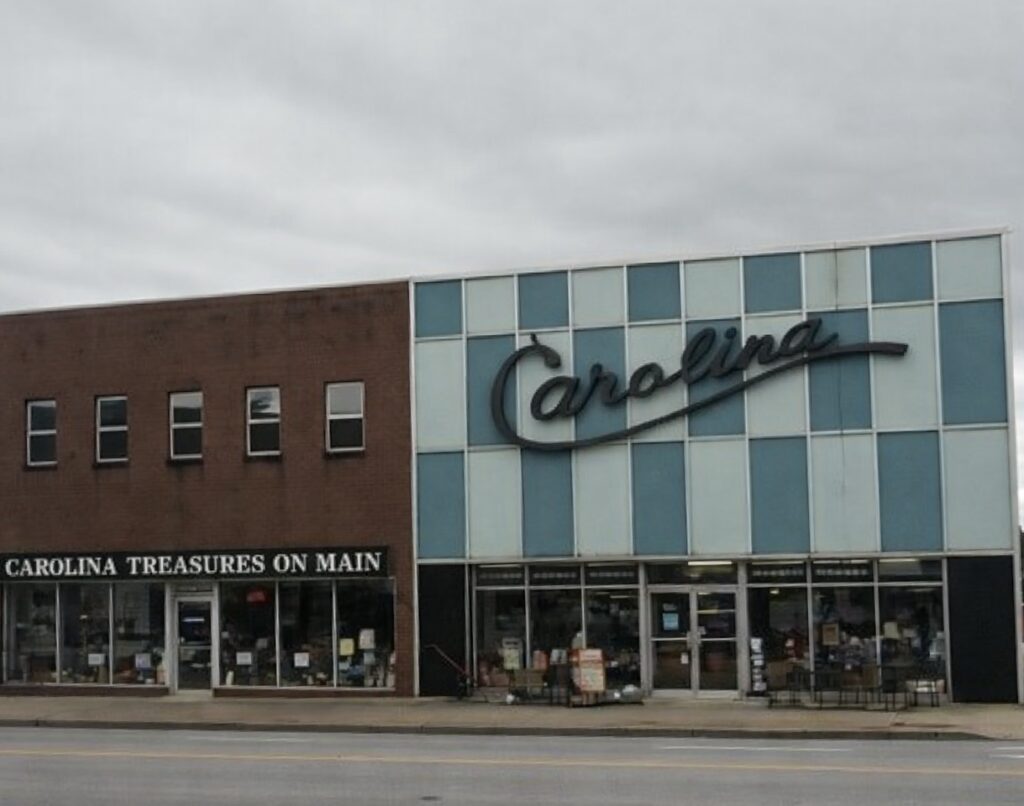
It was just a lovely day. After saying so long to Connie, and running to the drugstore and gas station, I circled back to Carolina Treasures on Main.
I made my way to Allison Pinnix’s craft supply booth where I purchased these Pearl-ex Powders I had had my eye on!
Wendy’s chili, topped with cheddar, topped off a chilly, but wonderful day!
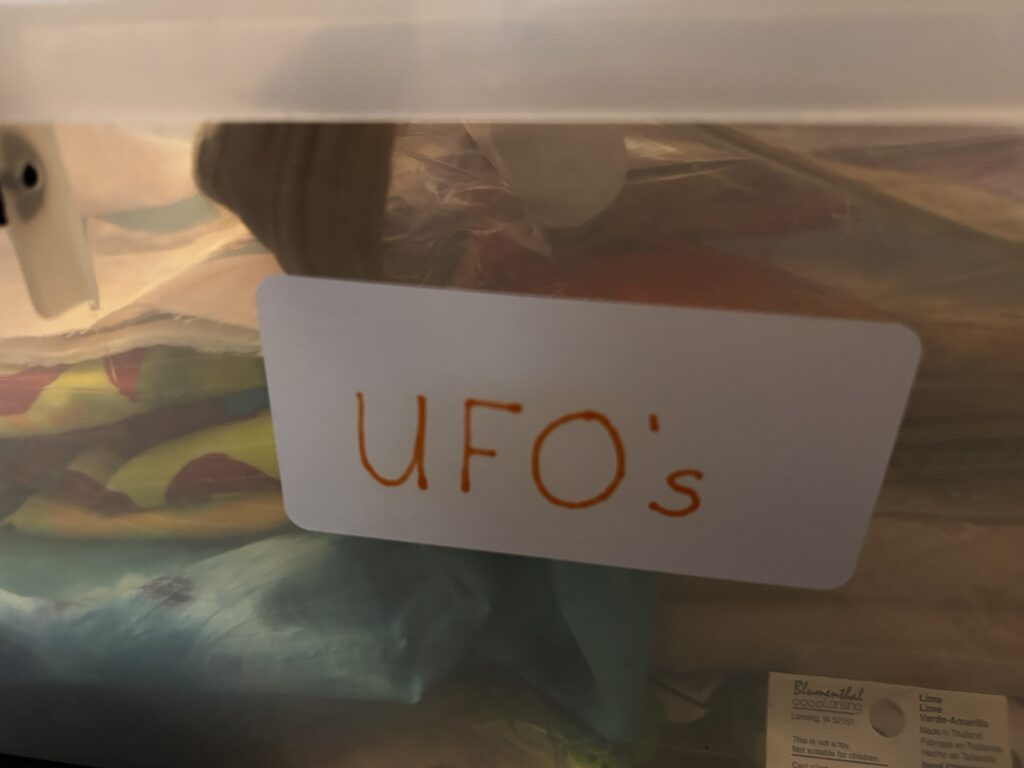
In crafting, a UFO can be an Unfinished Object. Sometimes, they are called WIP’s, or Works In Progress. I brought a box of them home from Charlotte.
My day got consumed with a business meeting, a doctor’s appointment (check-up for meds, routine,) and grocery shopping. I still took a few minutes to peek in the UFO box. It’s mostly quilting projects.
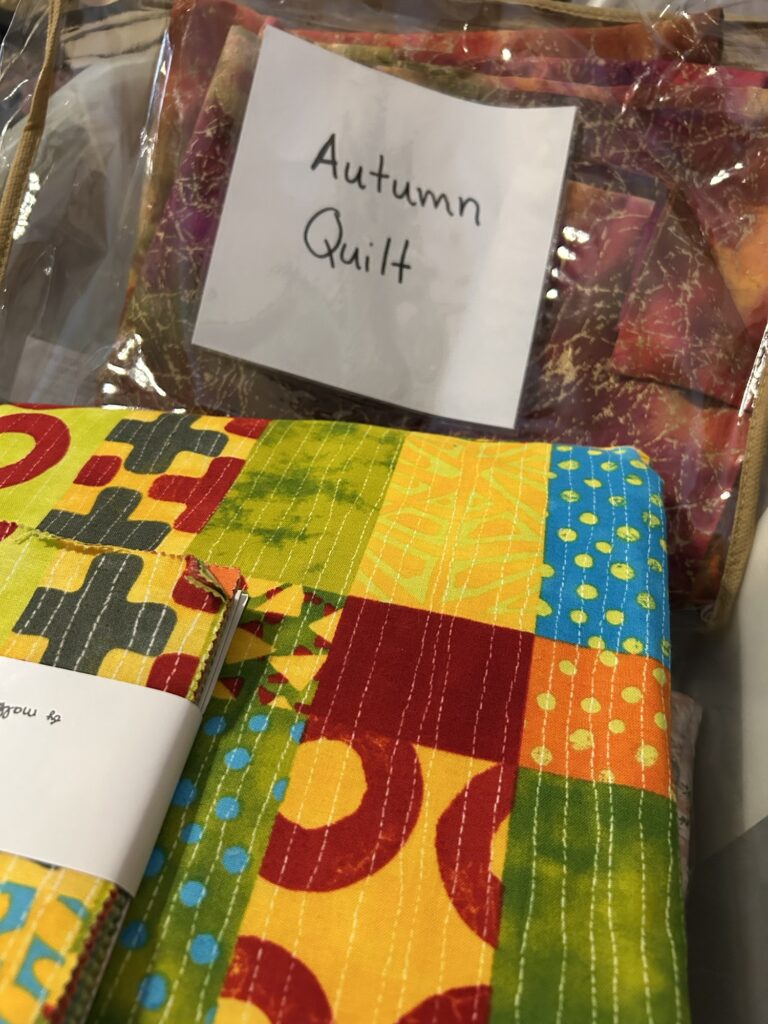
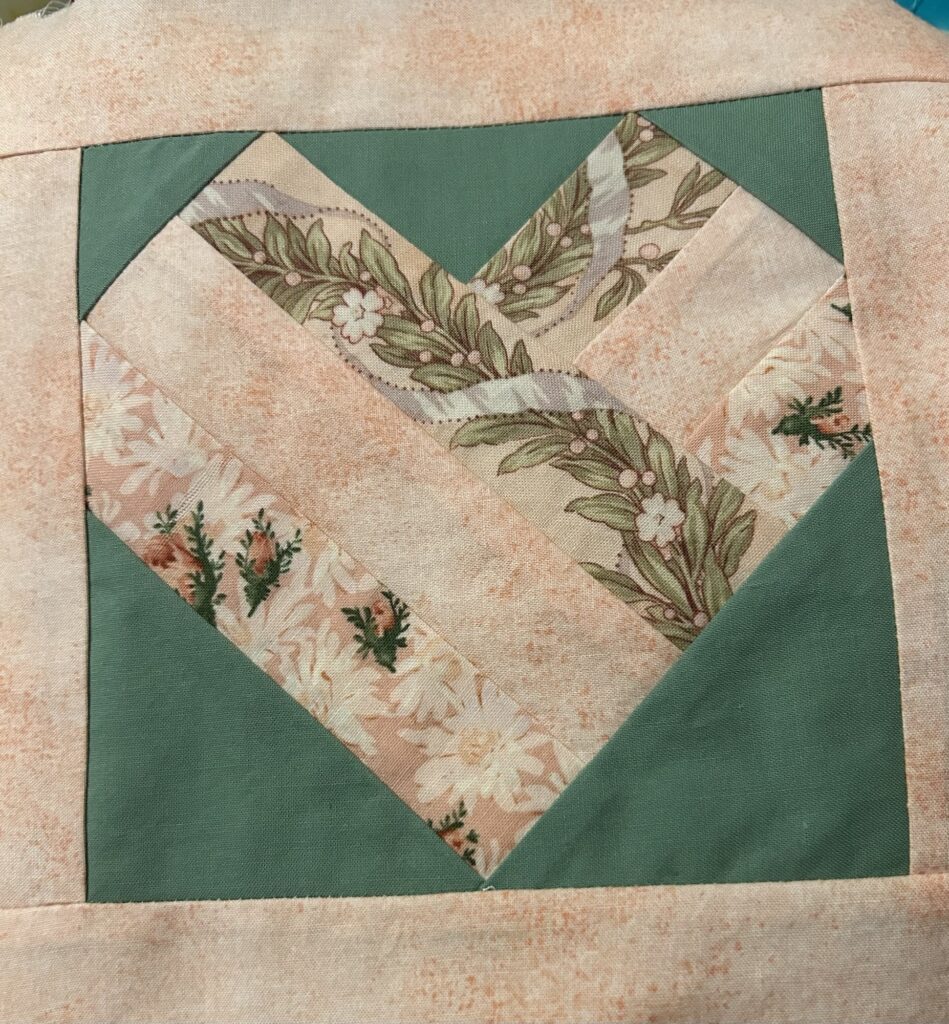
Here’s an art quilt top I like very much and might be motivated to finish when my sewing machine has been serviced:
I found this little paper-pieced beauty:
It might become a pillow top someday.
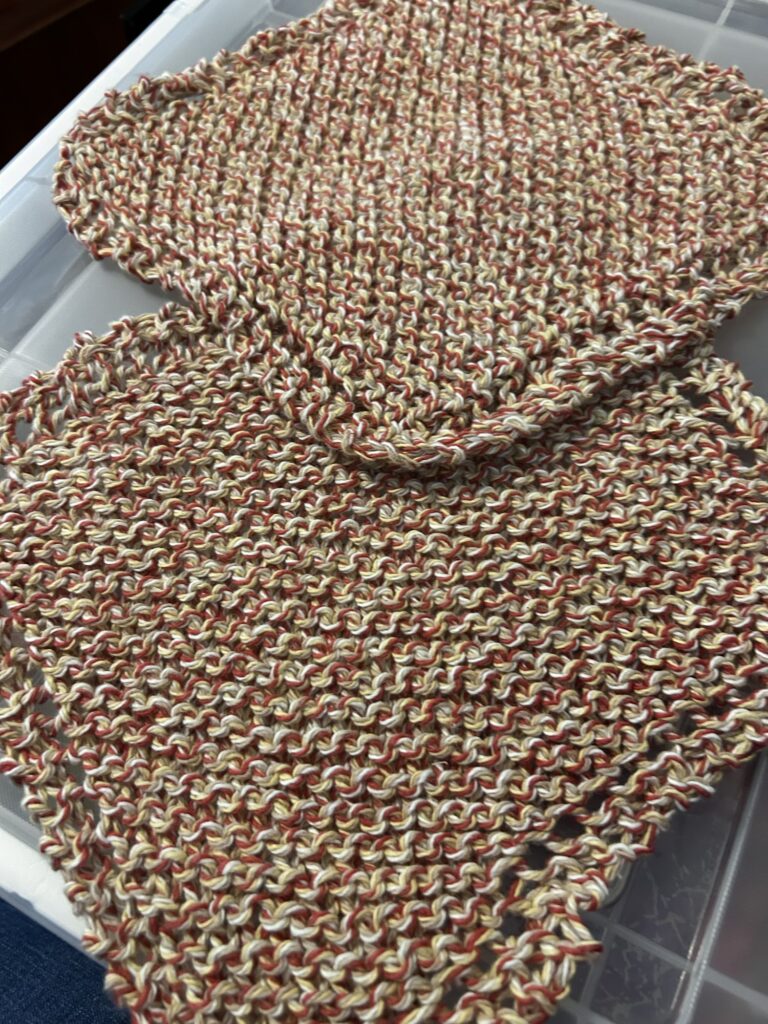
Then, in the very bottom, I found 2 knitted dish clothes. All they need is the loose ends worked in. I just might finish these, soon!
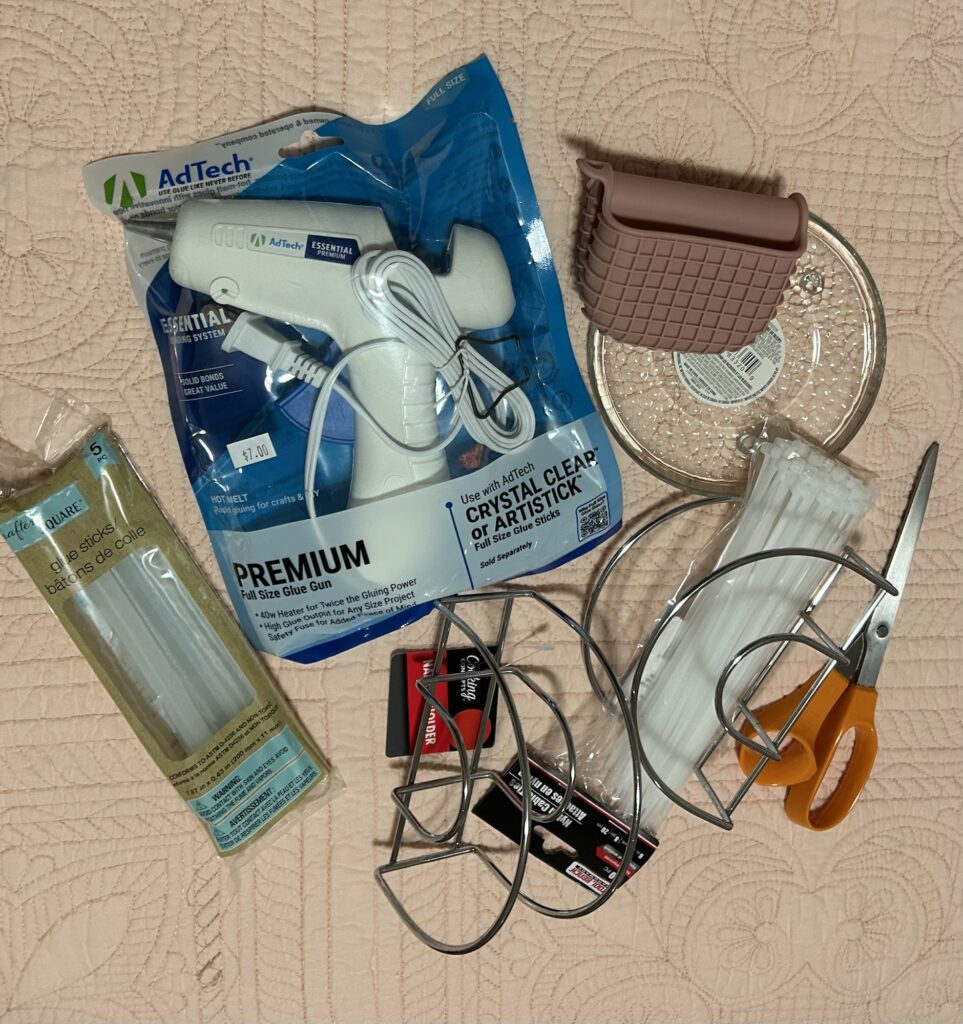
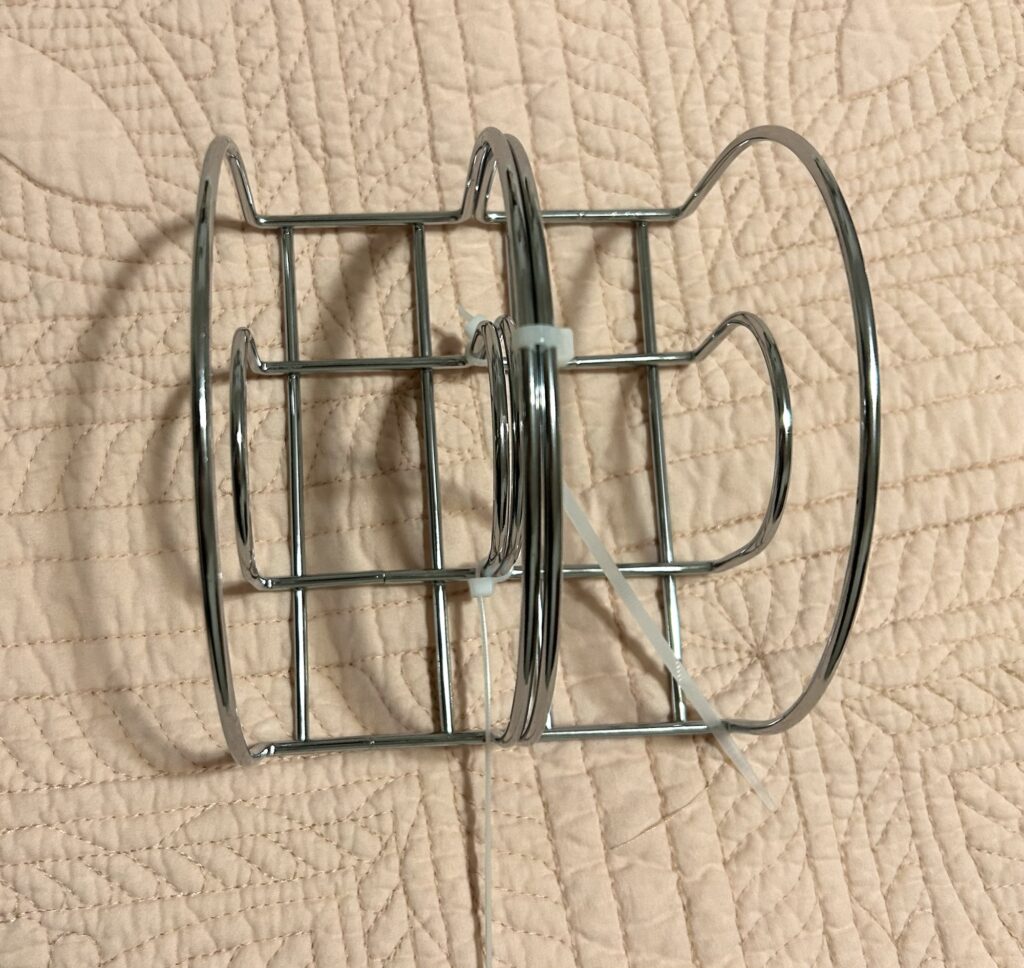
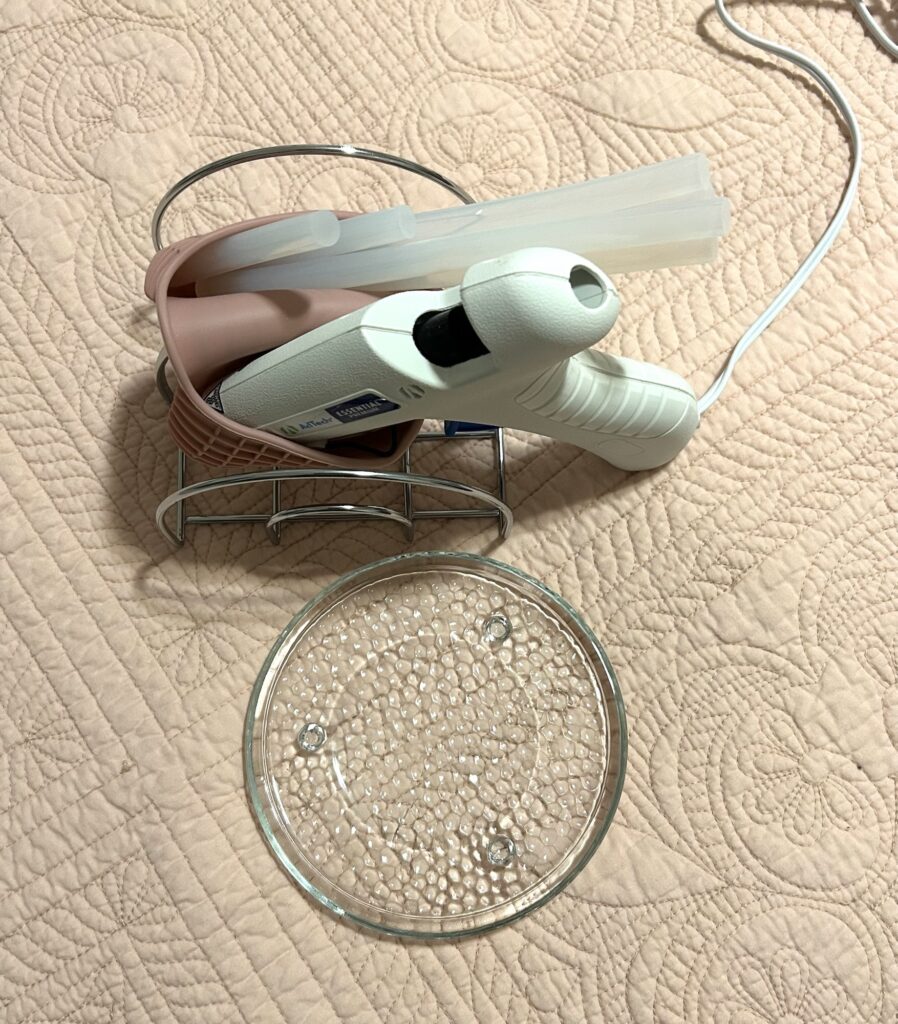
I saw this hack online. It’s a glue gun holder. All materials except the silicone potholder are from Dollar Tree.
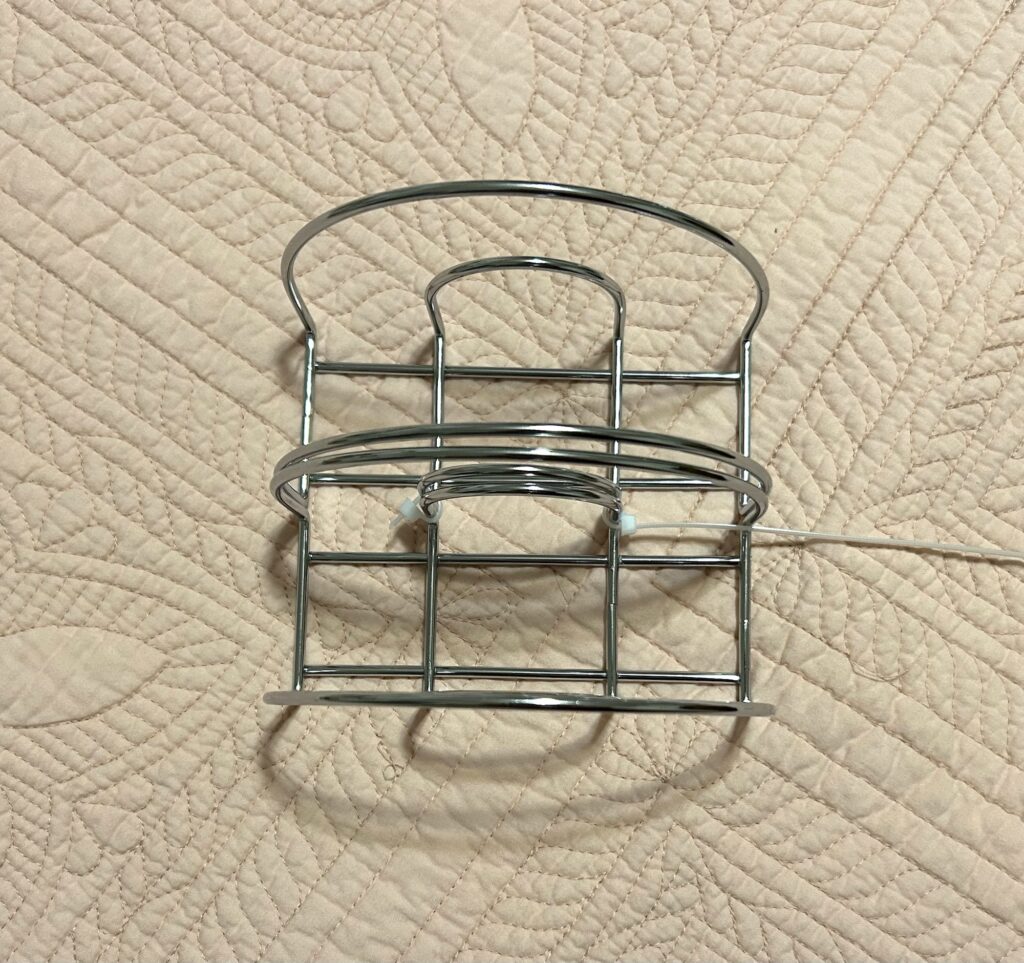
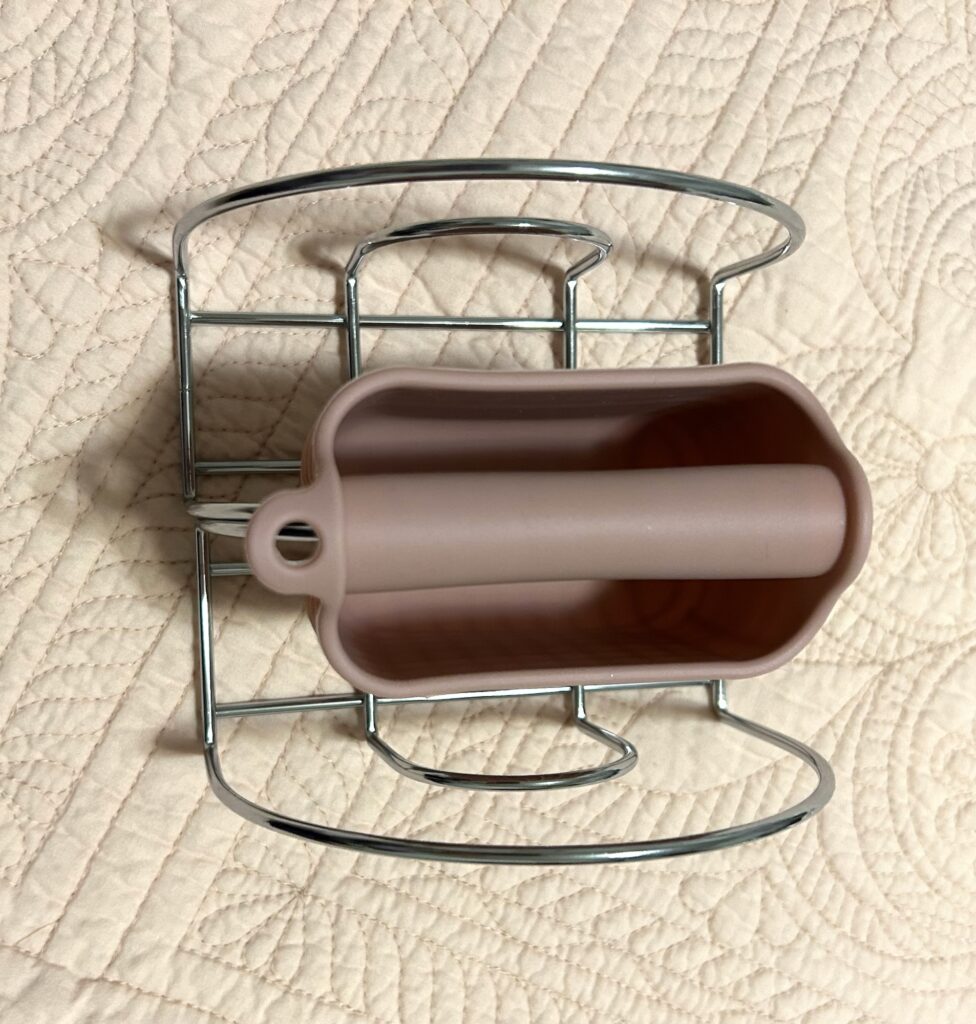
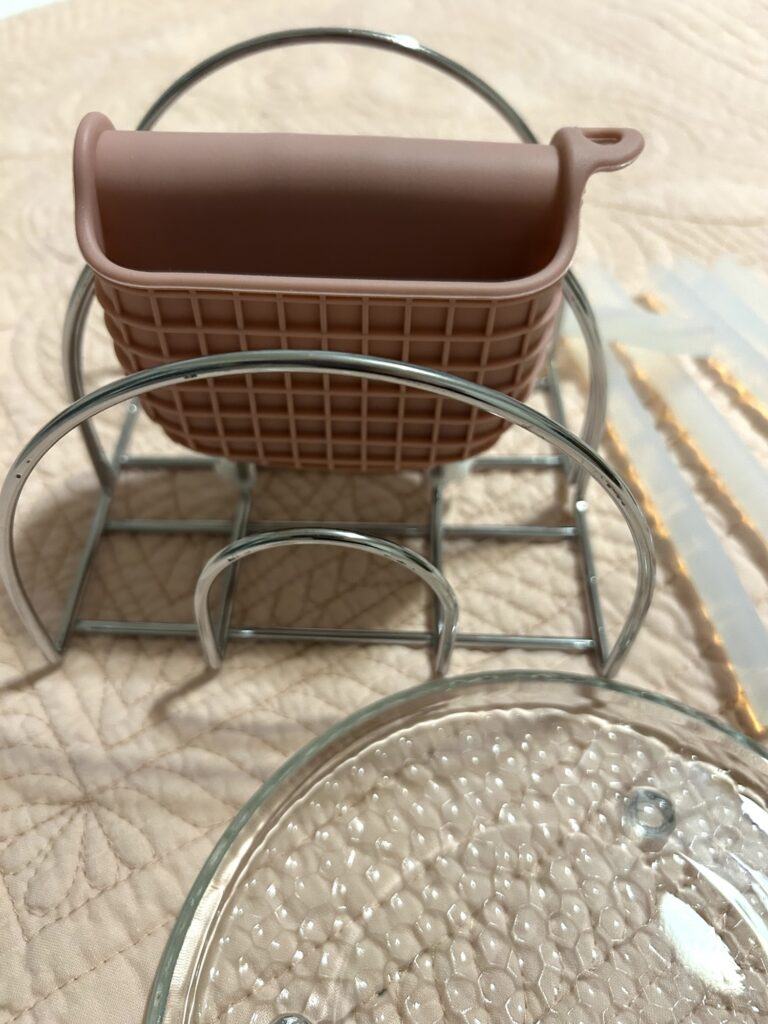
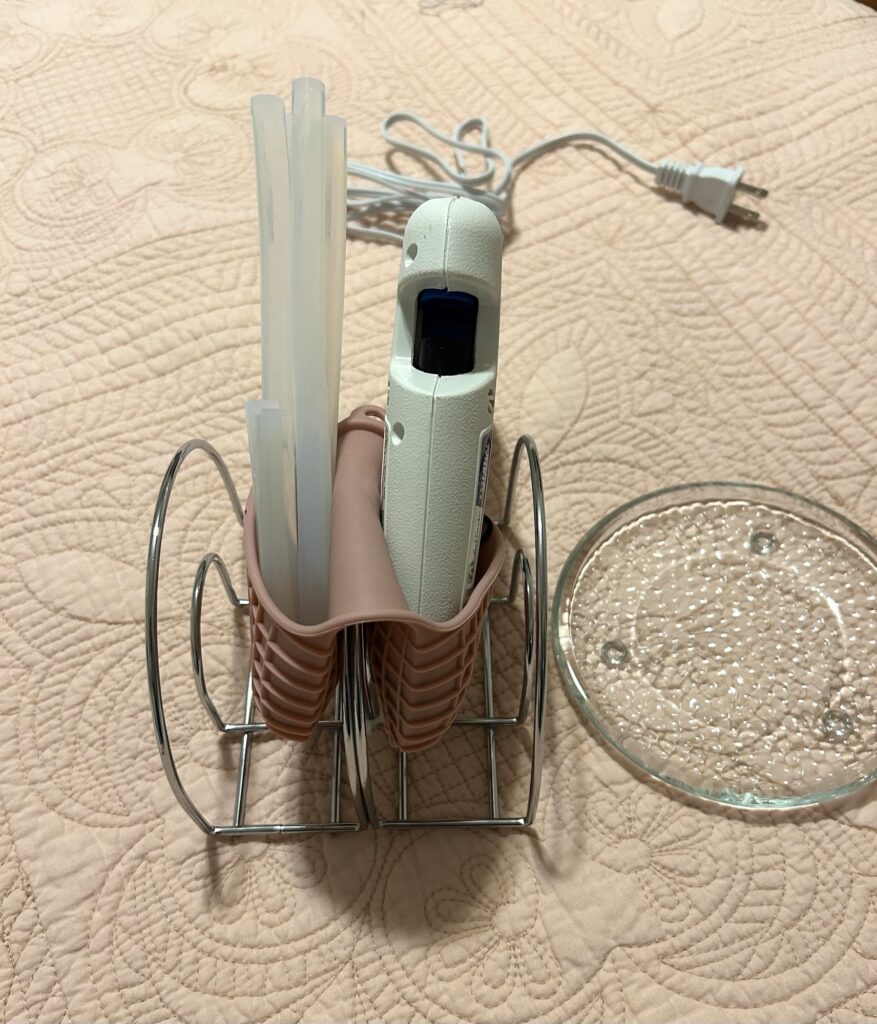
I zip-tied the bottom centers of two napkin holders together.Then, I zip-tied the upper middles together. Zip ties should have the “toothy“ side to the inside.I cut the excess tie ends off.I flopped the pot holder over the center.I’ll use the glass candle base as a trivet.I placed the glue gun and some glue sticks in the holder. It looks like a baby beluga whale in a carriage.
It’s functional, but I think a larger oven mitt would work better. This is the largest I’ve found, so far.
Maybe I’ll save it for a mini glue gun! (I won’t use it on the bed!)
but things went right. Kent’s mobility scooter conked out yesterday, so he put it in “free wheeling, we rolled it out to the van, loaded it, took it to a mobility dealer, got it fixed and bought a new one!
I also loaded up some craft supplies to bring home from Charlotte. I brought all my kumihimo supplies, some gel stains, a large box of UFO’s (unfinished objects,) embossing folders and my Sizzix machine.
We also stopped by the Sedgewick Homes model we’ve been thinking about. We looked at possible interior and exterior finishes. We will not be choosing the model colors.