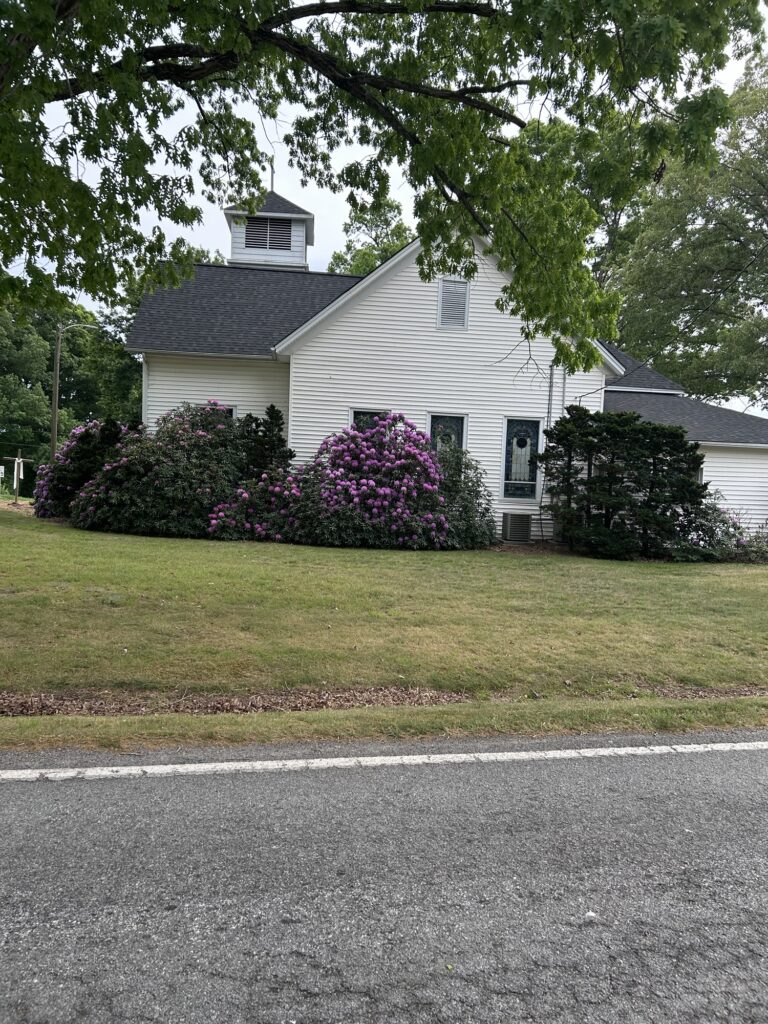
Celebration Church, on the former site of Union Elementary School, where I spent 32 years as a student and a teacher, purchased my mom’s previous house next door!
Celebration Church, N Wilkesboro, NC Mama’s House
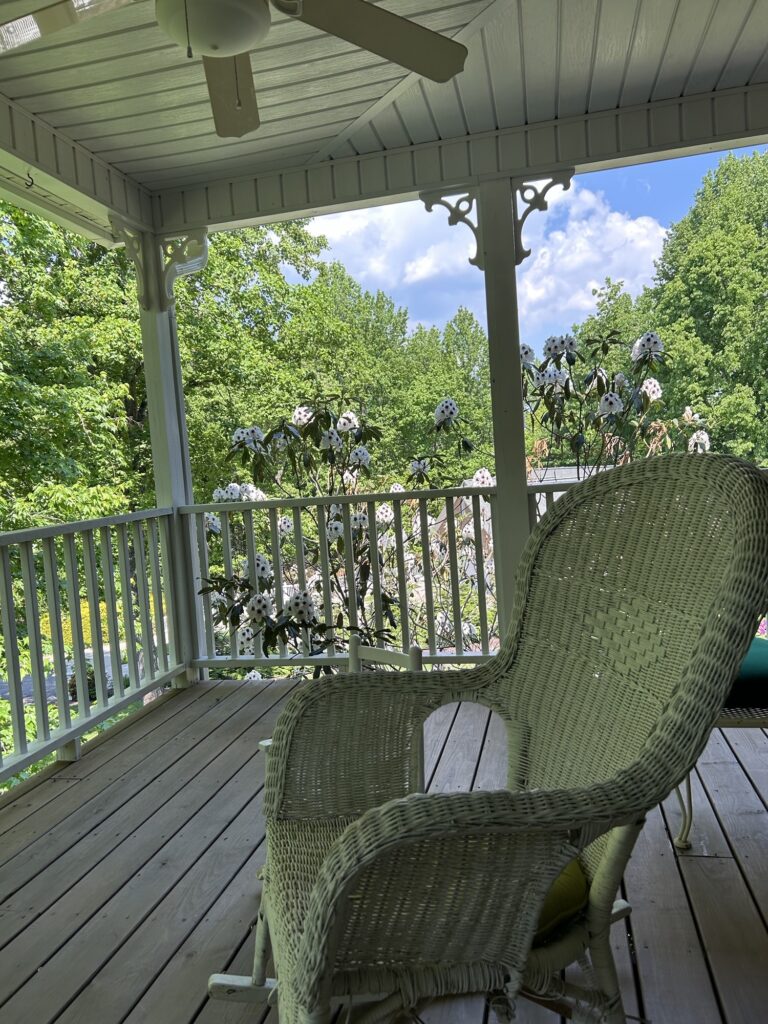
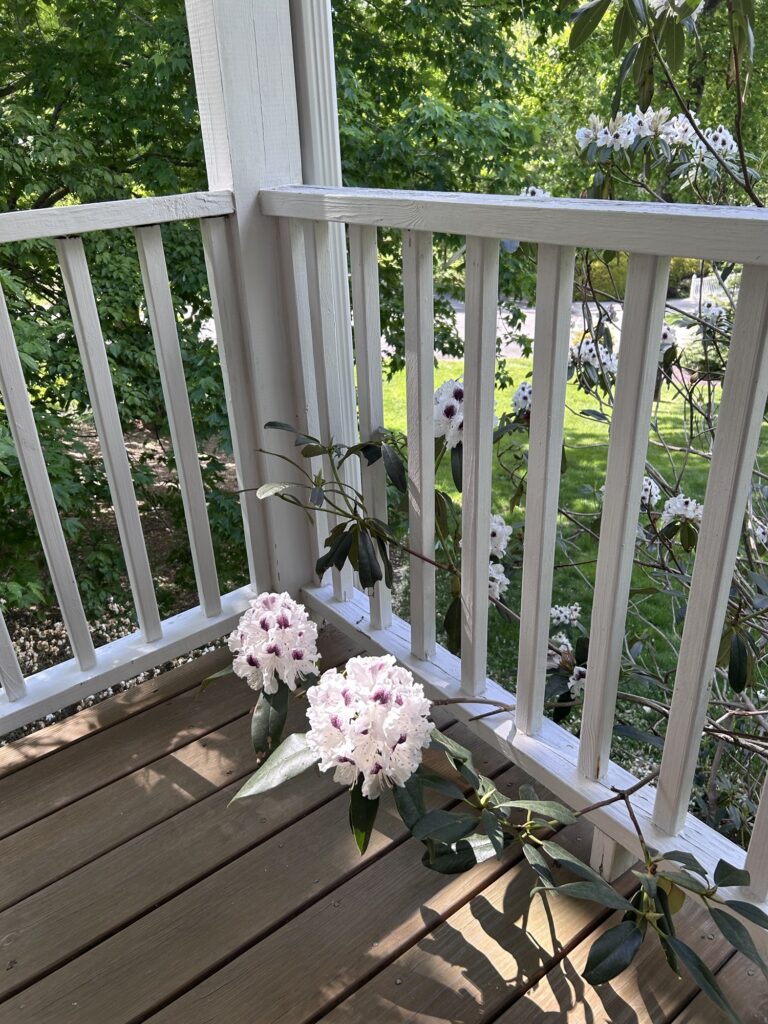
It was warm enough to get some more pictures of flowers:
ButtercupTulip poplarSappho rhododendron visiting the porchSapphos and CatawbasIris
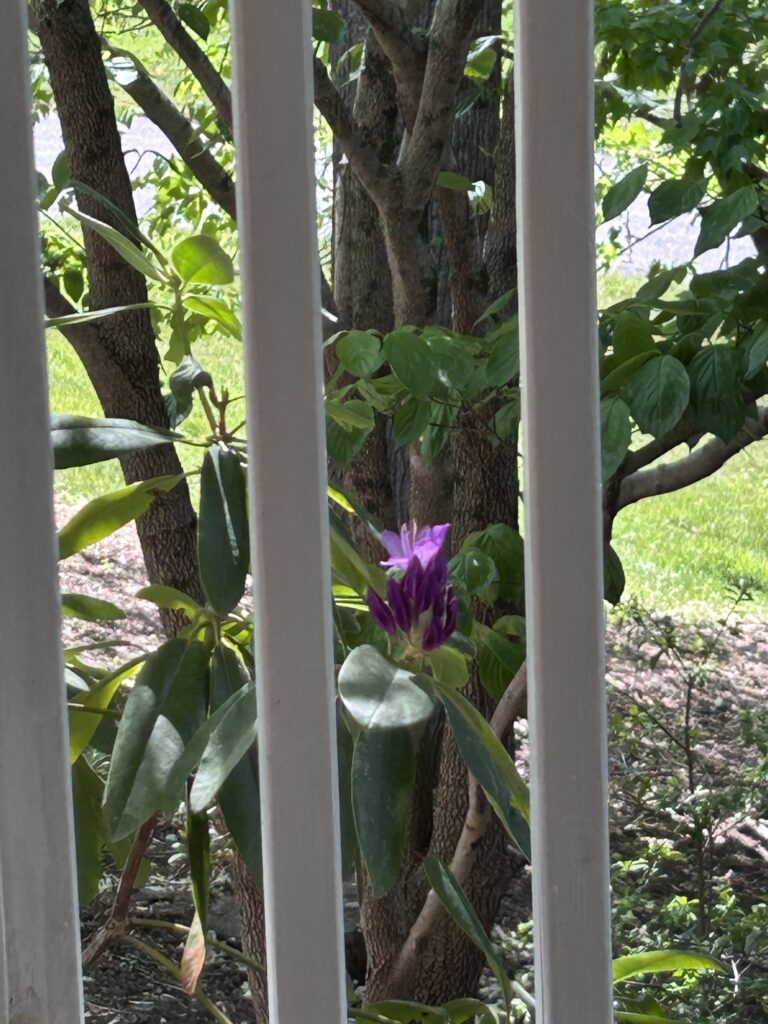
I don’t remember this variety’s name. It’s never set more than a bud or two until this year. It’s more purple than the Catawba’s. I’ll take more pictures as more of them open.
Purple mystery rhododendron
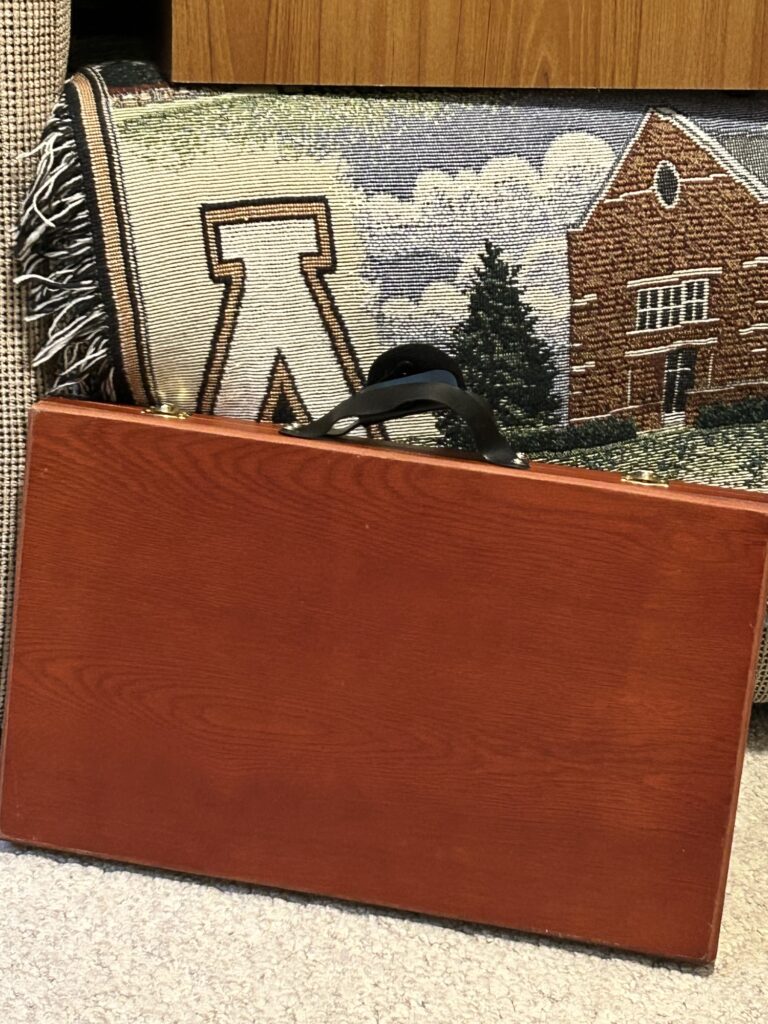
I also found this case in the bonus room over the garage,
The only creative thing I did today was take the leftovers from this
and added some leftover pork tenderloin bits. It was so good heated over and stirred lightly. This is the Louisiana Style Shrimp Skillet, a new dish from Cracker Barrel. (We know how to celebrate an anniversary! 😋😉)
The dish is not photogenic because they forgot the rice. The original dish was a skillet of shrimp in an oily-looking roux. I added the requested rice and stirred it in before thinking to photograph it. ‘Still not attractive, but very delicious. It was even better with the congealed fat removed and the tenderloin added.
I found a photo of what it’s supposed to look like online.
I had green beans with mine. They were good, too.
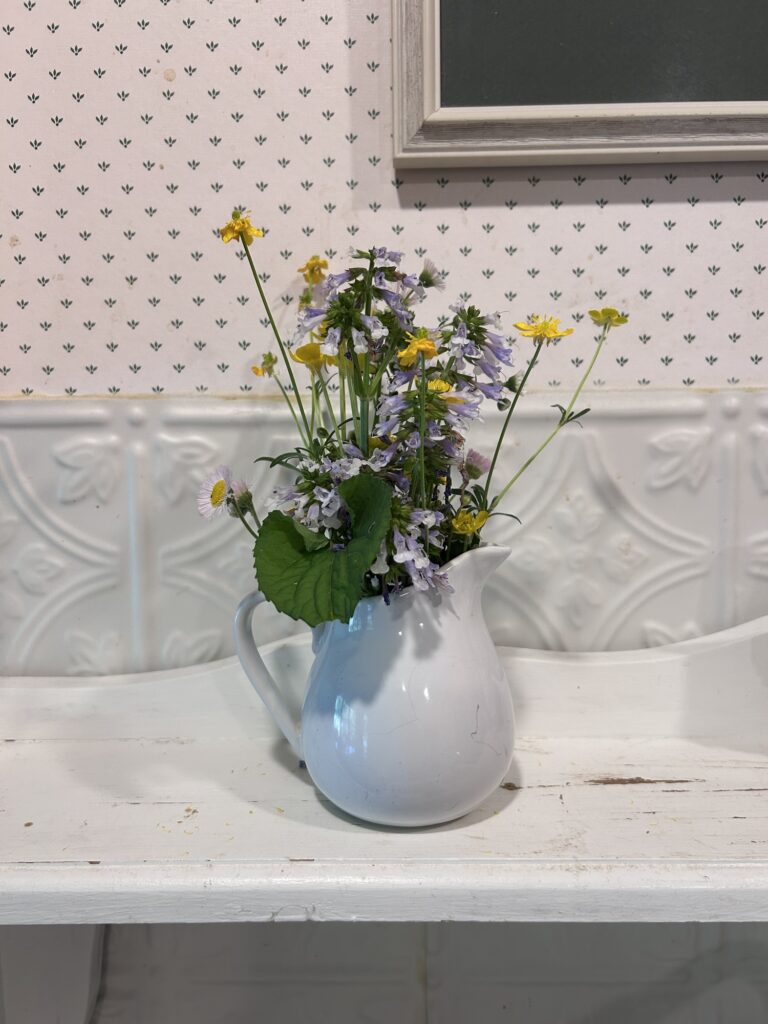
And, speaking of photos, I took this one of a little pitcher of wildflowers I brought in, intending to gel print with them.
I love the shape of a violet leaf!
Now, I’m sorting through craft books and magazines. Most of them are keepers, though a few will go to the lending library of the local senior center.
So despite kitchen cleaning and fibromyalgia exhaustion, today has not been a total waste after all!
In the words of grief counselor/artist Karen McKoy, “I showed up.”
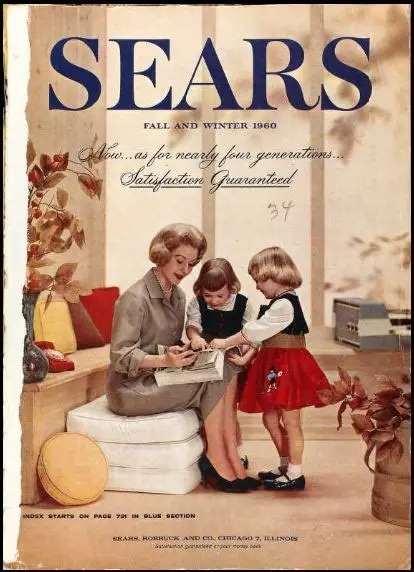
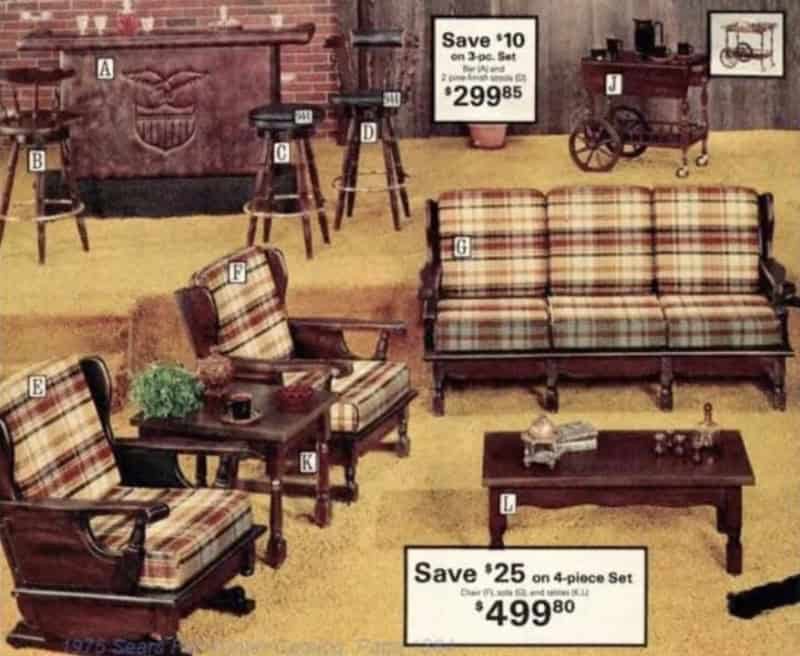
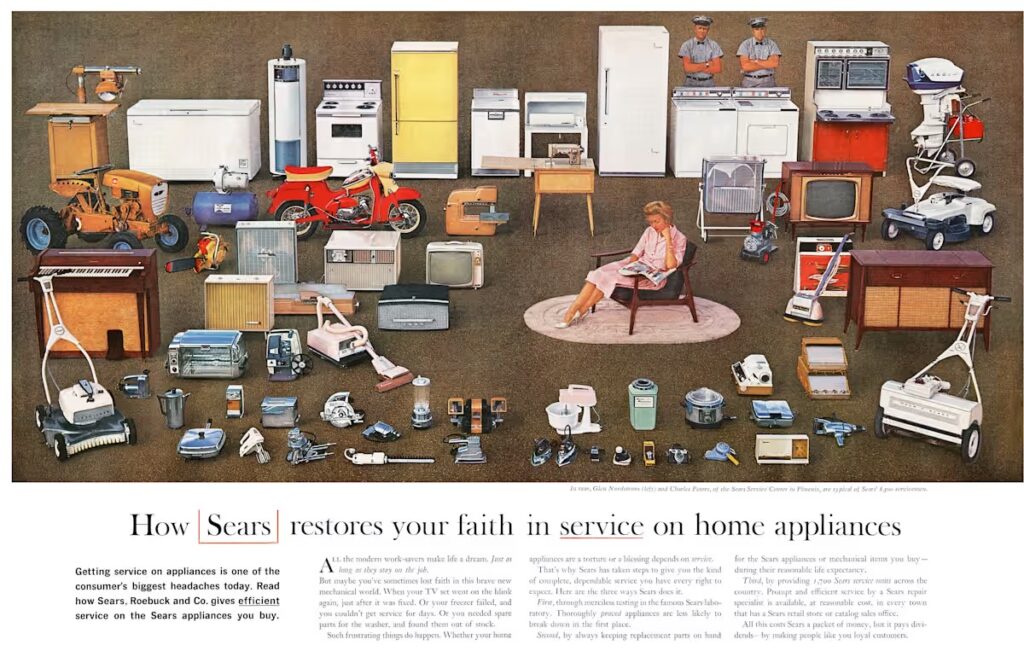
I’ve loved house plans since I was a little girl. My friend, Jackie, and I, used to draw them on notebook paper and then sit down with the Sears Catalog and fill every room. In the 60’s, the catalog was huge and filled with appliances, floor coverings, furnishings, wallpaper, bedding, everything you might need to be a designer. We both became teachers, but I think we would’ve made great purchasing agents!
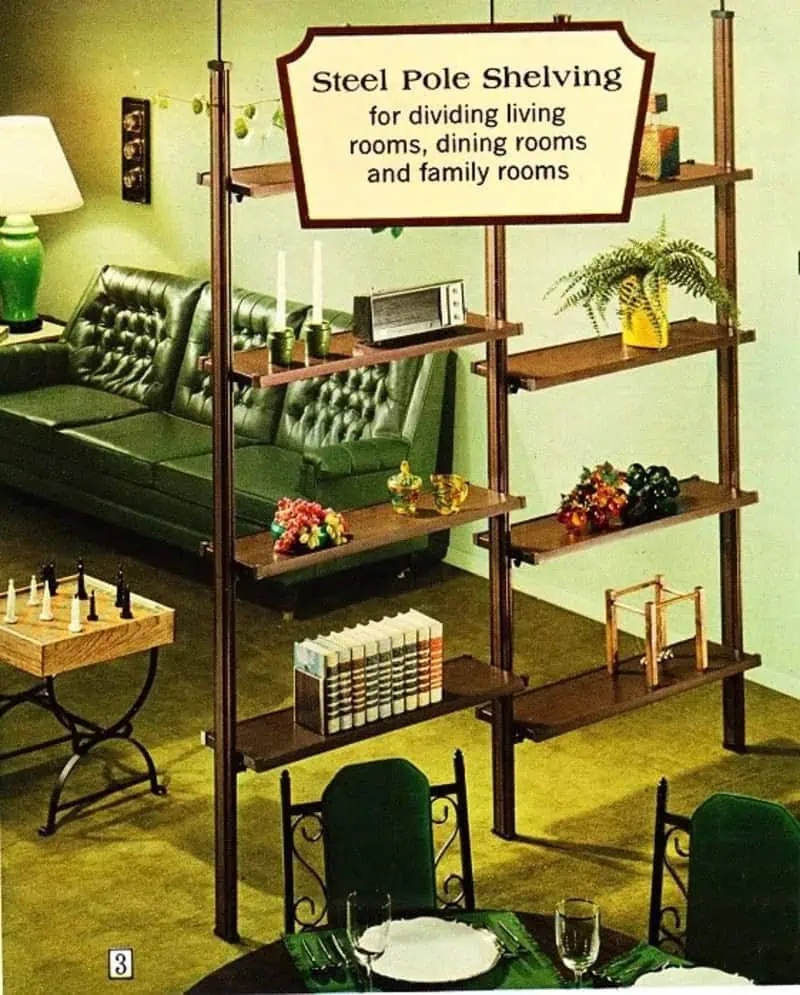
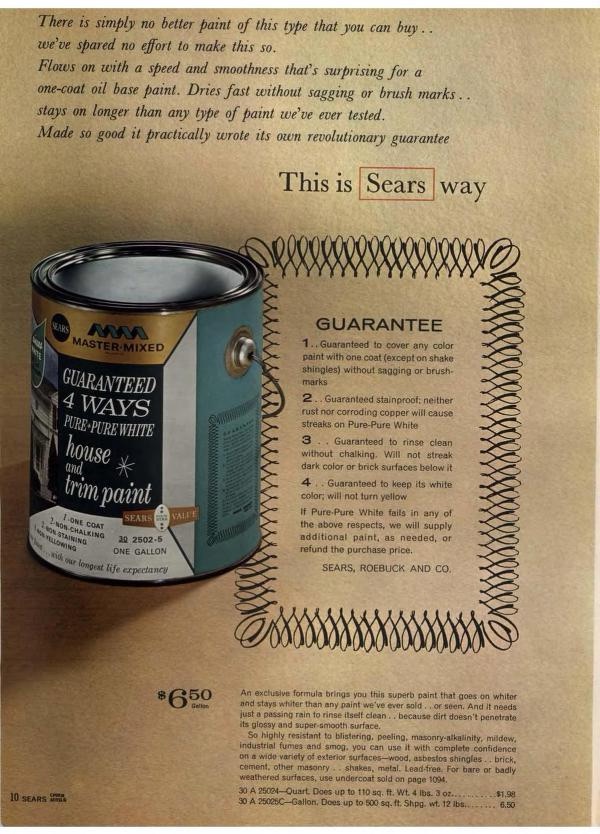
Sears had everything, even something to throw at your brother!
I digress!
I even took CAD (Computer Assisted Drafting) classes after my husband was diagnosed with MS. I enjoyed modifying plans for accessibility. I enrolled in a certified accessibility program, but could not pursue it. I had too many papers to grade!
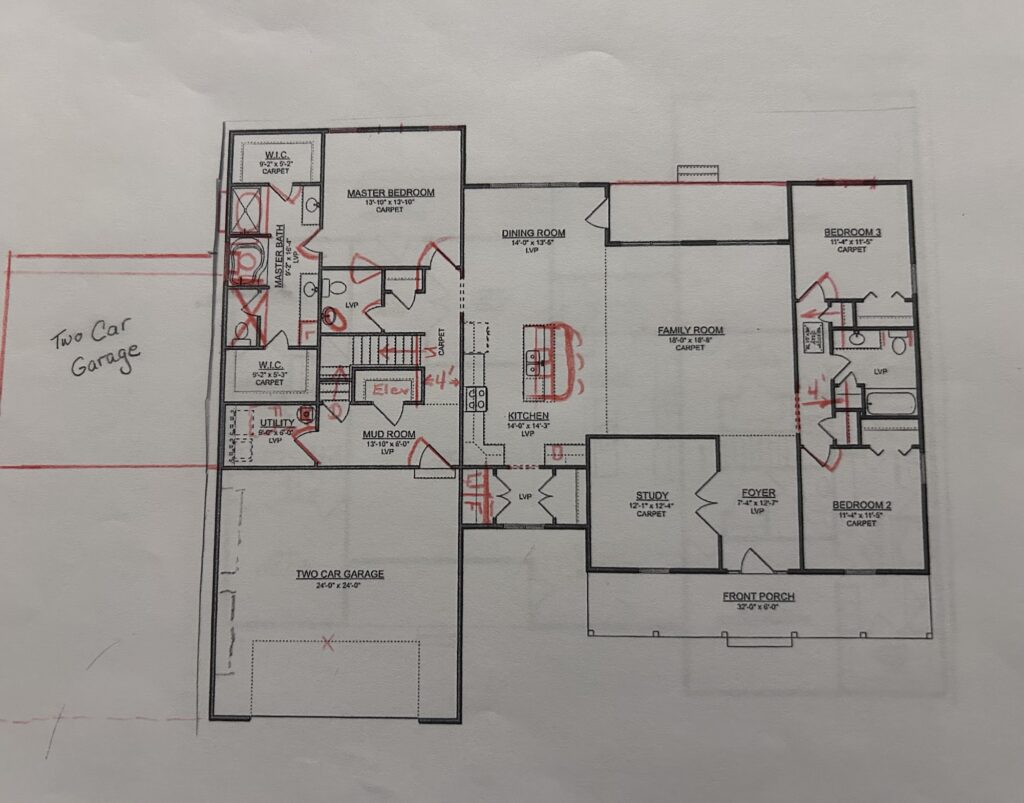
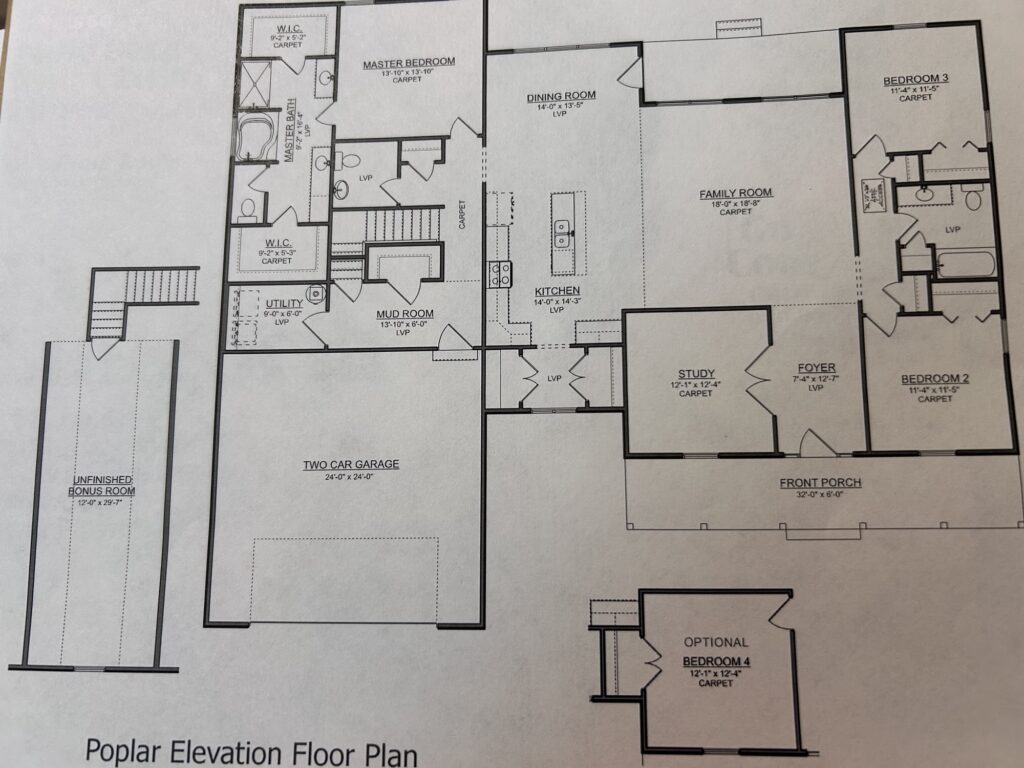
I wrote a couple of days ago that I had found the perfect floor plan. Well, almost. It needed tweaking for accessibility. I didn’t get out my CAD software, though I thought about it. I just scanned and printed the floor plan from the builder’s brochure. Then I drew all over it with my red colored pencil. What fun! It was just like being a little girl, again! I wish there was still a Sears Catalog to choose finishings from.
Note that the original floor plan is the intellectual property of Sedgewick Homes.
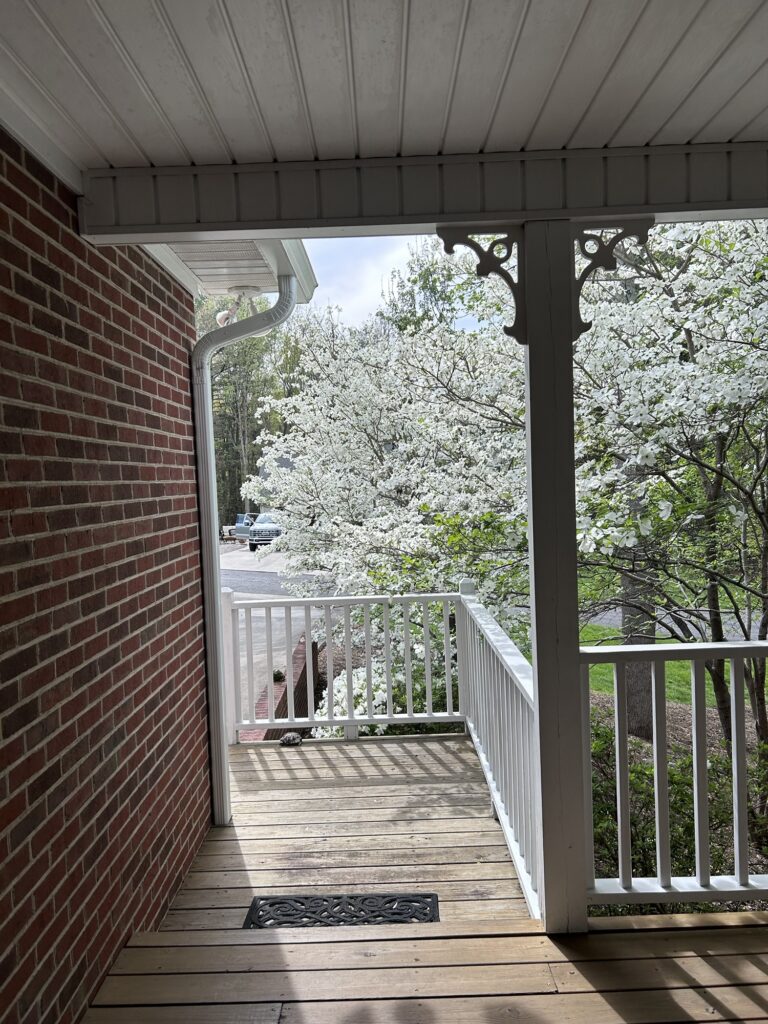
The dogwoods in front of my house have been glorious!
Easter SunsetForgive me, I get carried away!
Now, the dogwoods are past their season. Surviving blossoms are pitiful.
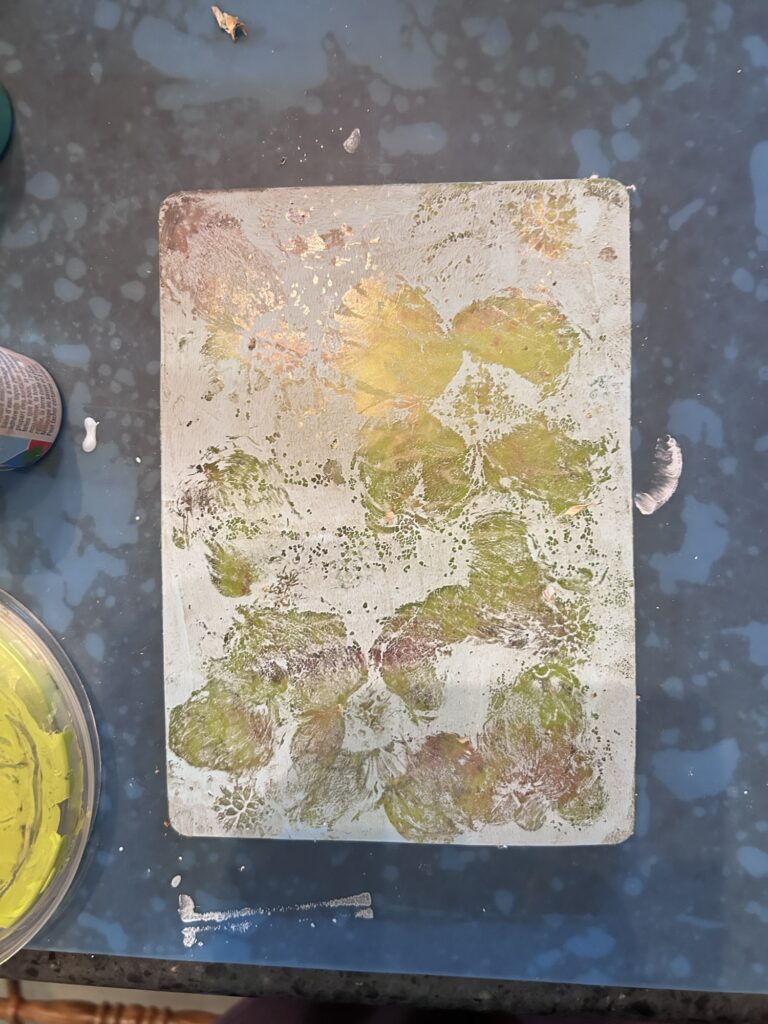
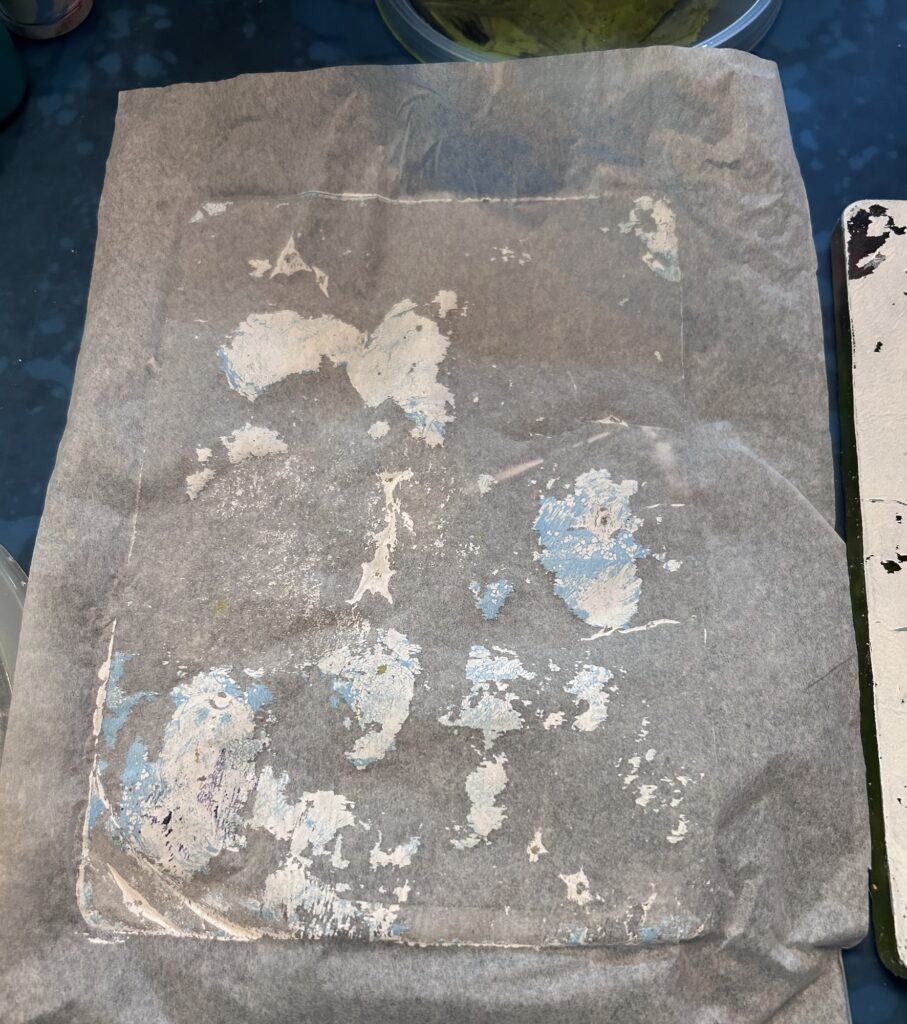
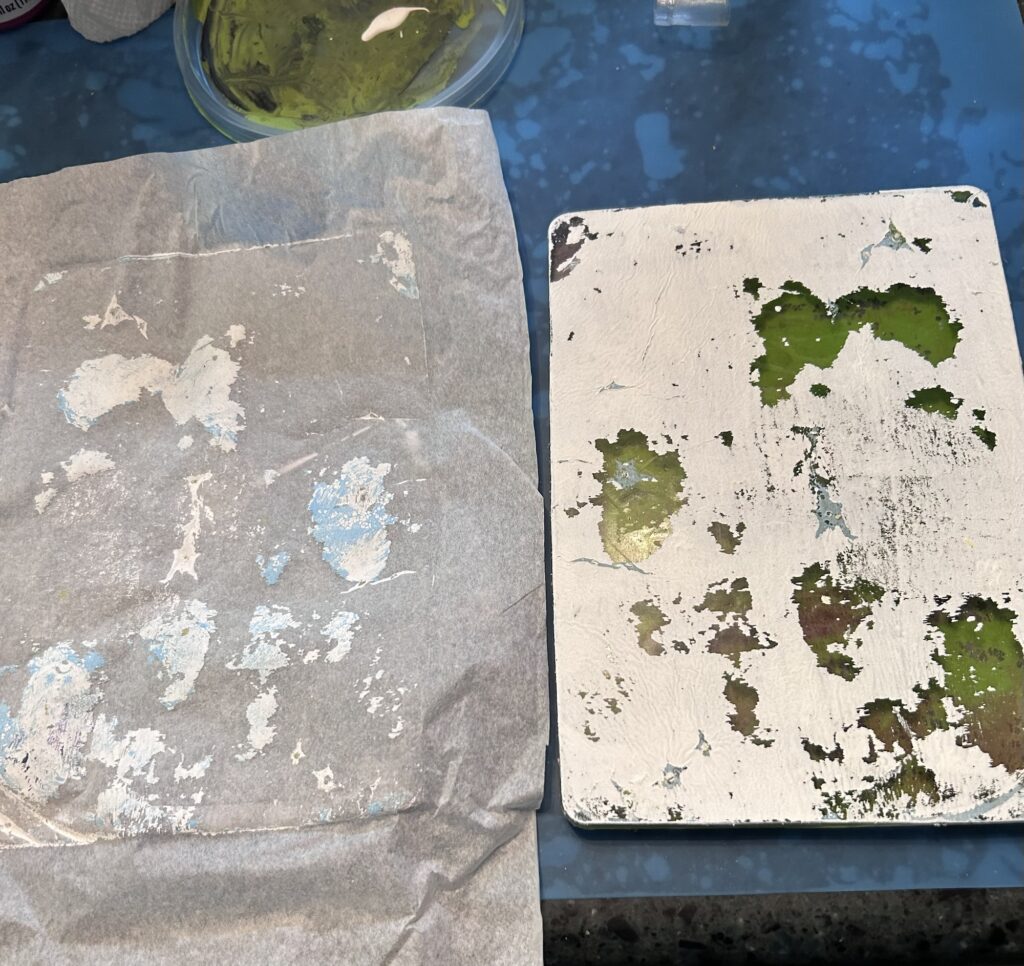
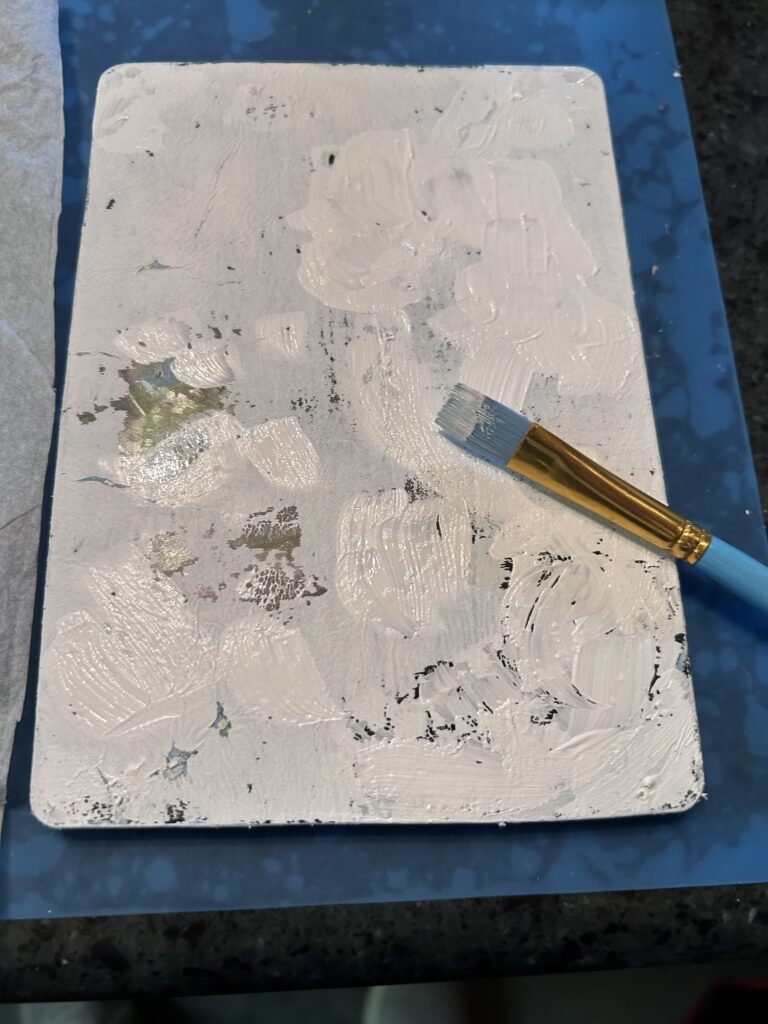
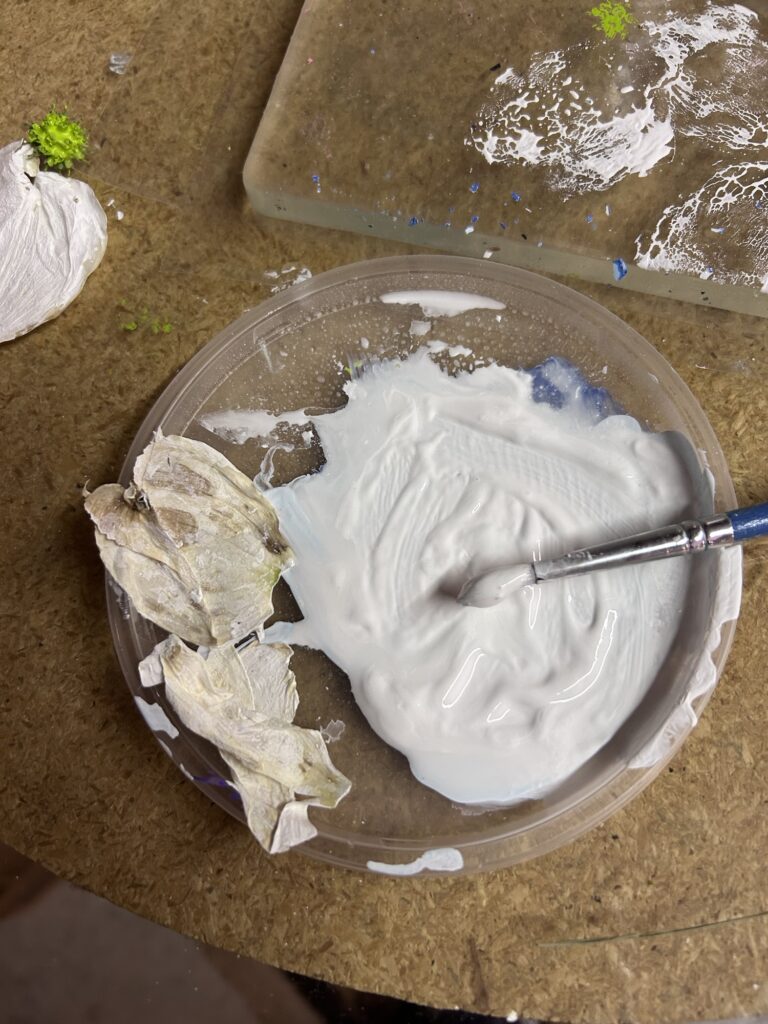
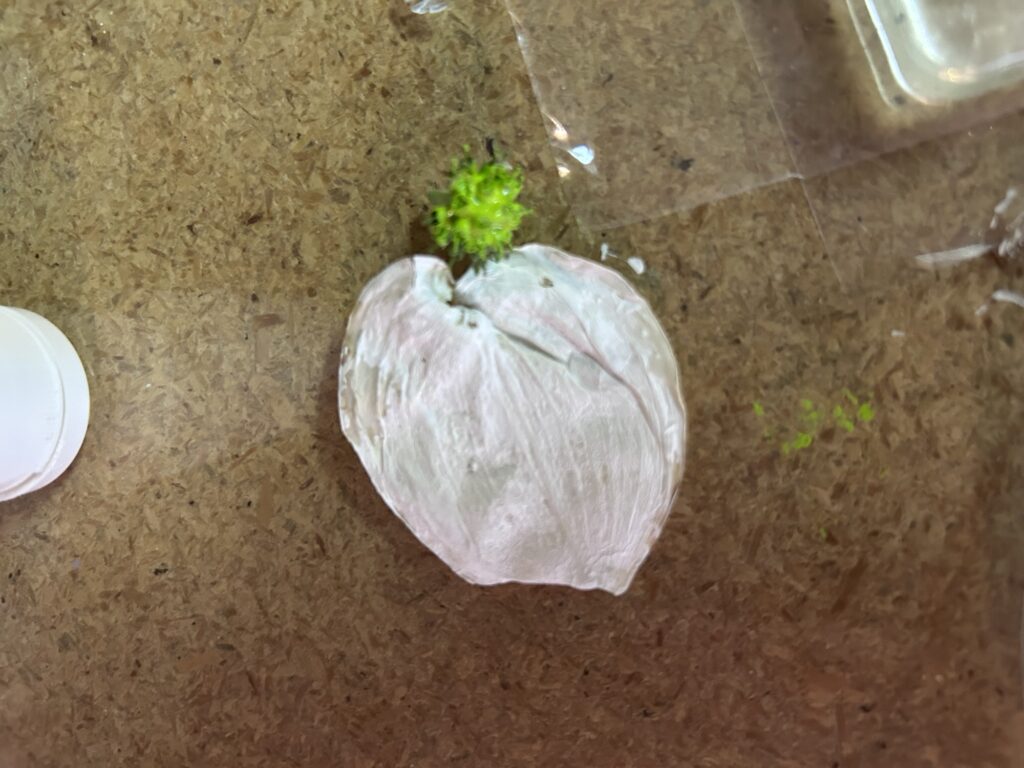
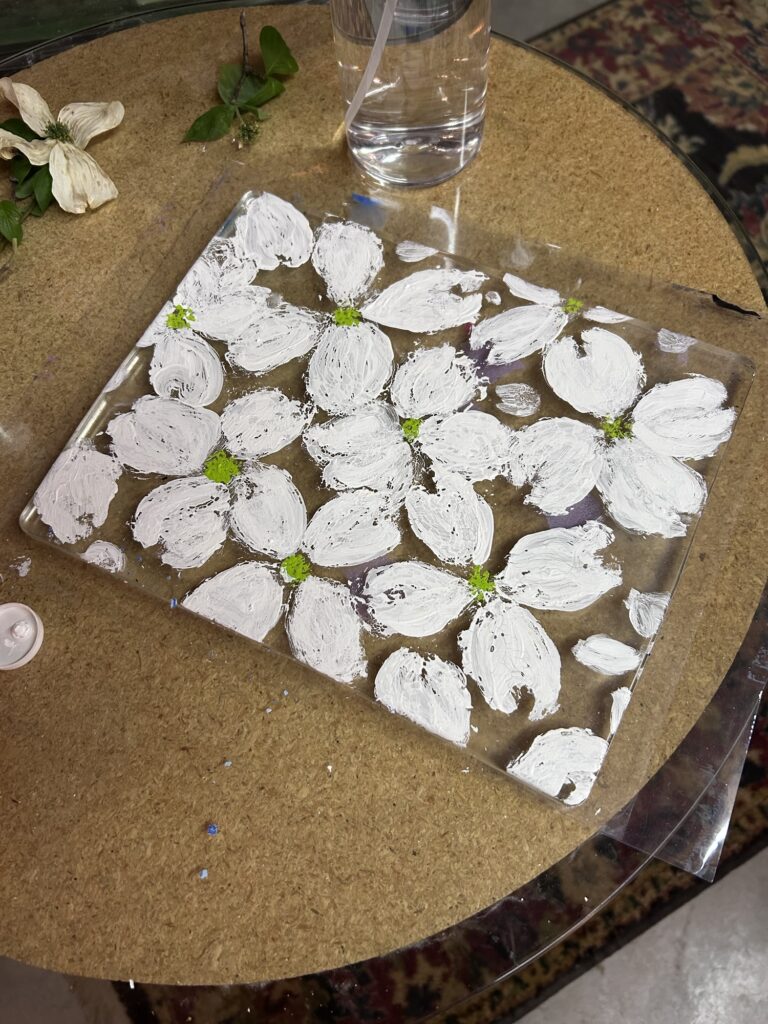
I thought maybe I could use them to print on the gel plate. I used some blossoms to pull paint from the plate.
I used others like stamps, painting the bracts (petals,) and center.
The paint “celled” so badly, i kept adding paint till I produced this.
I’m anxious to pull this, but I can’t decide between light blue or a rich leafy green.
I also spent the better part of today dodging a telephone scam. Maybe that’s a craft, and I can find the energy to share that someday. For today, I’m exhausted.
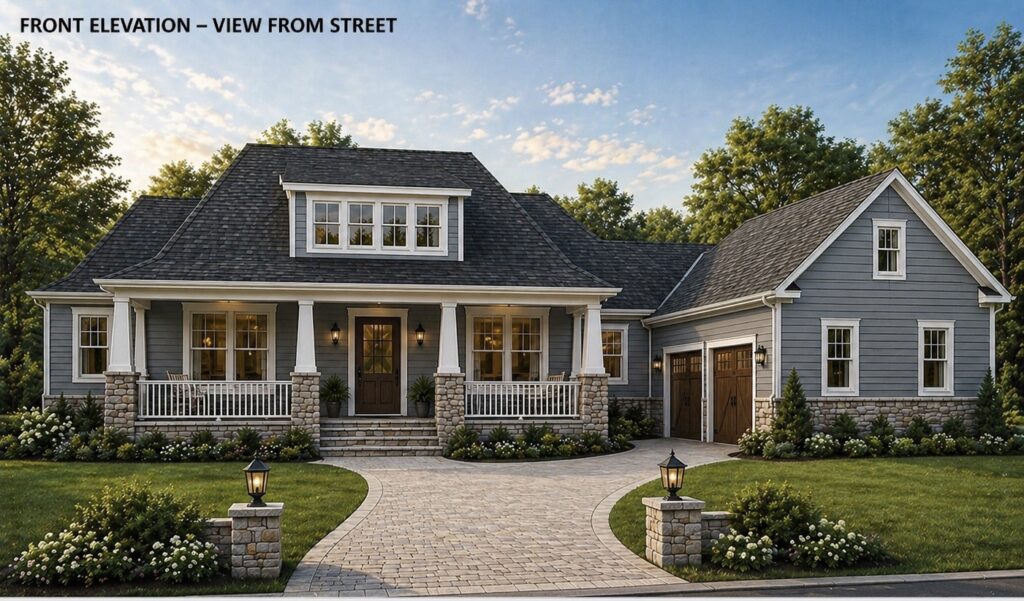
I found it! Kent has wanted to build a handicapped accessible house someday. We are running out of somedays. I will be 70 in August, Kent in March.
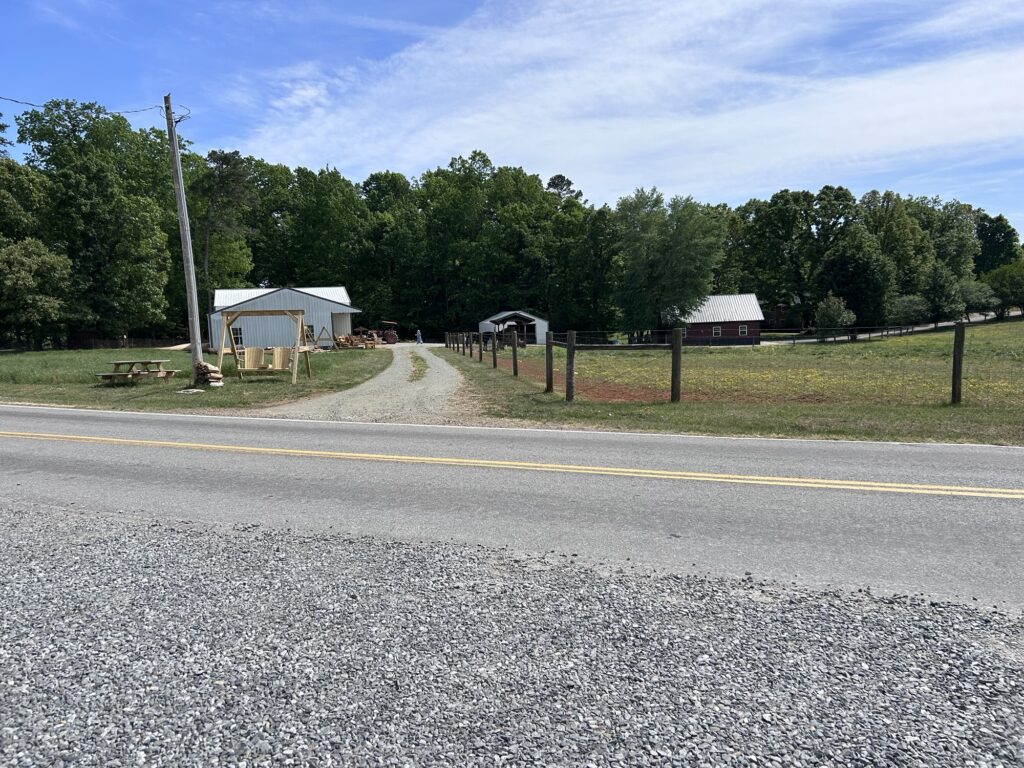
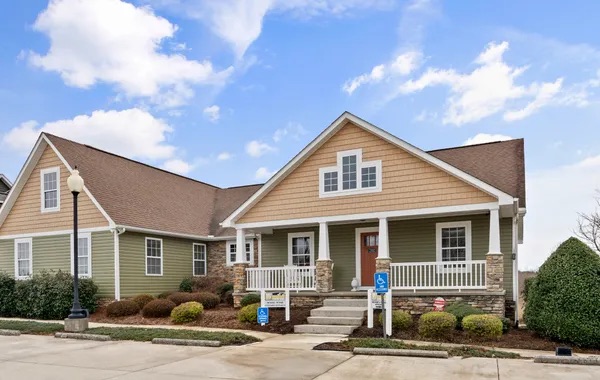
We have been visiting some model homes of different builders, recently, and today, we stopped at Sedgewick Homes in Hamptonville, NC.
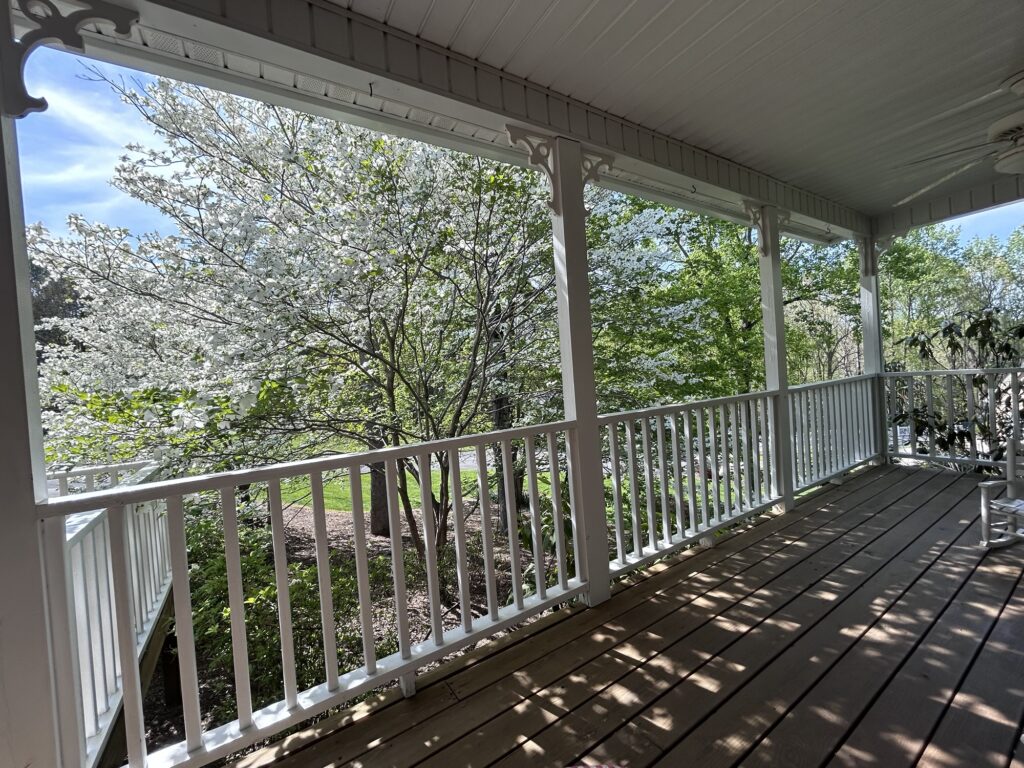
I do not care for the exterior of the model office,
but when I walked in and looked around, I was sold!
Kent’s mobility scooter is on the fritz, and it was just too much with his walker, so only I went in. Don’t ask me why I didn’t take pictures inside! I look forward to returning with Kent and a repaired scooter!
I did get a copy of the floor plan and possible facades. ( I don’t like them either!) Here’s a photo of the floor plan. I’ll try to do better when I get to my scanner.