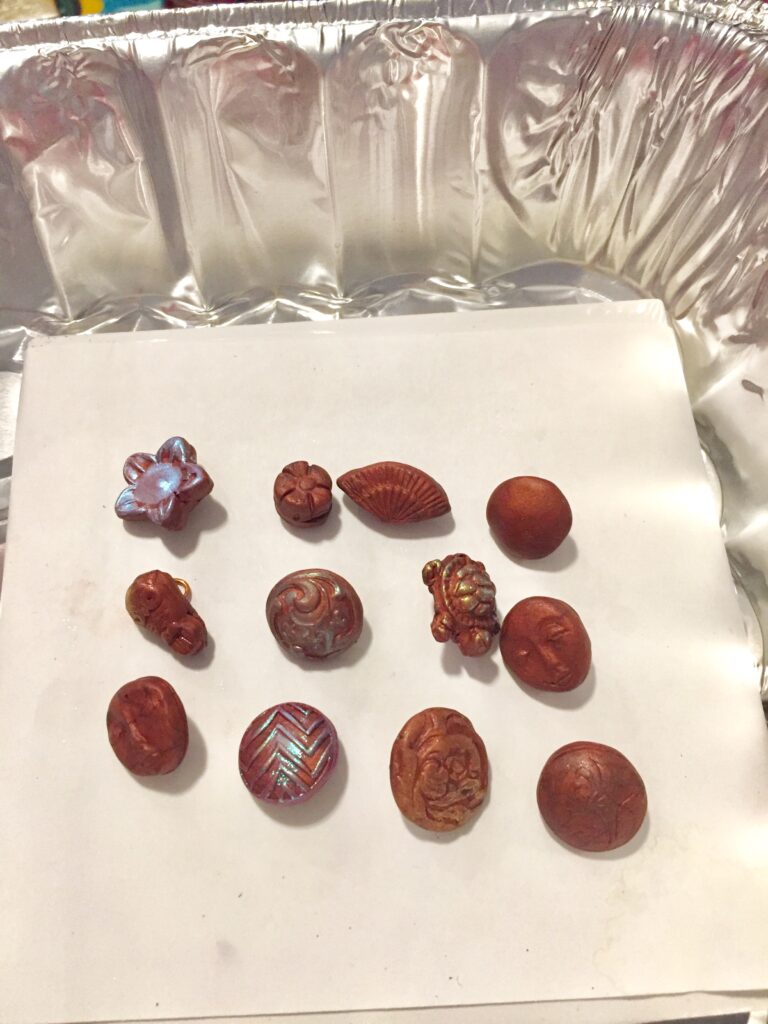
of buttons! The grandkids were in NYC over Thanksgiving, so these are the only things I’ve baked in a long while, unless you count toast! 😄
of buttons! The grandkids were in NYC over Thanksgiving, so these are the only things I’ve baked in a long while, unless you count toast! 😄
like crazy this holiday weekend!
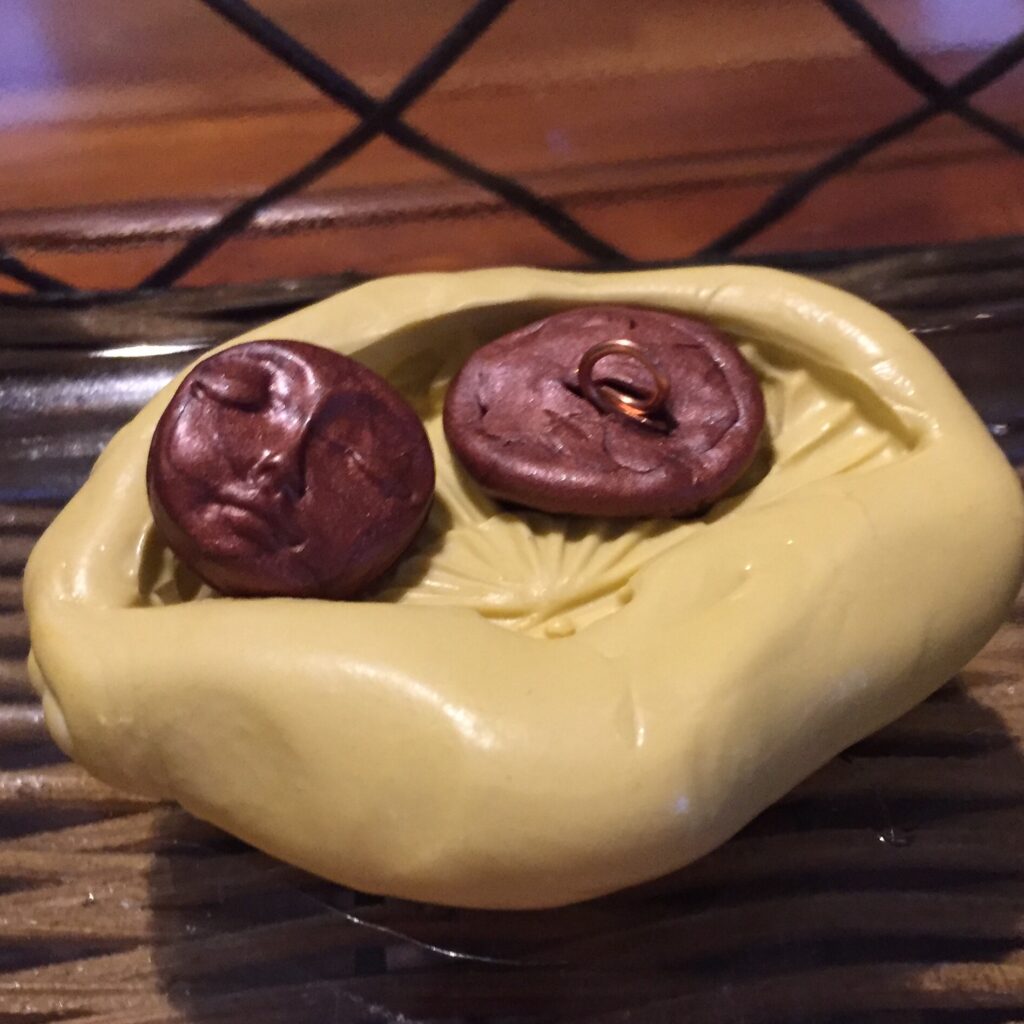
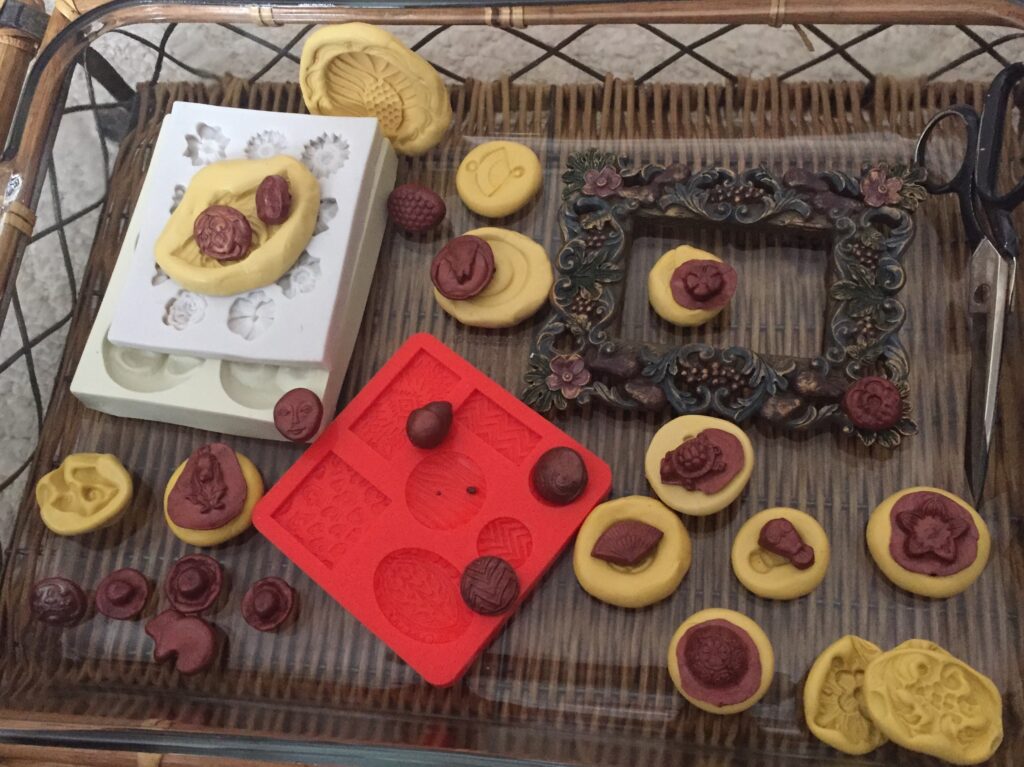
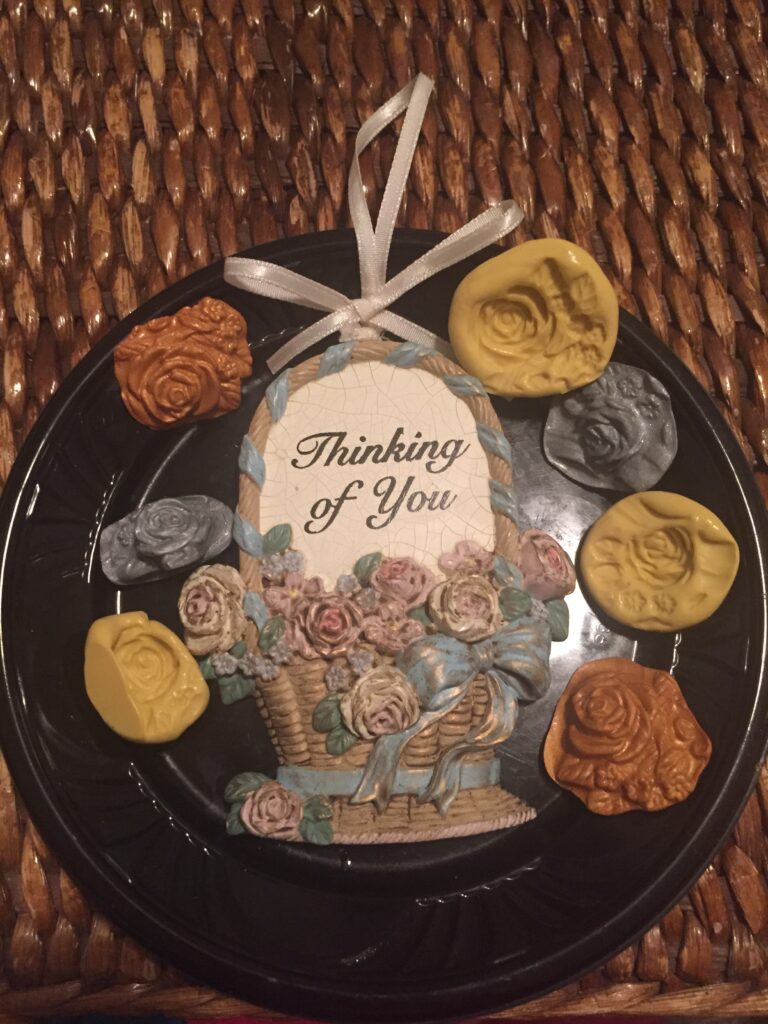
These flowers will need to be trimmed down before becoming buttons. I’ll also highlight the details with mica powder before baking.
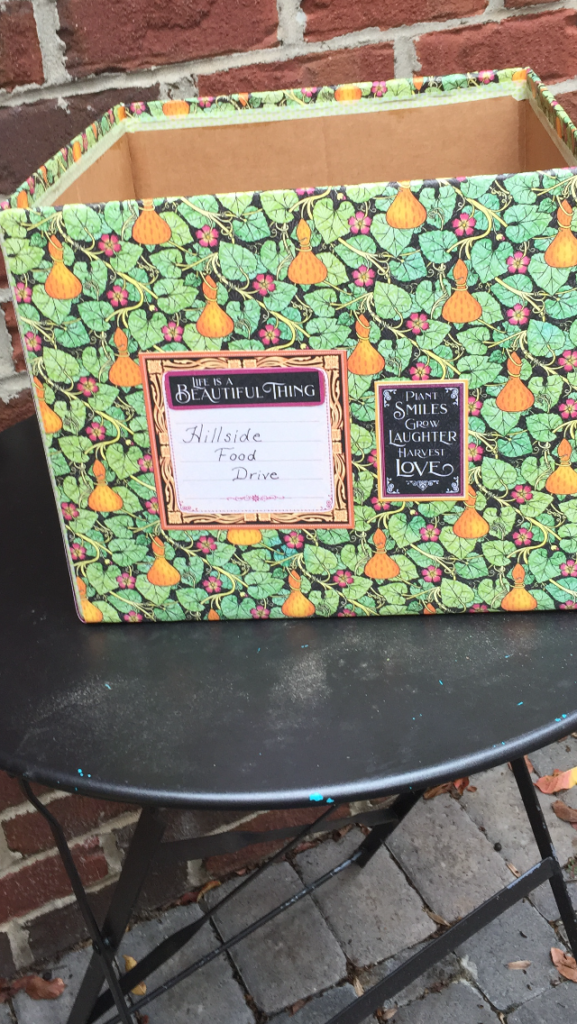
I was asked to cover a box for the neighborhood food drive here in Charlotte. I finished and delivered it today.
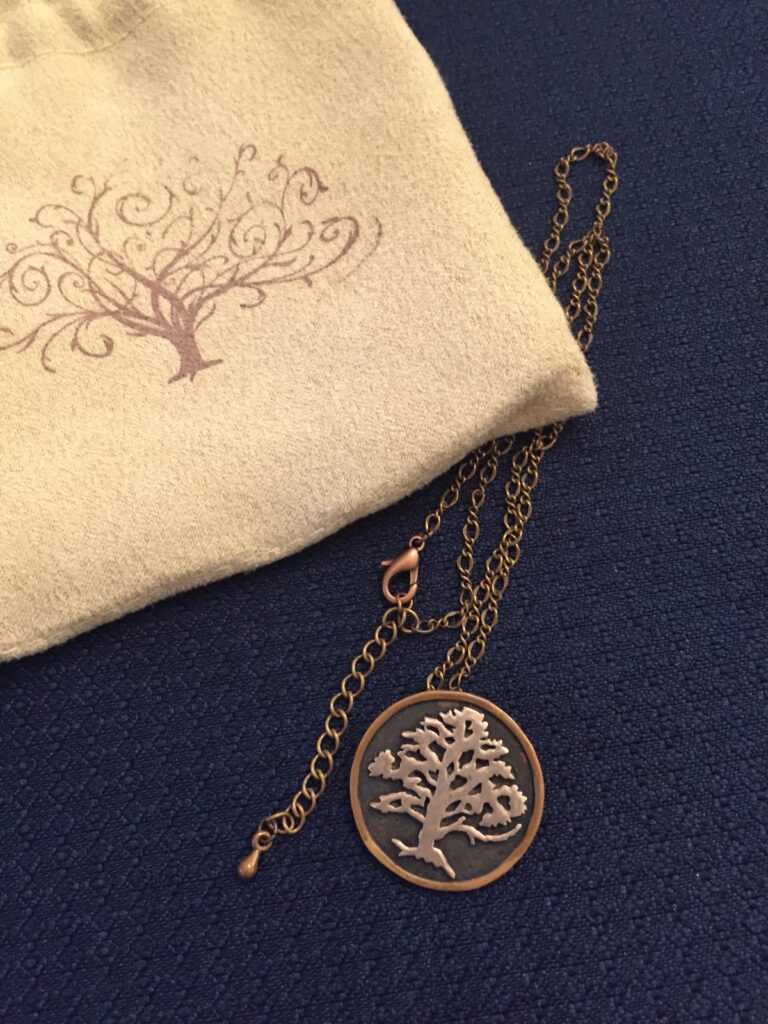
I replaced a clasp on Adrianne’s necklace.
I treated myself to a trip to Michael’s.
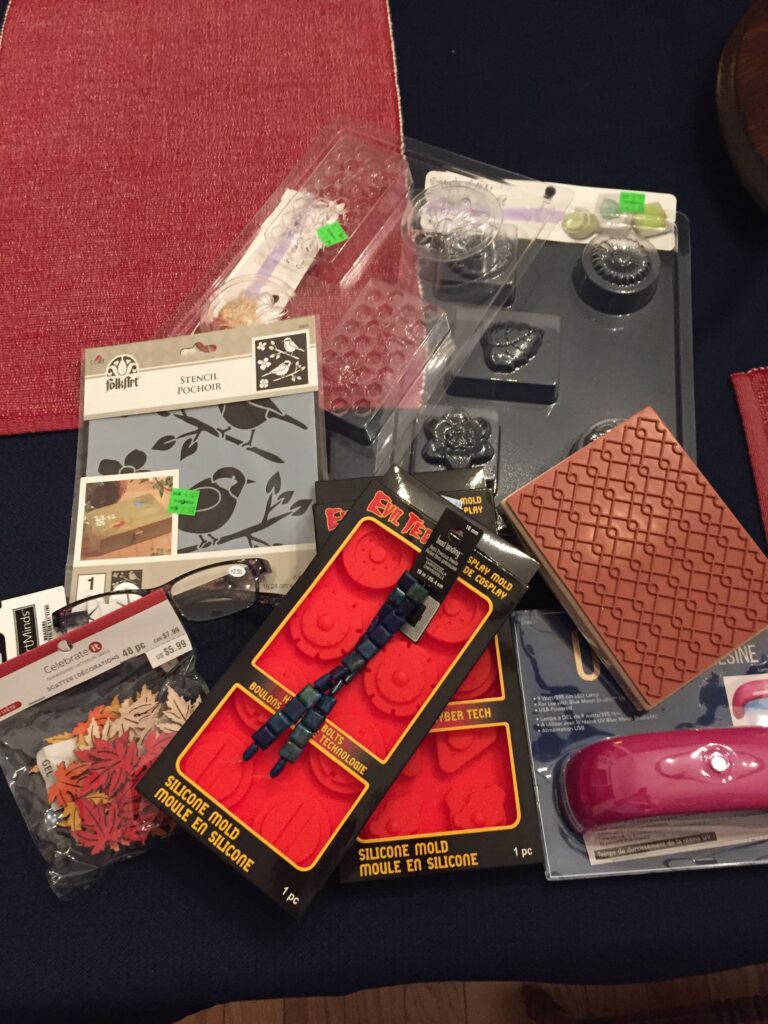
The sales and coupons and clearance were great! They had molds ($1) and stencils and stamps, oh my! I used my coupon on that UV lamp!
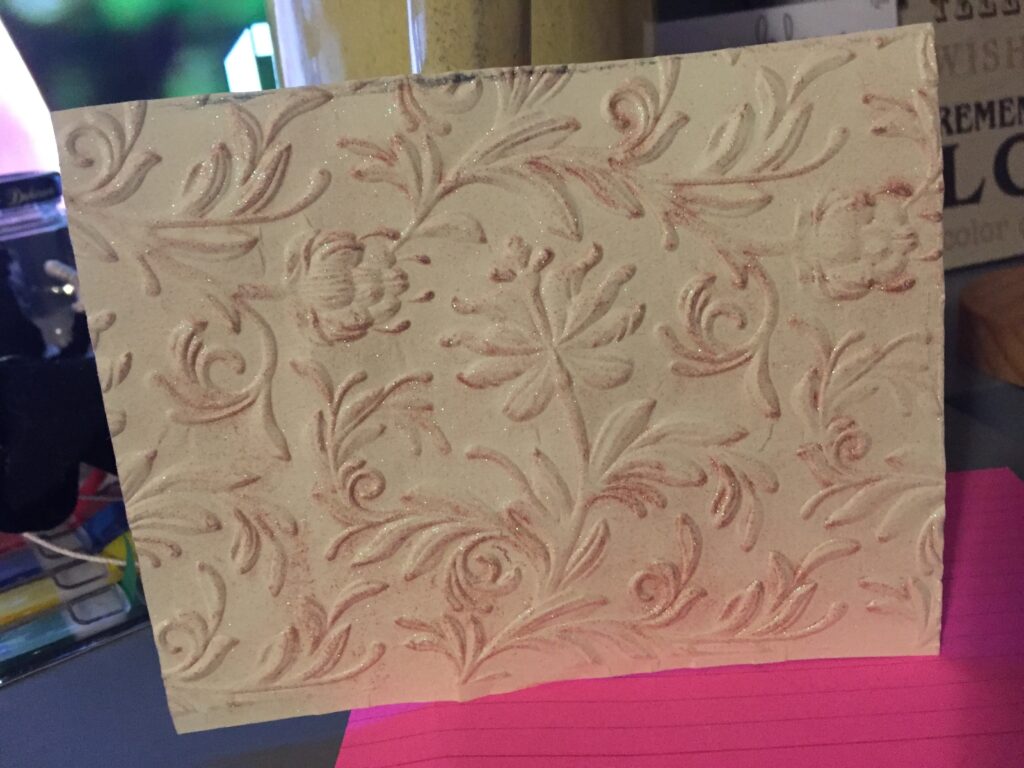
I rubbed my new color-change mica on embossed card stock. ‘Slightly disappointed in this one.
In all, a good day, just the same!
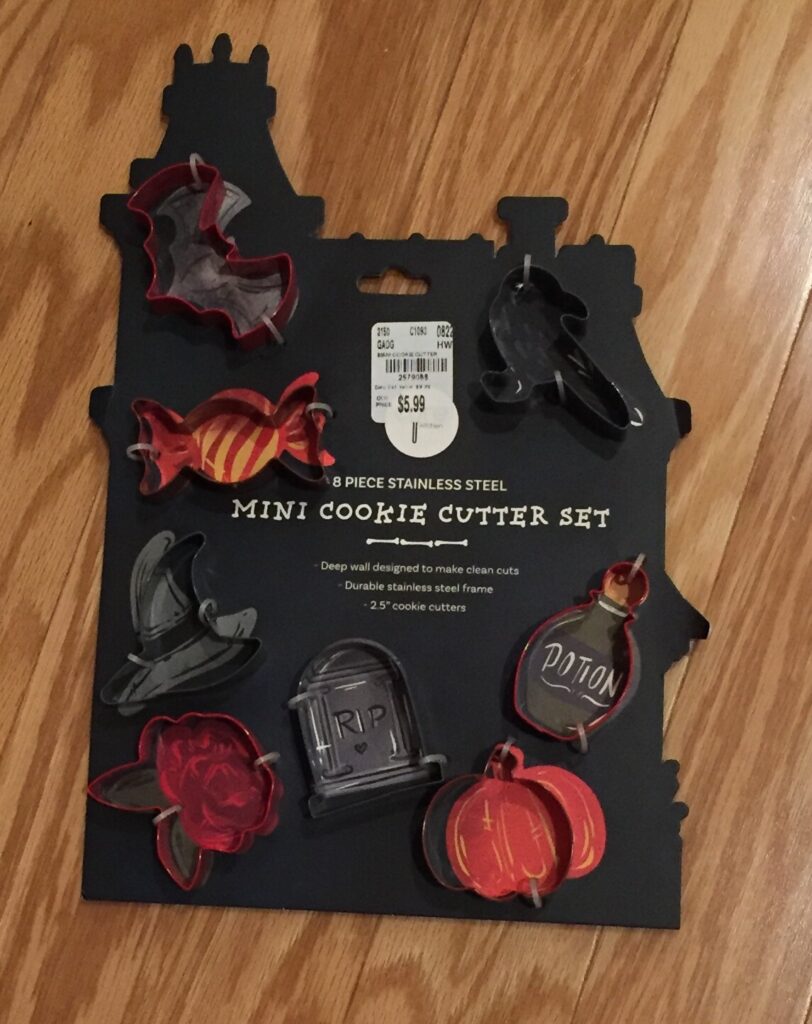
I have new clay (cookie) cutters! $3 on clearance!
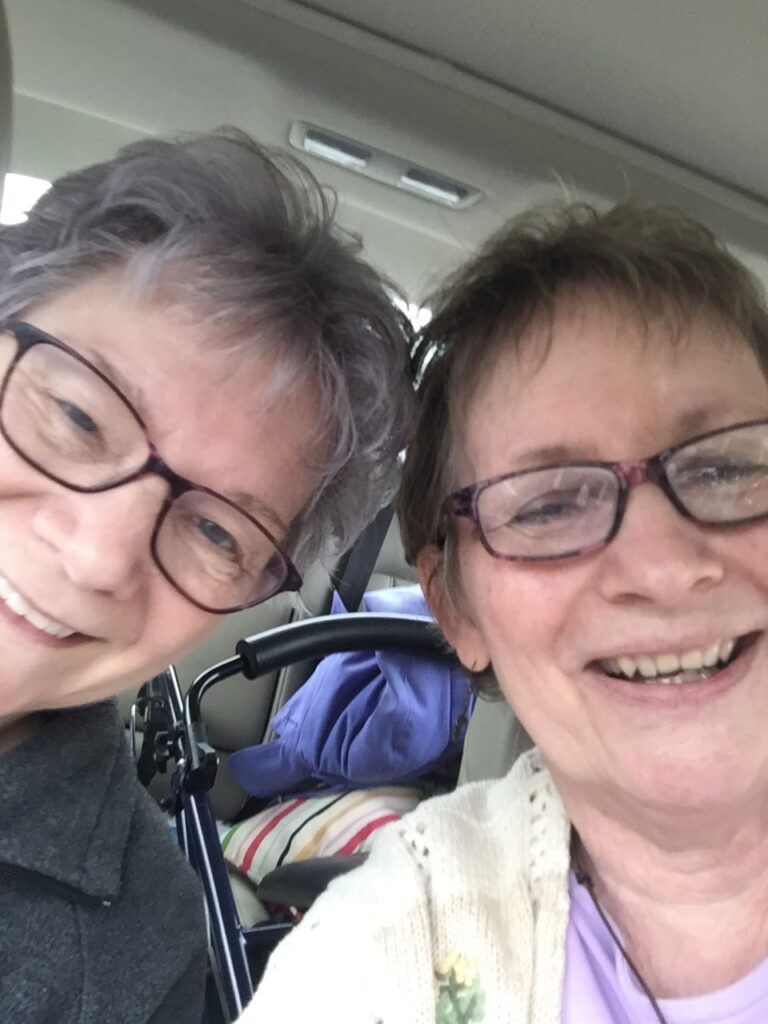
Laura and I were lucky enough to attend the JTV (Jewelry Television) Experience in Knoxville, TN!
We’ve been back over a week and I’m still grinning!
Covid had interrupted the in person event for the last two years, so it was extra special to be back in Knoxville. The 2022 edition was moved to October, in peak leaf season!
The Jewel School portion of the event began on Wednesday, and we drove over from Asheville on Tuesday. The day was overcast, causing the colorful leaves to glow. I drove, so I only got one picture at the rest area.
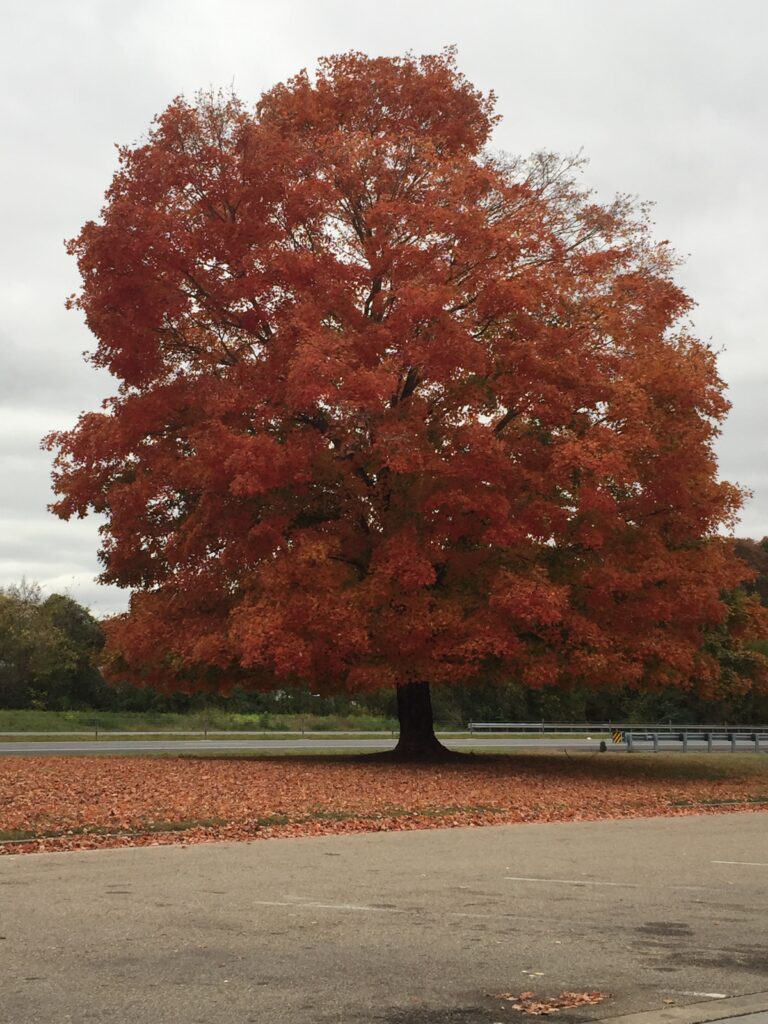
The following photo by bestsyfromtennesee https://betsyfromtennessee.blogspot.com/2011/10/more-from-smokies-1011.html?m=1comes close to what we saw, mile after mile that day.

Here’s another by Mike Wendland for rvlifestyle.com. https://rvlifestyle.com/a-fall-photo-hike-through-the-great-smoky-mountains/

I vow to buy a dash camera before my next road trip! (Ordered!)
Back to the excellent adventure!
Wednesday was a Welcome Luncheon and registration and shopping at the JTV Gemstore. At the luncheon, we met up with ladies I knew from the online live chat during Jewel School. Our table was shorted a tea. The waiters were wearing light colored shirts and circulating throughout the room. So was JTV’s CEO! He stopped to ask was there anything we needed. One of the ladies said, yes an iced tea.
After he brought Laura her tea, he stayed at our table asking what we liked about the new JTV Experience? I offered the fall date and told him our drive was glorious.
Later in our meal, Robert Thomas, one of the JTV show hosts, paid us a visit. These are the folks at our table.
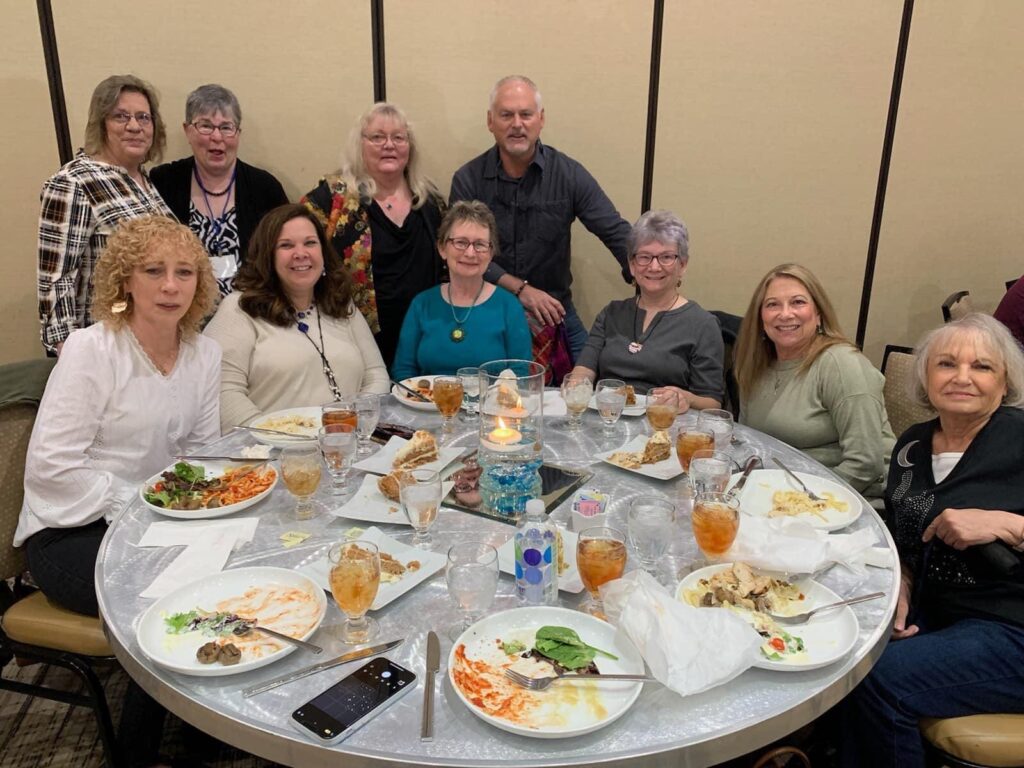
Mira presented Robert with a bracelet she had made for him. He’s sporting it proudly in the photo. I’m grinning like that because I had salad in my teeth.
I knew Mira from the 2018 Experience, and I talk to her frequently in the Jewel School live chat. I have also talked to Kirsten, Kathy and Anne. Debbie Rogers is the much loved founder of The Beady Bunch, and I have known her since I joined in 2017.
There’s more to share, but that will have to wait. It’s very late.
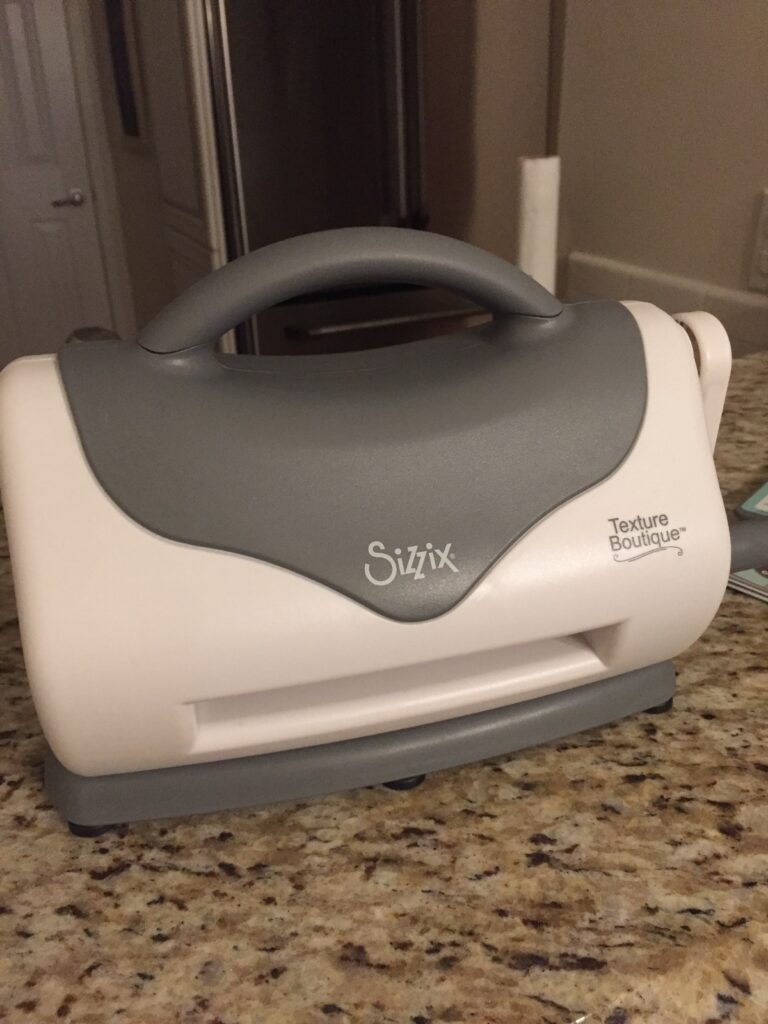
My little Sizzix embossing machine arrived today! All it does is emboss, it does not die cut. I have a cutting machine I am terrified of using (and somehow ruining.)
I jumped right in and put the thing together, and grabbed some of my embossing folders (bought to use as texture plates in polymer clay.) I used dampened ivory card stock.
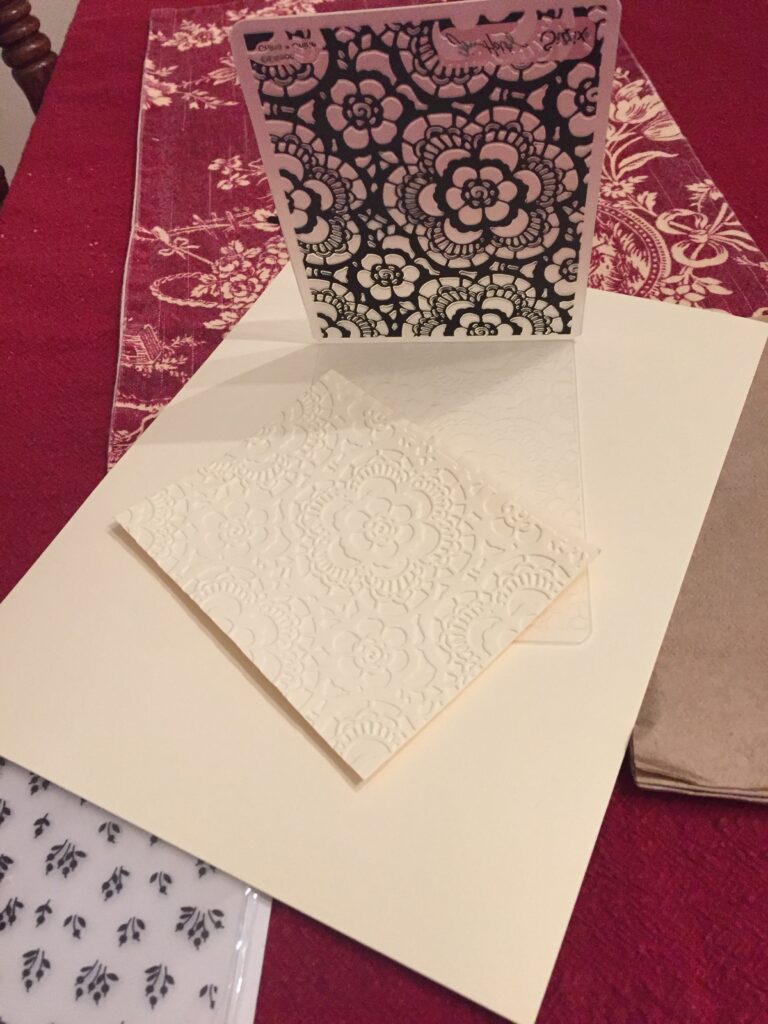
The first one was magic!
The second was tougher. The 3D folders are thicker and don’t require all the shims (plates) that come with the machine.
I thought I had ruined the machine with just the second one. Then, I figured it out and tried a couple more. Success!
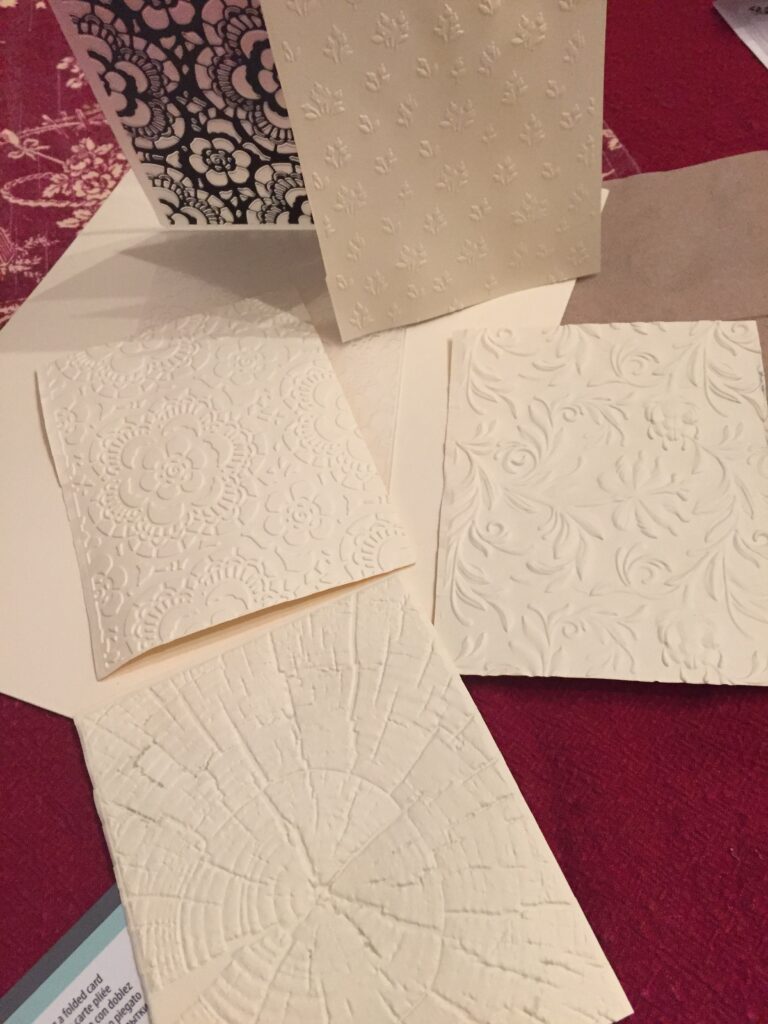
I am looking forward to rubbing these with mica powders, or dry brushing with some paint!
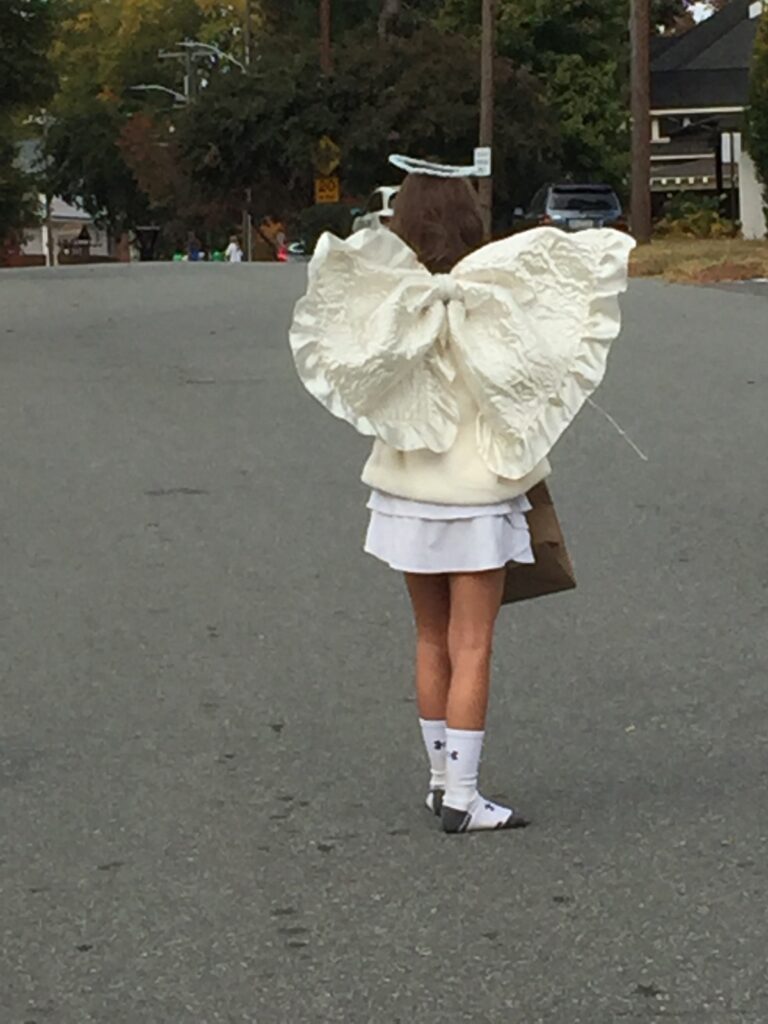
10:00am, today, The phone rings. “Nana, I still need wings and a halo.”
“But you’re not going to the Squish Meet, you’re going to soccer.”
But after soccer, there’s a block party.”
Vivi and her bestie had planned to go to the local Squishmellow Swap Meet as a devil and an angel. Then their soccer coach invited them to play with the older girls’ team.
‘What time is the block party?”
“Three.”
I went right to work. We’d bought a white headband and iridescent pipe cleaners earlier in the week, so I started on the halo.
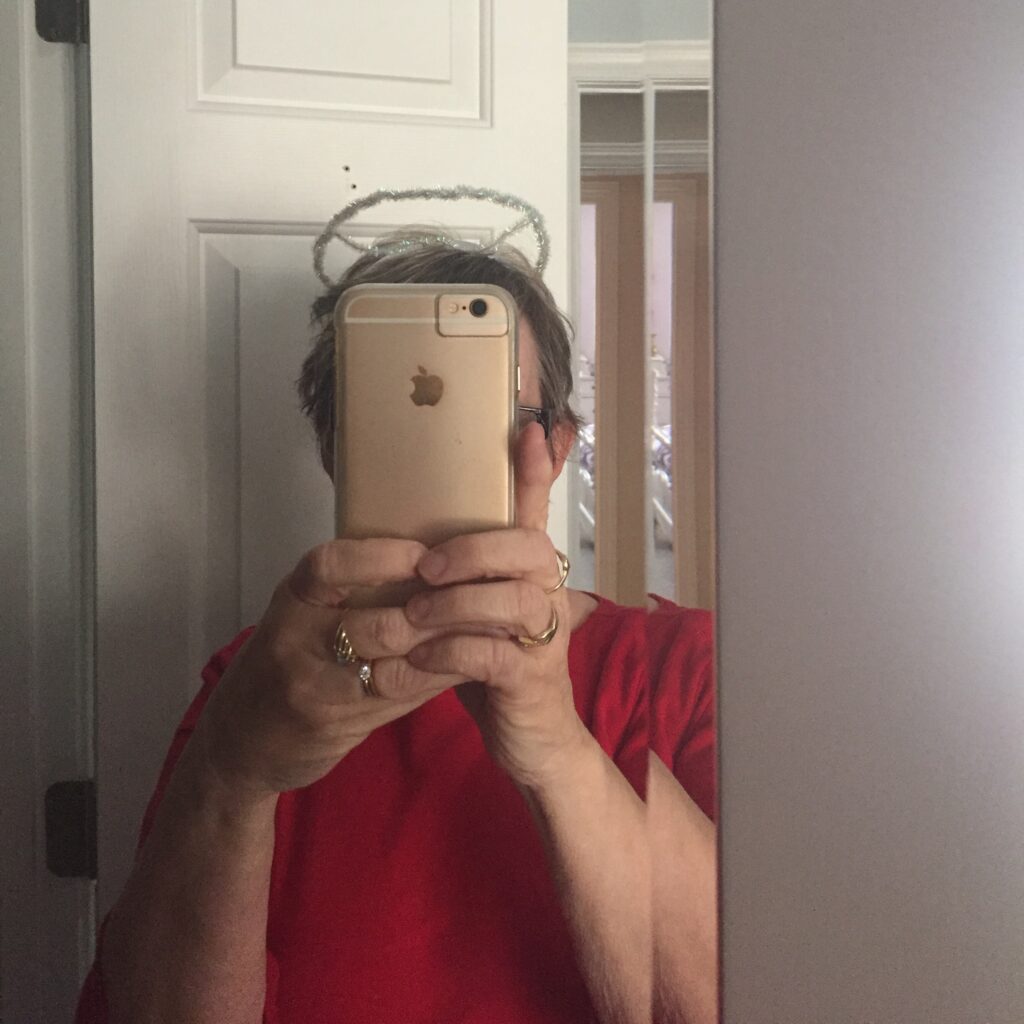
My little model was playing soccer, so I did the best I could with what I had.
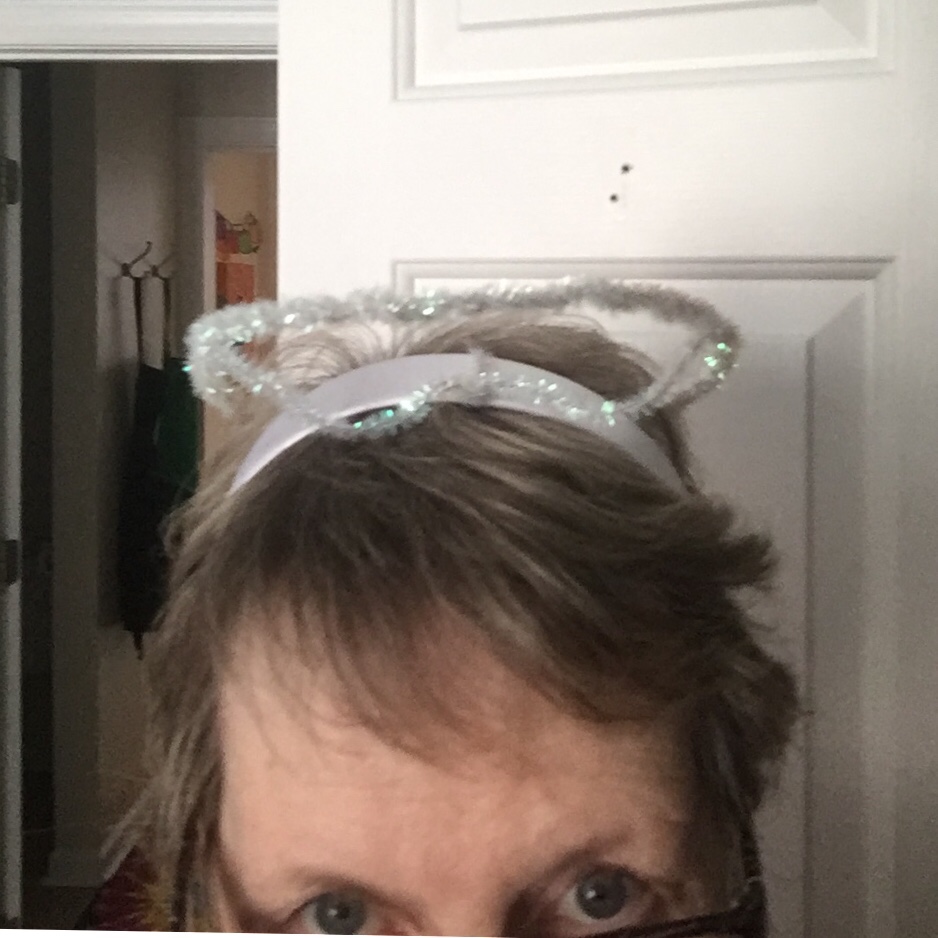
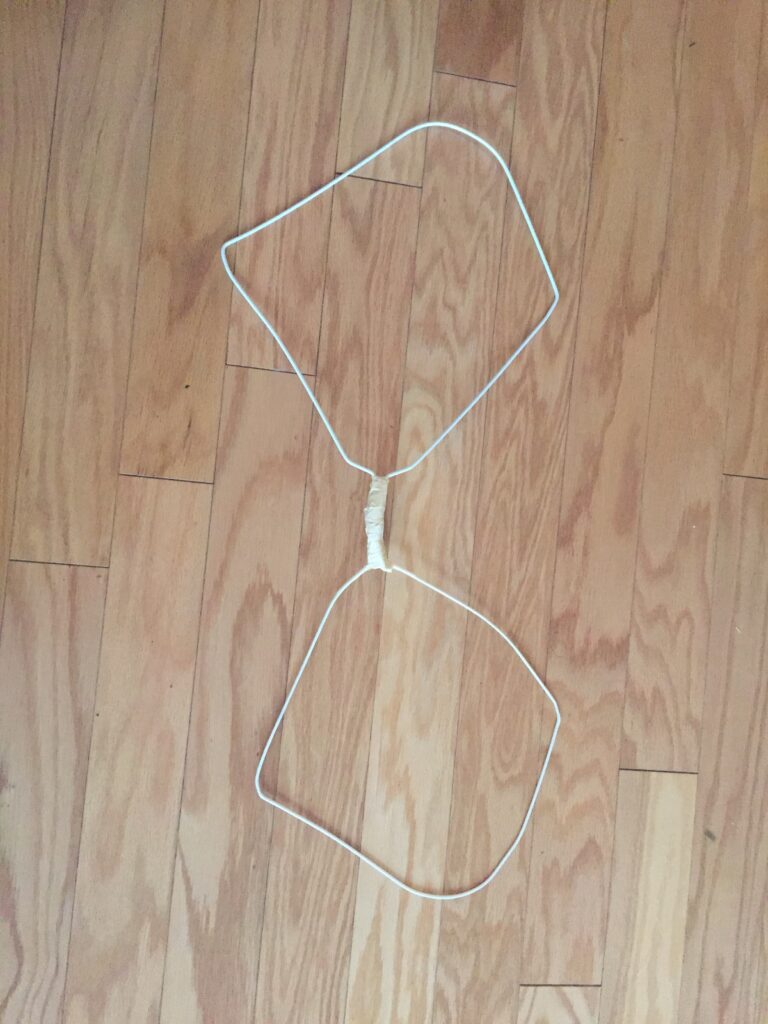
For the frame, I gathered 2 white wire clothes hangers, heavy duty wire cutters, and masking tape. I reshaped the hangers and cut the hooks off. I sacrificed another pipe cleaner to wire the two together. Then, I covered the connection with lots and lots of masking tape.
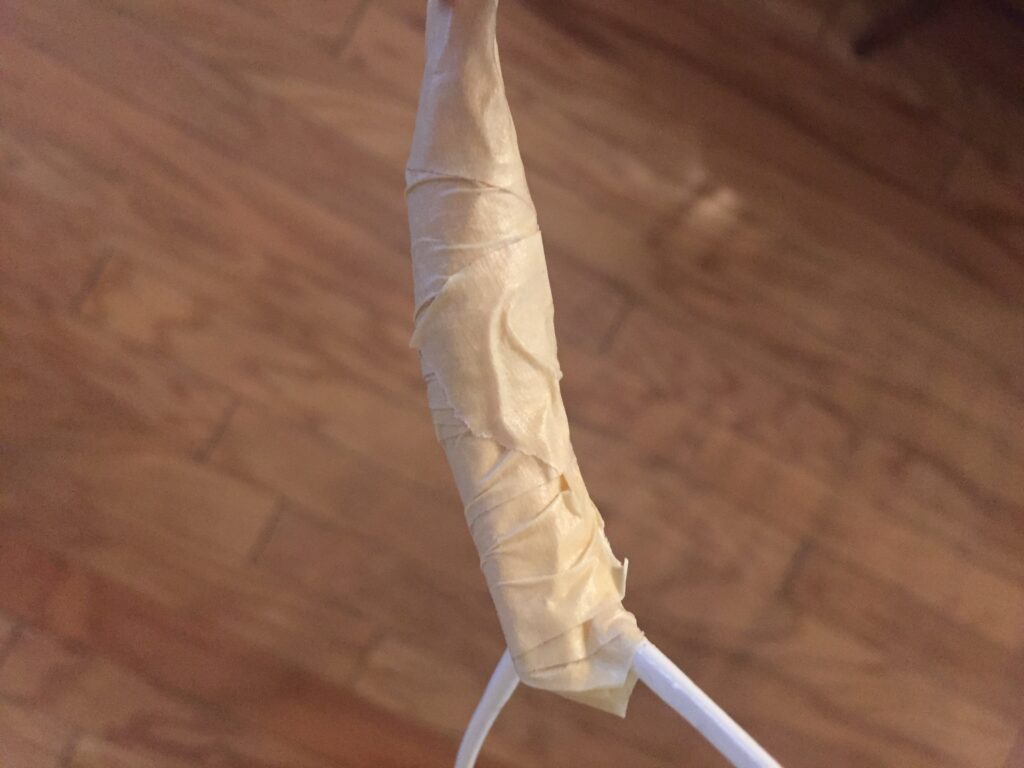
Vivi has a room set up in my “grandma house” where I also store fabric and yarn. I went in to look for some white chenille yarn. I found it AND a ruffled white satin pillow case that was once my mom’s. It was being used as a baby doll blanket in my old bassinet, filled with baby yarn.
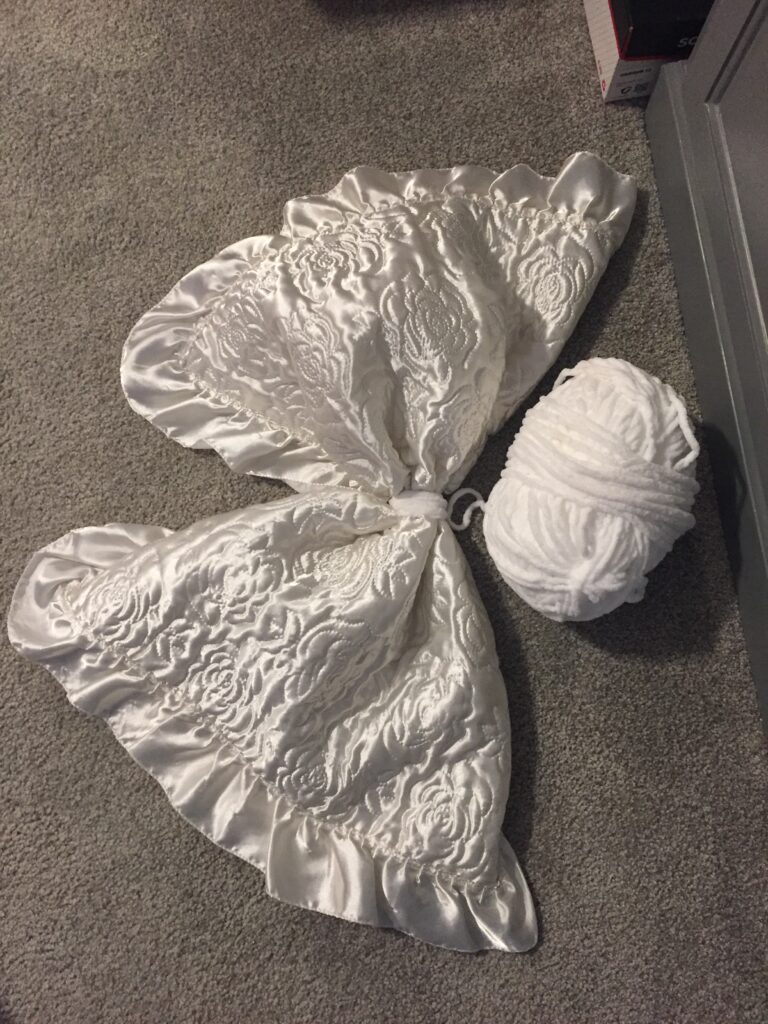
I stuck the frame into the pillow sham and used another pipe cleaner and the white chenille yarn to gather and secure the middle.
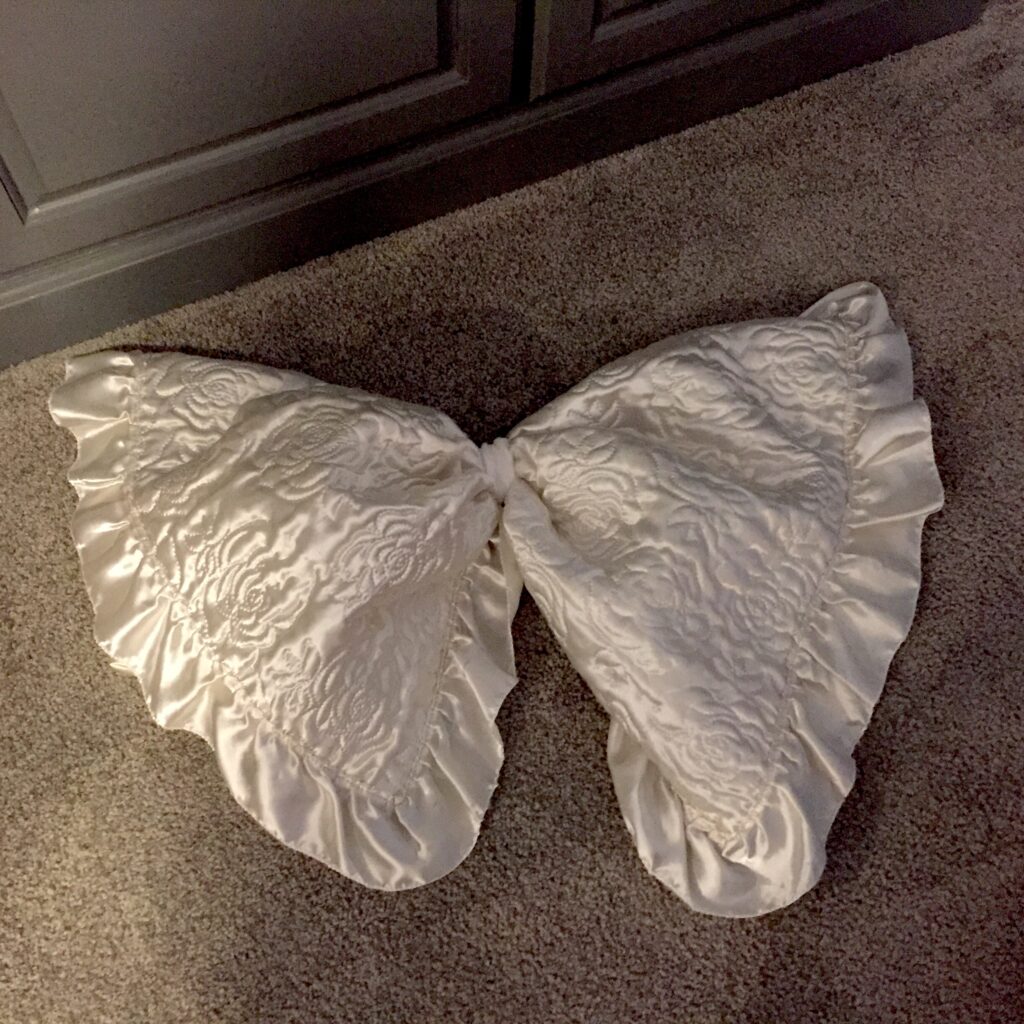
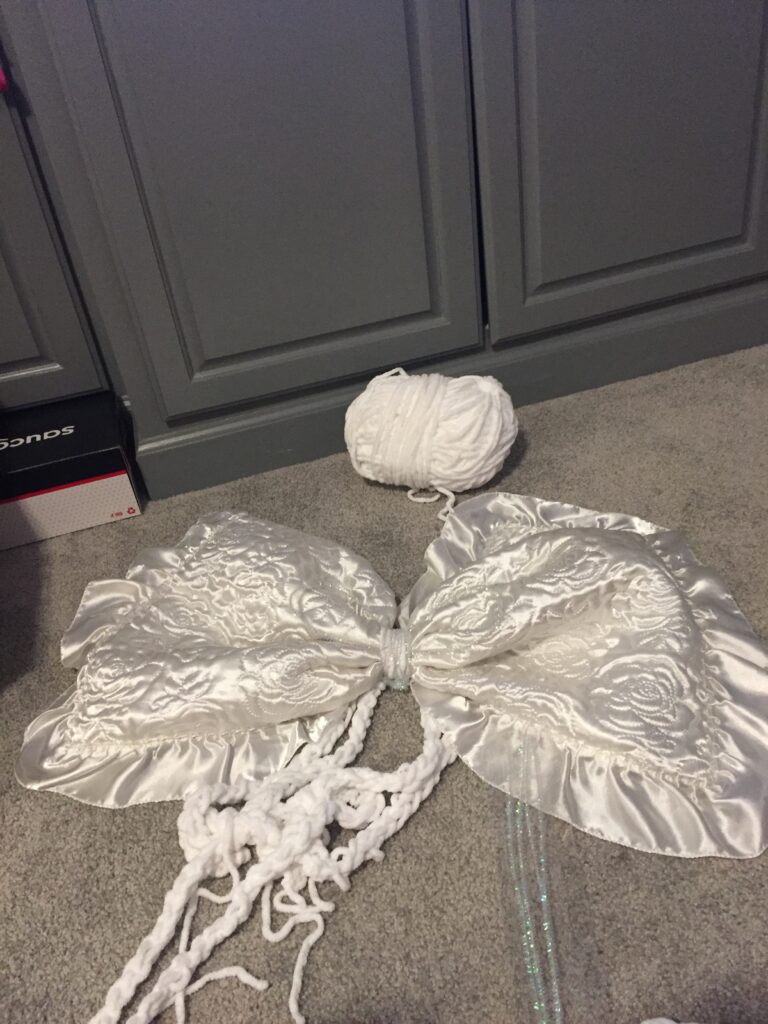
Now, how to attach them? Vivi had finger crocheted several 3’ lengths of the chenille yarn to use as Squishmellow clip holders. I took two of them and added to the inside of the gather, attaching them in the middle, with good old pipe cleaners, so they could be used as underarm ties.
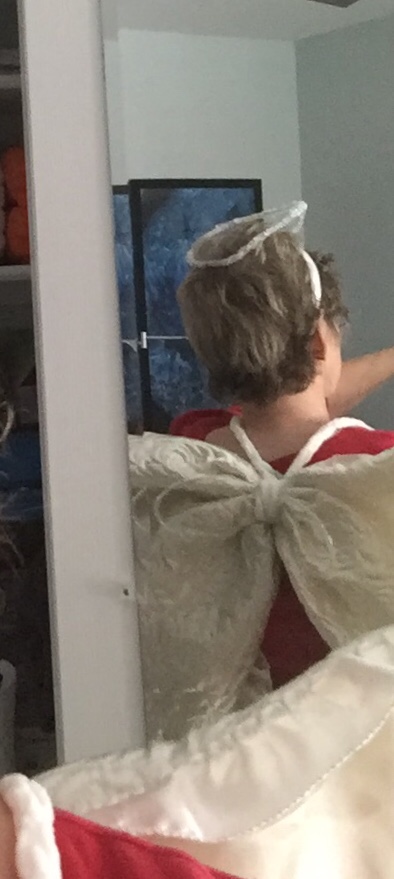
Then, I tried it on my poor old model.
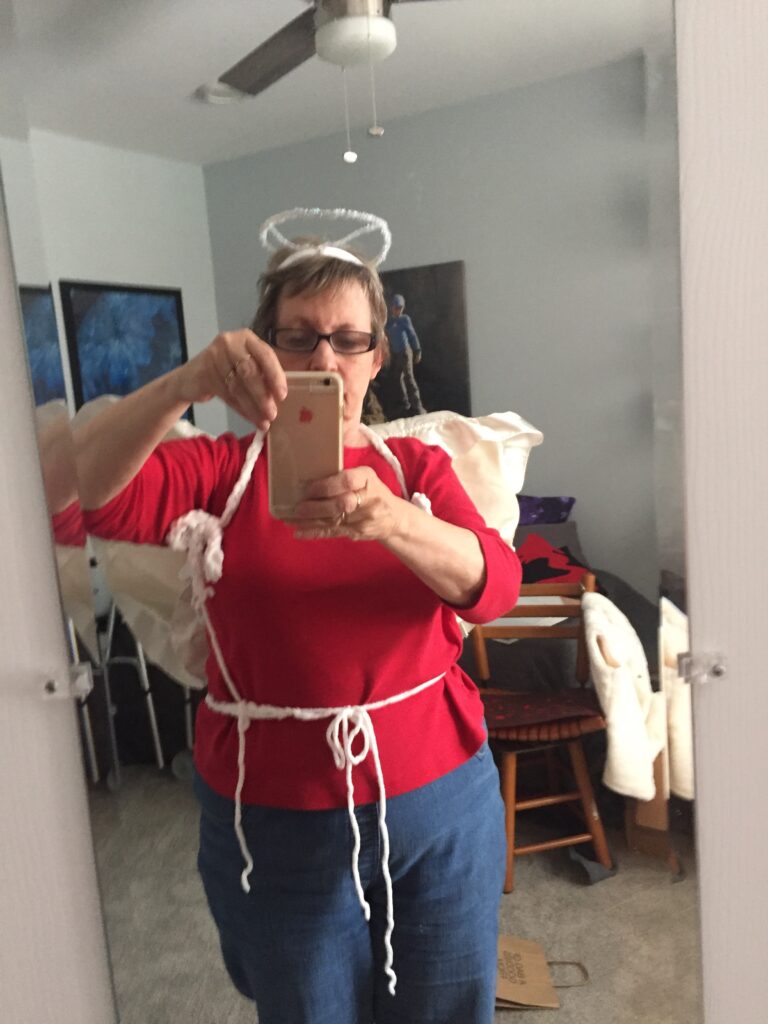
I tied it on me with bow knots, wrapping the extra lengths of yarn around my back and waist for extra support.
I took the wings and halo off and grabbed the white fuzzy vest in the background, then headed for the block party!
2:40pm, I arrived at the block party, and there was just enough room in front of the barricades to pull over. I cut on my blinkers, and Vivi met me at the end of the street.
The best part was when I pulled the costume out of the car! “Are those my wings, Nana? They’re beautiful!”
I got her in her wings and halo out of harm’s way, just off the intersection. People went by and smiled. One guy rolled down his window and said, “Great costume!” 😄
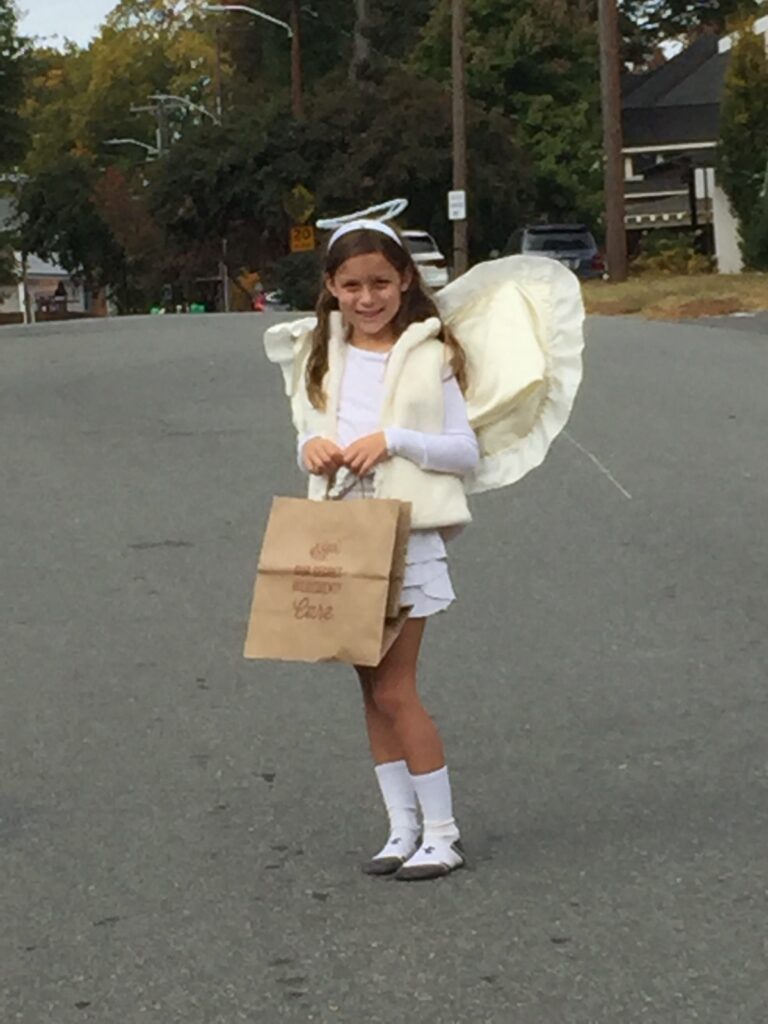
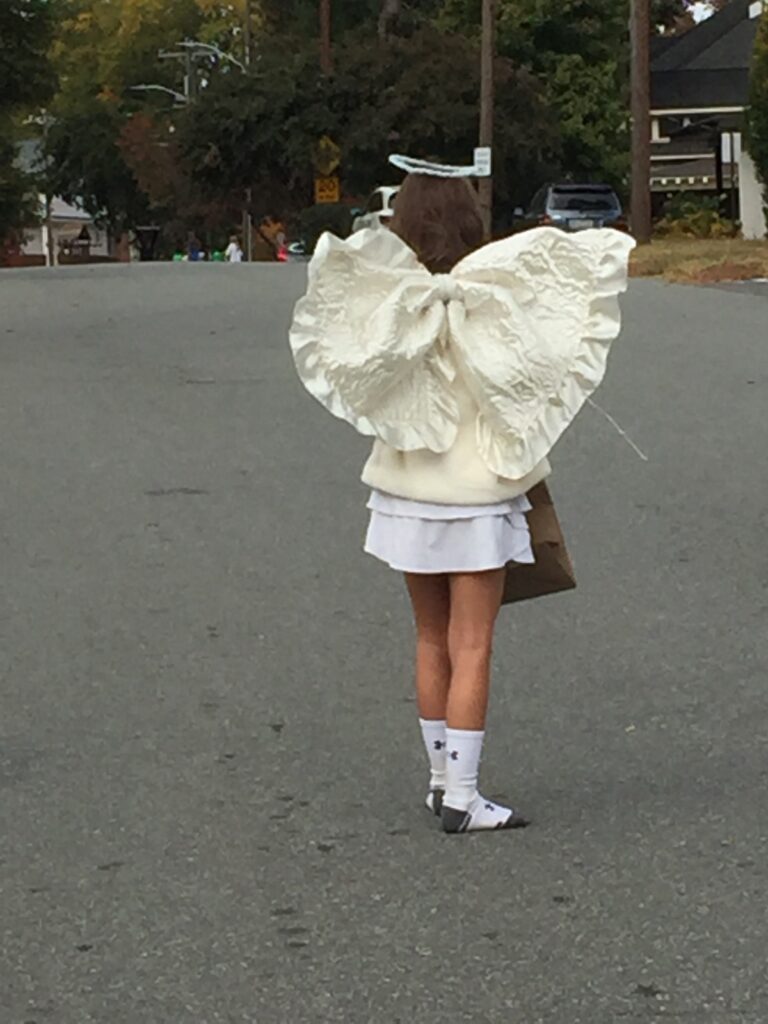
Another day, well spent, and so am I!
Buying storage seems crazy when you have lots of boxes and lots of paper and paint.
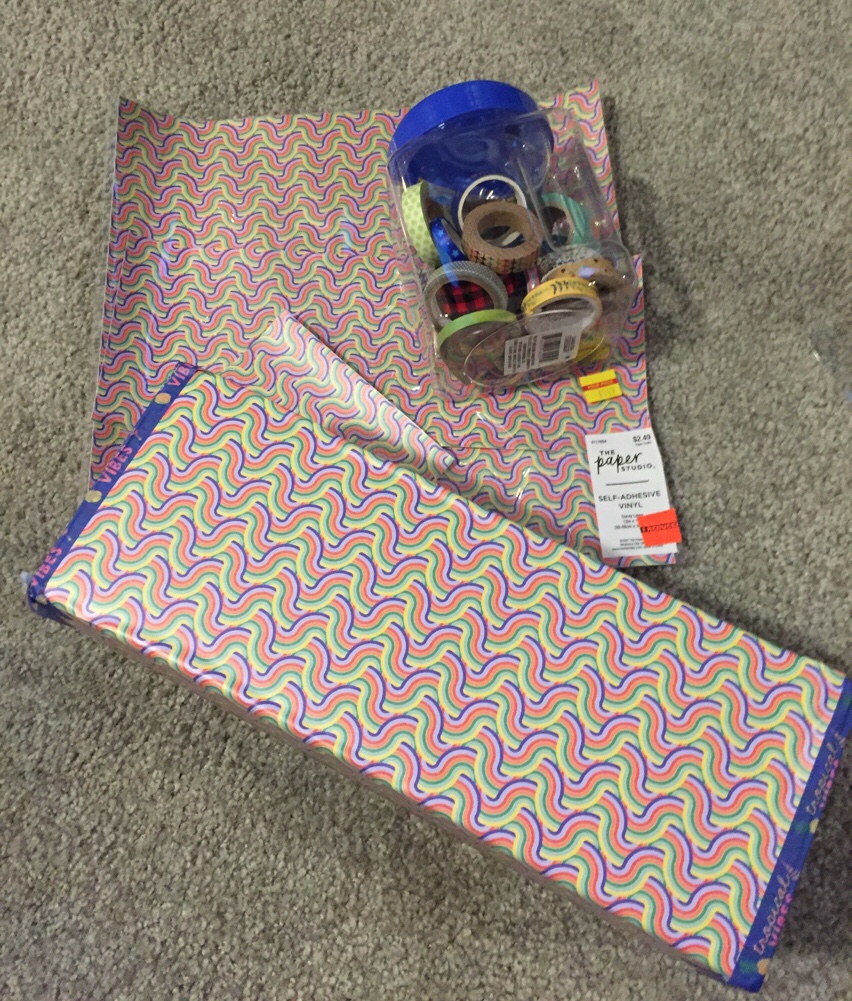
I needed ink storage. I ’m not as careful and thorough as I once was, but, “Ta Da!”
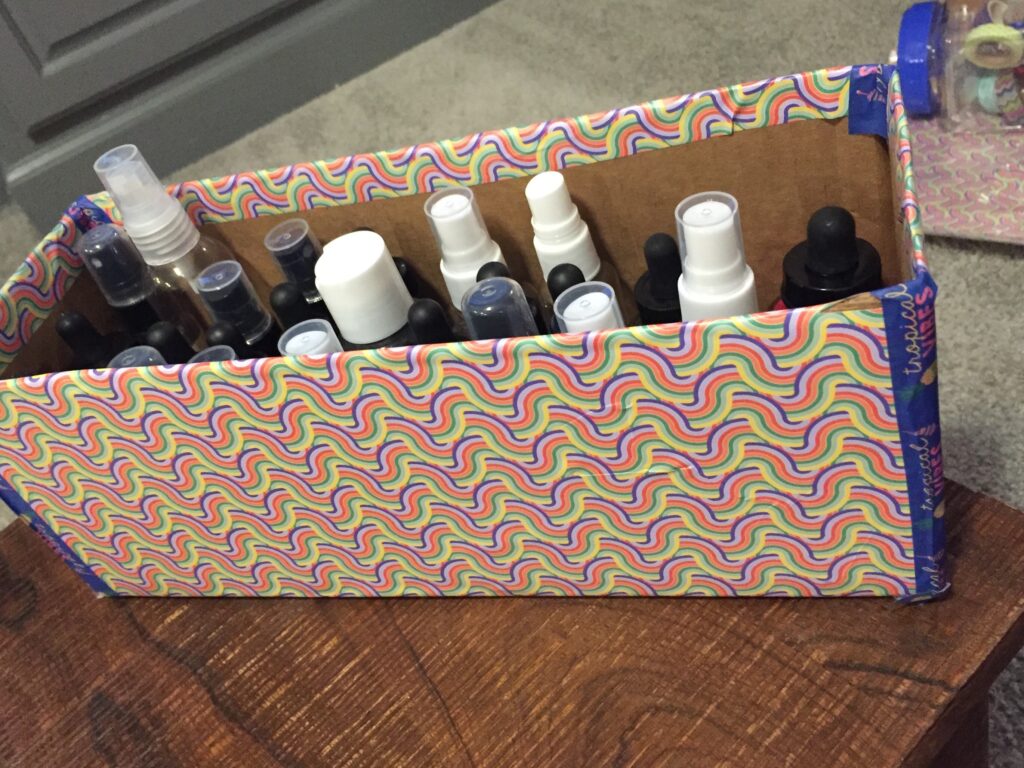
(Washi tape is not sticky enough.)
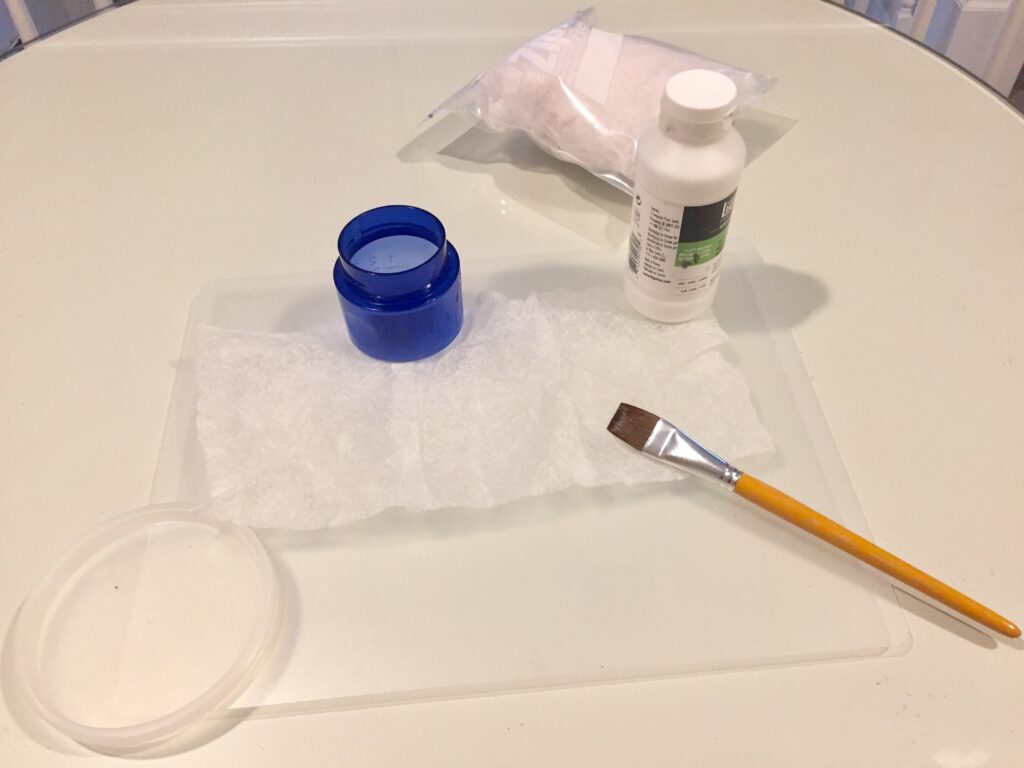
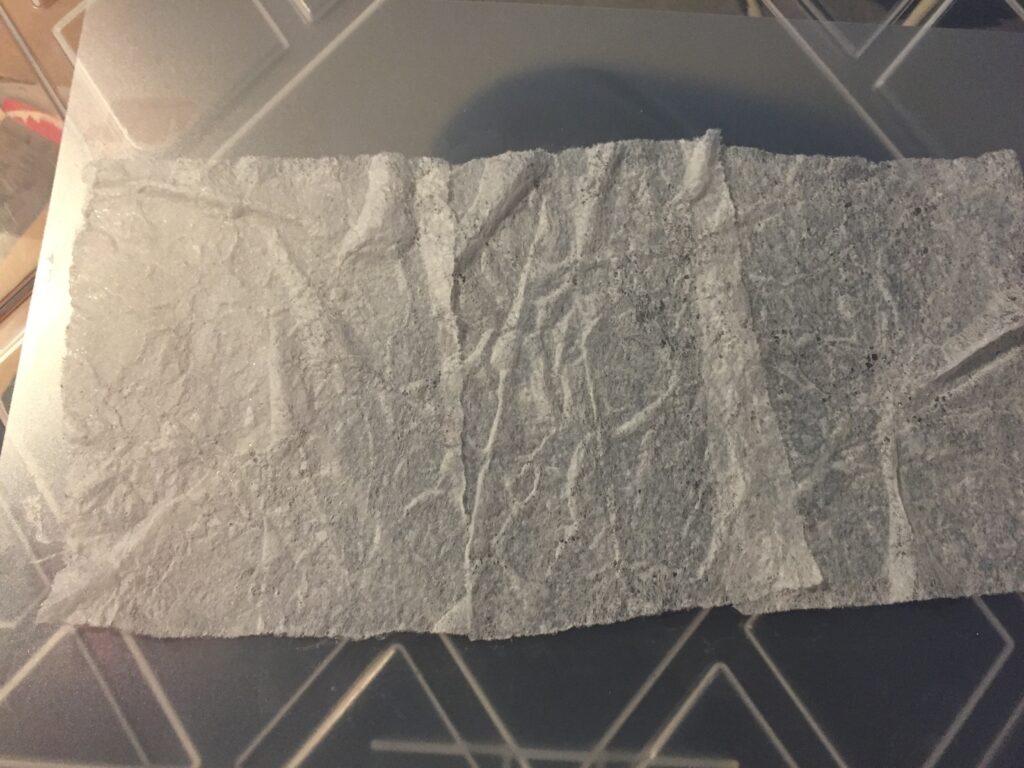
I’ve been meaning to try this for months. I’ve been saving used dryer sheets and planned to join them with gel medium. Yesterday, I gave it a shot. I overlapped 3 pieces on a plastic sheet. I brushed them heavily with Liquitex Satin Medium. I used a new brush from Hobby Lobby and spent a lot of time picking hairs out of the medium. I won’t be buying that brand of brush, again. Fine Artist, my eye!
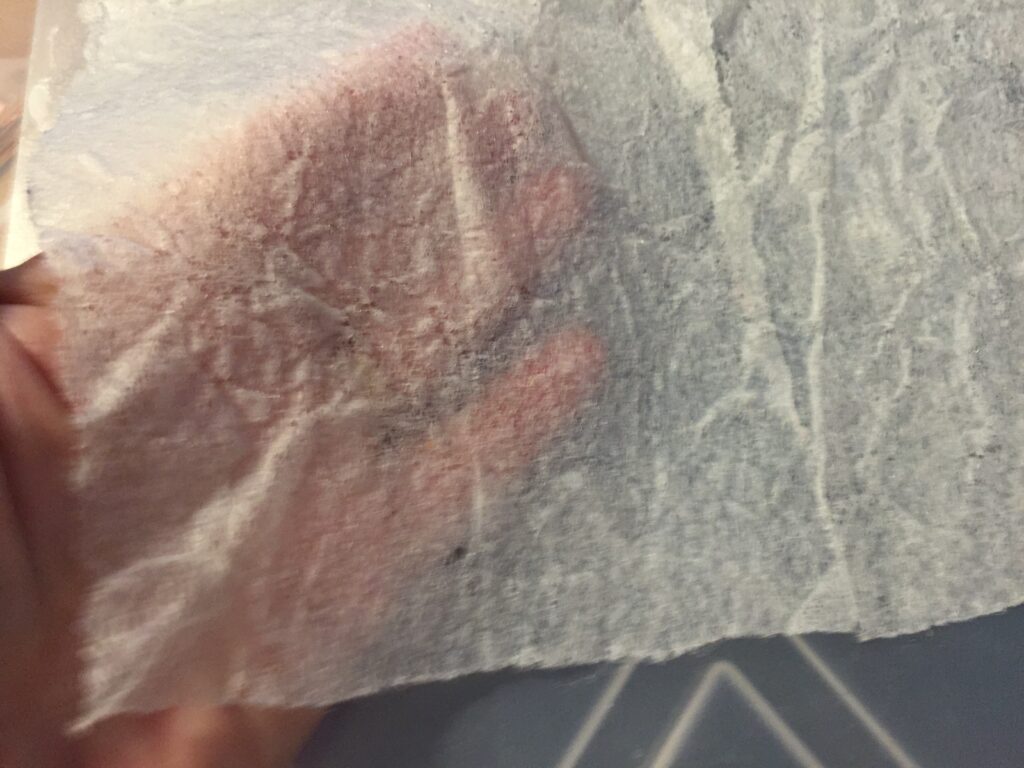
I let them dry overnight and they pulled up in one piece, like I’d hoped.
The “hand” is wonderfully rough, wrinkled, and dry. The backside is shiny and rubbery.
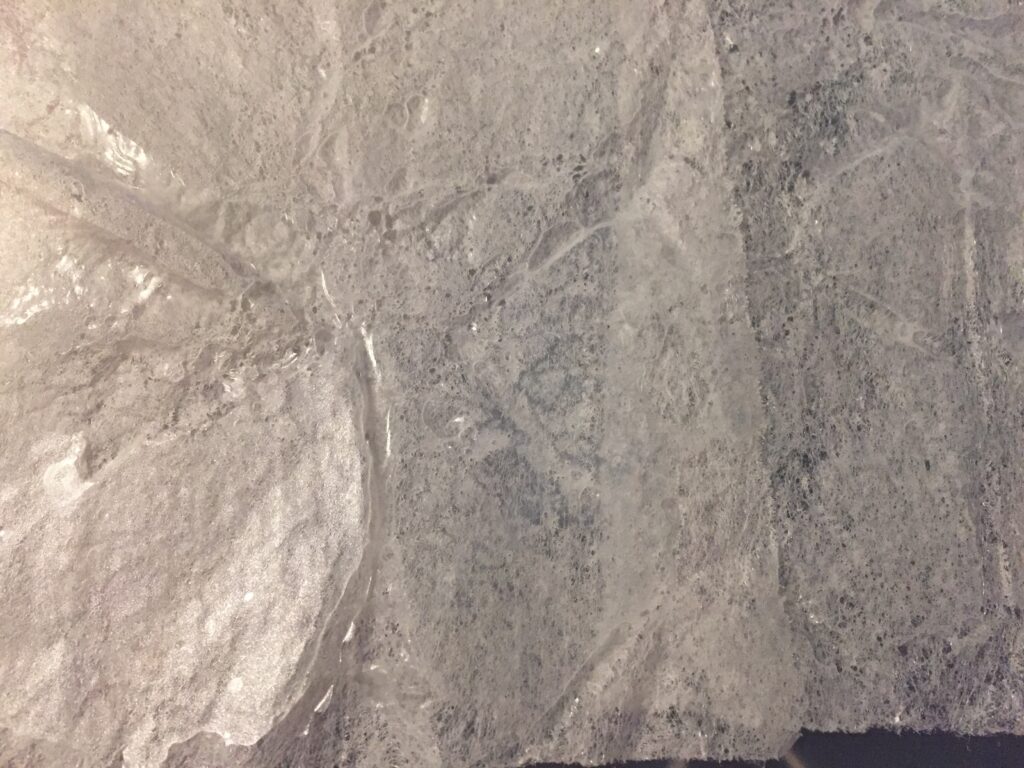
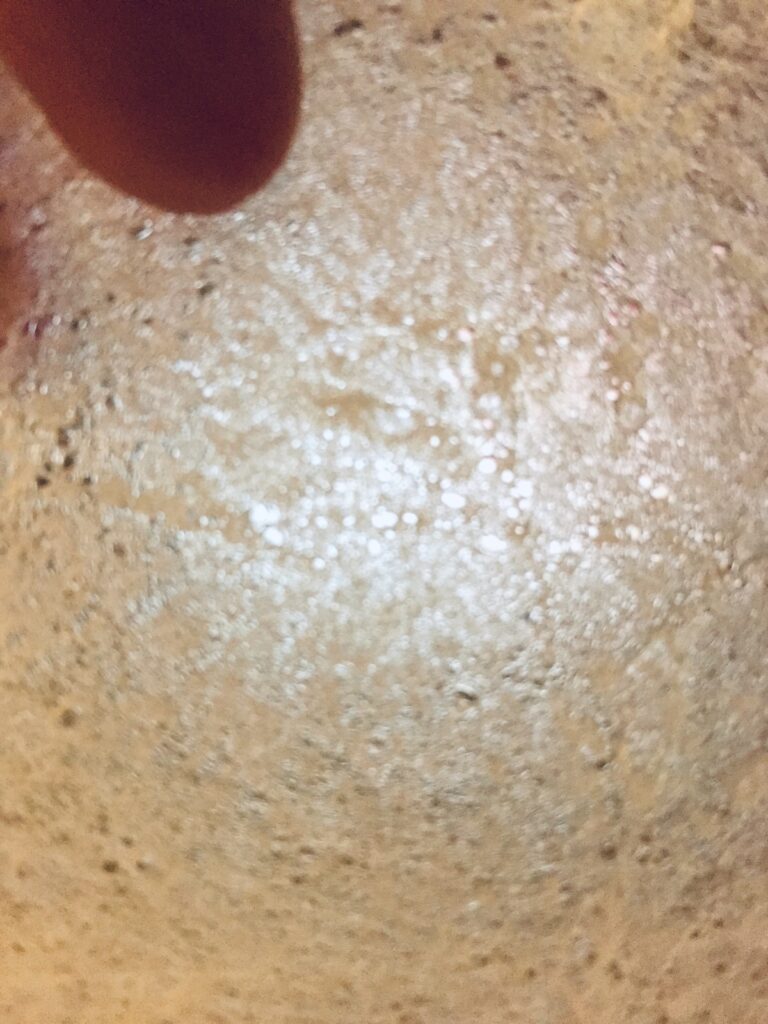
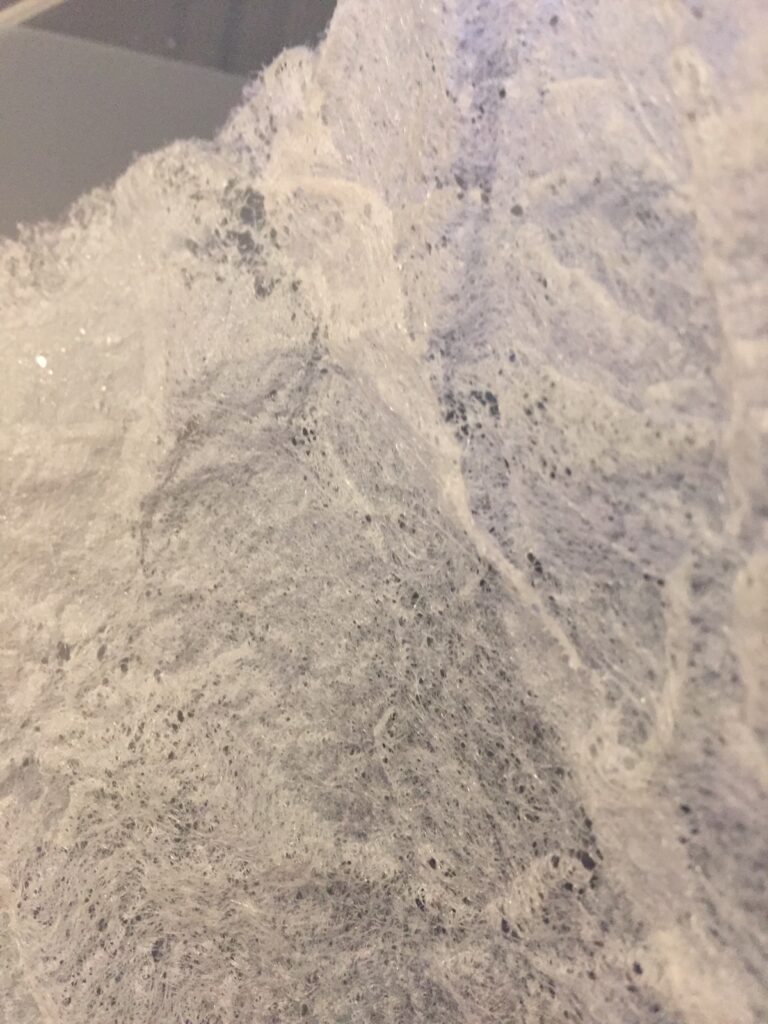
I’m not sure how I’ll use these “papers,” but this technique is worth repeating.
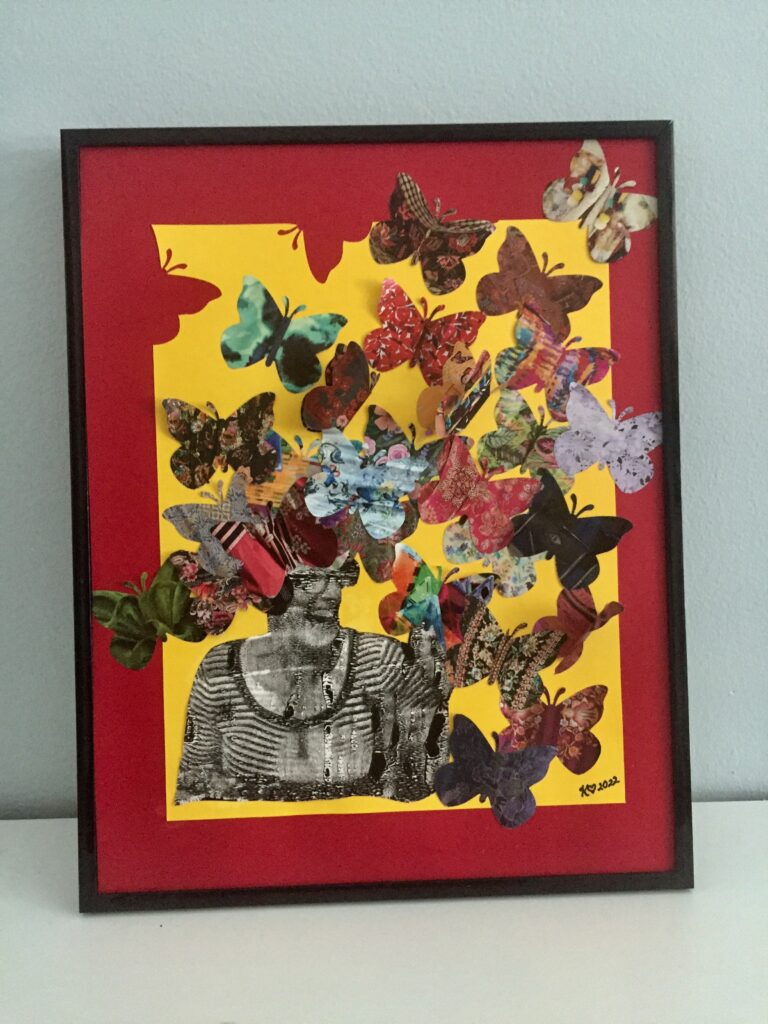
I just finished and framed my “Idea Lady.” She’s a very bad magazine image transfer that I festooned with butterflies I punched from clothing catalogs. Those butterflies are all ideas coming out of her head. She doesn’t look like me, but she is me, so I’ll keep her for myself. Now, where to hang her?