It has been a year since my last post. I’m returning to my blog to record my crafting experiences.
‘
It has been a year since my last post. I’m returning to my blog to record my crafting experiences.
‘

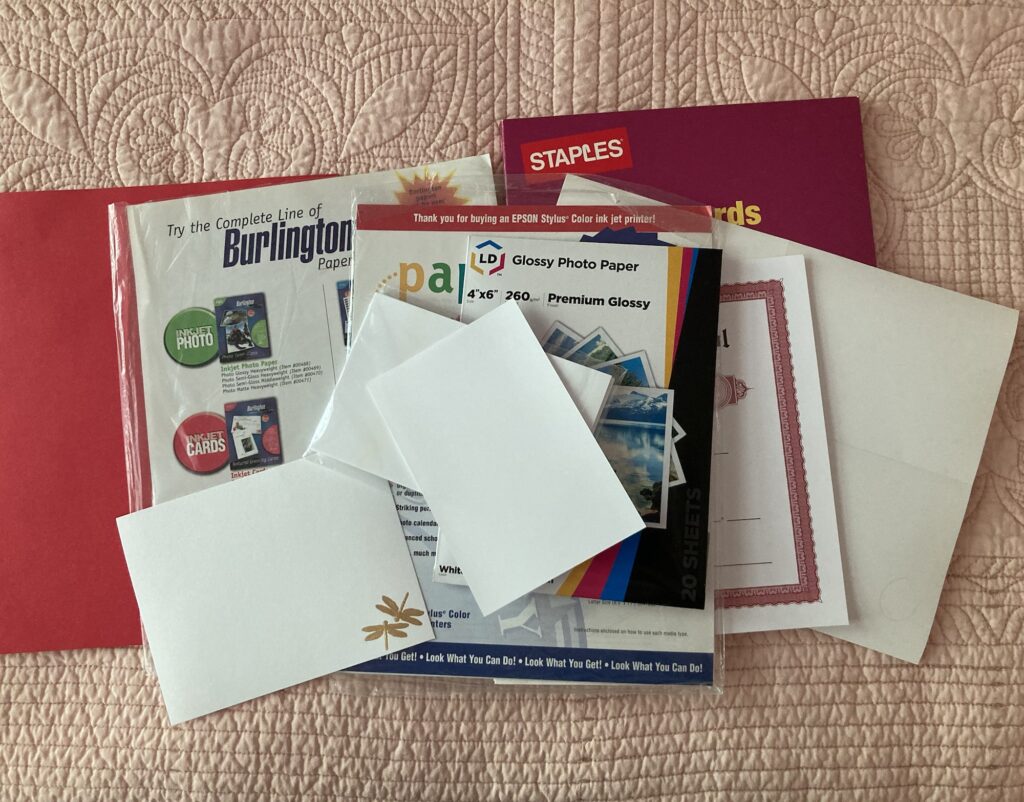
This paper cutter is too old and dull to cut, but I used it just now for scoring card stock.
It looks like it has a light, and luckily, I took the batteries out before I stashed it.
It also came with interchangeable blades, and I’ve seen them, somewhere. I guess it made too much sense to store them with the cutter.
I also scrounged for card stock!
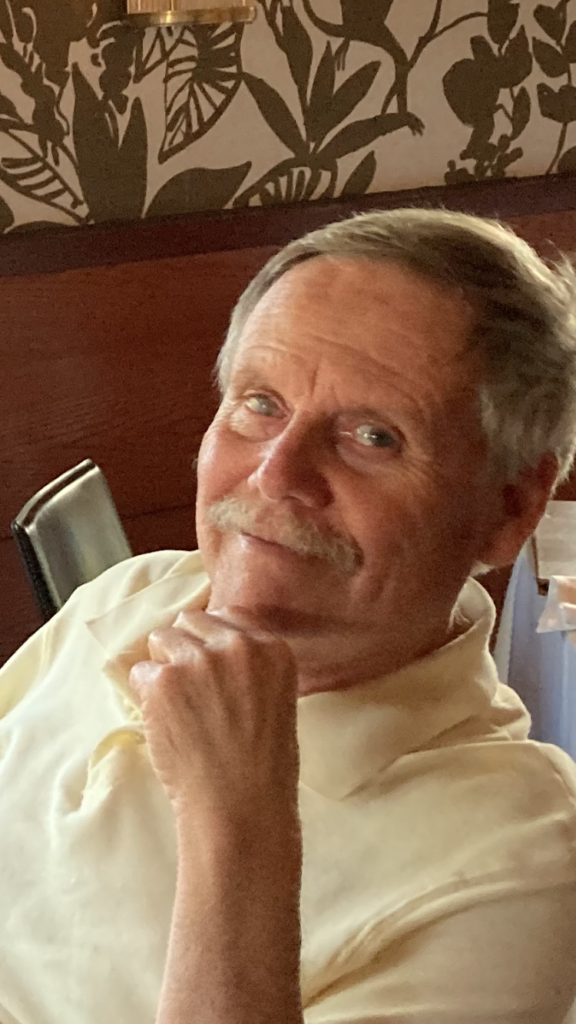
This one is called BeCasso. You can try it for free (Apple products only,) but I’m so taken with it, I bought a year’s subscription. It basically re-renders your photo in different media and different artists’ styles. Here’s the hubs “painted” in pastels.

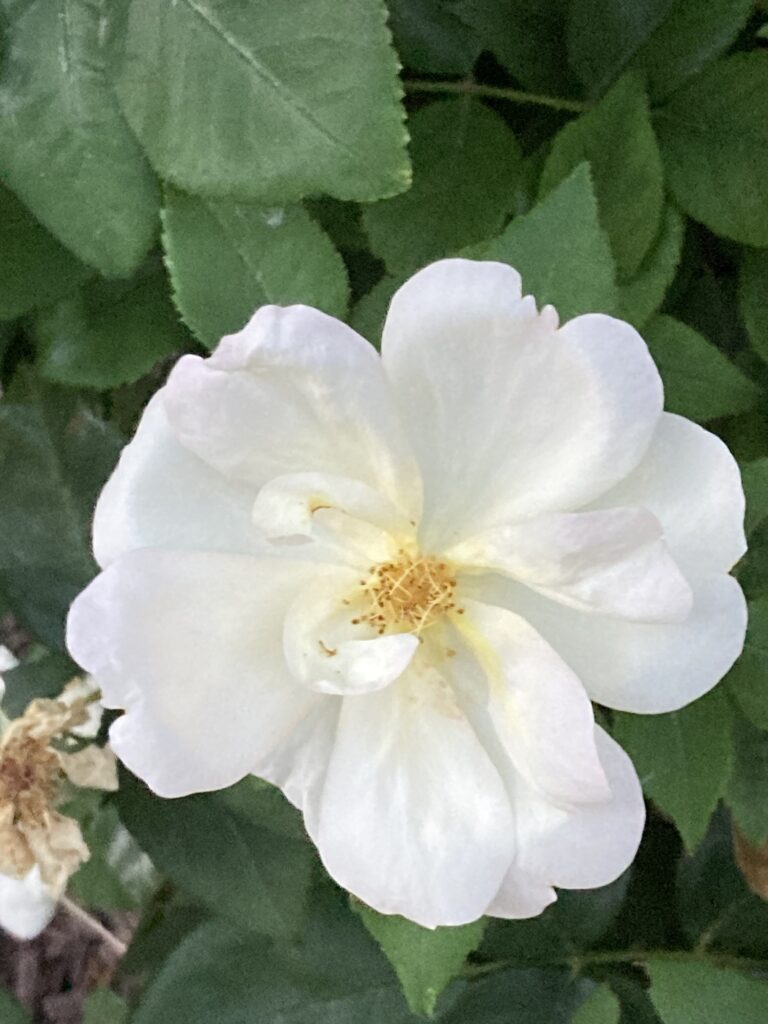
I also altered a photo of a rose I took this spring.
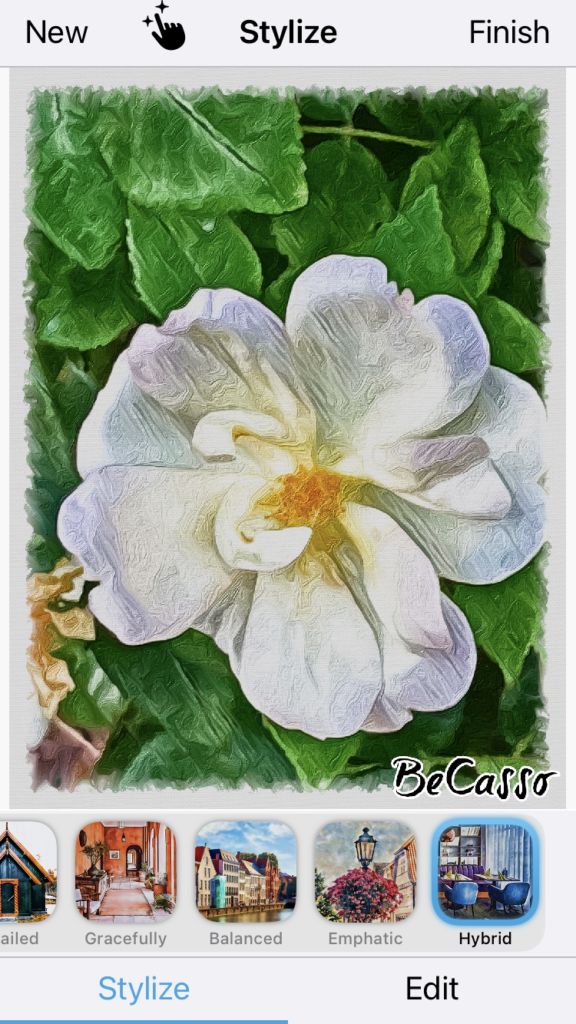
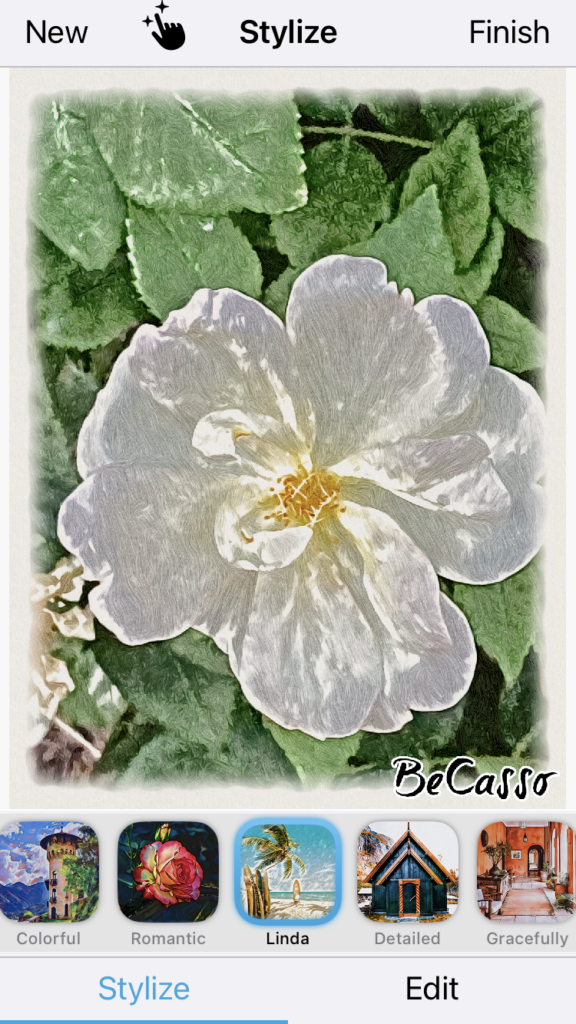

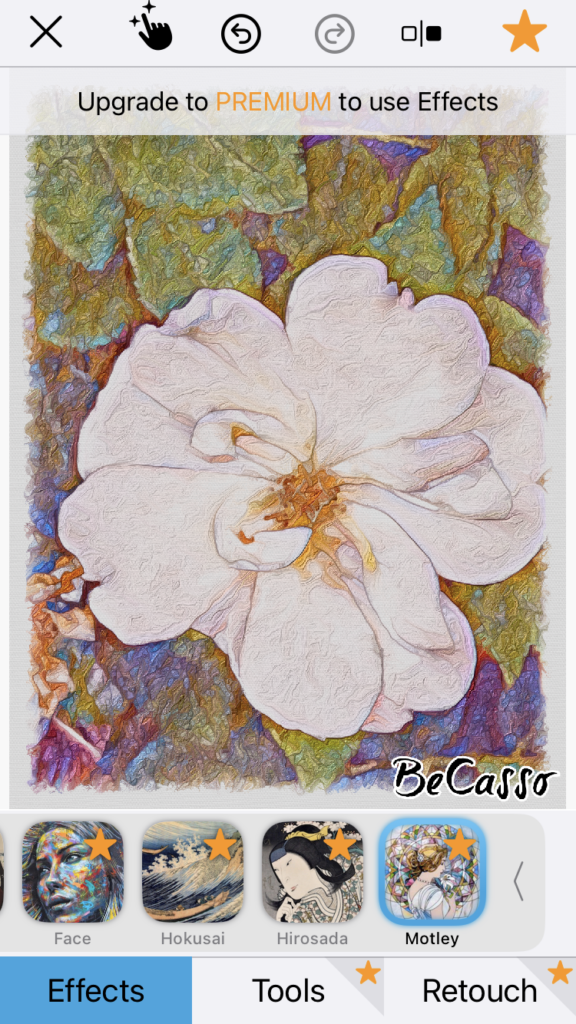
I took screenshots of the rose variations to show how simple it is to choose styles and effects.
I liked the last one so much, I decided to buy the “premium” subscription. I have only begun to play!
The only art I have claim to is the photographs and their selection for a new app, FotoDa. FotoDa combines chosen photos in different layers for a collage look.

To be continued…
Several days ago, while watching PM Artists Studio’s live stream, it hit me that I should make a Natasha bead from clay using their monthly color challenge.
This month’s color challenge is spring green, lemon yellow and lilac. You can also add black, white and a metallic if you wish. I wasn’t in my studio, so I was lucky just to find a yellow, a green, and a favorite called gentle plum (Sculpey III.)
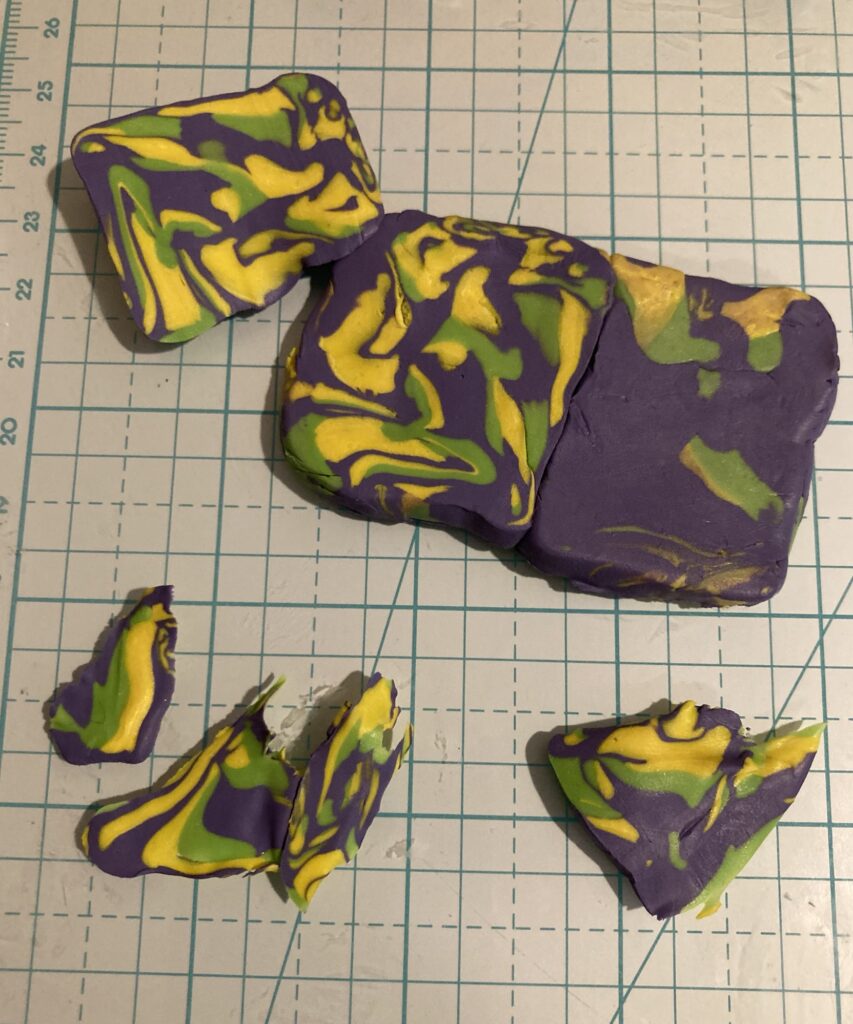
A couple of folks in the live stream chat wanted to know what a Natasha bead was. I explained as briefly as I could. You take several colors of polymer clay, chop them up, smoosh them together. Work them with your hands and twist them into ropes, folding them back on themselves. The working of the clay is called, conditioning, and is necessary for the alignment of molecules during curing (baking.) After conditioning, you shape your twisted glob of clay into a rectangular block and let it rest.
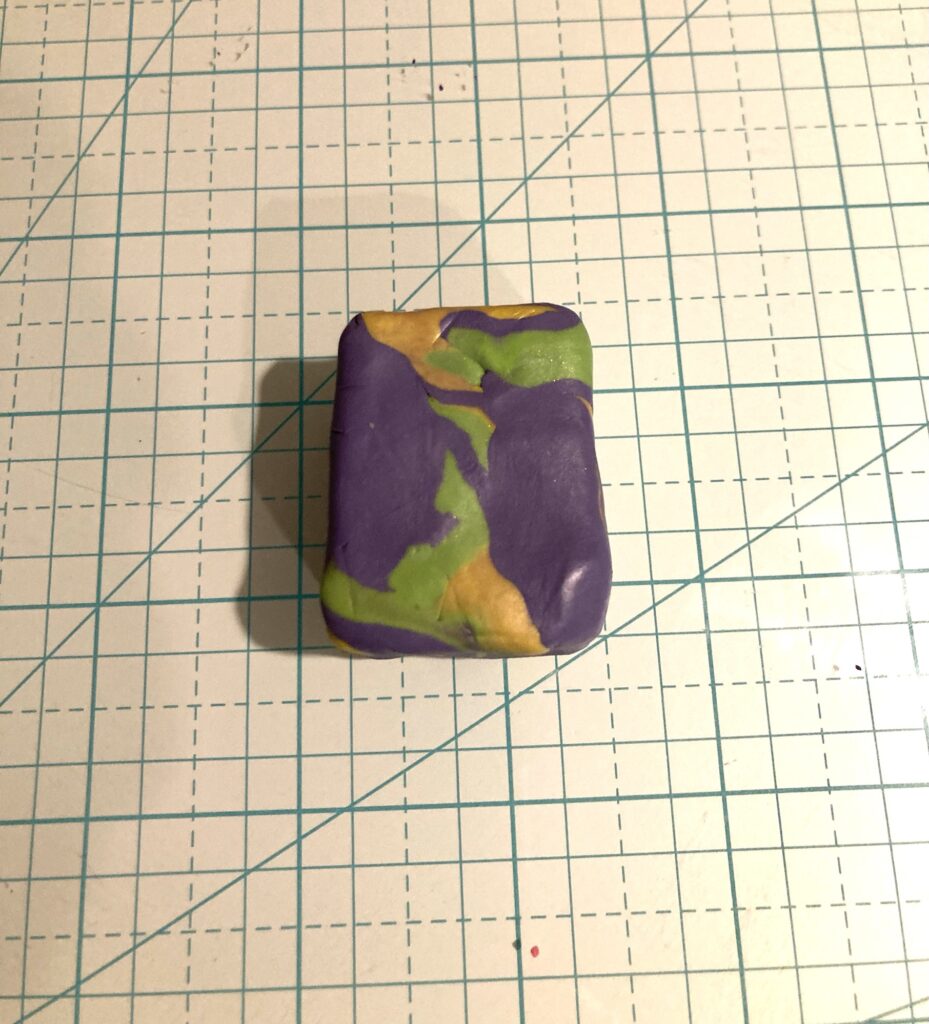
After the block is rested and firmed back up. Turn it on its side and slice it down the middle using a tissue blade.
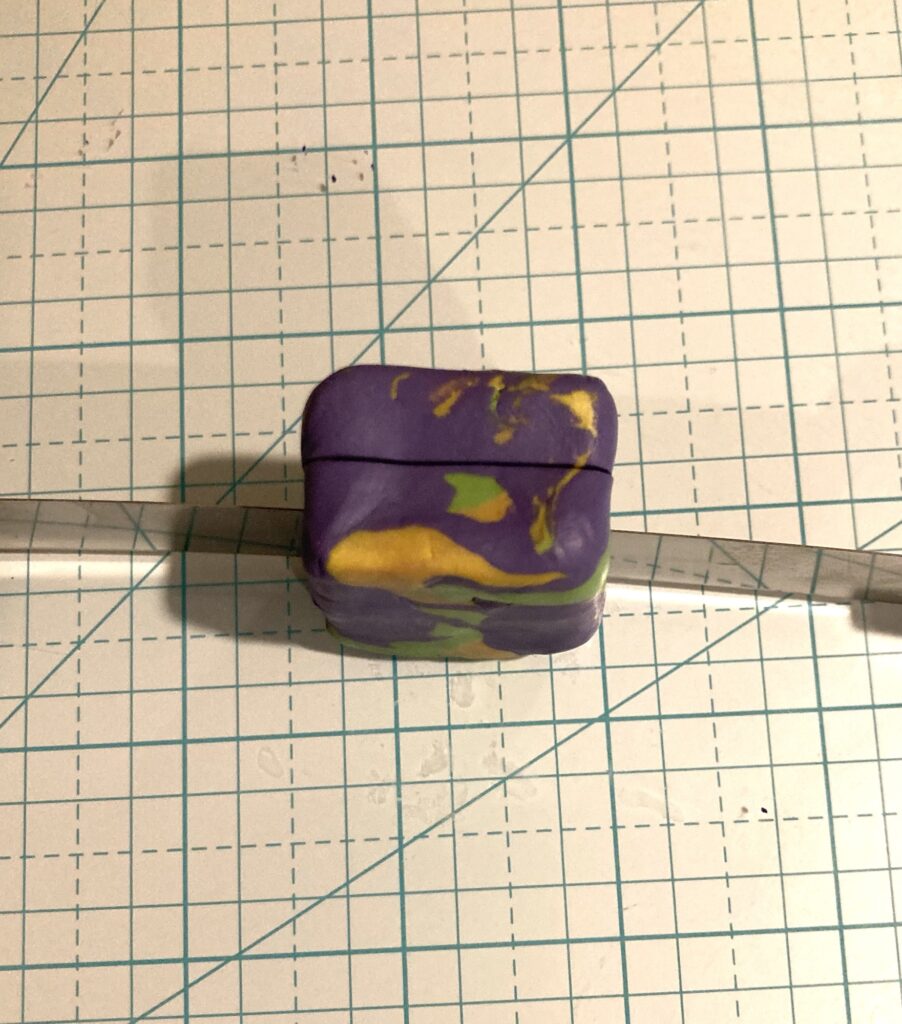
Open the cut block like a book and lay the two pieces side by side to mirror each other.

Gently smoosh or roll the two pieces together to adhere to one another. Mine was a little wonky due to the uneven cutting. I flipped it over and trimmed away the excess, again using the tissue blade.
Here’s the finished Natasha bead, resting.
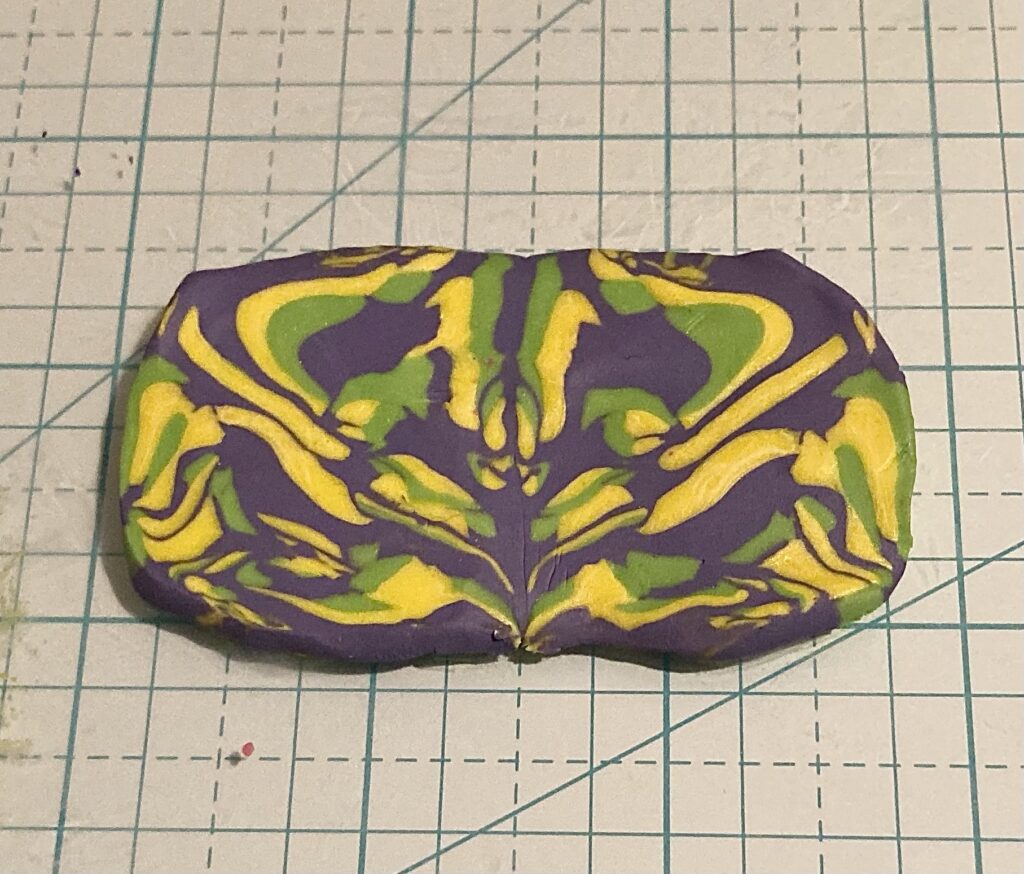
Before I bake it, I’ll punch two holes where antenna might be. After baking, I’ll add jump rings and chain, and make it a pendant!
#MakersCreativeCollab2024
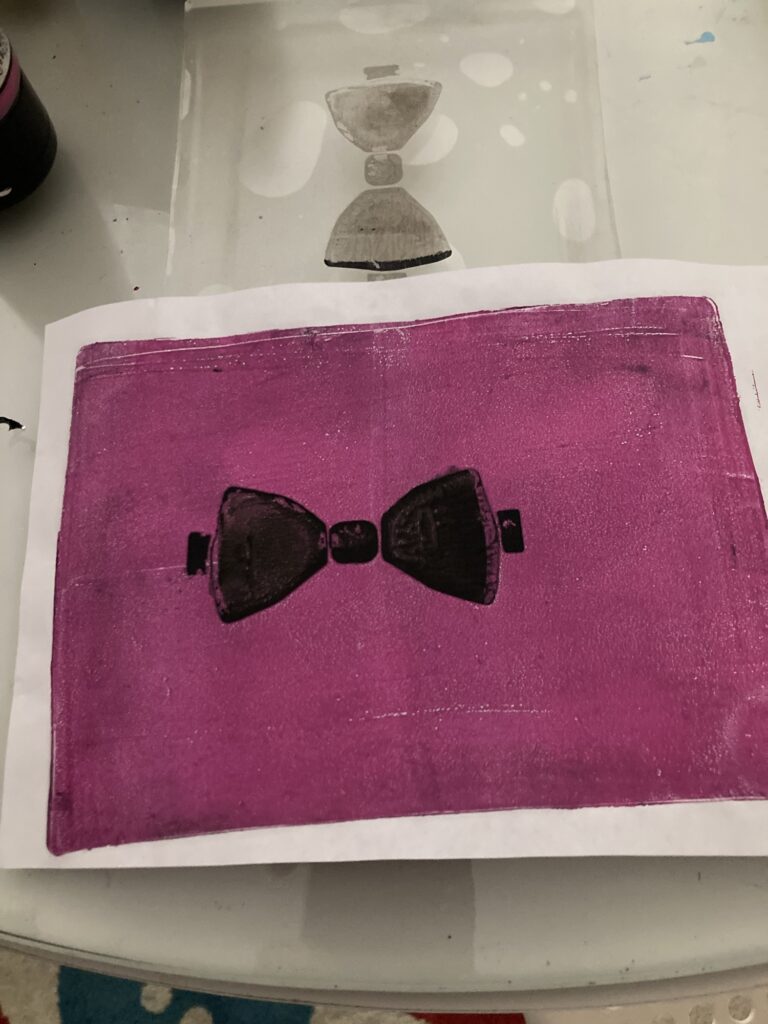
I finally finished this little experiment. I cut a photograph of pretty wallpaper from a magazine. Then, I ran it through an embossing folder. My first failure was debossing the pretty side instead of embossing it. The second was rubbing that side with magenta paint. I got it too thick in places and it filled the spaces left by the embossing folder.
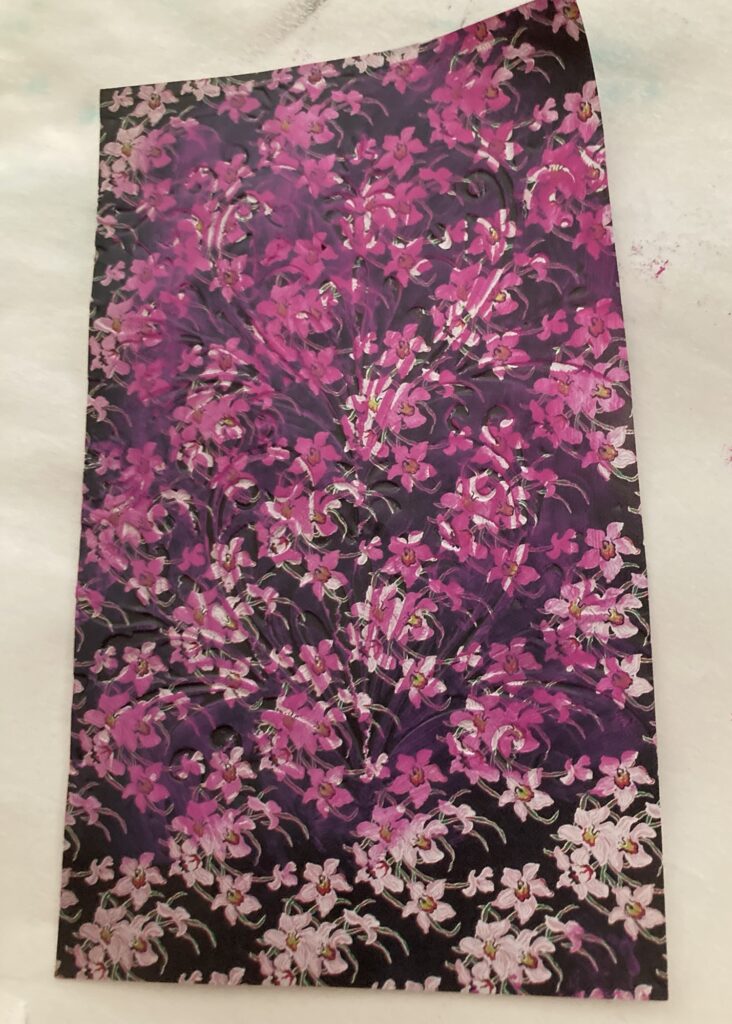
Still, I think this technique has promise, with a lighter hand with paint, and a right-side-up embossing folder!
#the100dayproject2024 #fix,finishandfind Day 49
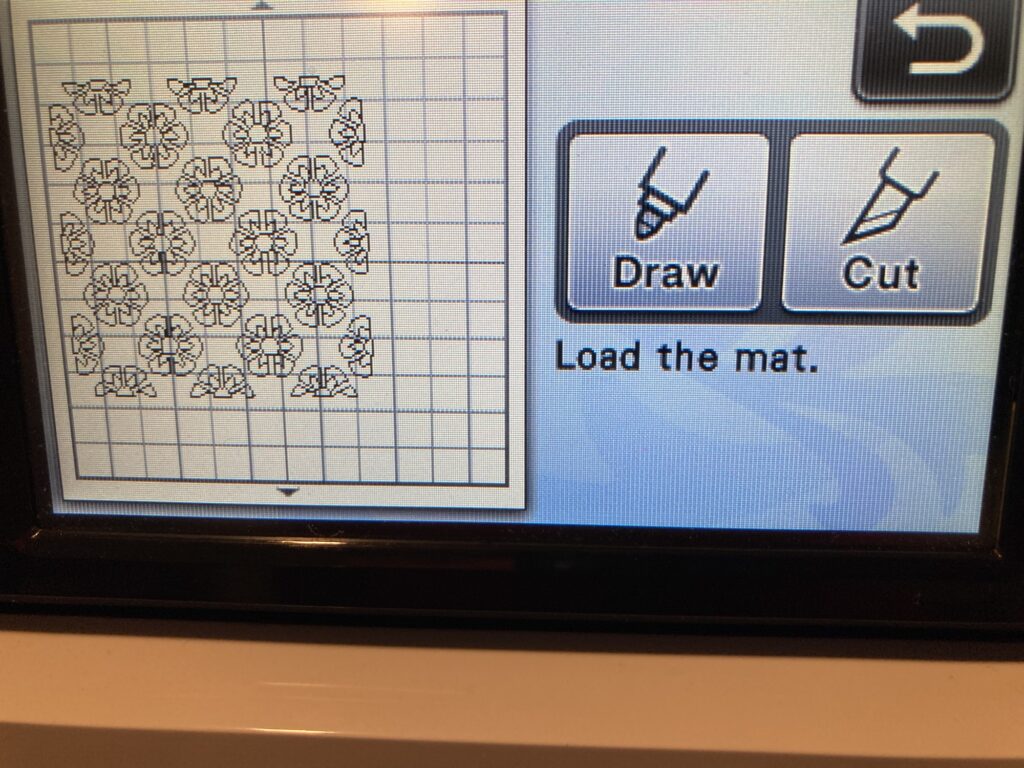
I cut my first, “all over” patterned stencil tonight!
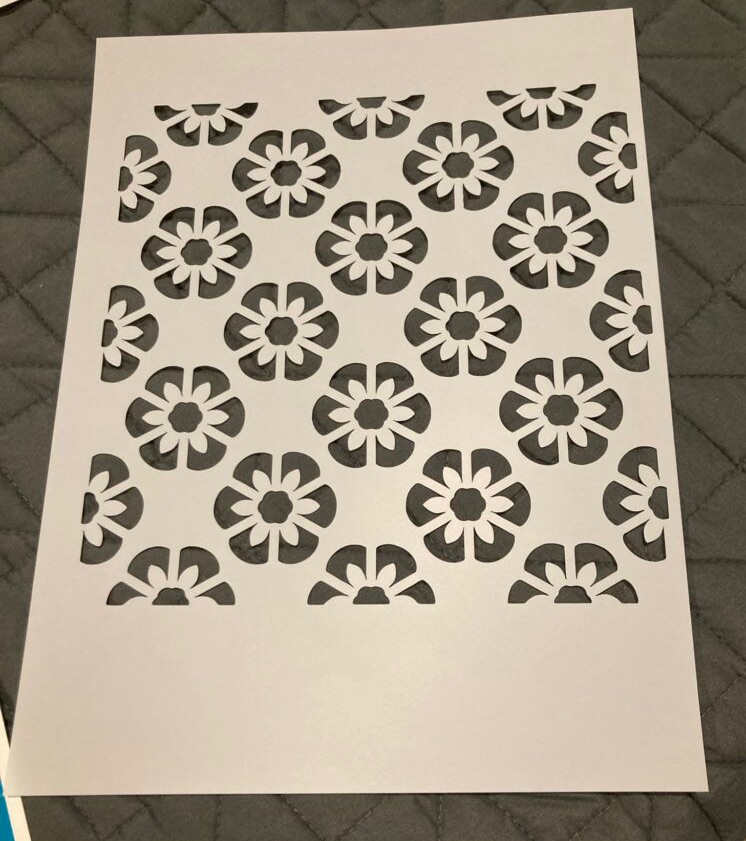
I licensed the image on shutterstock.com as part of my monthly subscription. I used Yupo and my Scan N Cut.
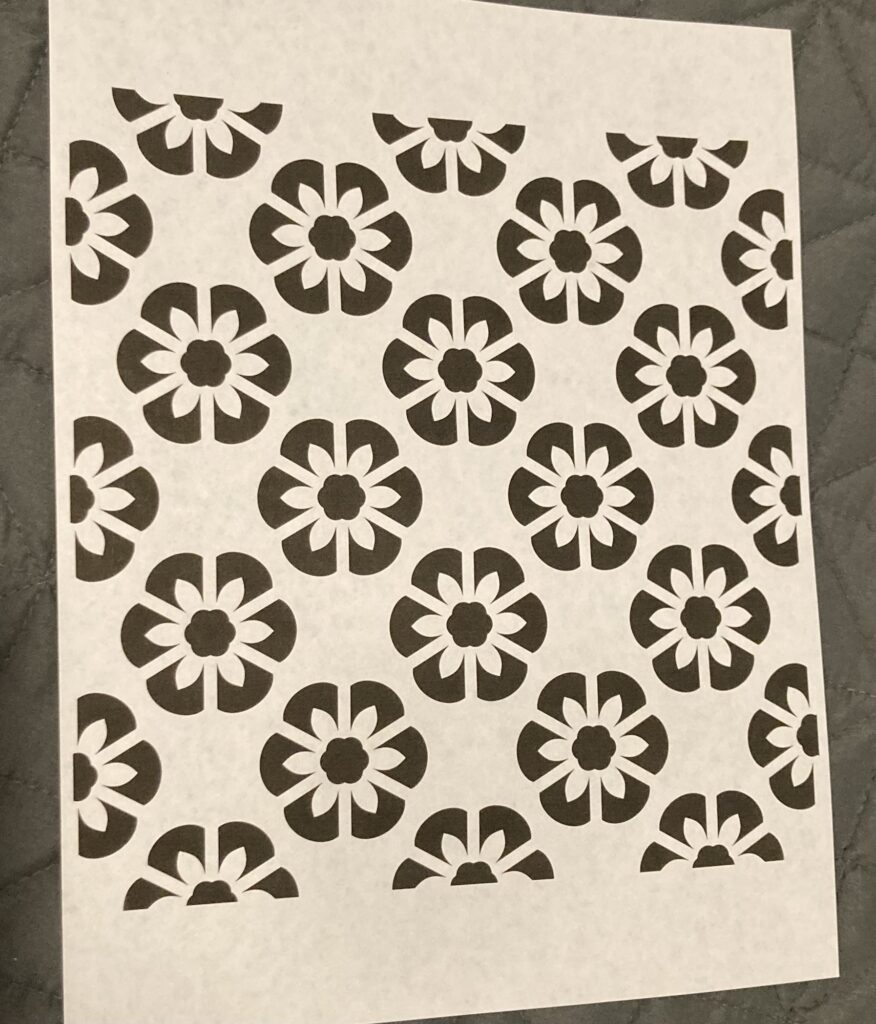
Intricate patterns take a long time to cut!
#the100dayproject2024 #fix,finishandfind Day48

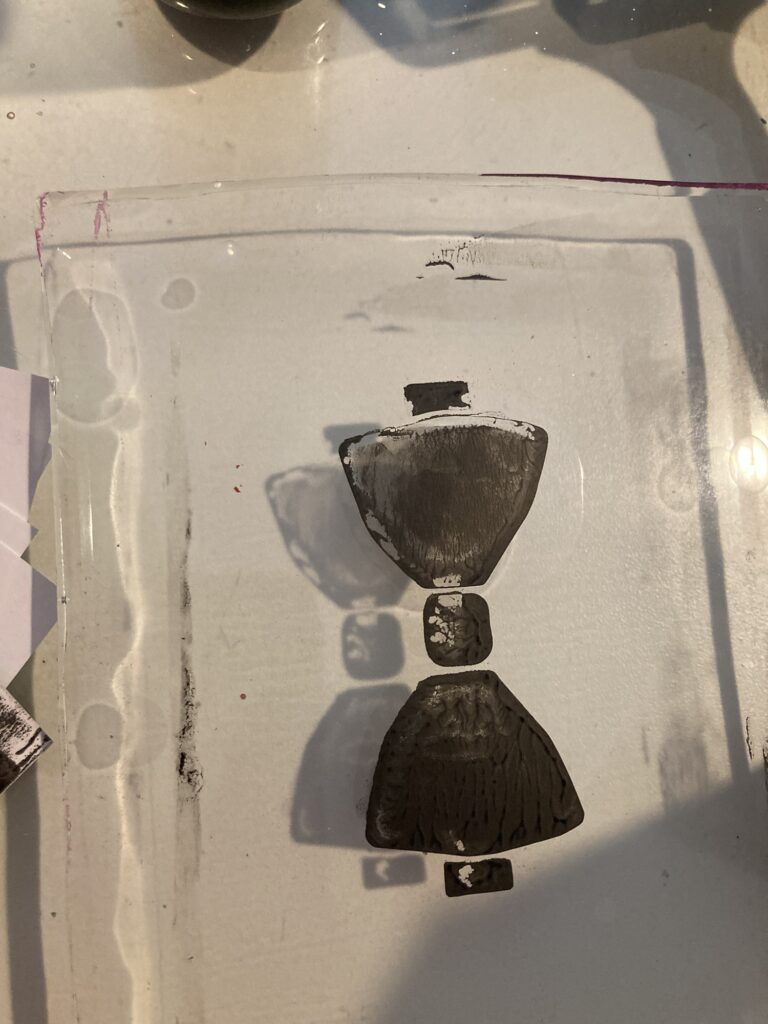
Pulled with ArtSmith acrylic in medium magenta on copy paper
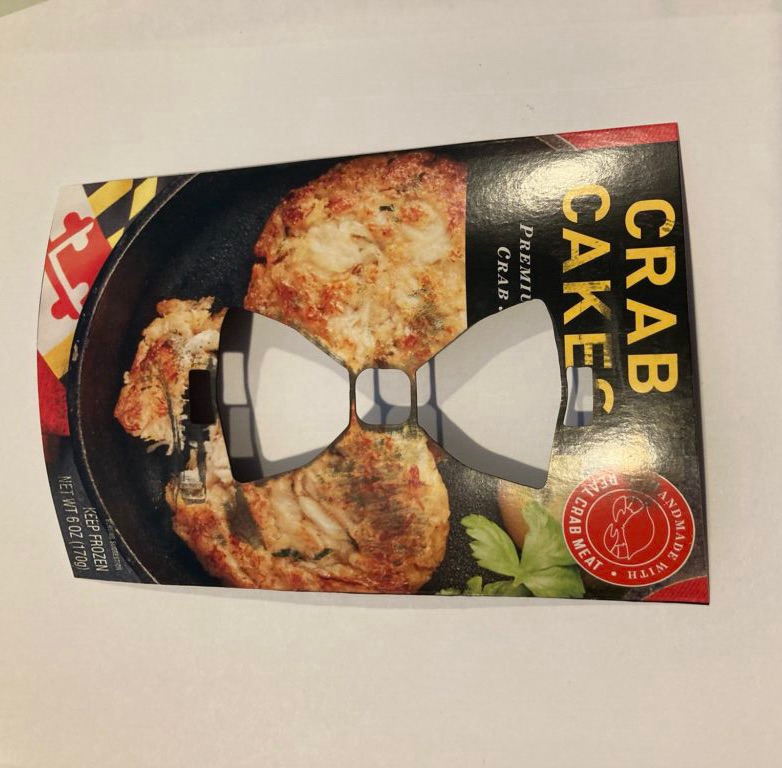
Inspired by Patricia Carmichael of PM Artist Studio’s use of a Marie Calendar pot pie box, I decided to try cutting a stencil from a washed piece of Phillips crab cake box.
I used my ScanNCut, and lengthened the blade a notch (5.) It worked beautifully, both the cutting and the printing.
But then the paint dried on the blank side of the box, and it puckered, making the stencil bowed and pretty useless. Maybe, I could wash the paint off, immediately, or maybe I could put the dried stencil between heavy books.
I’d still call it a success, for stencils you only need to use once!
I got new embossing folders! My favorite is this geisha.
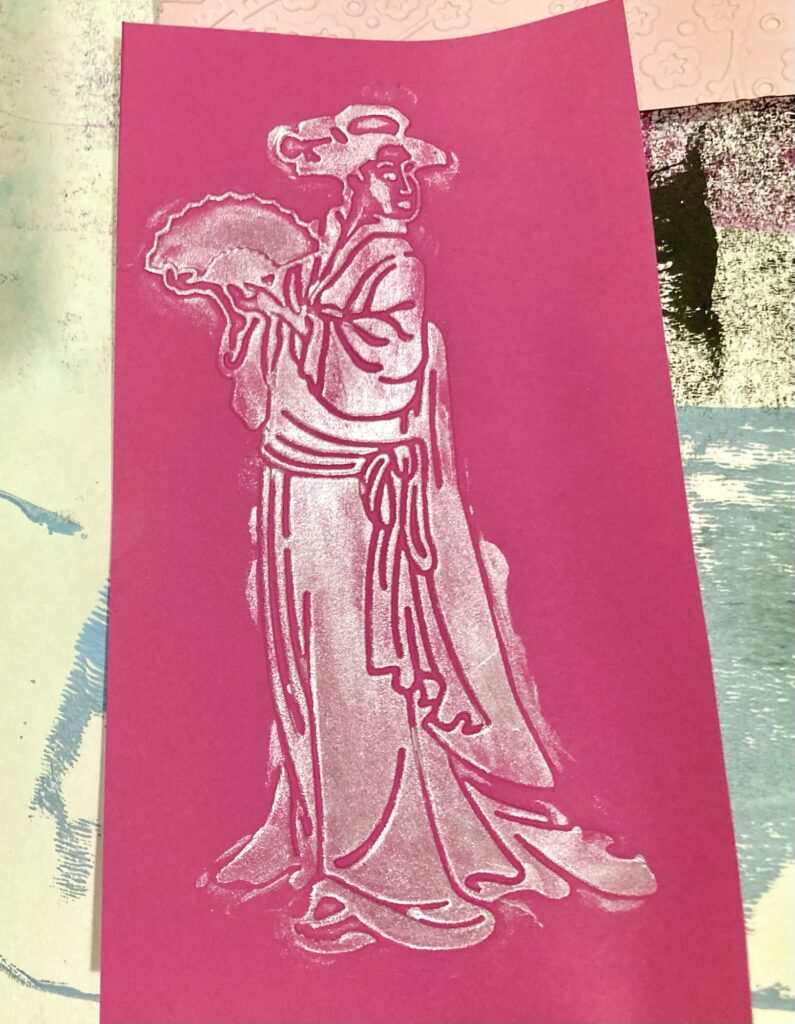
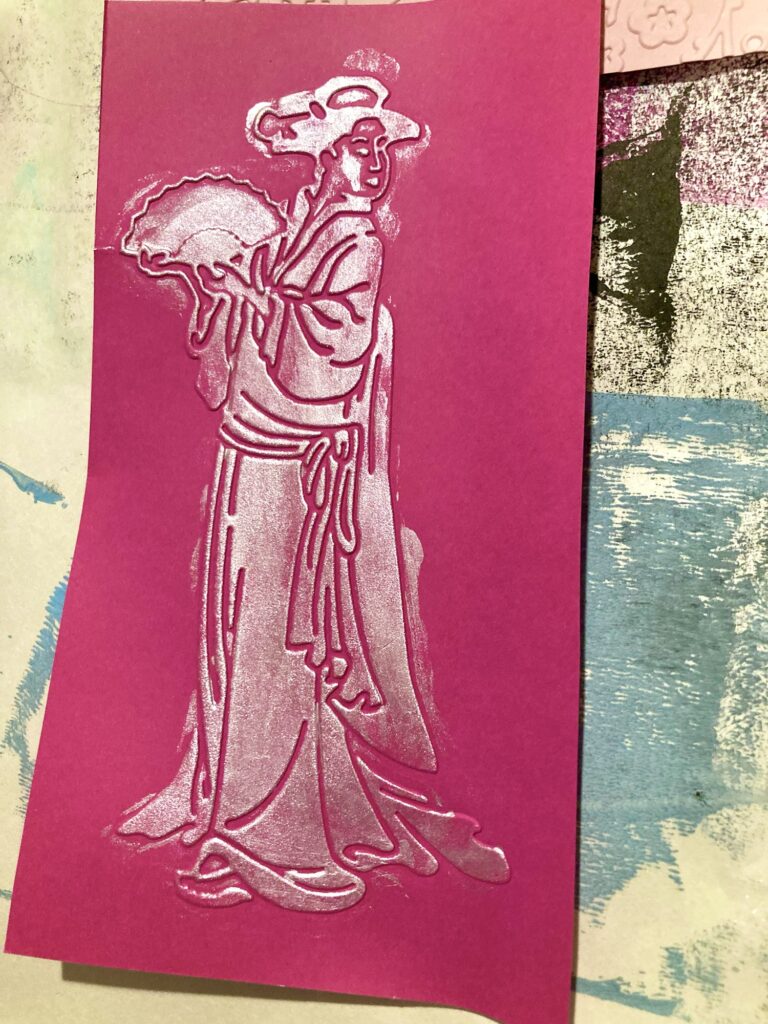

Next time, maybe I’ll try a make-up brush and mica powder.
I was shopping online for photos of peacock feathers, and thought, “I have a couple of peacock feathers, upstairs. Let’s see what I can get with the iPhone.”

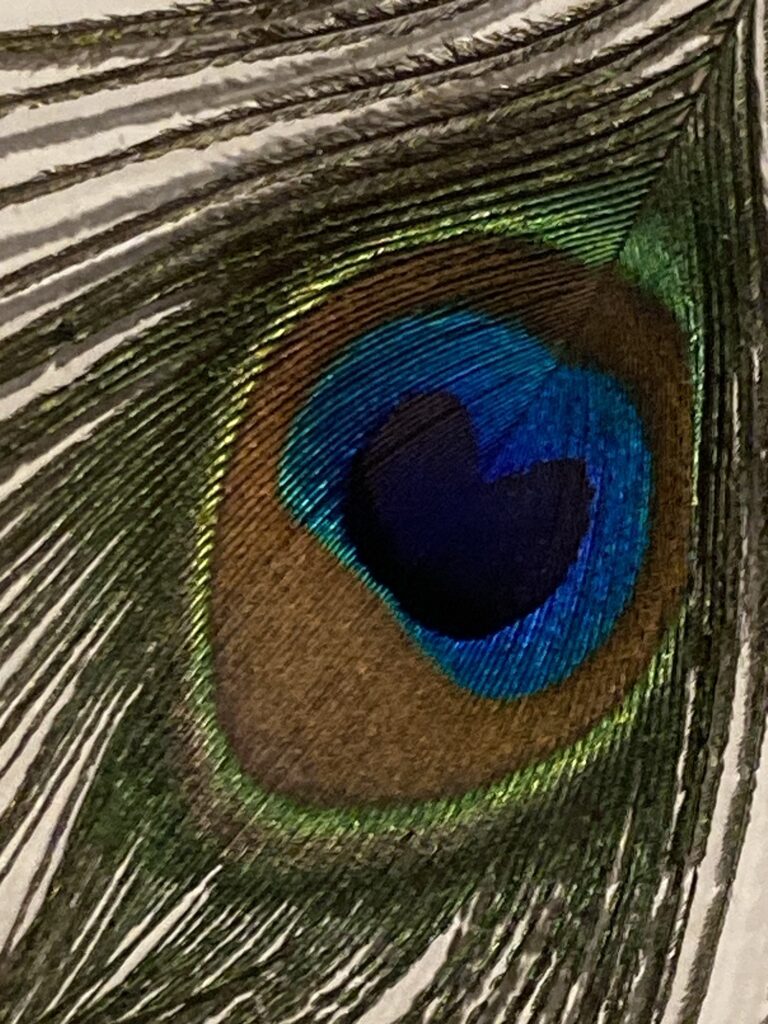
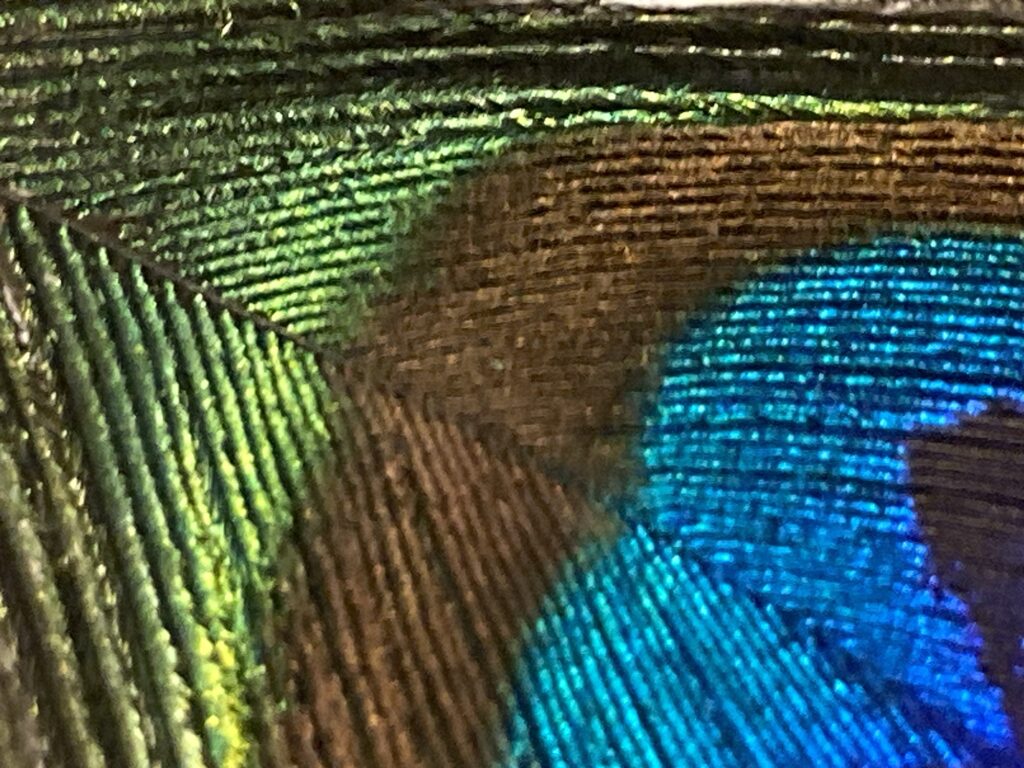
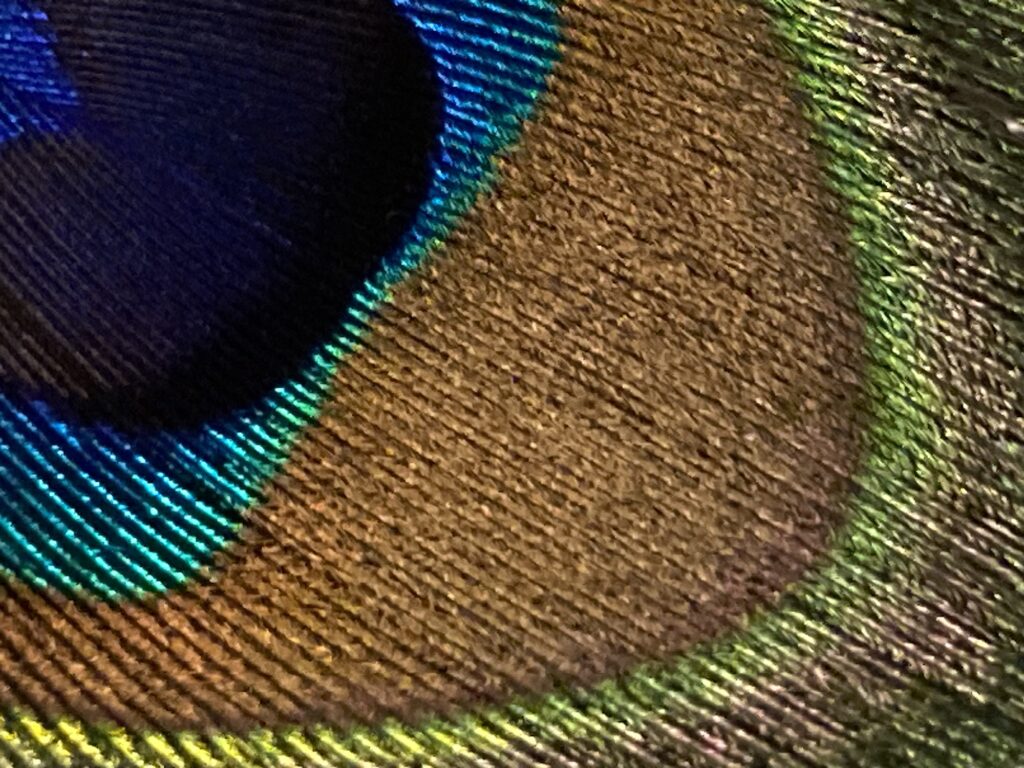
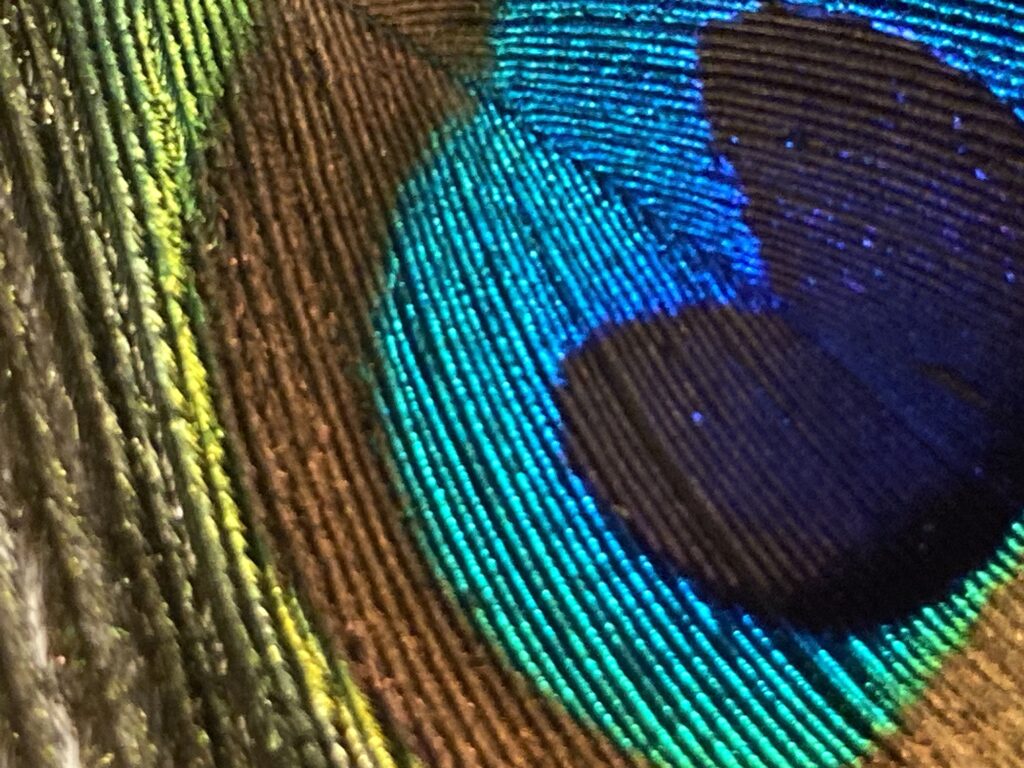
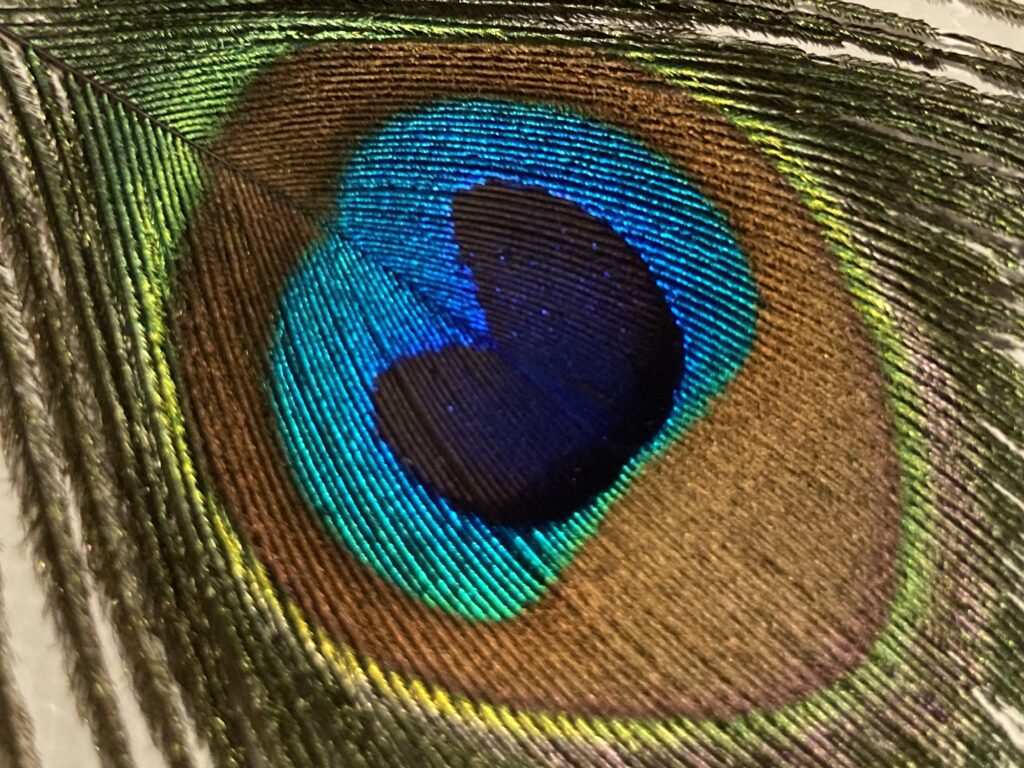
These aren’t all, but I’m keeping all of them for now. Even the blurry ones can be blurred more and faded for backgrounds.
My old iPhone 6 seemed to take better macros. I still have it. I wonder if I charged it up, I could try a few super close shots? Another experiment for another day!
#the100dayproject2024, #fix,finishandfind Day 48
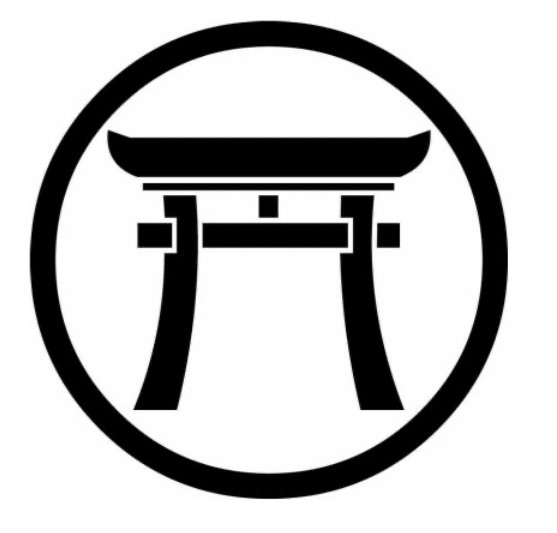
I had copied several Japanese family crests, or Kamon, to turn into stencils for gel printing. I found them at Encyclopedia Japan.
I printed this one to make a large stencil.
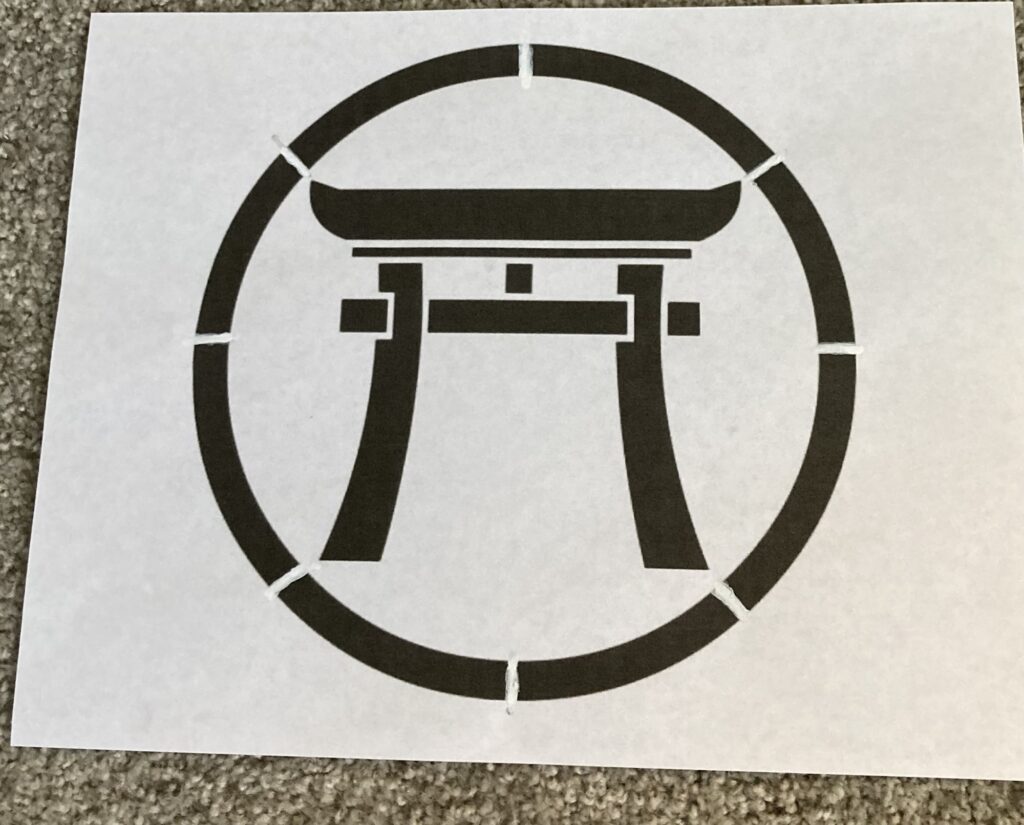
I realized that I needed to connect the round circle to the white areas, or my Scan N Cut would cut the entire outer circle in one piece and would leave me the insides as a round stencil.
I got out my white Posca acrylic paint pen and a ruler. I made several white marks across the outer circle before I scanned it. I had to go over them several times, letting them dry between. It looked like this:
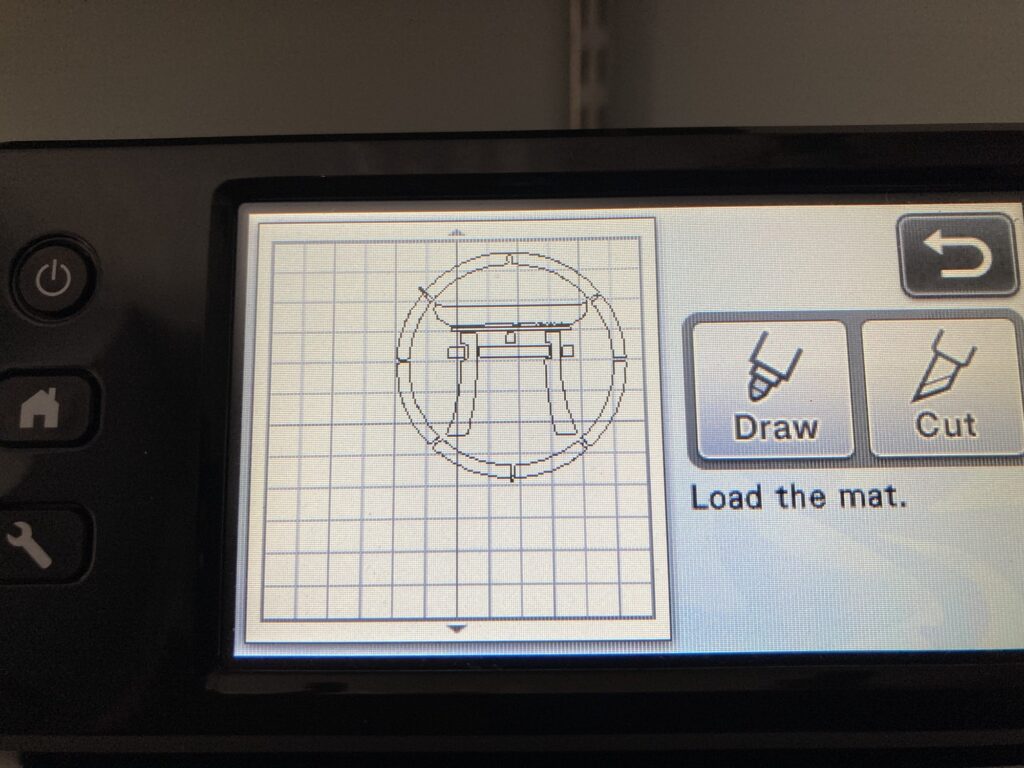
I scanned this image into the machine and saved it. I removed the image and added a sheet of thin Yupo plastic paper to the cutting mat.
I pulled up the saved image and began cutting. I realized I had misjudged the placement of the image and the cutting knife went off the Yupo. I hit the Stop/Start button, and removed the mat. It appeared I had enough uncut Yupo to cut the stencil. I could even turn the mat around and start again! But First, I had to adjust the position of the image in the machine. The display screen is very small.
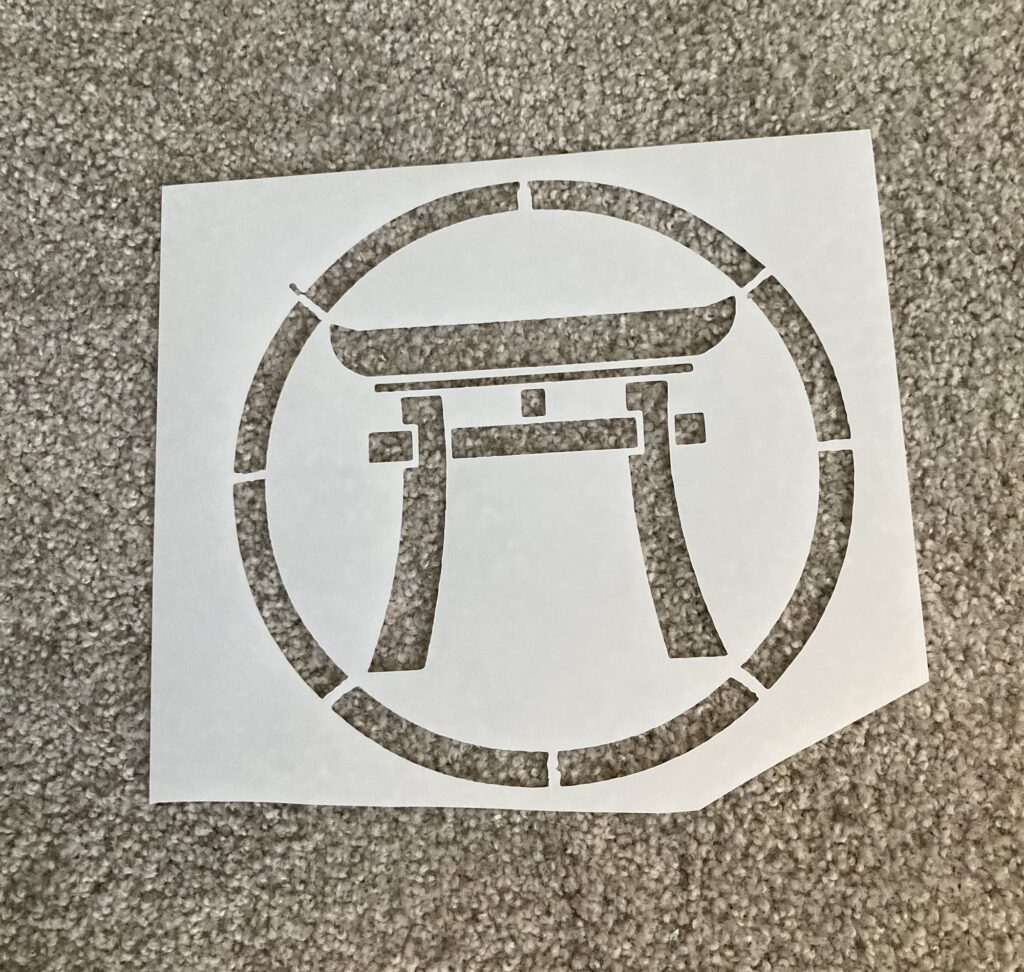
This is what I got:
I was able to cut the bottom off:
#the100dayproject2024, #fix,finishandfind Day 47