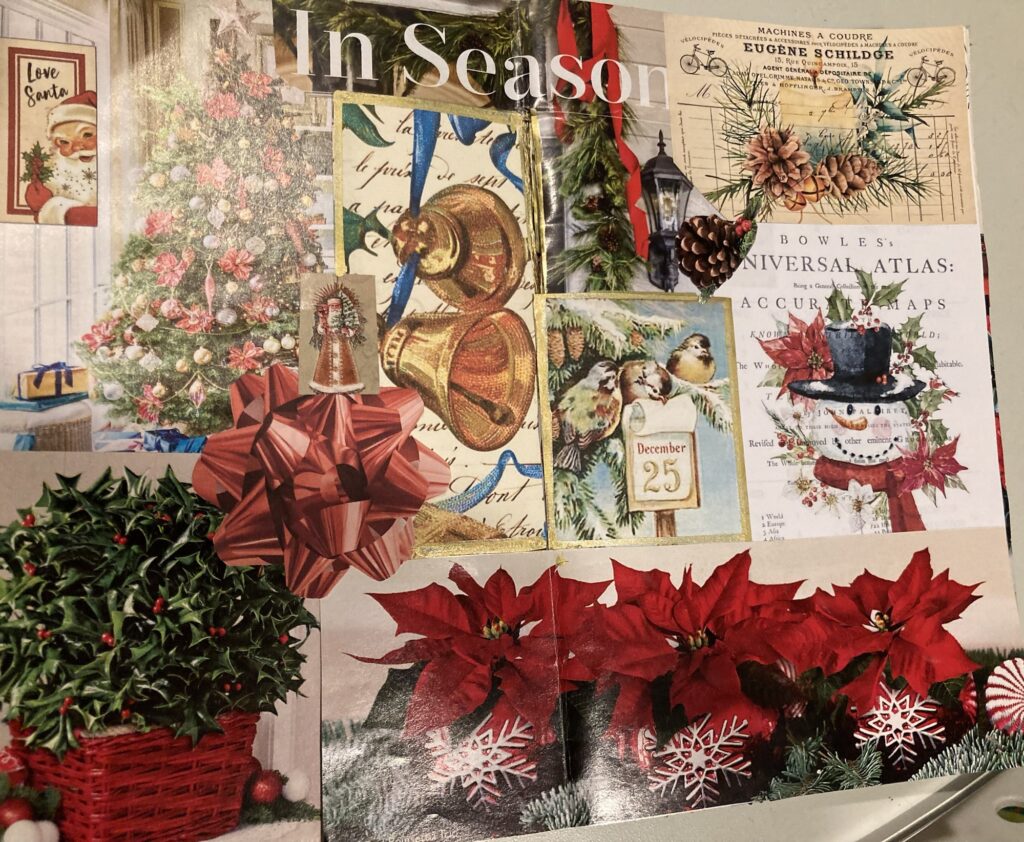
#the100dayproject2024 #fixandfinish

#the100dayproject2024 #fixandfinish
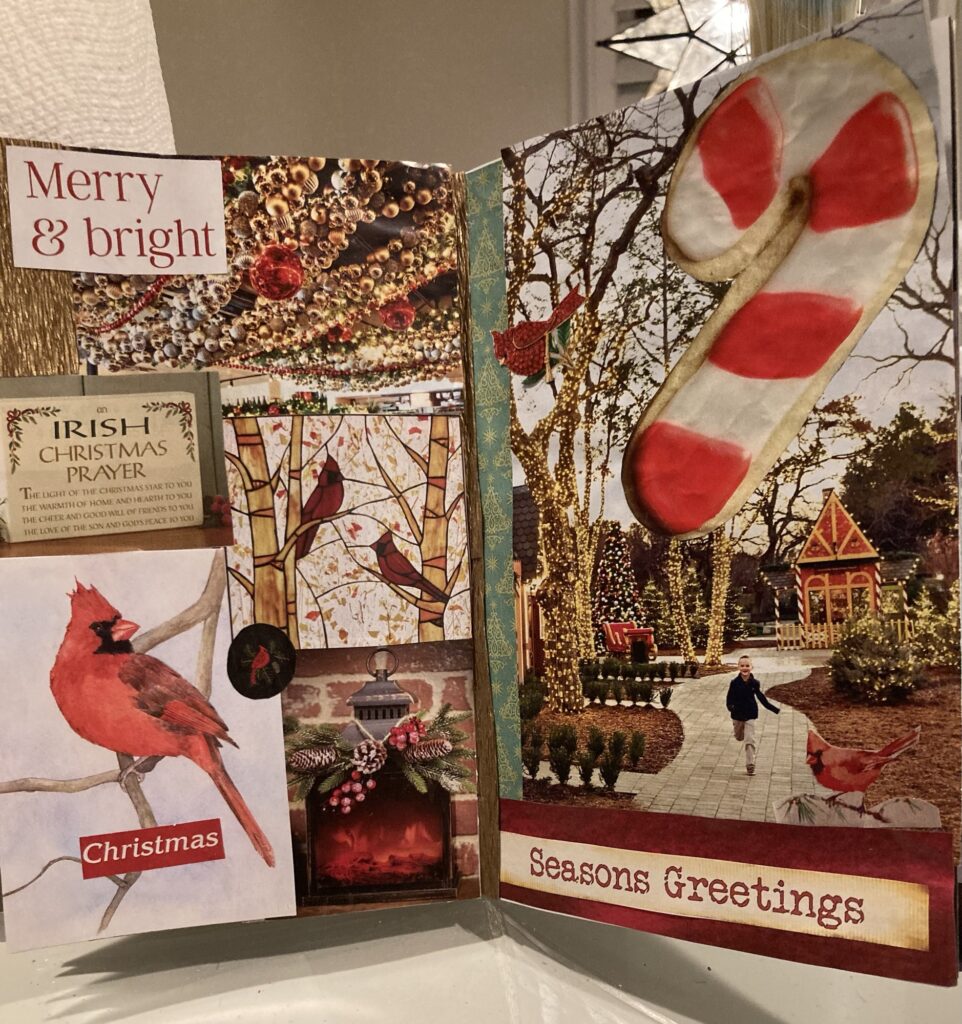
Day 29, #the100dayproject2024, #fixandfinish
I finished another one!
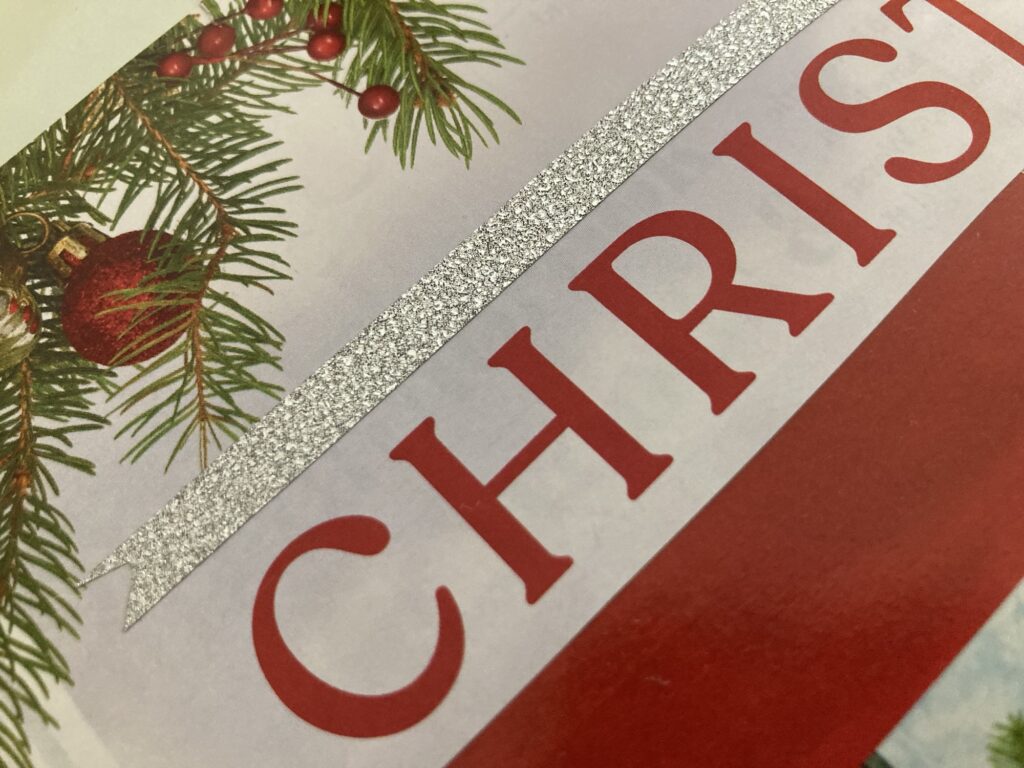
It’s hard to catch sparkle on camera, but this silver washi tape is dazzling! I almost forgot about my tapes.
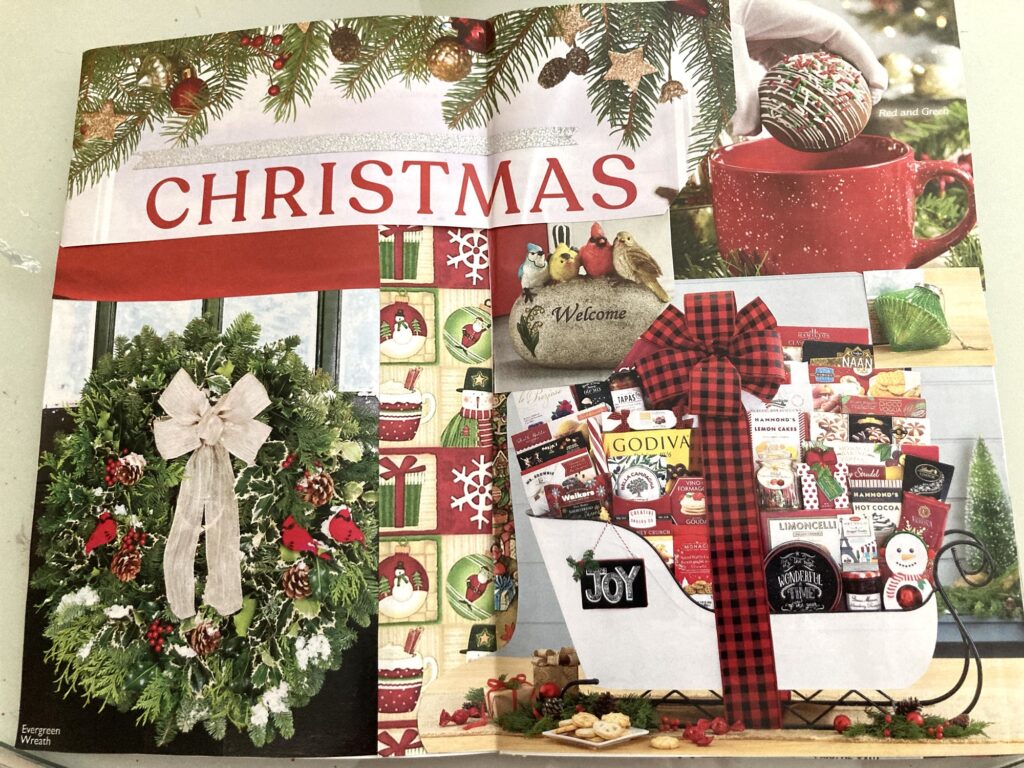
Day 28, #the100dayproject2024, #fixandfinish
I finished another 2 page spread!
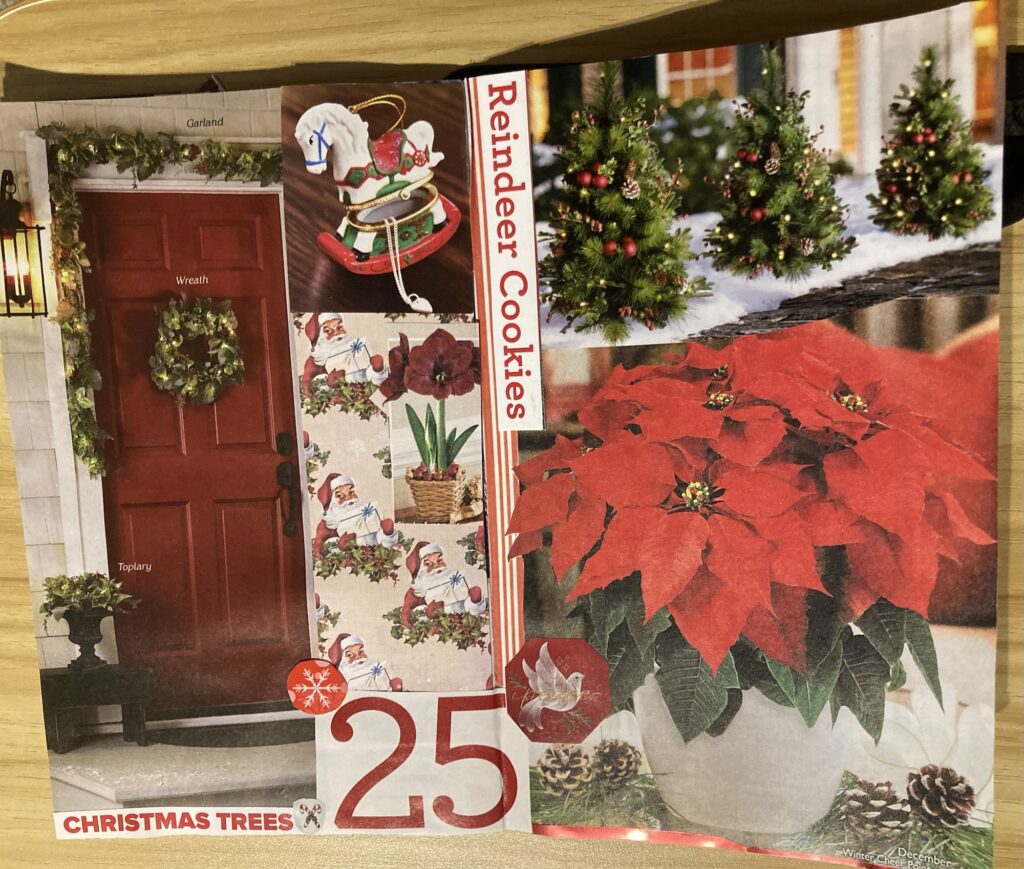
Day 27, #the100dayproject2024, #fixandfinish
I just finished my first centerfold!
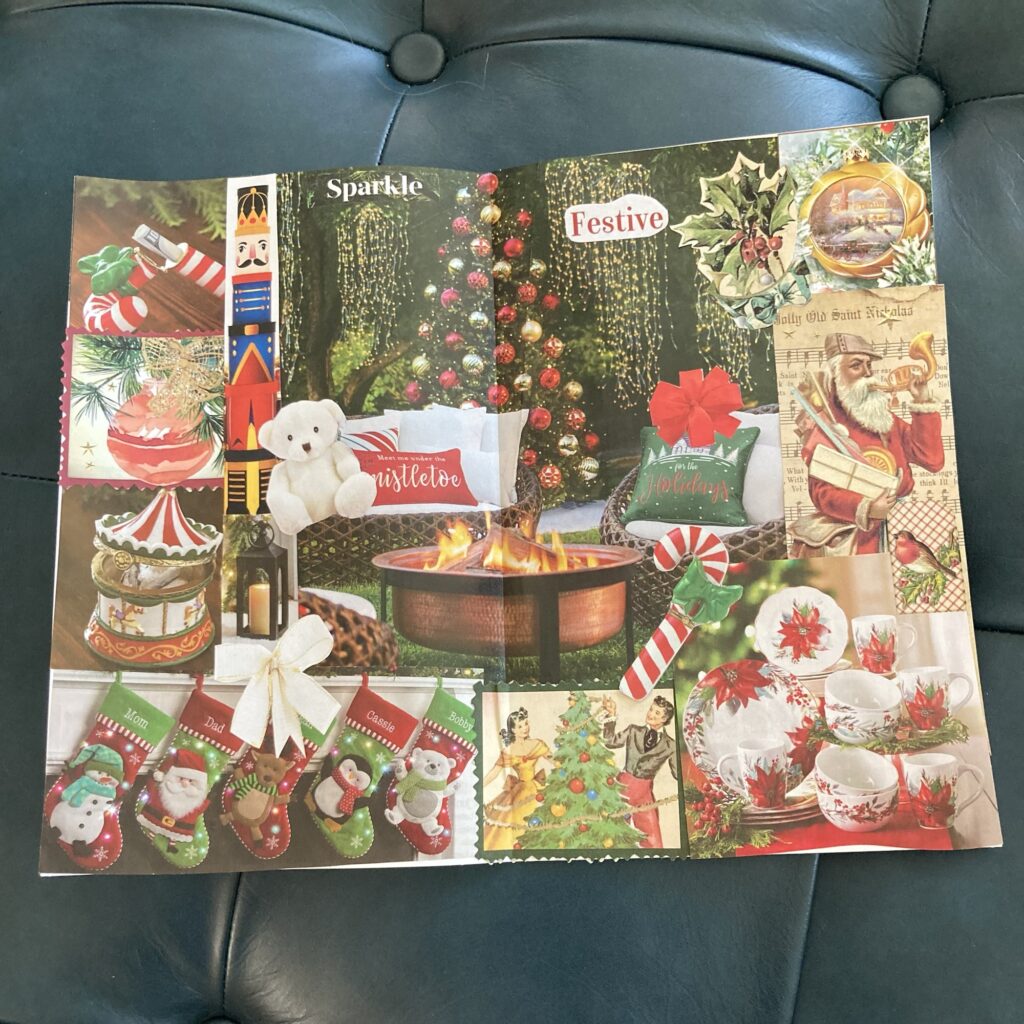
Day 26 #the100dayproject2024, #fixandfinish
That’s what it’s called when you cut or tear out images from a magazine, print catalog or printed packaging.
Fussy cutting is what it’s called when you cut out the fine detail from a printed image.
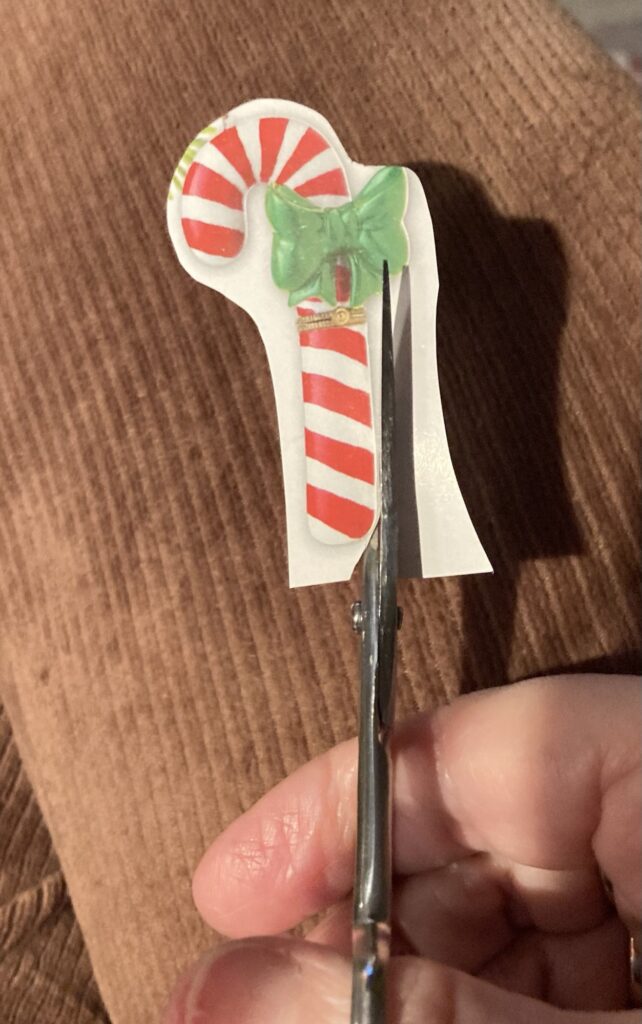
The resulting images are called fussy cuts.
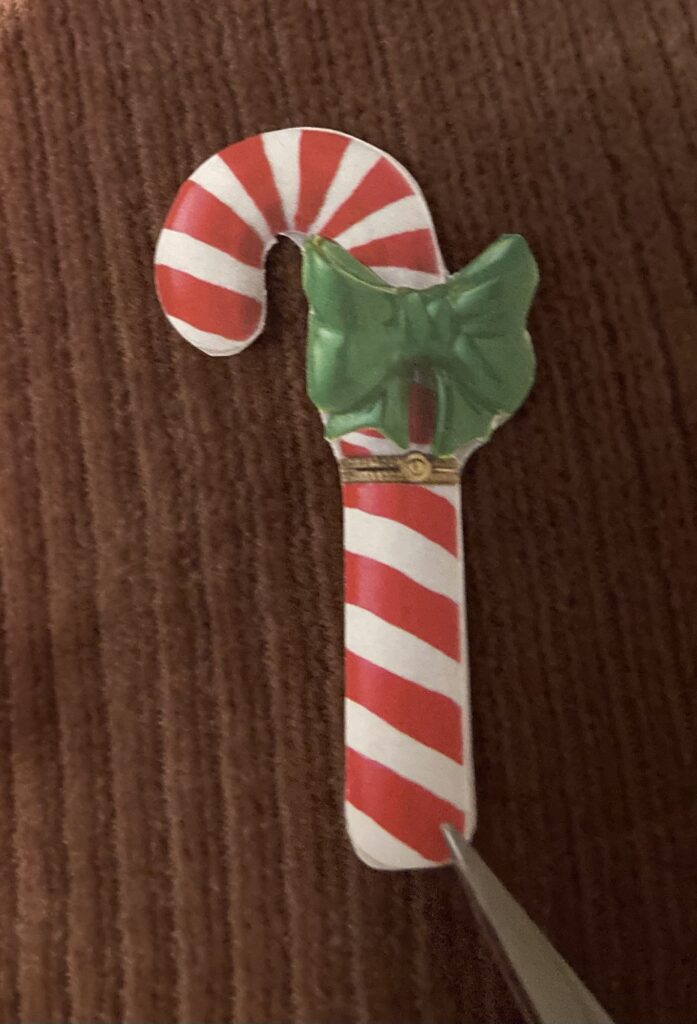
When you glue a bunch of images in a book, collage style, its called a glue book. I’ve been saving little real estate booklets to make my future glue books.
If you harvest your junk mail and use those images and fussy cuts in a glue book that also has room to write, you’ve made a junk journal.
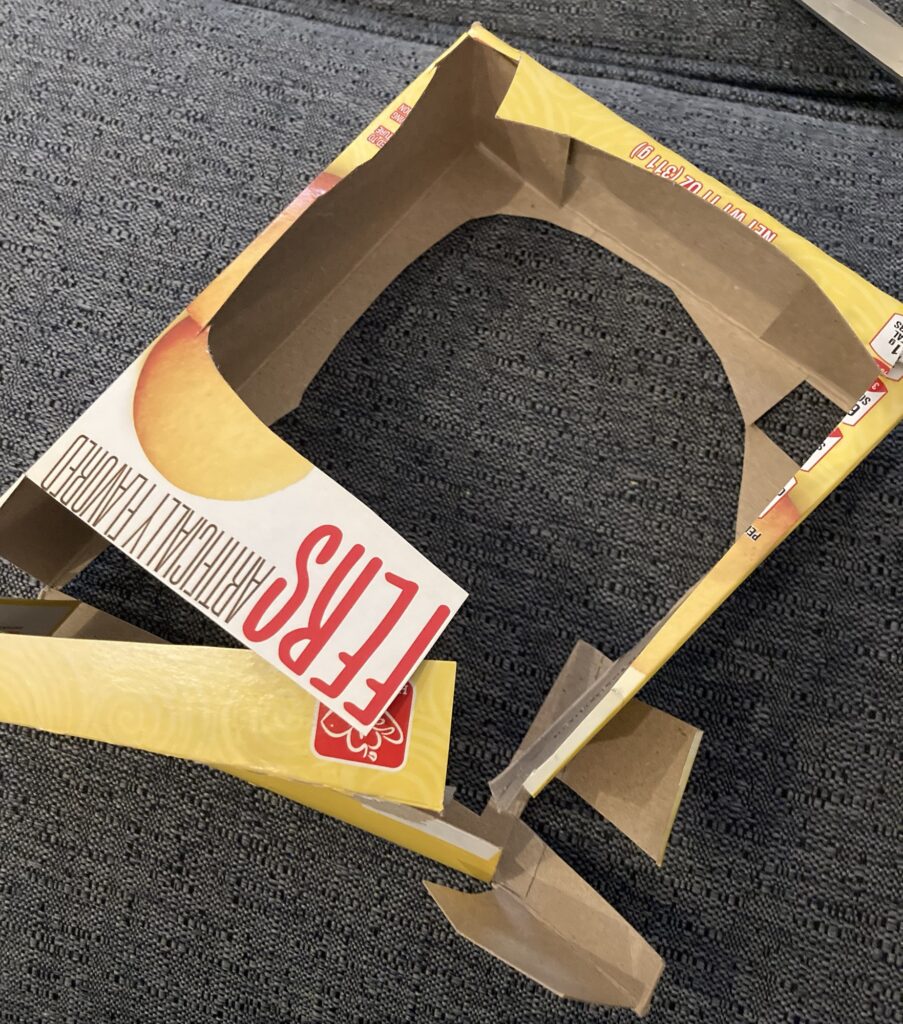
The best job of harvesting I’ve done (though I did a great job of gutting that vanilla wafers box, above) was a Little Debbie’s snack cake box.
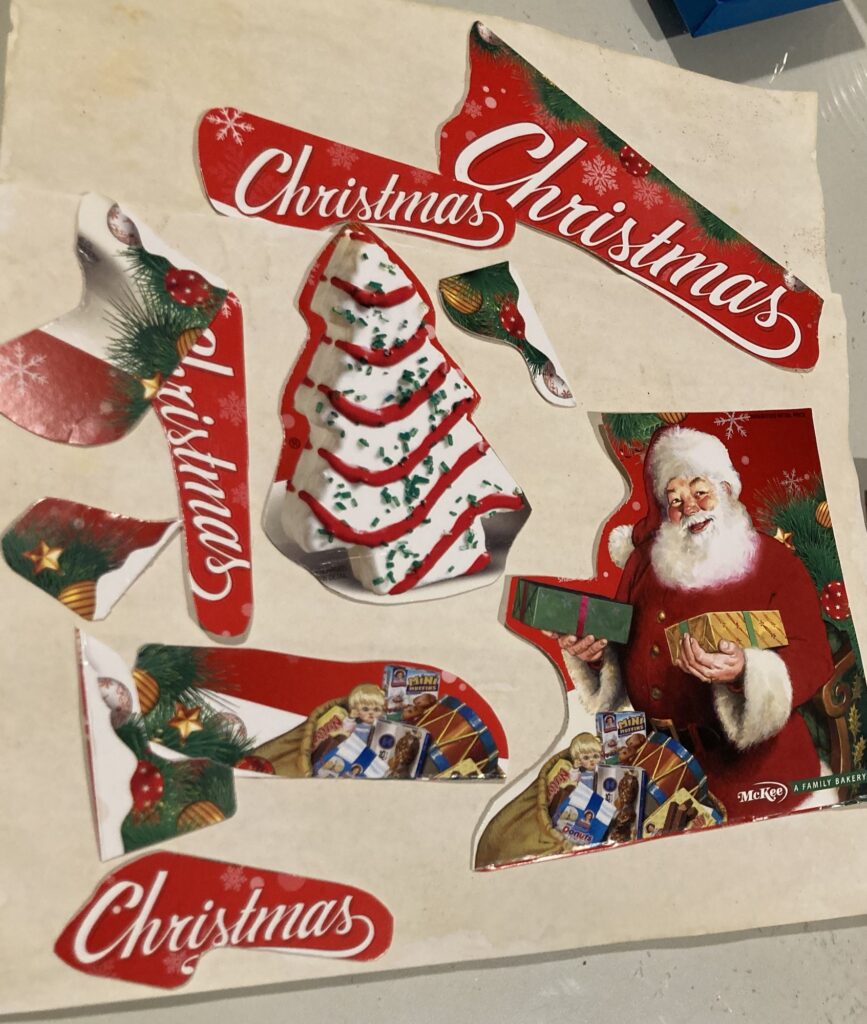
I’ve used pieces of it on a Christmas journal, front and back.
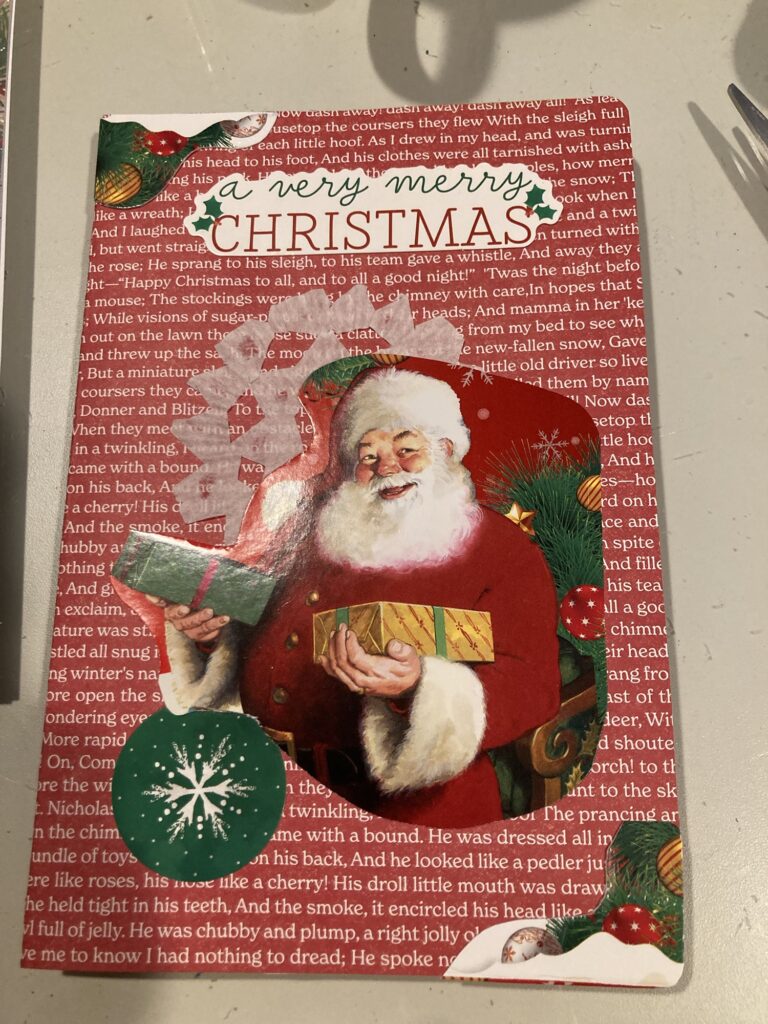
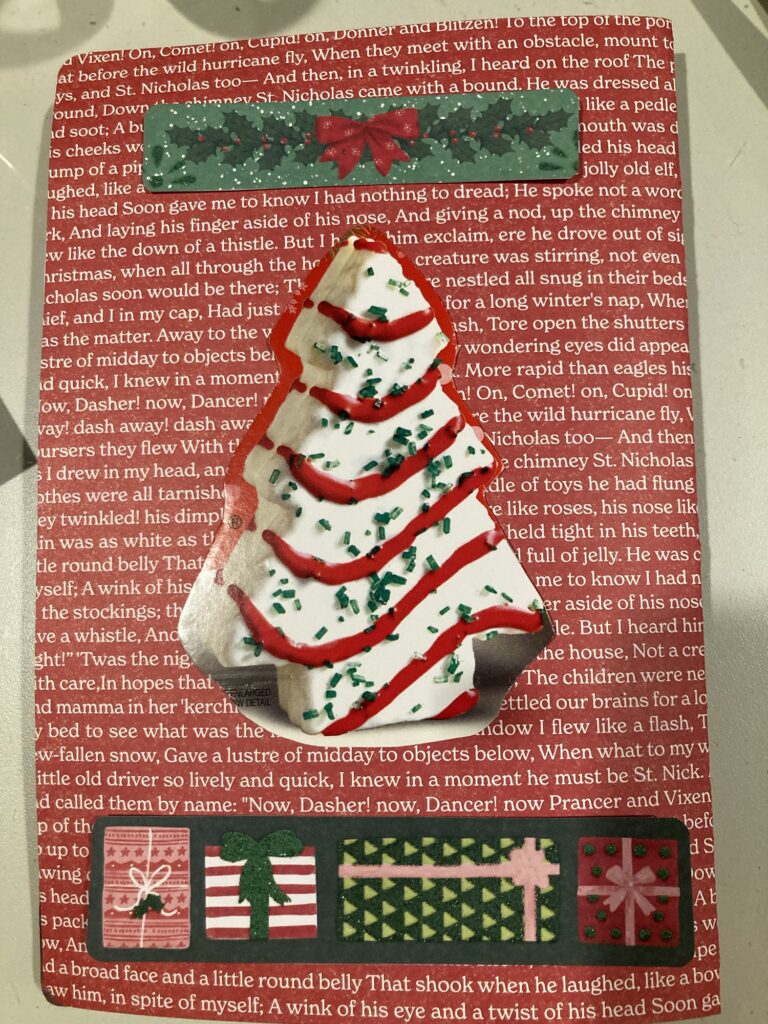
I have some beautiful pages printed, along with some family photos. I want my journals to be photo journals, like mini handmade scrapbooks. When I finish this one, I’ll share it here.
Today, I finished harvesting a 2021 Fresh Finds Catalog.

There are only a few pages left intact. I wish they were still publishing this catalog, because it was chock full of Christmas images.
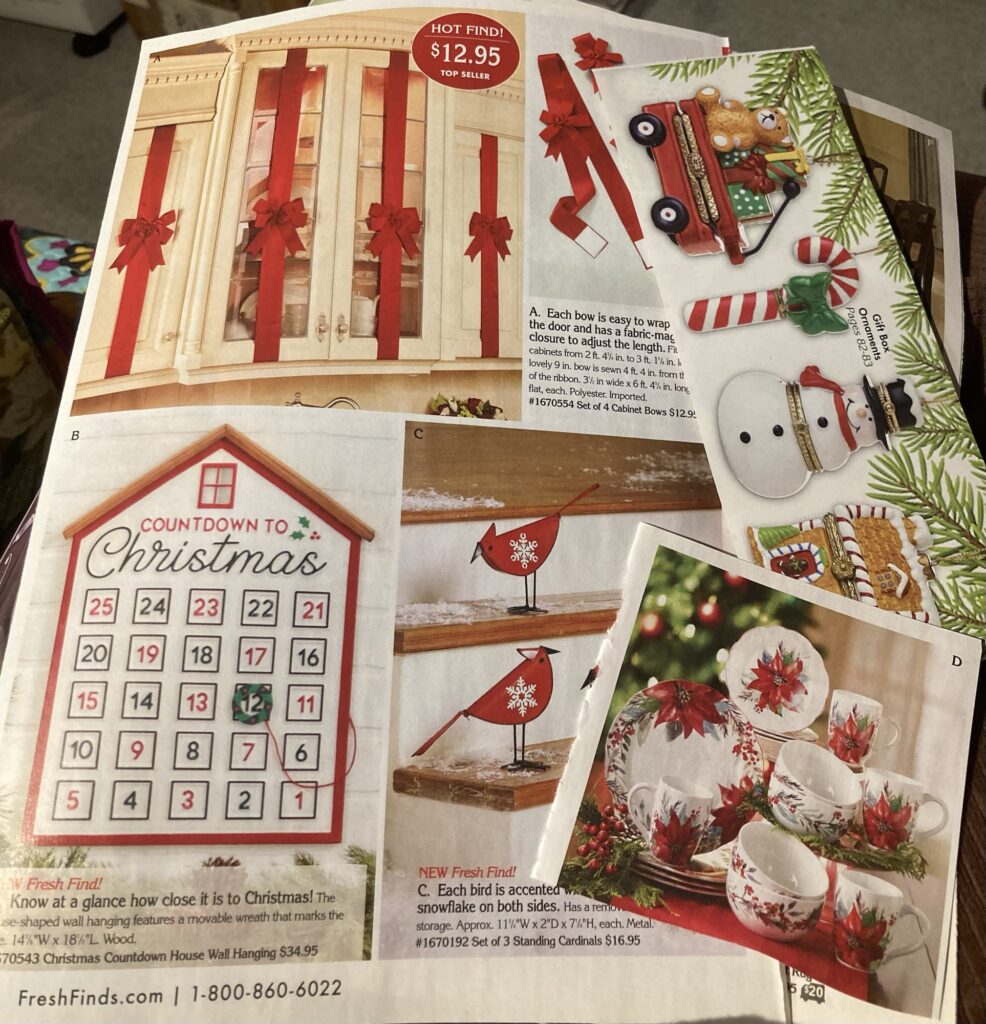
This is from where the candy cane box, pictured above, came. Day 24, #the100dayproject2024, #fixand finish
Before I lost my Facebook account because of a hacker, I had gotten to day 13 of the 100 Day Project. I started again on Valentine’s Day so it would be Day 14 on the 14th.
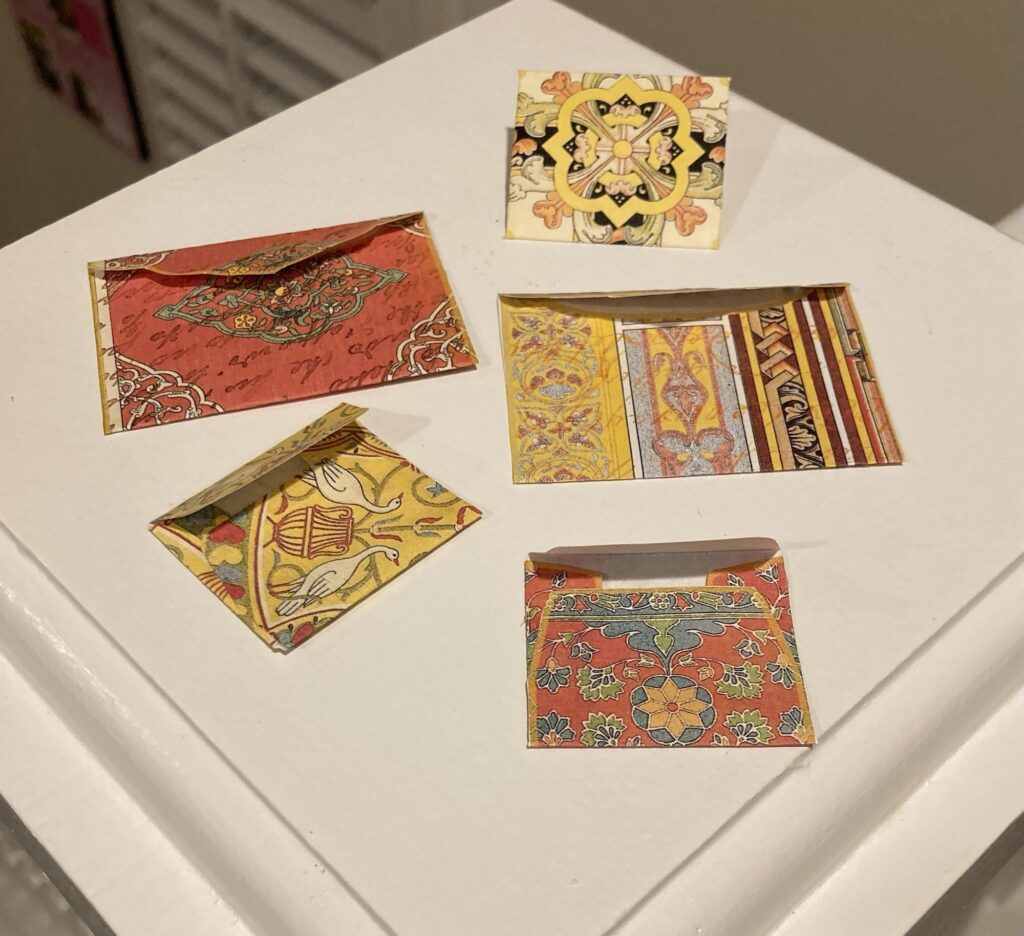
Today, though, I’m jumping to Day 20, and I’ll catch up on the in-between. My theme this year is #fixandfinish. Tonight, I finished cutting and gluing itty bitty envelopes from the Medici collection of printables by RachandBella Crafts on Etsy. They won’t hold much but they are precious! #the100dayproject2024
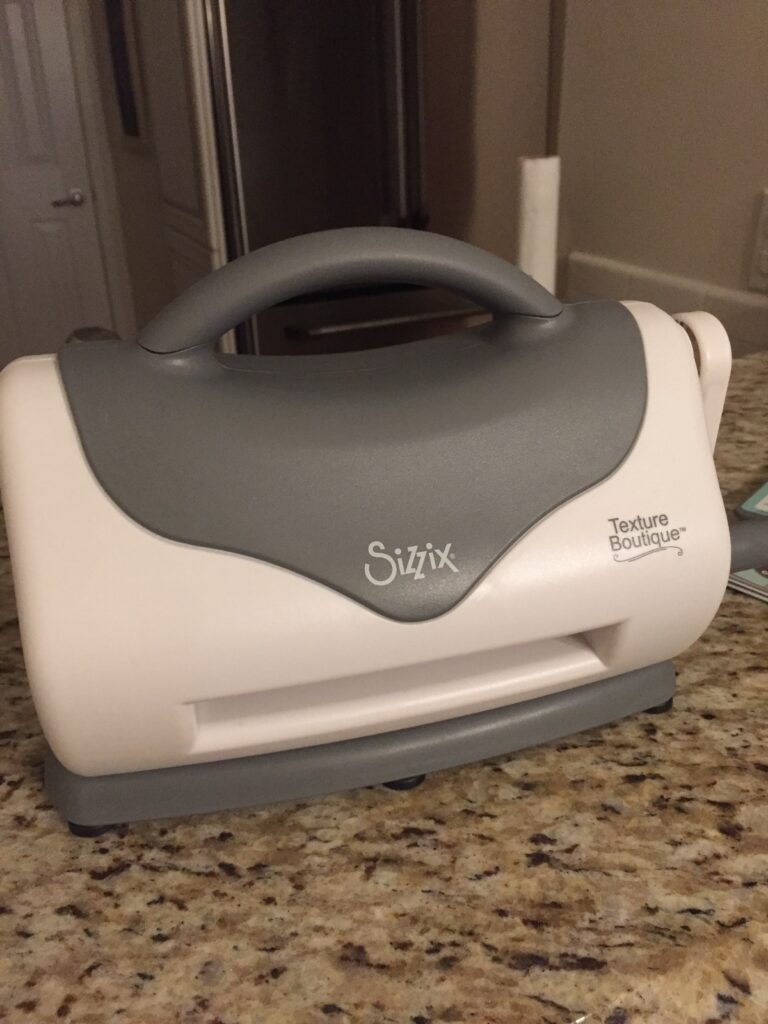
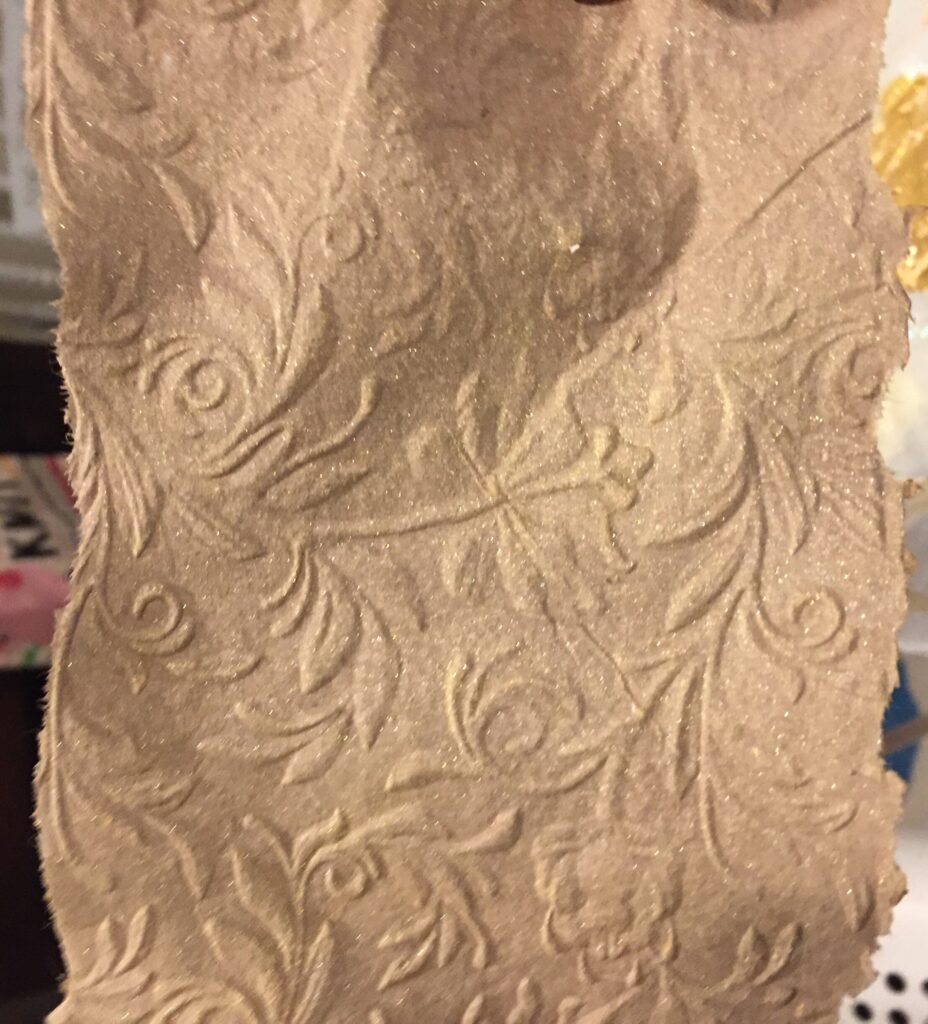
My little Sizzix embossing machine arrived today! All it does is emboss, it does not die cut. I have a cutting machine I am terrified of using (and somehow ruining.)
I jumped right in and put the thing together, and grabbed some of my embossing folders (bought to use as texture plates in polymer clay.) I used dampened ivory card stock.
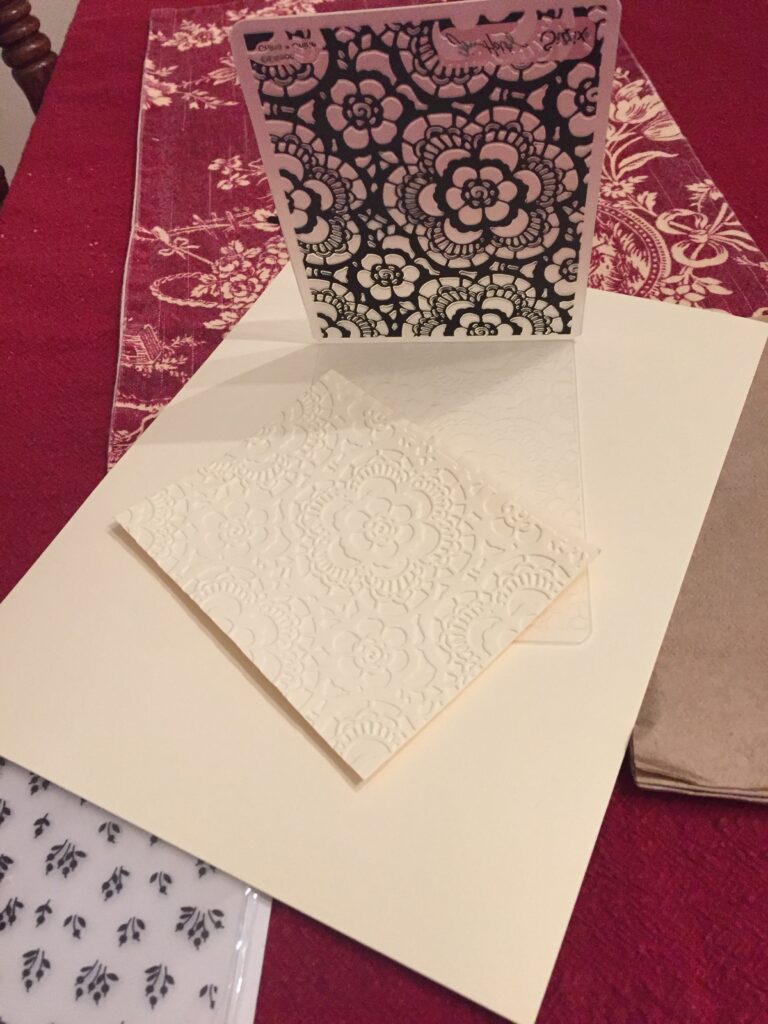
The first one was magic!
The second was tougher. The 3D folders are thicker and don’t require all the shims (plates) that come with the machine.
I thought I had ruined the machine with just the second one. Then, I figured it out and tried a couple more. Success!
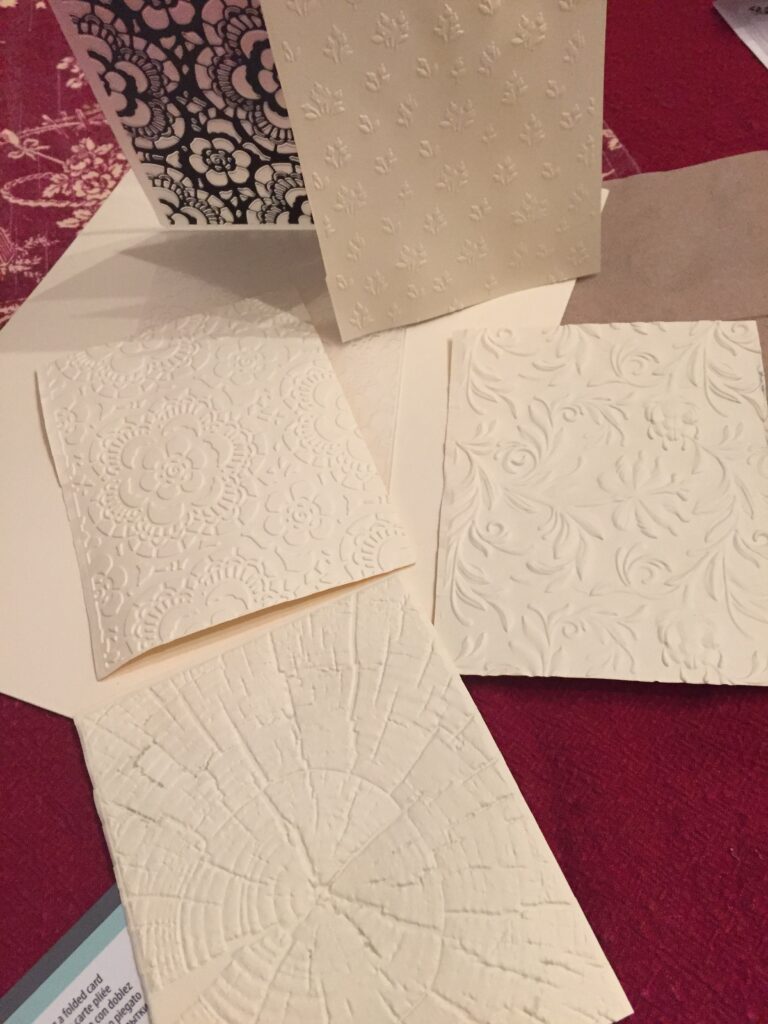
I am looking forward to rubbing these with mica powders, or dry brushing with some paint!
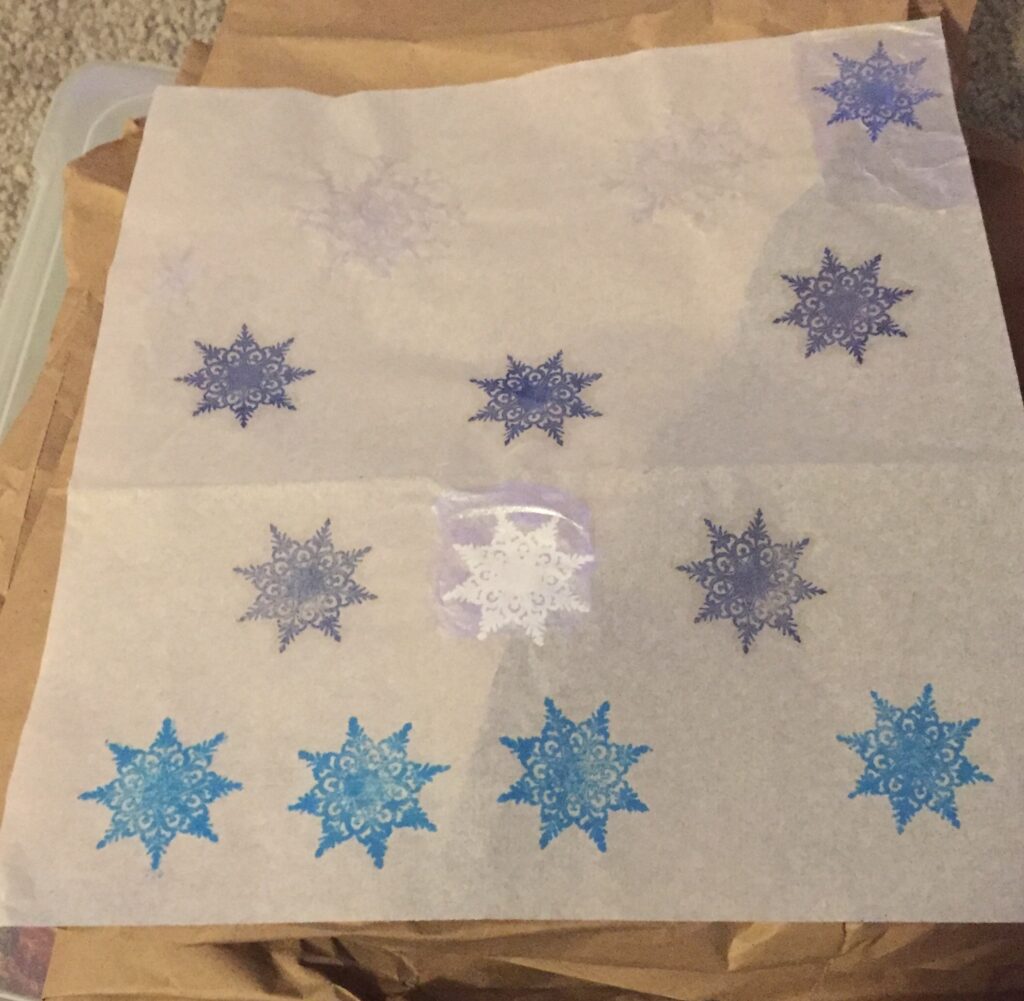
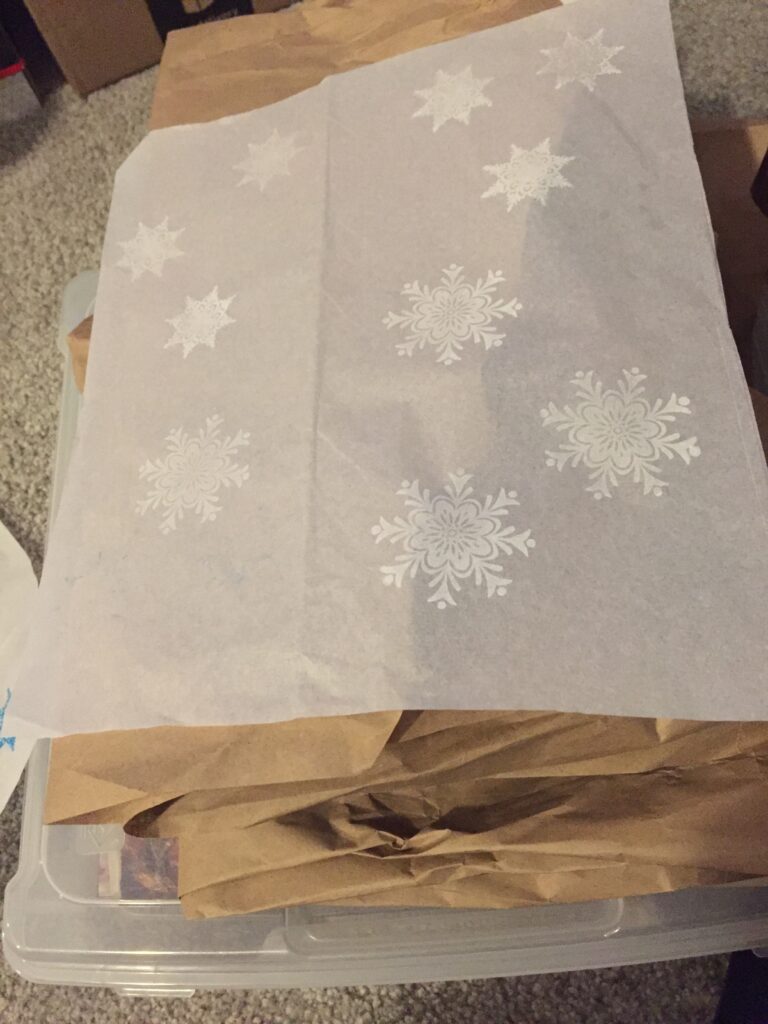
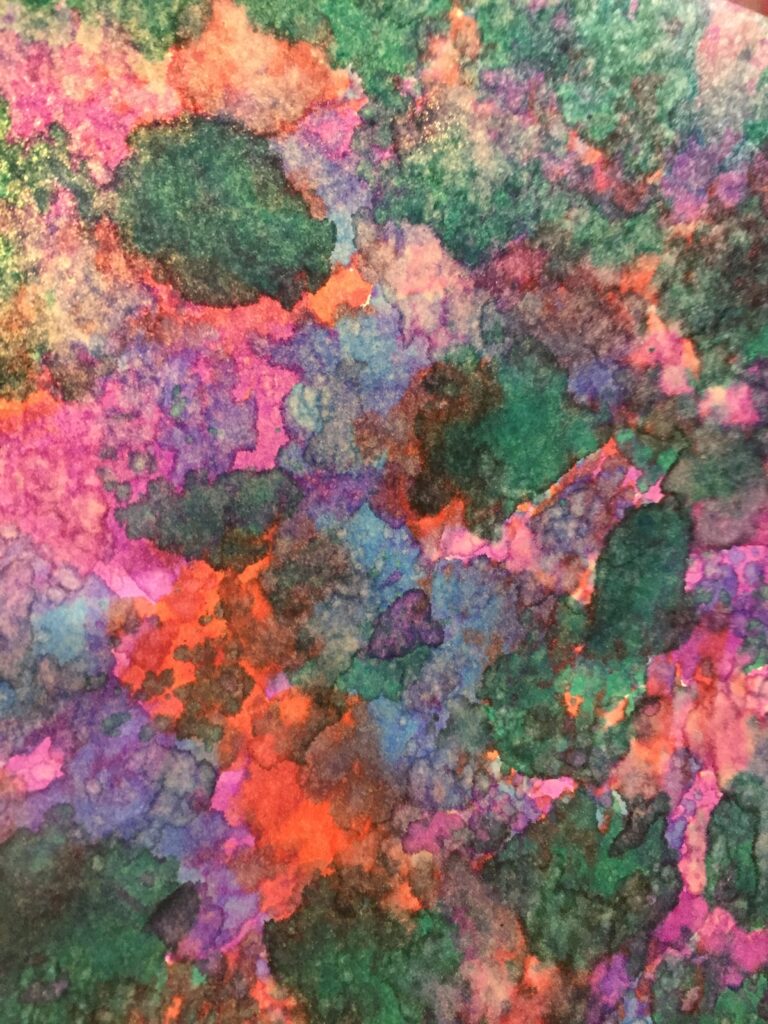
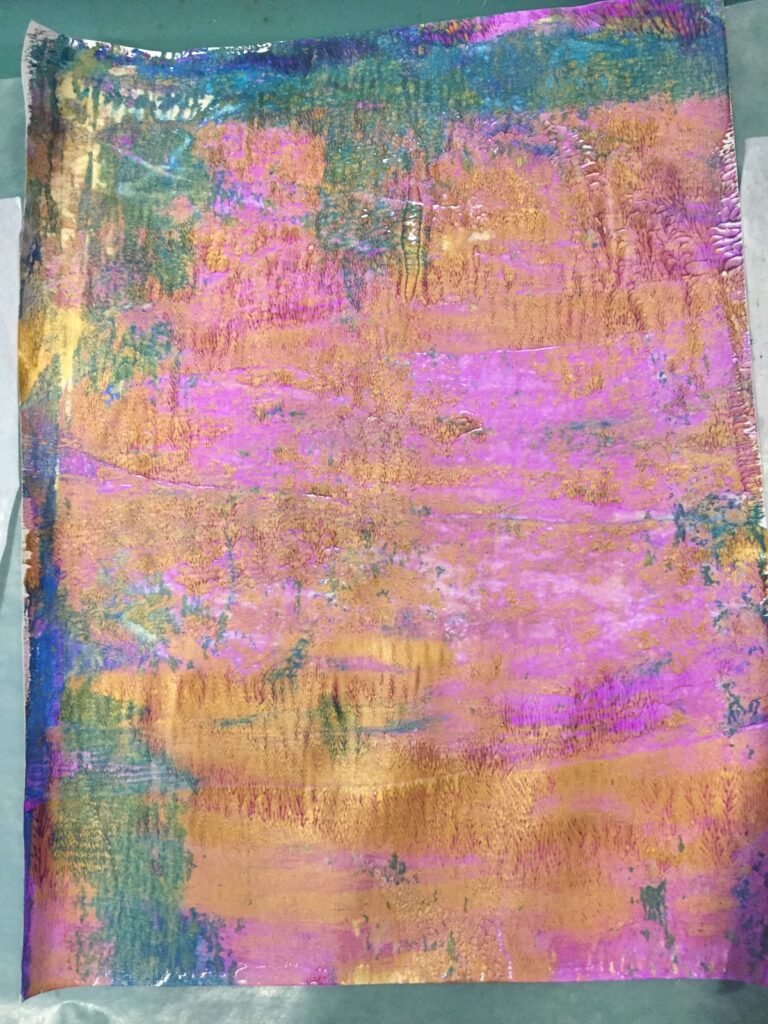
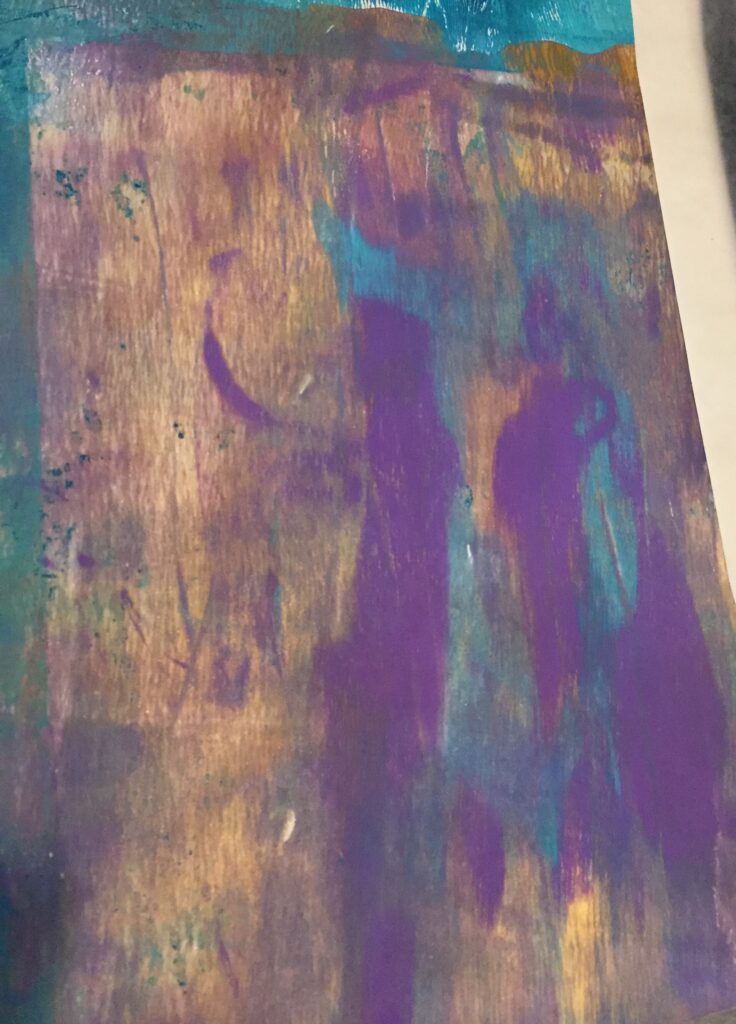
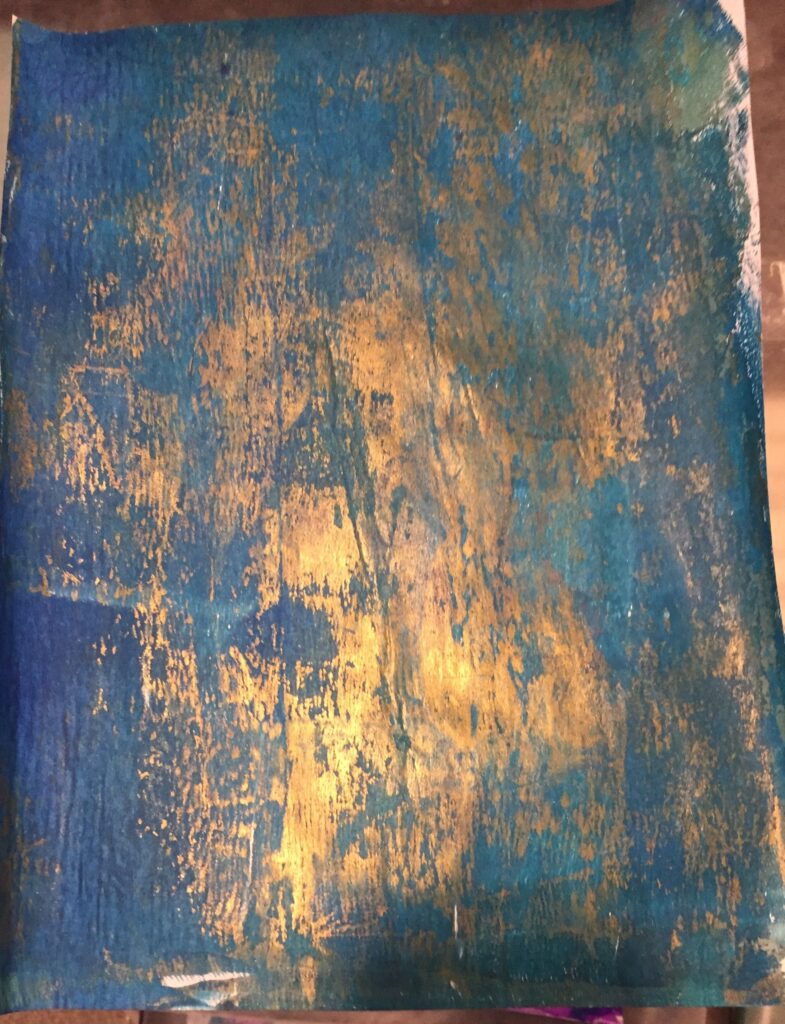
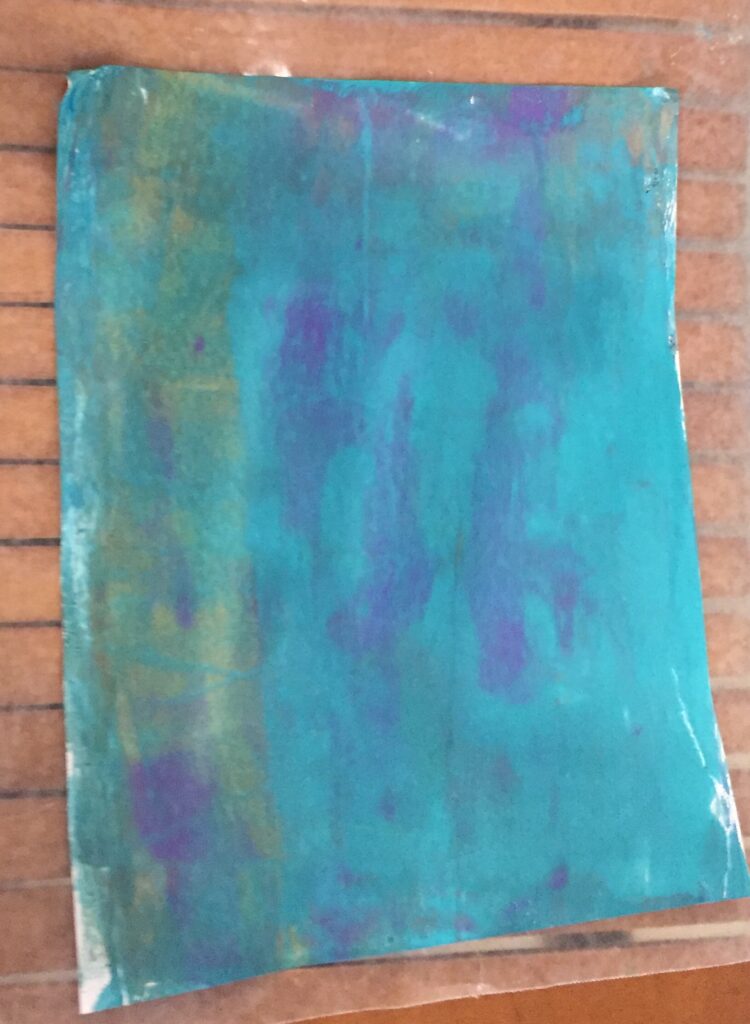
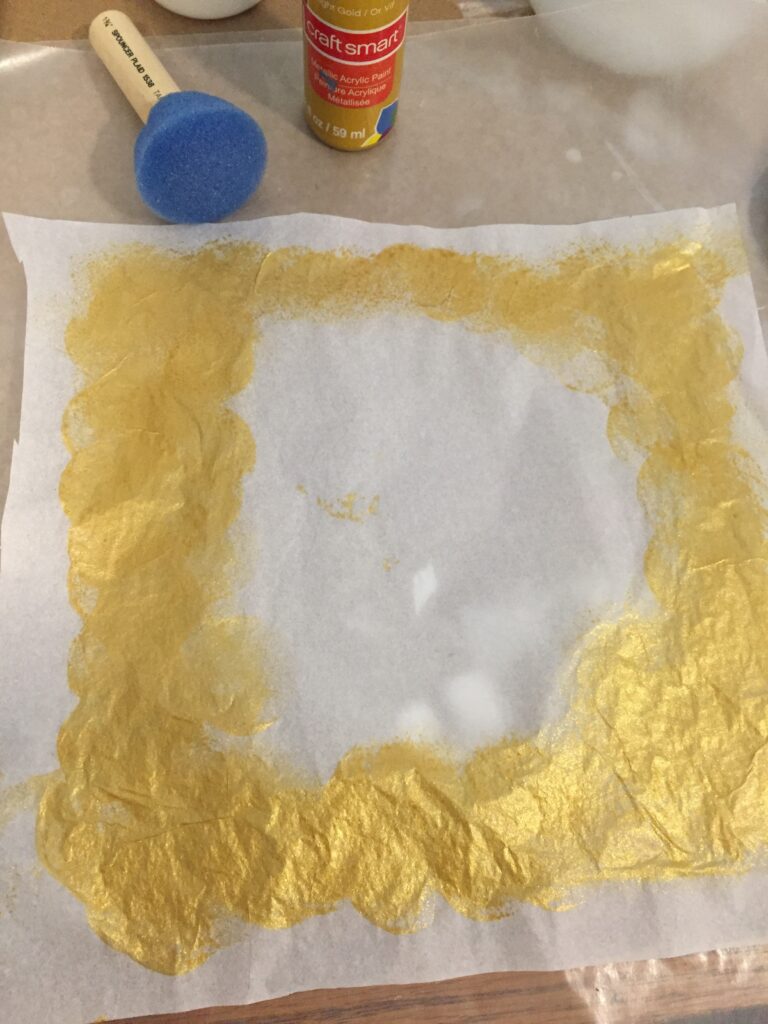
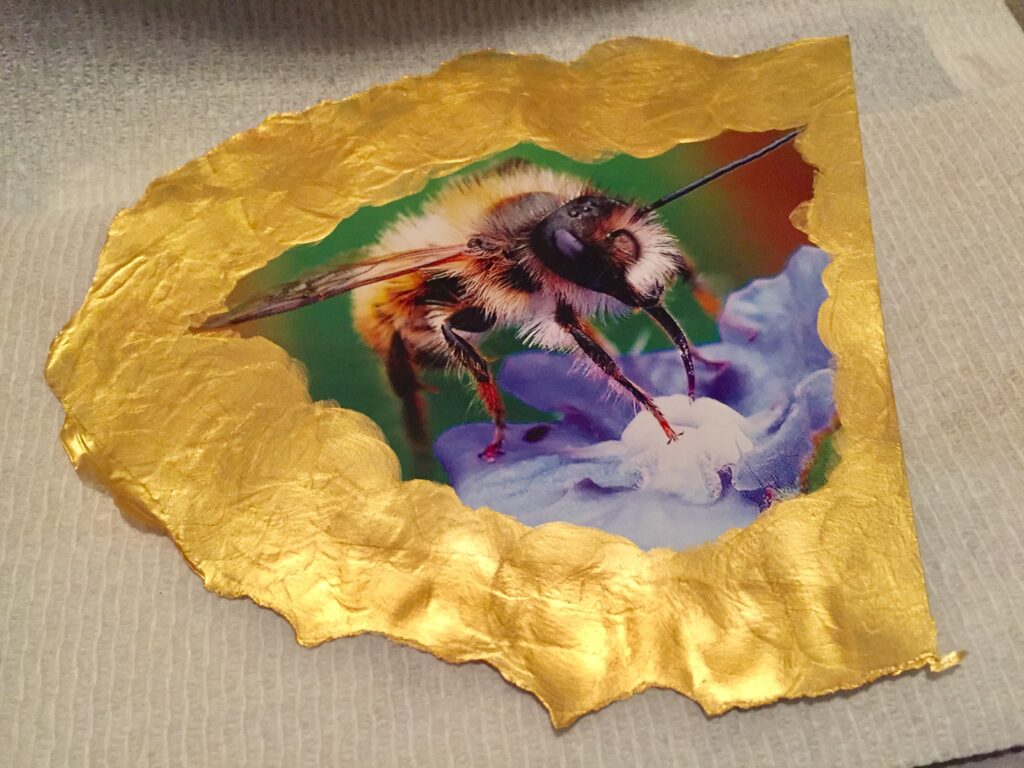
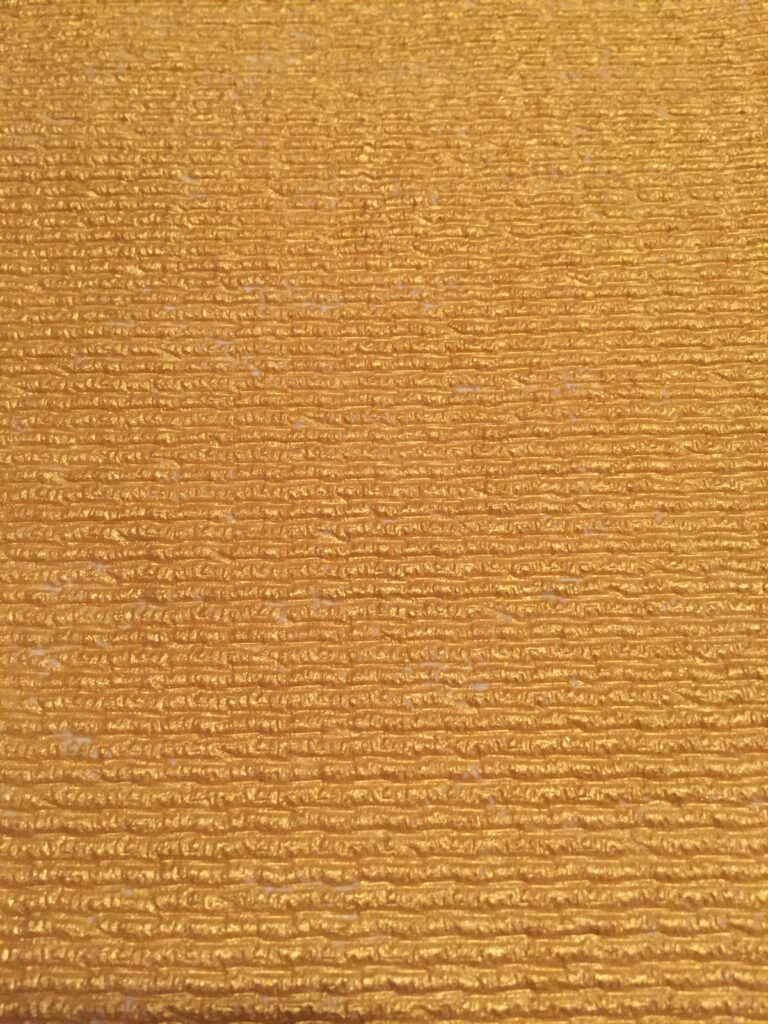
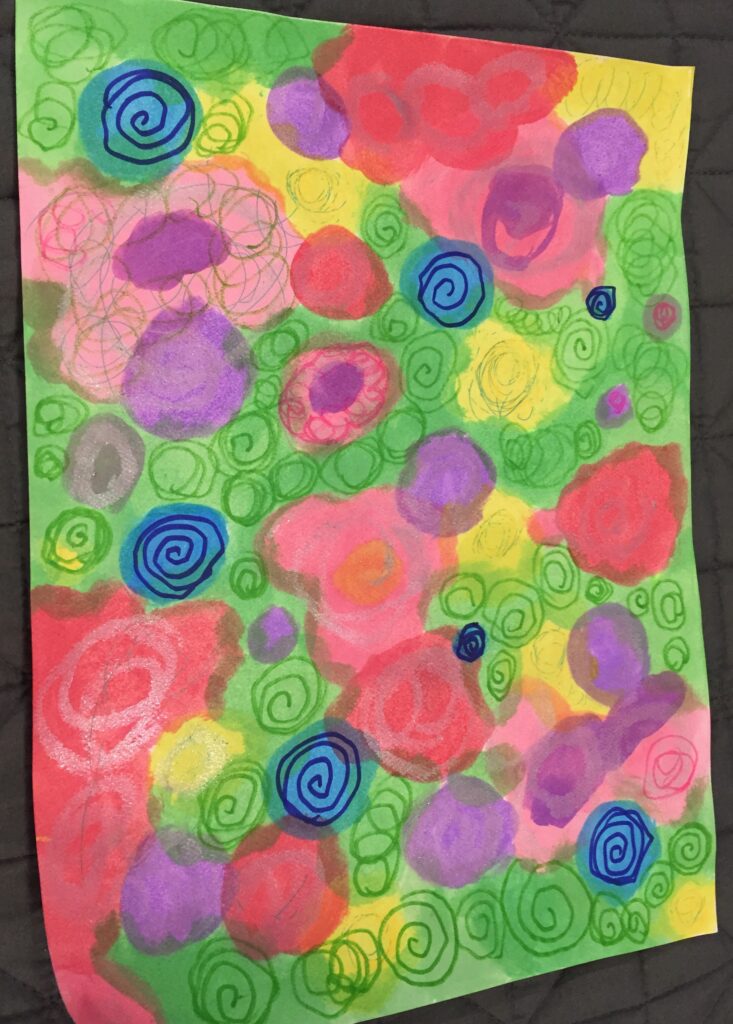
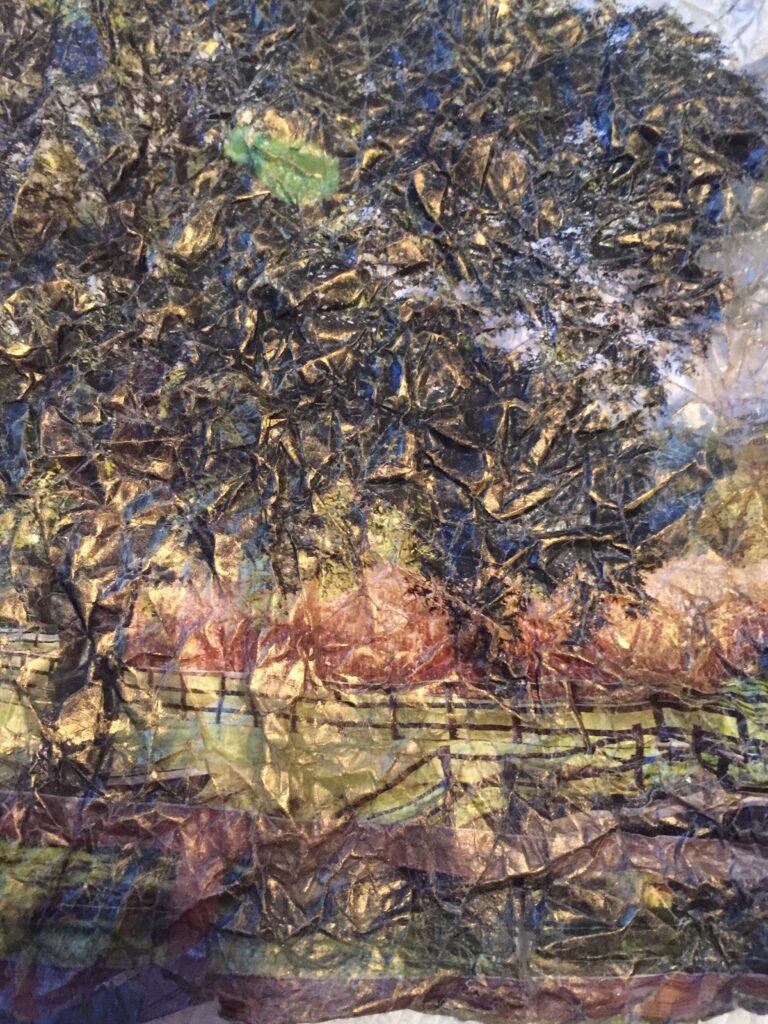
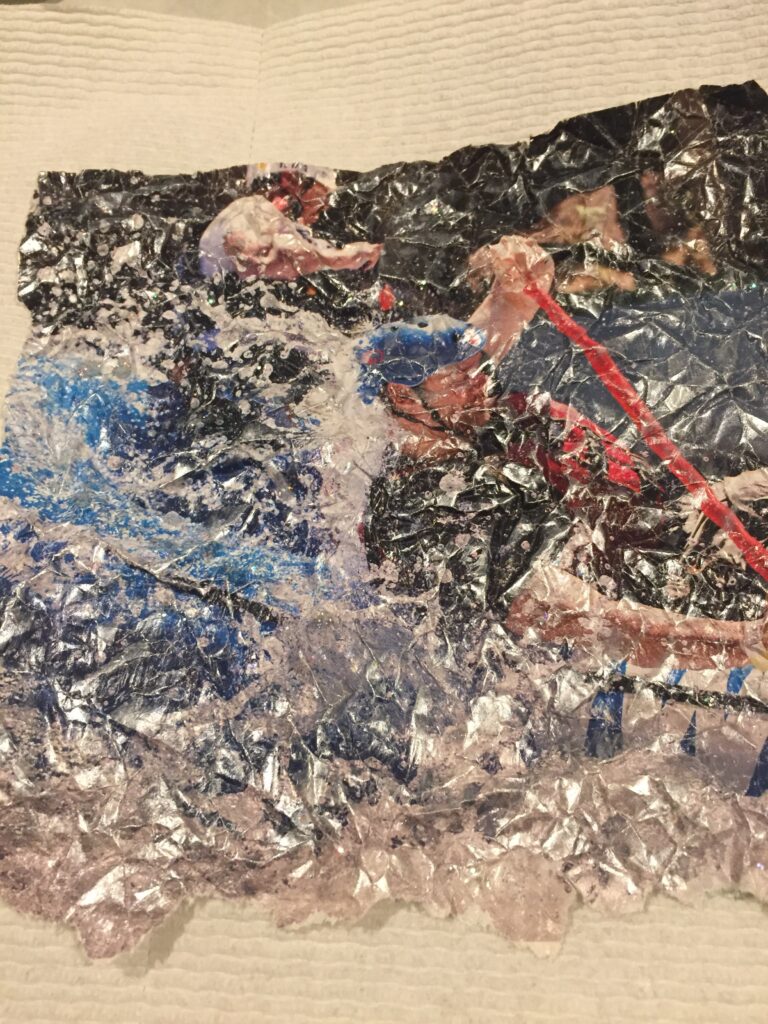
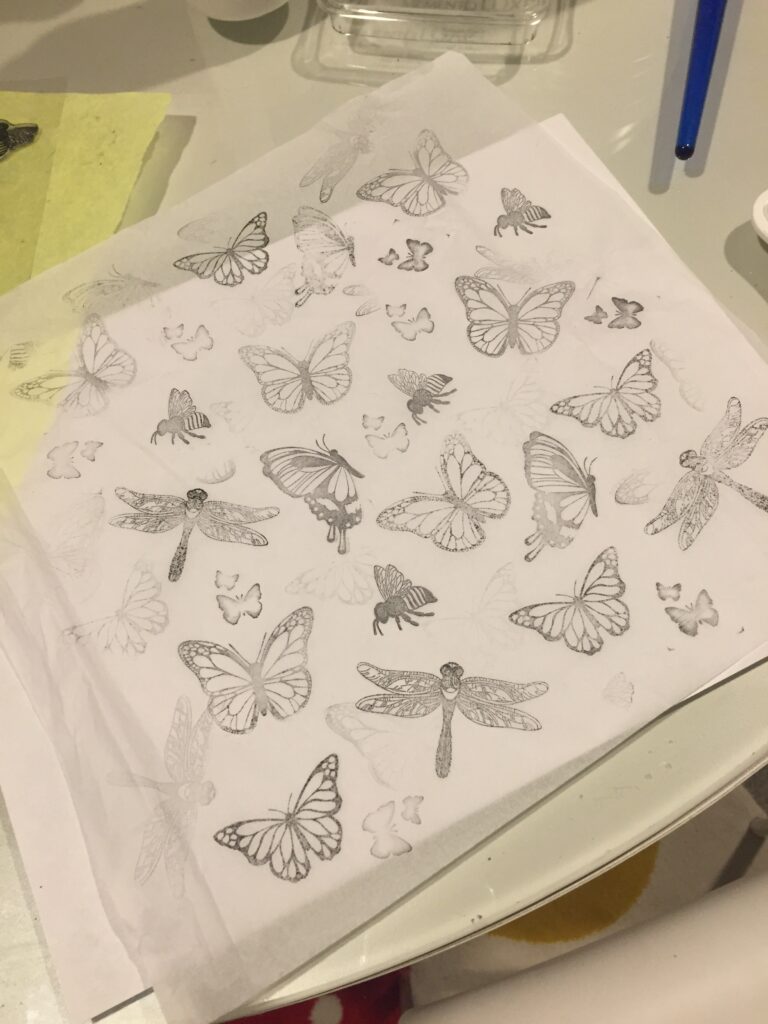
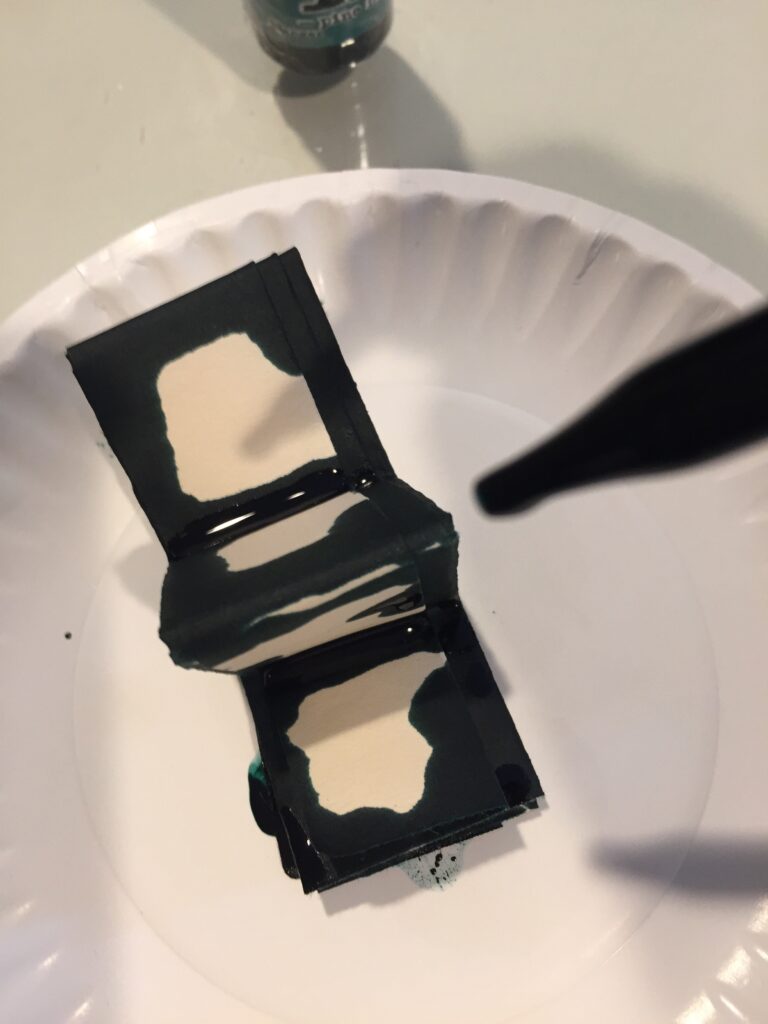
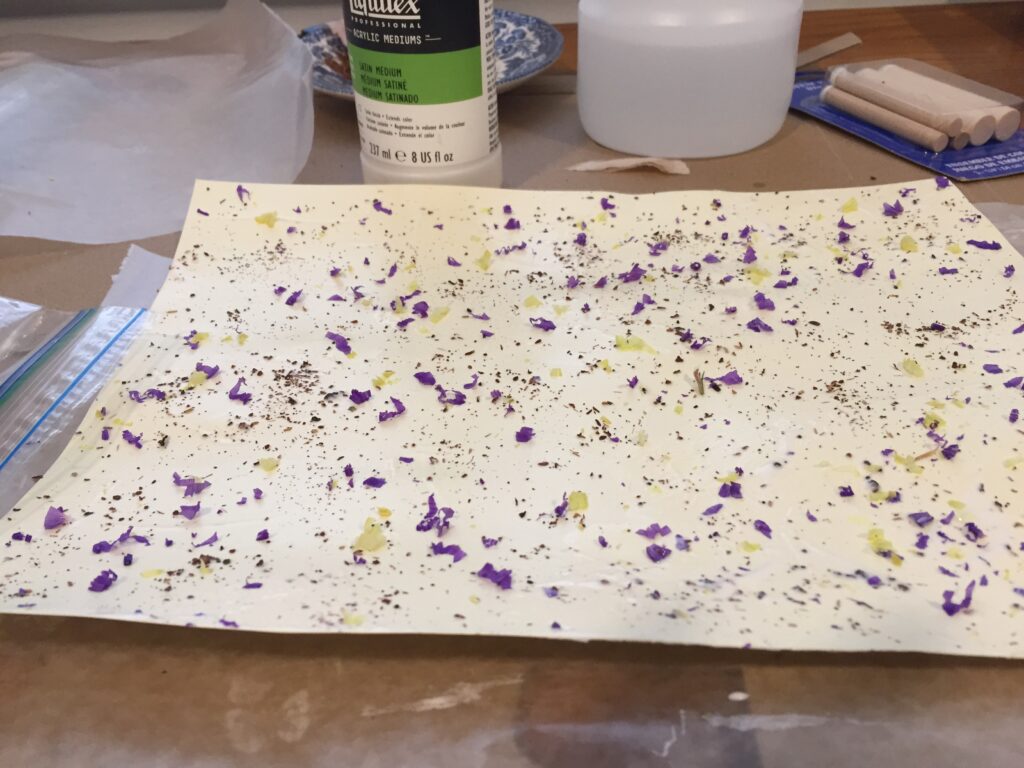
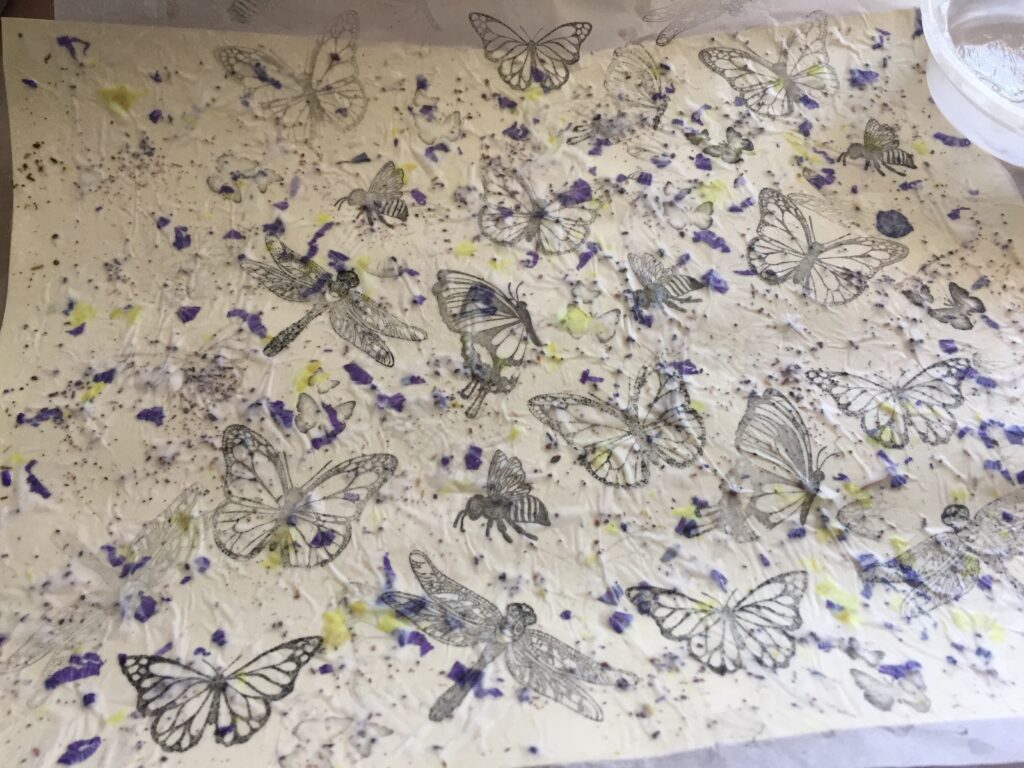
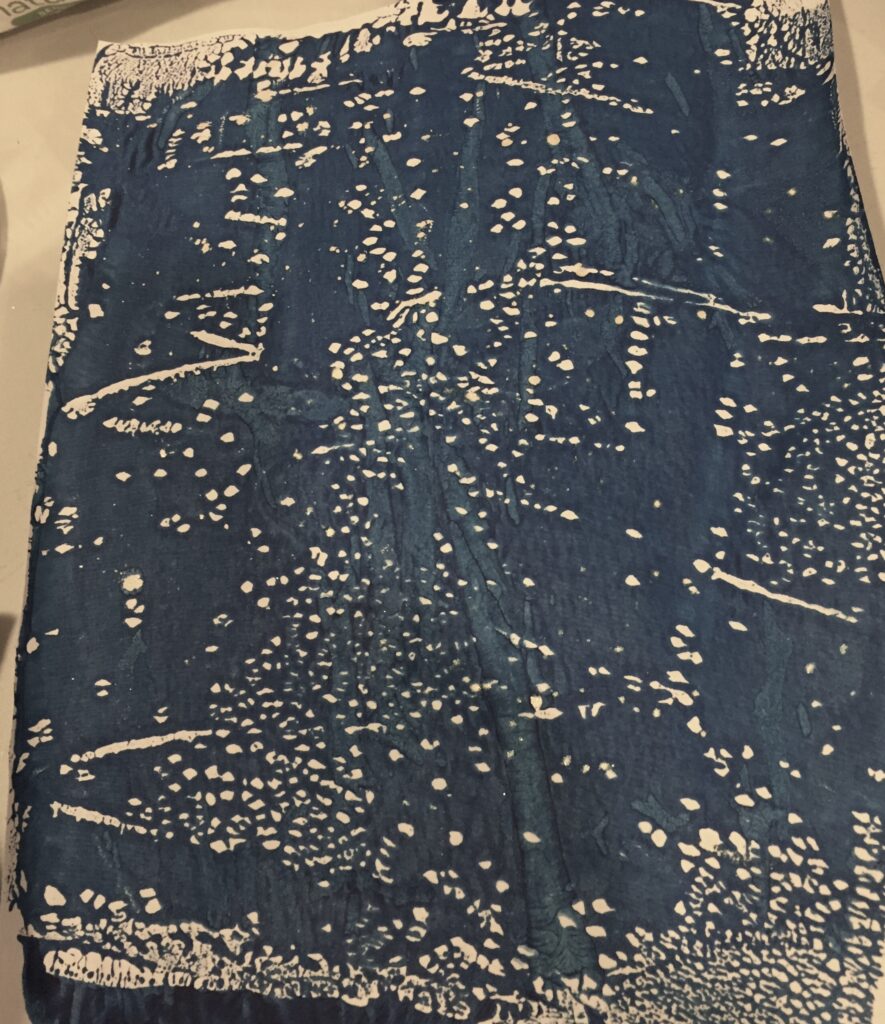
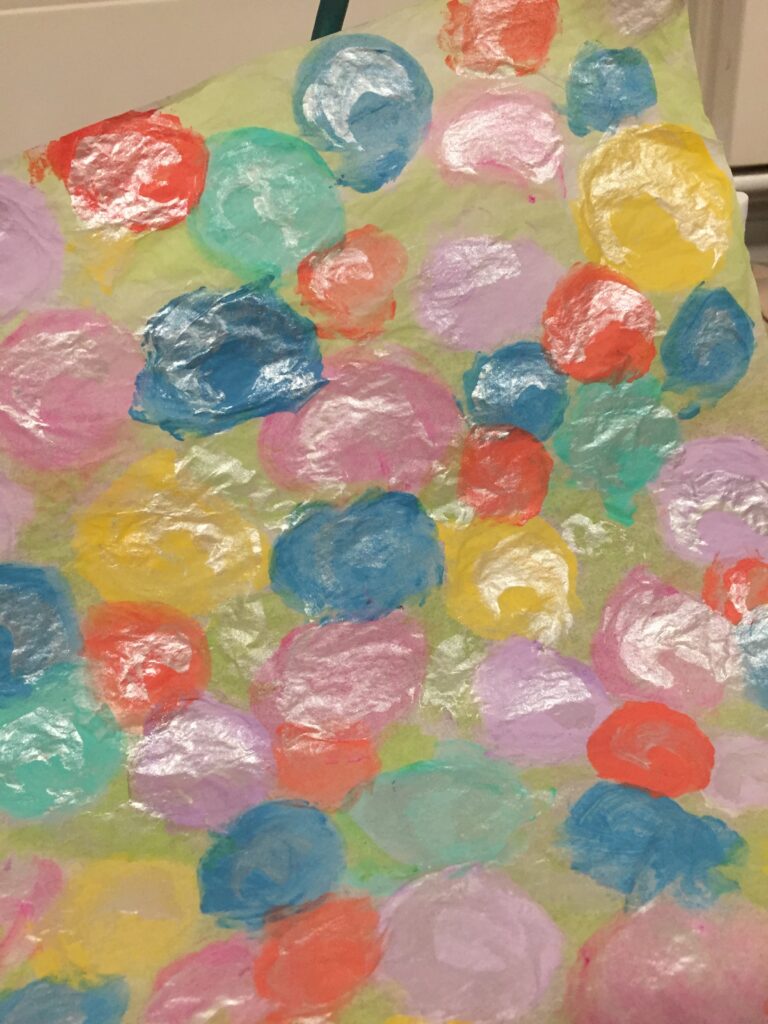
Here are photos of the experiments I conducted and the papers I created during The 100 Days Project. I concentrated on making collage papers.








TO BE CONTINUED…