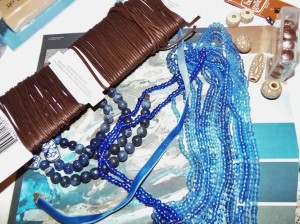
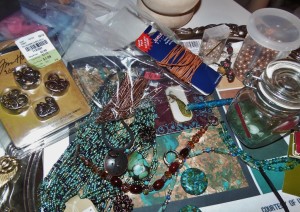
As it turns out, I have more beads and findings that go with the peach and turqoise palette. This is harder than I thought it’d be, but I’m enjoying it!
“At last…
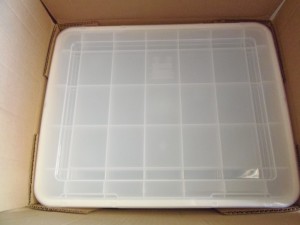
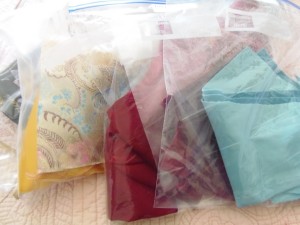
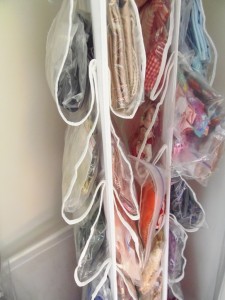
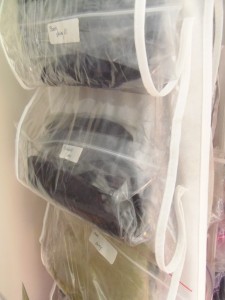
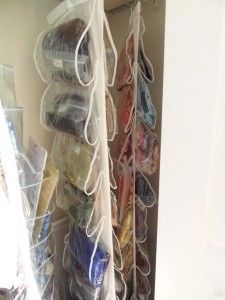
That handbag file will store my Miche Bag covers. Miche sells an organizer, but they cost about three times what this one did. The flip flop file is for my growing crazy quilt stash. They are both from Amazon.
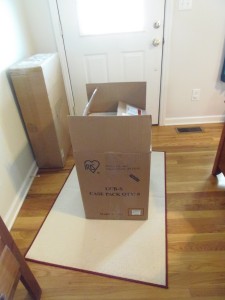
And here’s a tip: If you need to move a very heavy box on hardwood floors, flip a throw rug upside down. Walk the box onto the rug and slide it wherever it needs to go!
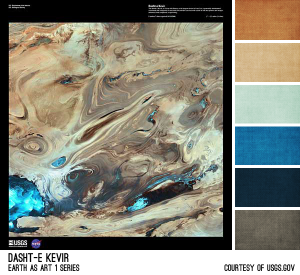
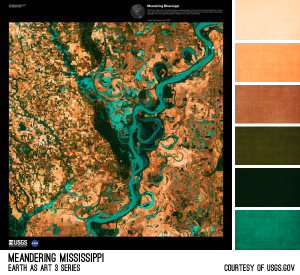
My Colors Arrived!
I can choose one, or both, for my bead challenge. I wish I’d had the forethought to check my junk email folder before I left my daughter’s house. There are now 3 Michaels, a Hancock Fabrics, and a Joann’s between here and there. (Oooooh, I just remembered, a Hobby Lobby has recently opened in Mooresville, NC. I’ll have to check that out soon!) Now, I’ll just have to start by shopping my stash (a
good thing!)
Organizing Fabric
My First Challenge!

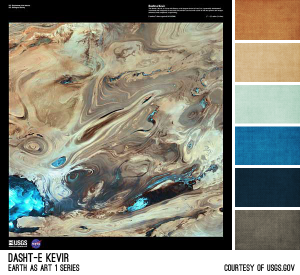
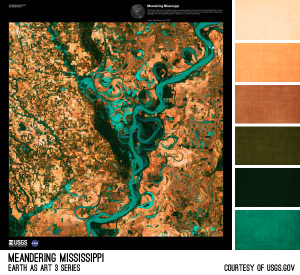
I am about to participate in my first Blog Hop/Color Challenge! It’s based on Landsat satellite photos. I have to create a jewelry accessory using a color palette from one of two Landsat images which should be arriving by email shortly. The Blog Hop will be Nov. 30. That’s when I’ll post photos of my work. I am very excited!
Speaking of excitement, I took my mom to Boone, NC, for a doctor’s visit, today, and it snowed the whole time we were there! It was not enough to stick, though they had white out conditions during Hurricane Sandy, leaving patches of snow on the ground. It was just enough to be pretty and inspire Christmas carols!
Camera Crazy
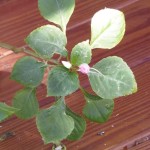
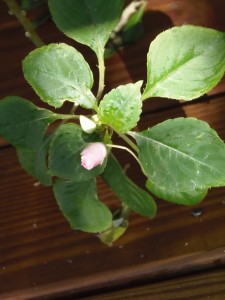
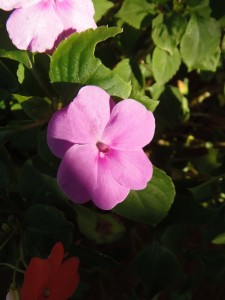
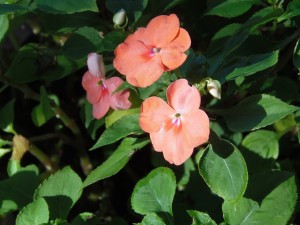
I’ve been pretty sick for the past two weeks now, but that hasn’t stopped me from grabbing my camera and seeing what I could capture. I’m still working on the macro and supermacro features. I’ve practiced with flowers and leaves.
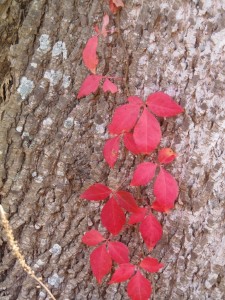
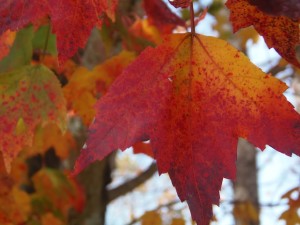
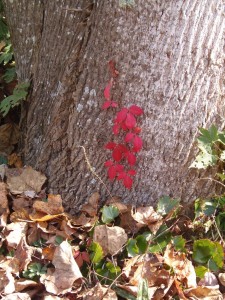 I had to zoom in on this red beauty. I thought it was Virginia Creeper (harmless) but I couldn’t for the life of me find more than three leaflets. After zooming in, I found one compound leaf with four leaflets. Can you see it? I have learned that “baby creeper” will only have three leaflets, like poison oak. I guess it’s developed a protective mimicry.
UV Spray
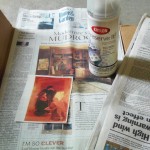
The only misgivings I have about the spray is it contains toluene. Because Hurricane Sandy was afoot, (we only got wrap around winds, here,) I sprayed it in the basement, but made sure I scotched the door open for ventilation.
My next experiment
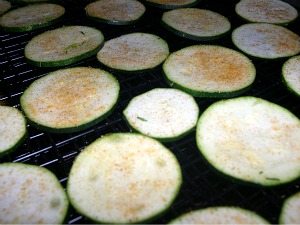
I made it to the doctor yesterday, and when the storm is passed and I’m feeling better, I’m going to try to dehydrate some zuchinni. (I forgot to mention that I’ve got to start a low cholestrol diet.) Here are the directions I found from the University of Missouri Extension:
Dehydrated zucchini Choose young, slender zucchini. Wash zucchini and cut into 1/4-inch slices for cooking purposes or 1/8-inch slices for chips. Dry in a single layer in a 125° oven until brittle. Use slices in soups and casseroles or sprinkle zucchini chips with seasoned salt and serve with dips.
Bible Covers
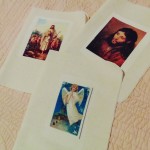
I fused three silkies onto Bible cover foundations. The Wonder Under worked great. It was the heavy adhesive kind.
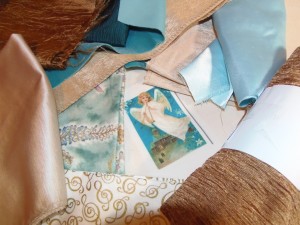
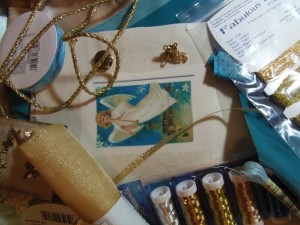 Next, I scrounged through my stash of embellishments for baubles, trims and threads. I packed the angel and her accoutrements in a tote bag that is now my “project bag” for her. I think I’ll work on her first because she looks like the daughter of a friend of mine. Maybe, I can gift her!
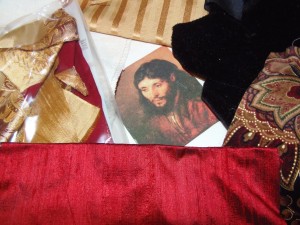
The fabrics to surround Rembrandt’s “Head of Christ” were next. I think they are most beautiful.
I had thought “The Good Shepherd” protrait of Jesus would be the easiest to choose coordinating colors for, but it was the toughest. Since I’m way too sick to go to church in the morning, I’ll save that to do then, as an act of worship.
Today’s Experiment
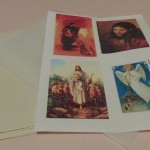
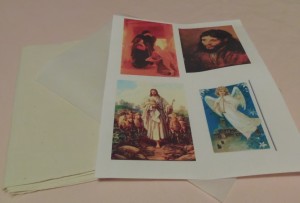
This is not the best photo in the world, but I just want to document what I’ve done. I printed four of the “Bible cover” images on silk charmeuse. Before I printed them, I edited them by increasing the saturation of color for each image. It was too much for the “Three Mary’s.” They look like they’ve found the fiery furnace instead of the empty tomb.
I traced and cut out a 8,1/2″x11″ piece of Wonder Under that I’m going to fuse to the back of the silk after I remove it’s paper backing. Then I’ll cut the images apart and fuse them to the muslin Bible cover foundations. I’ll have to be careful with my iron, not to burn the silk (though that might enhance the look of the “Three Mary’s!”)
