I told some friends I would put together a kumihimo tutorial, so here goes: I’m using a basic round Beadsmith kumihimo disk for this tutorial, but I’m turning it upside down.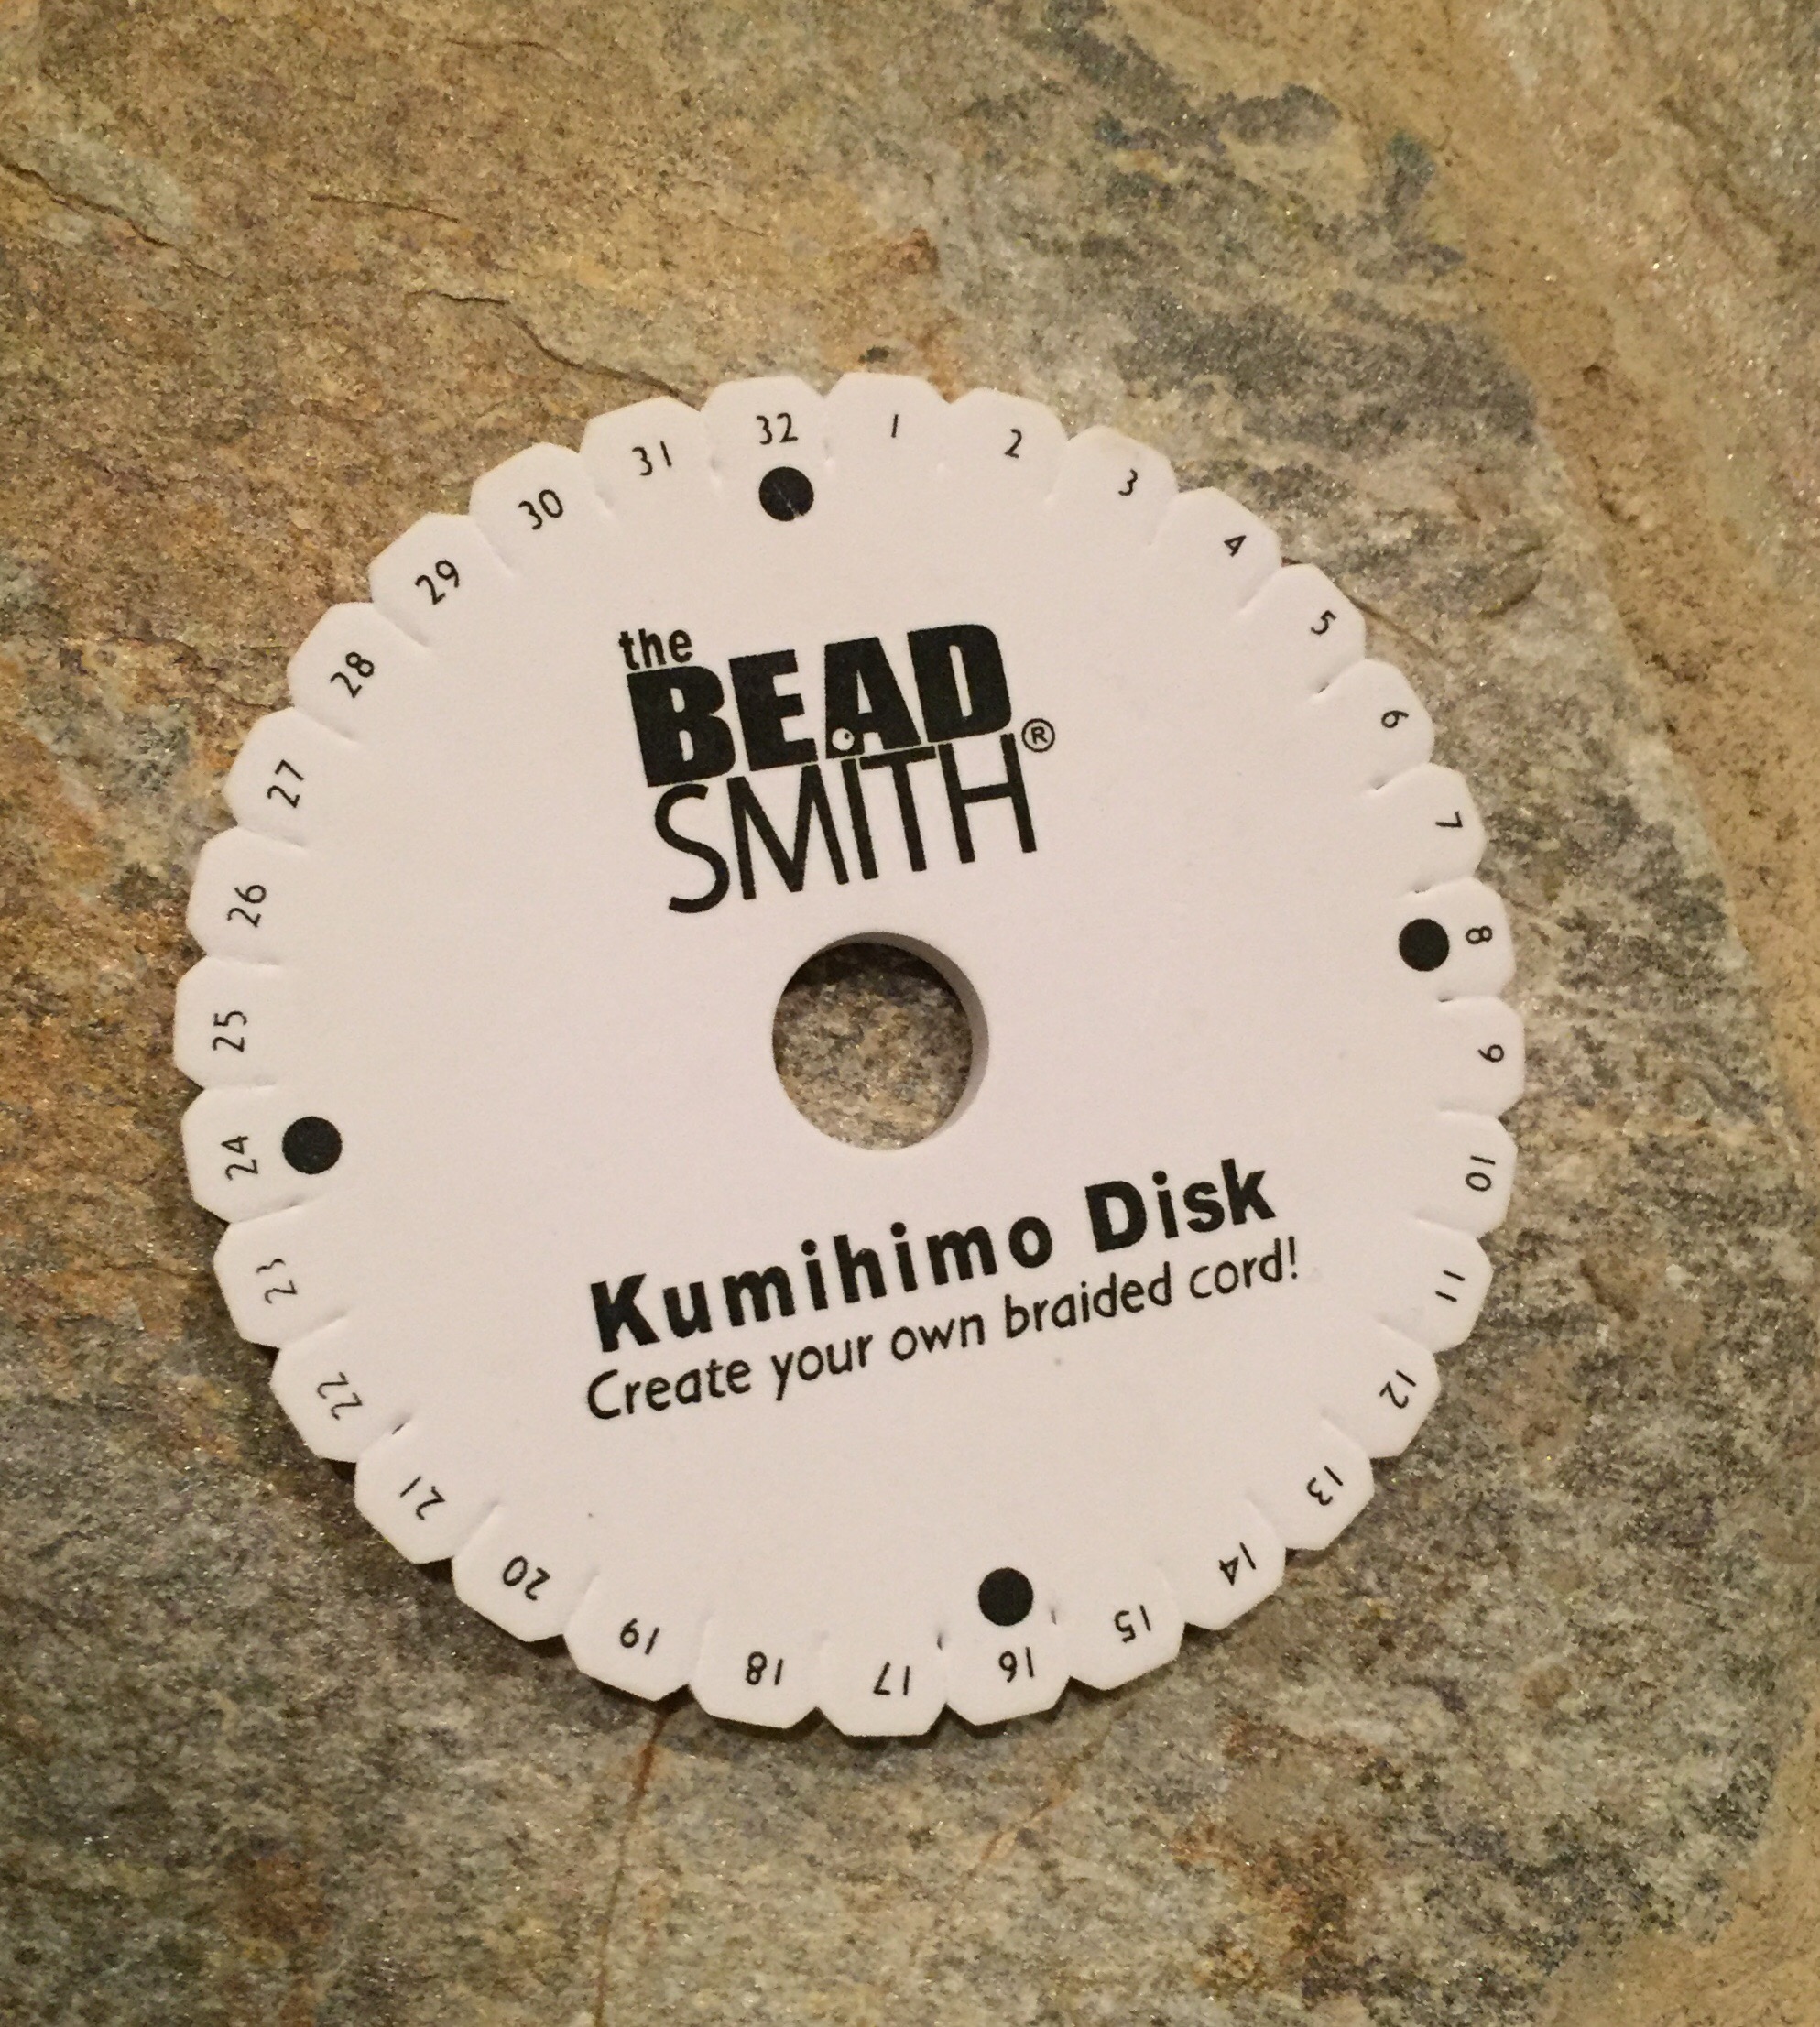
The back of this disc is blank, and I’m using this side to show you there is no need for dots or letters or numbers to confuse you.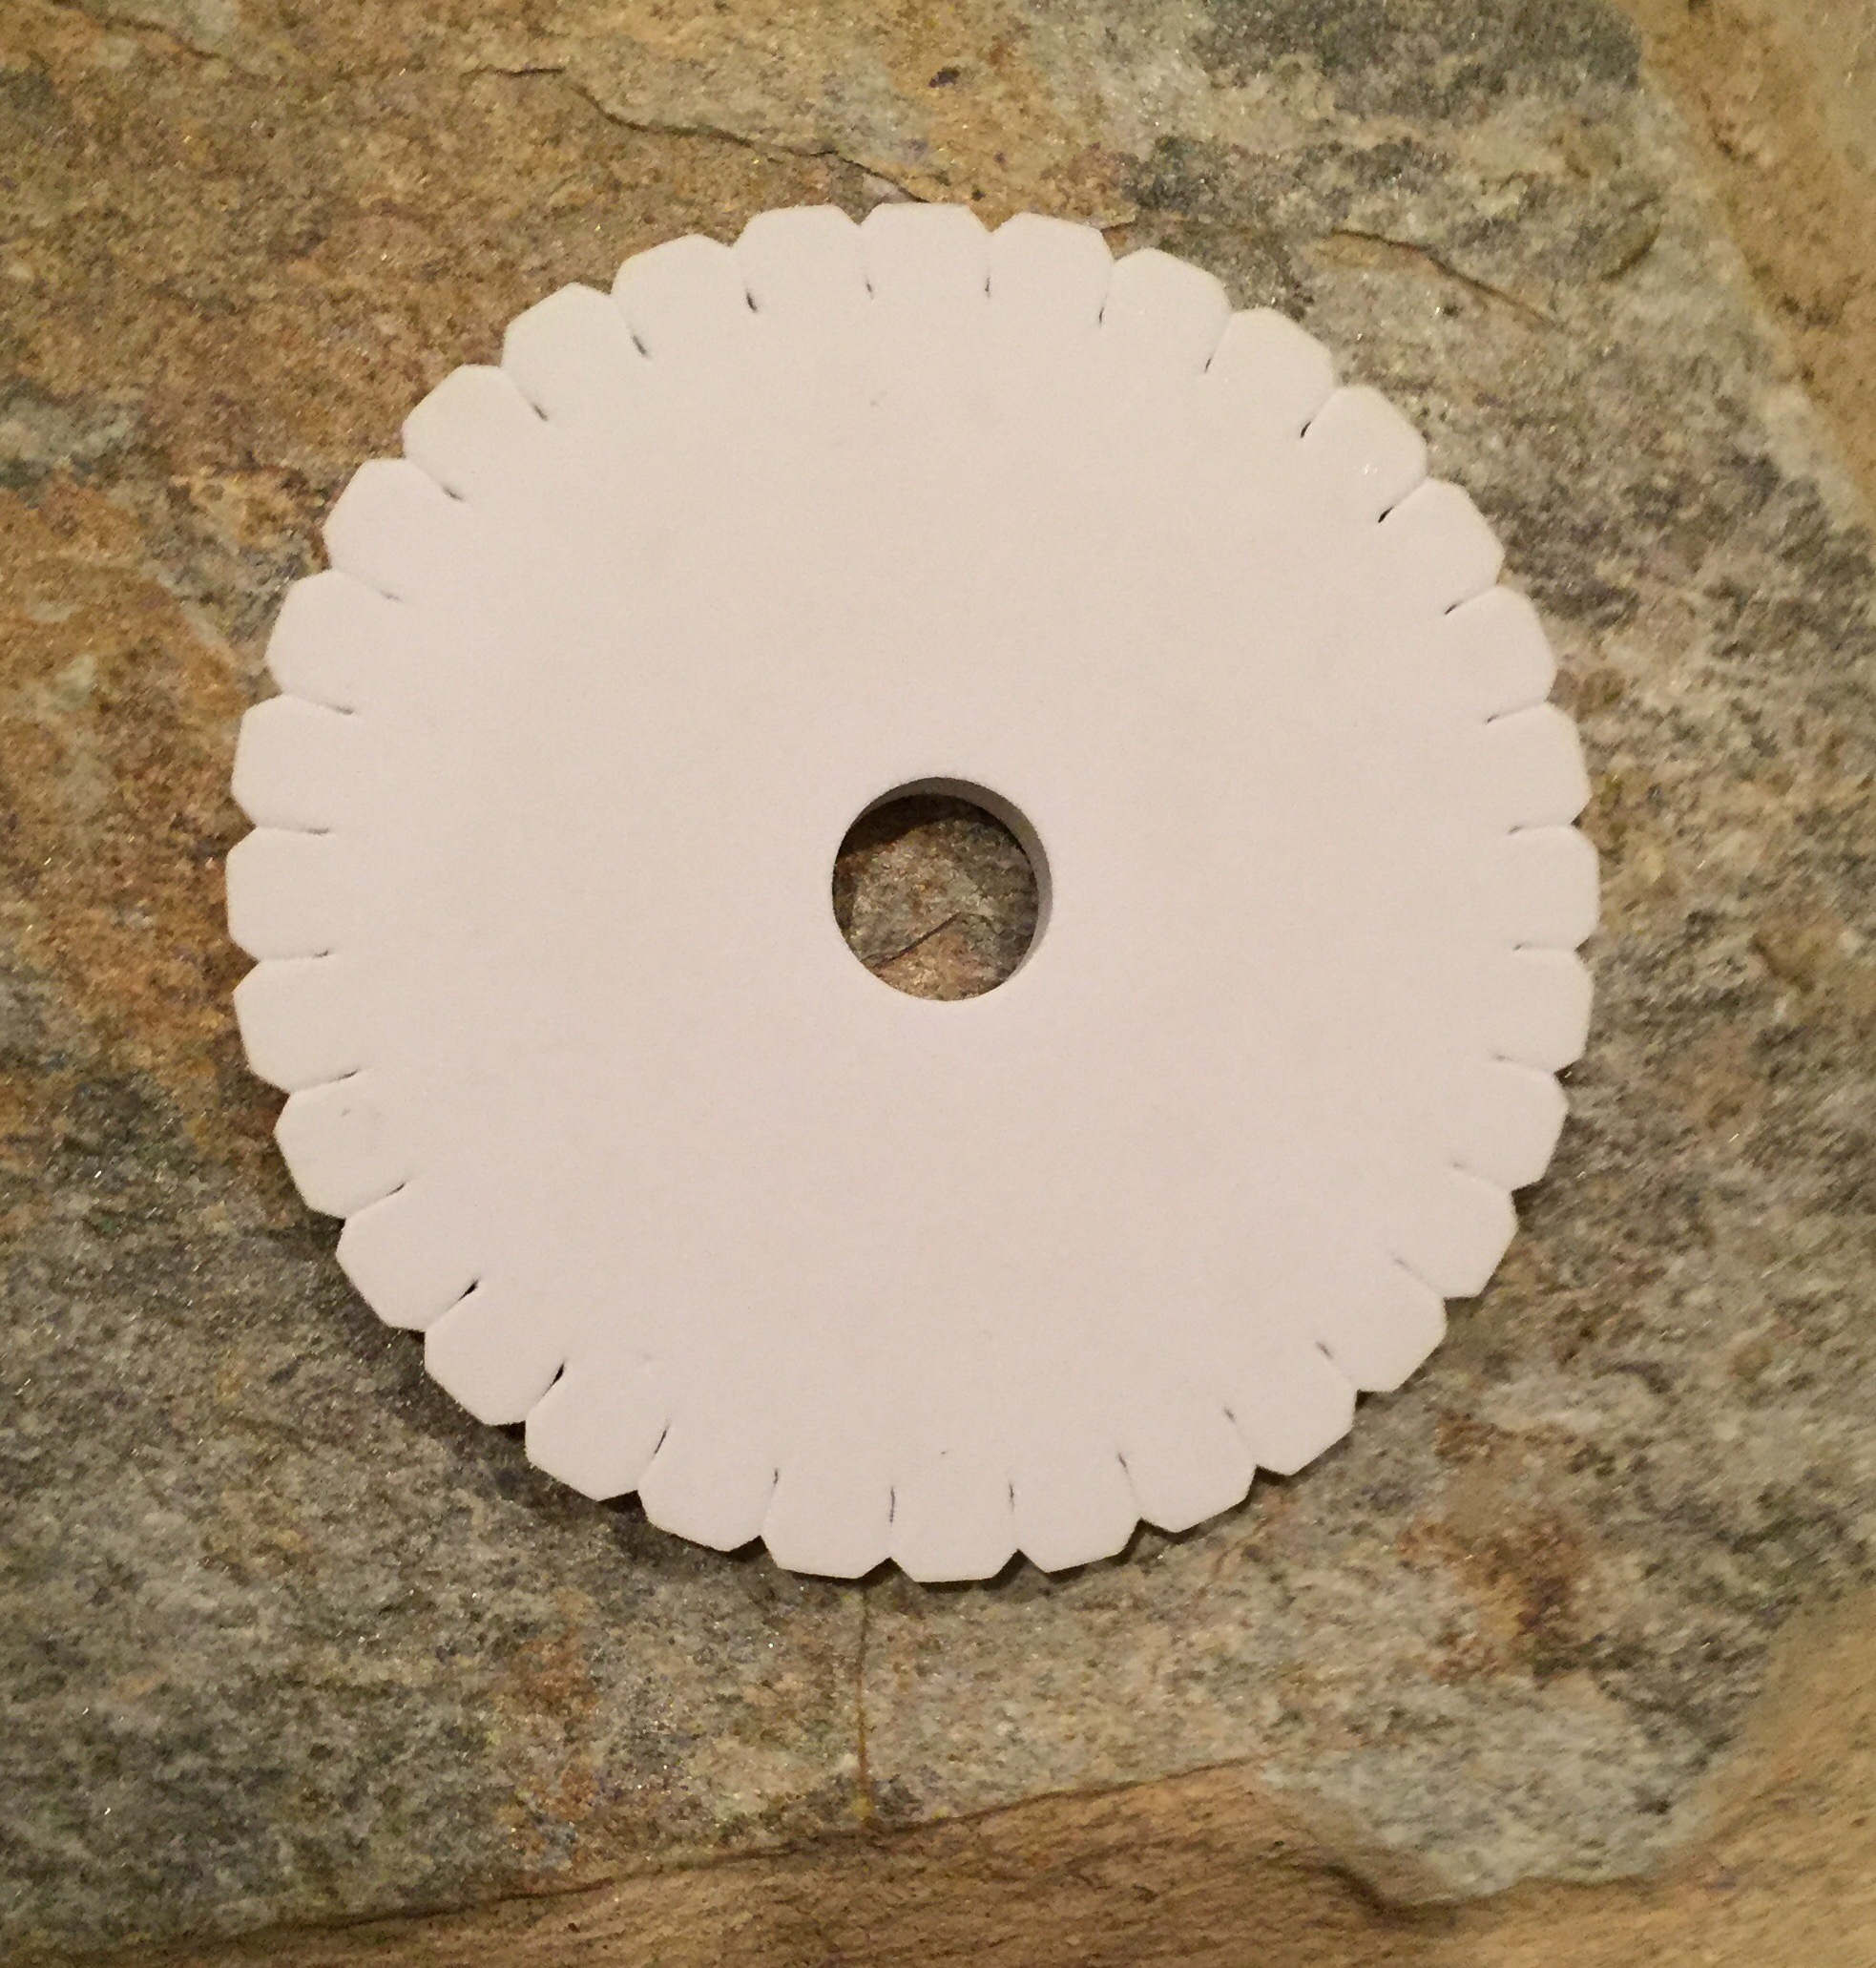 For this tutorial, the blank side of the disk is the top, and the printed side is the bottom or back or underside.
The braid I’m going to teach you is the basic 8 strand or cord or warp braid. It has a lovely Japanese name, but it was all I could do to learn to say kumihimo! (Coo-me-HE-mo)
Begin by cutting three foot, or one meter, lengths of 8 cords. Any variety of cords or fibers can be used. For teaching purposes, I chose 8 different colors of mouse tail (1mm satin cord. The larger 2mm cord is often called rat tail.)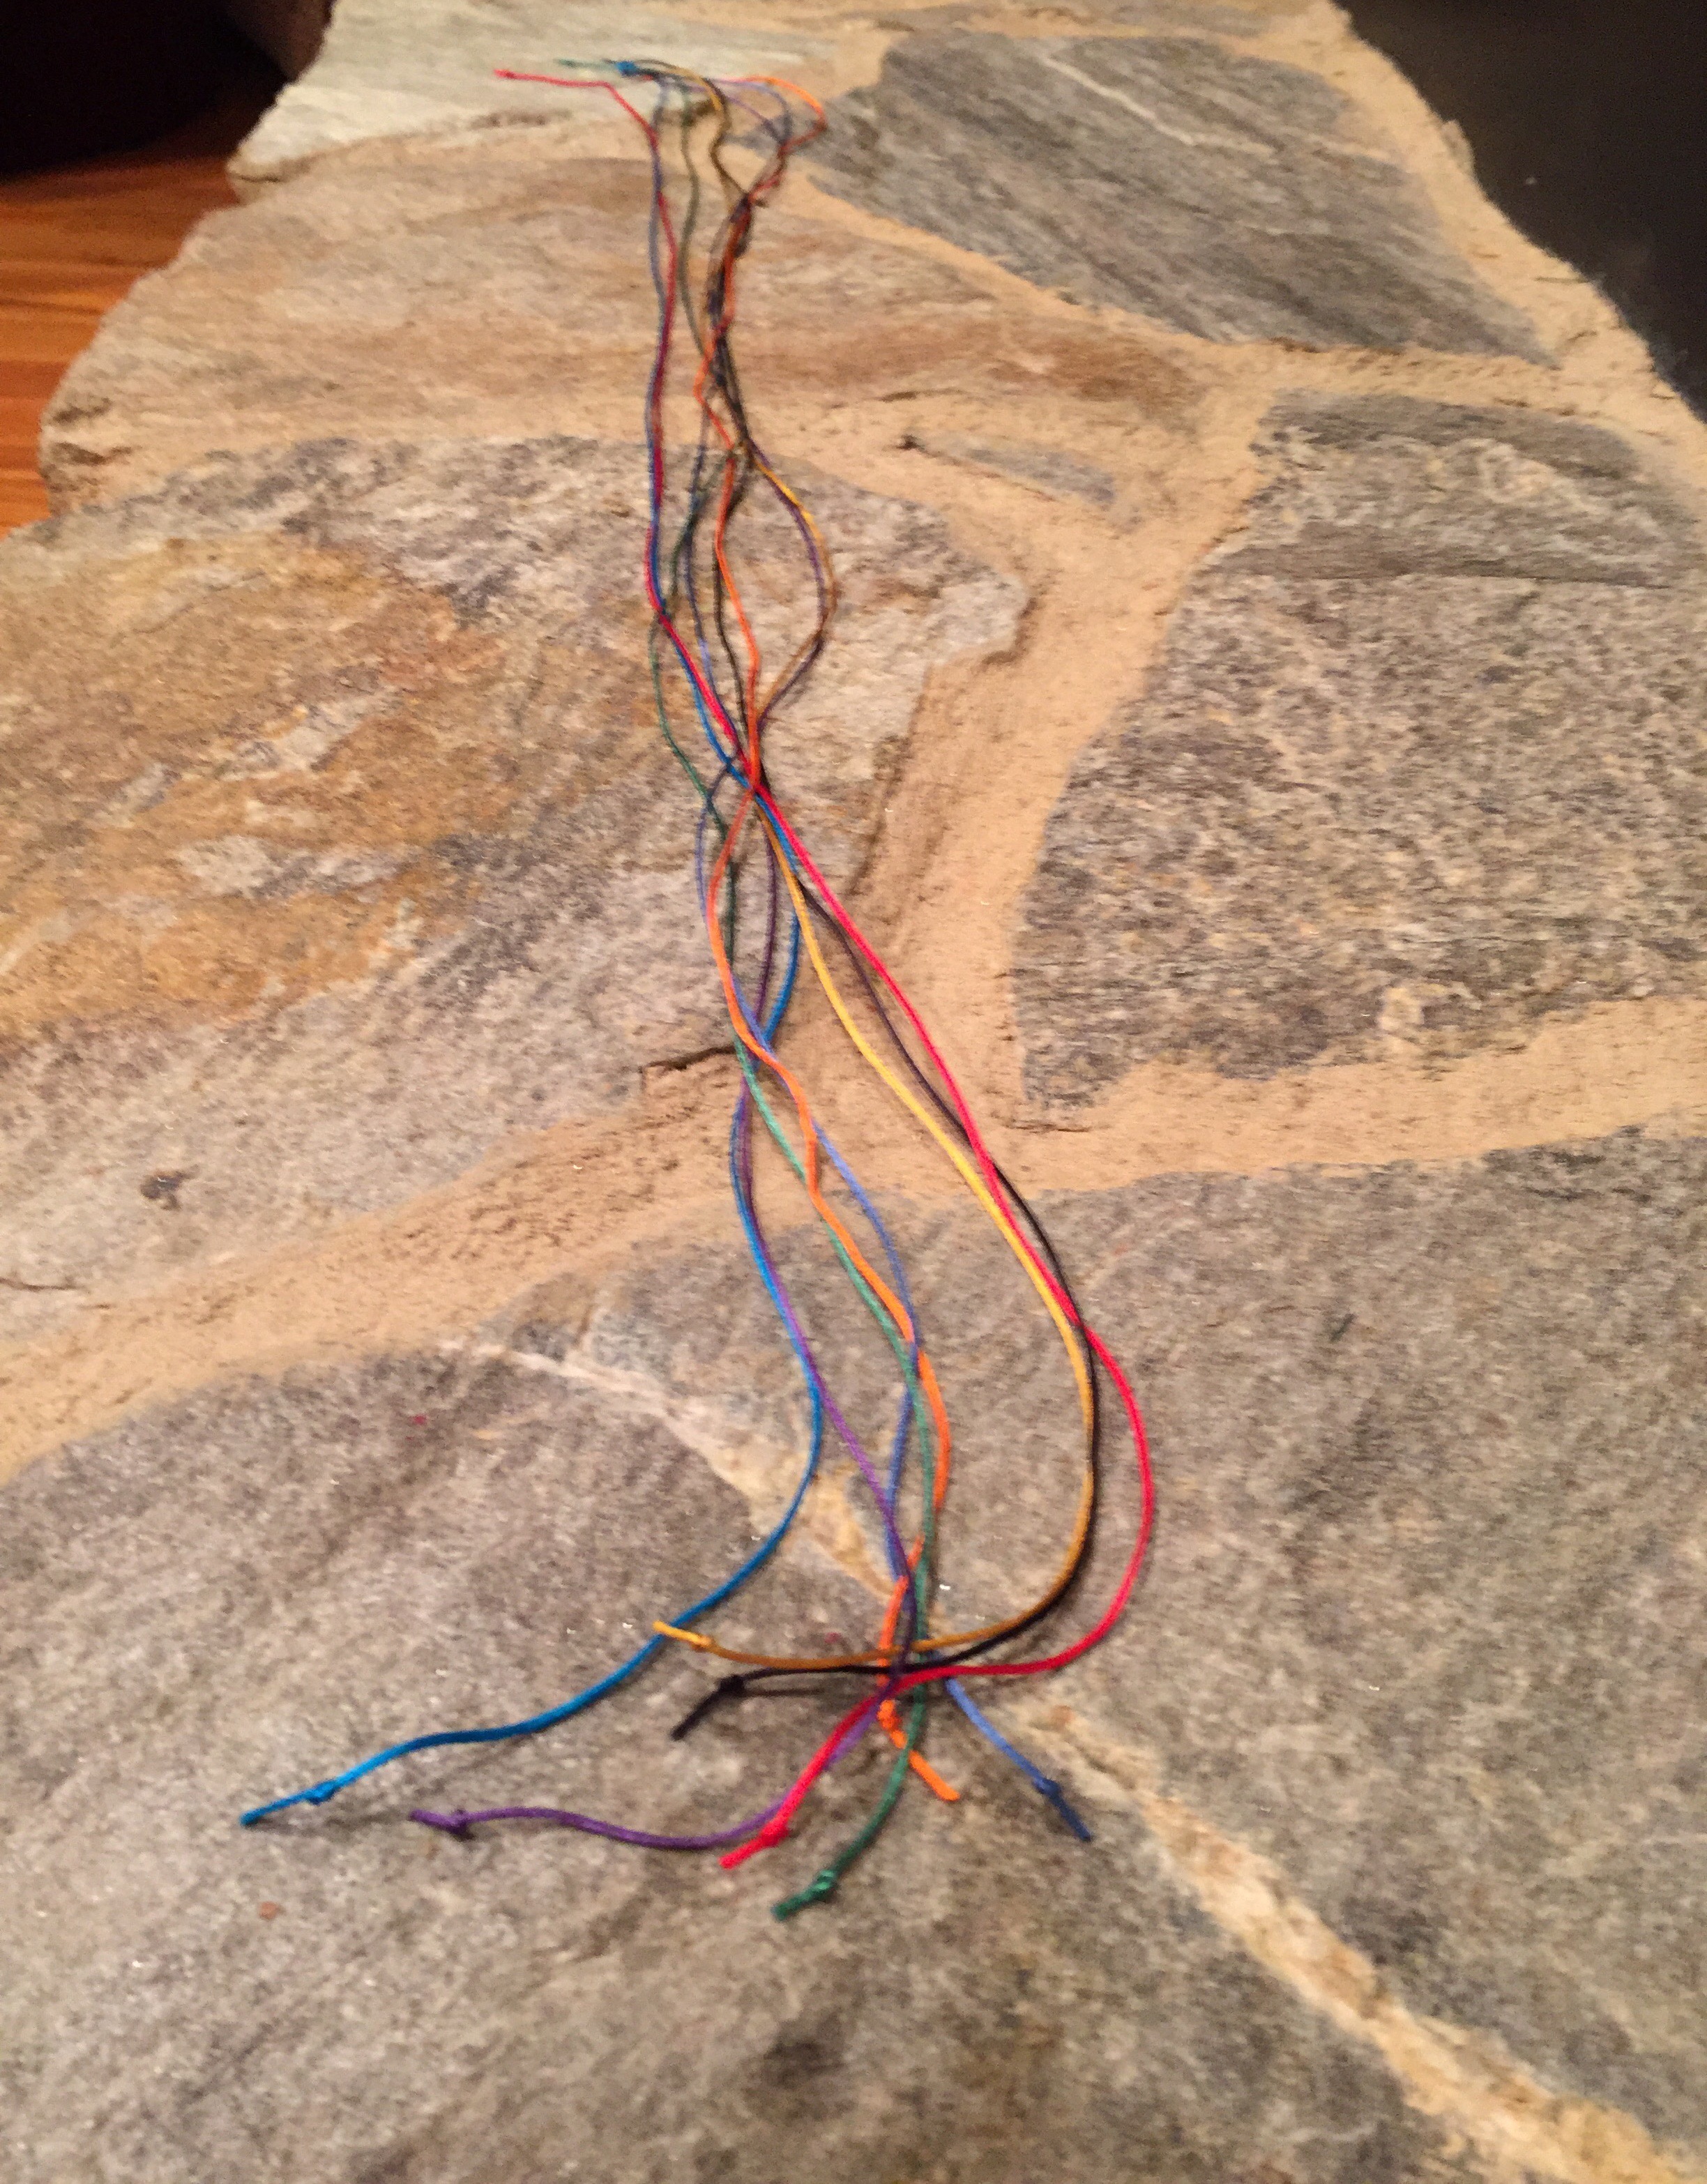 The tiny little knot at the end of each cord is not necessary, it’s just something I do to keep the mouse tail from getting, “ratty!” If you use a cord or fiber that ravels, tie the tiny knots!
 Hold one end of all 8 cords together and tie them together with an overhand knot.
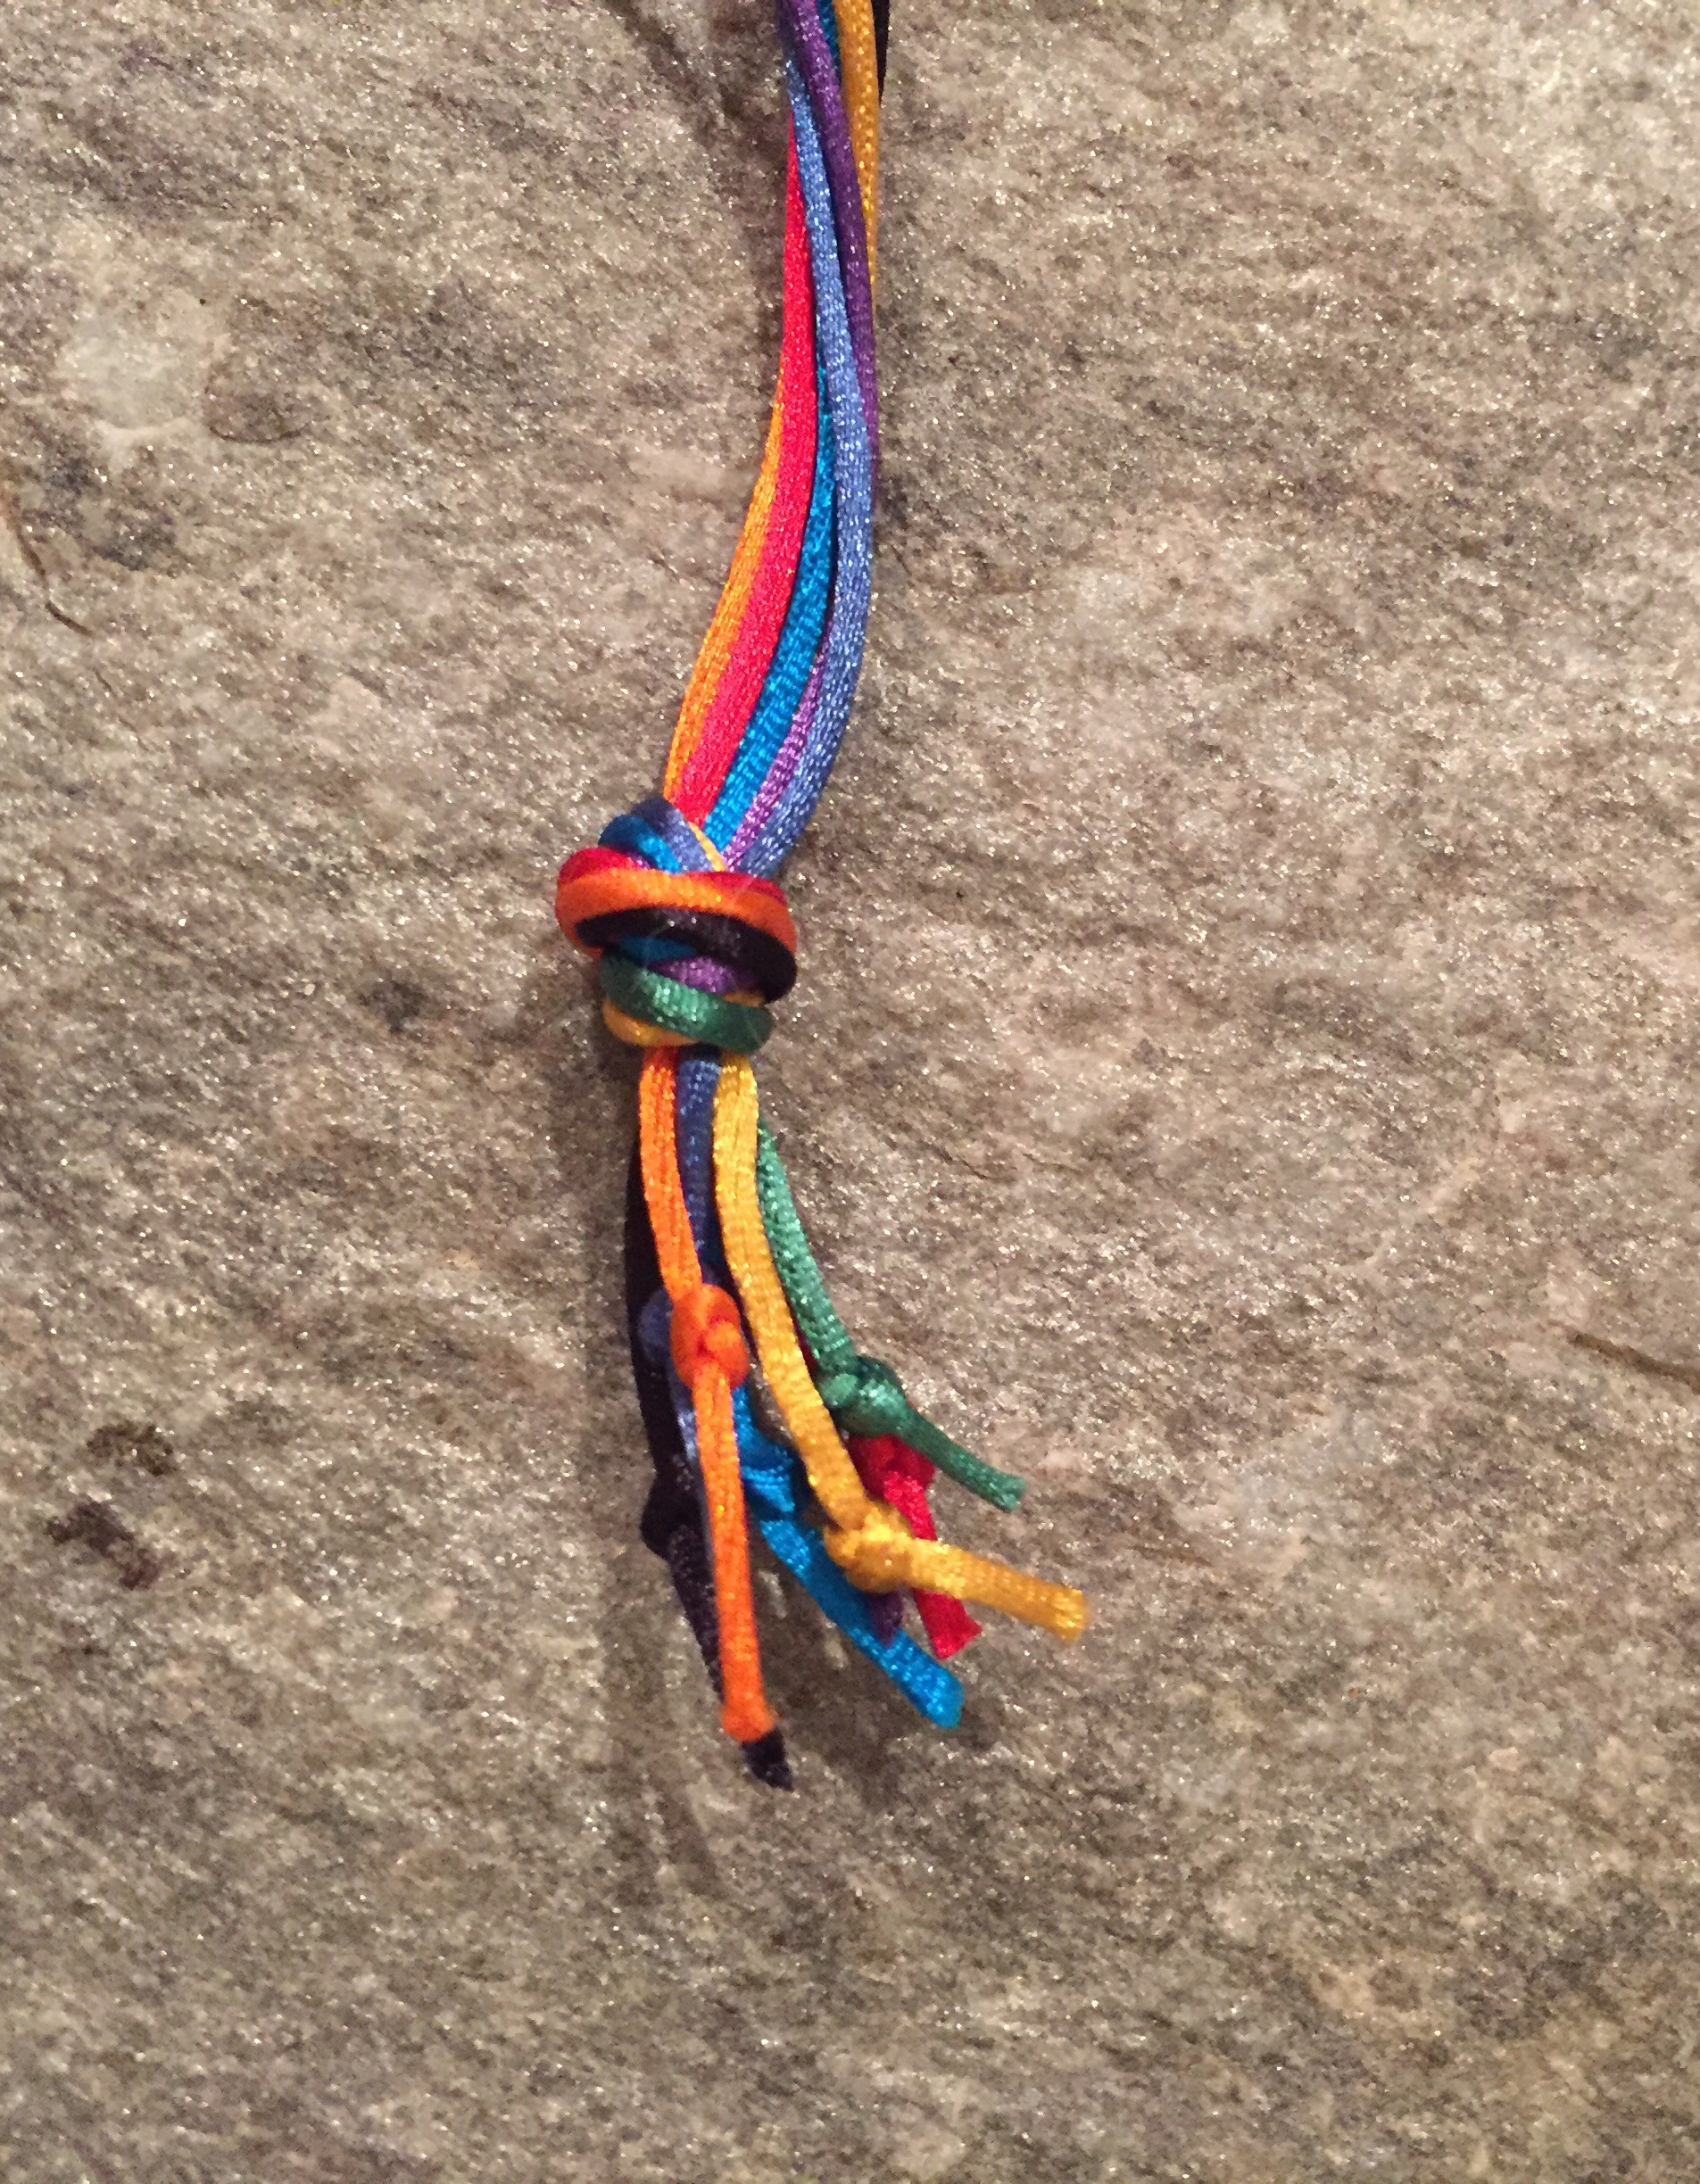 Push the knot through the center hole of the disk.
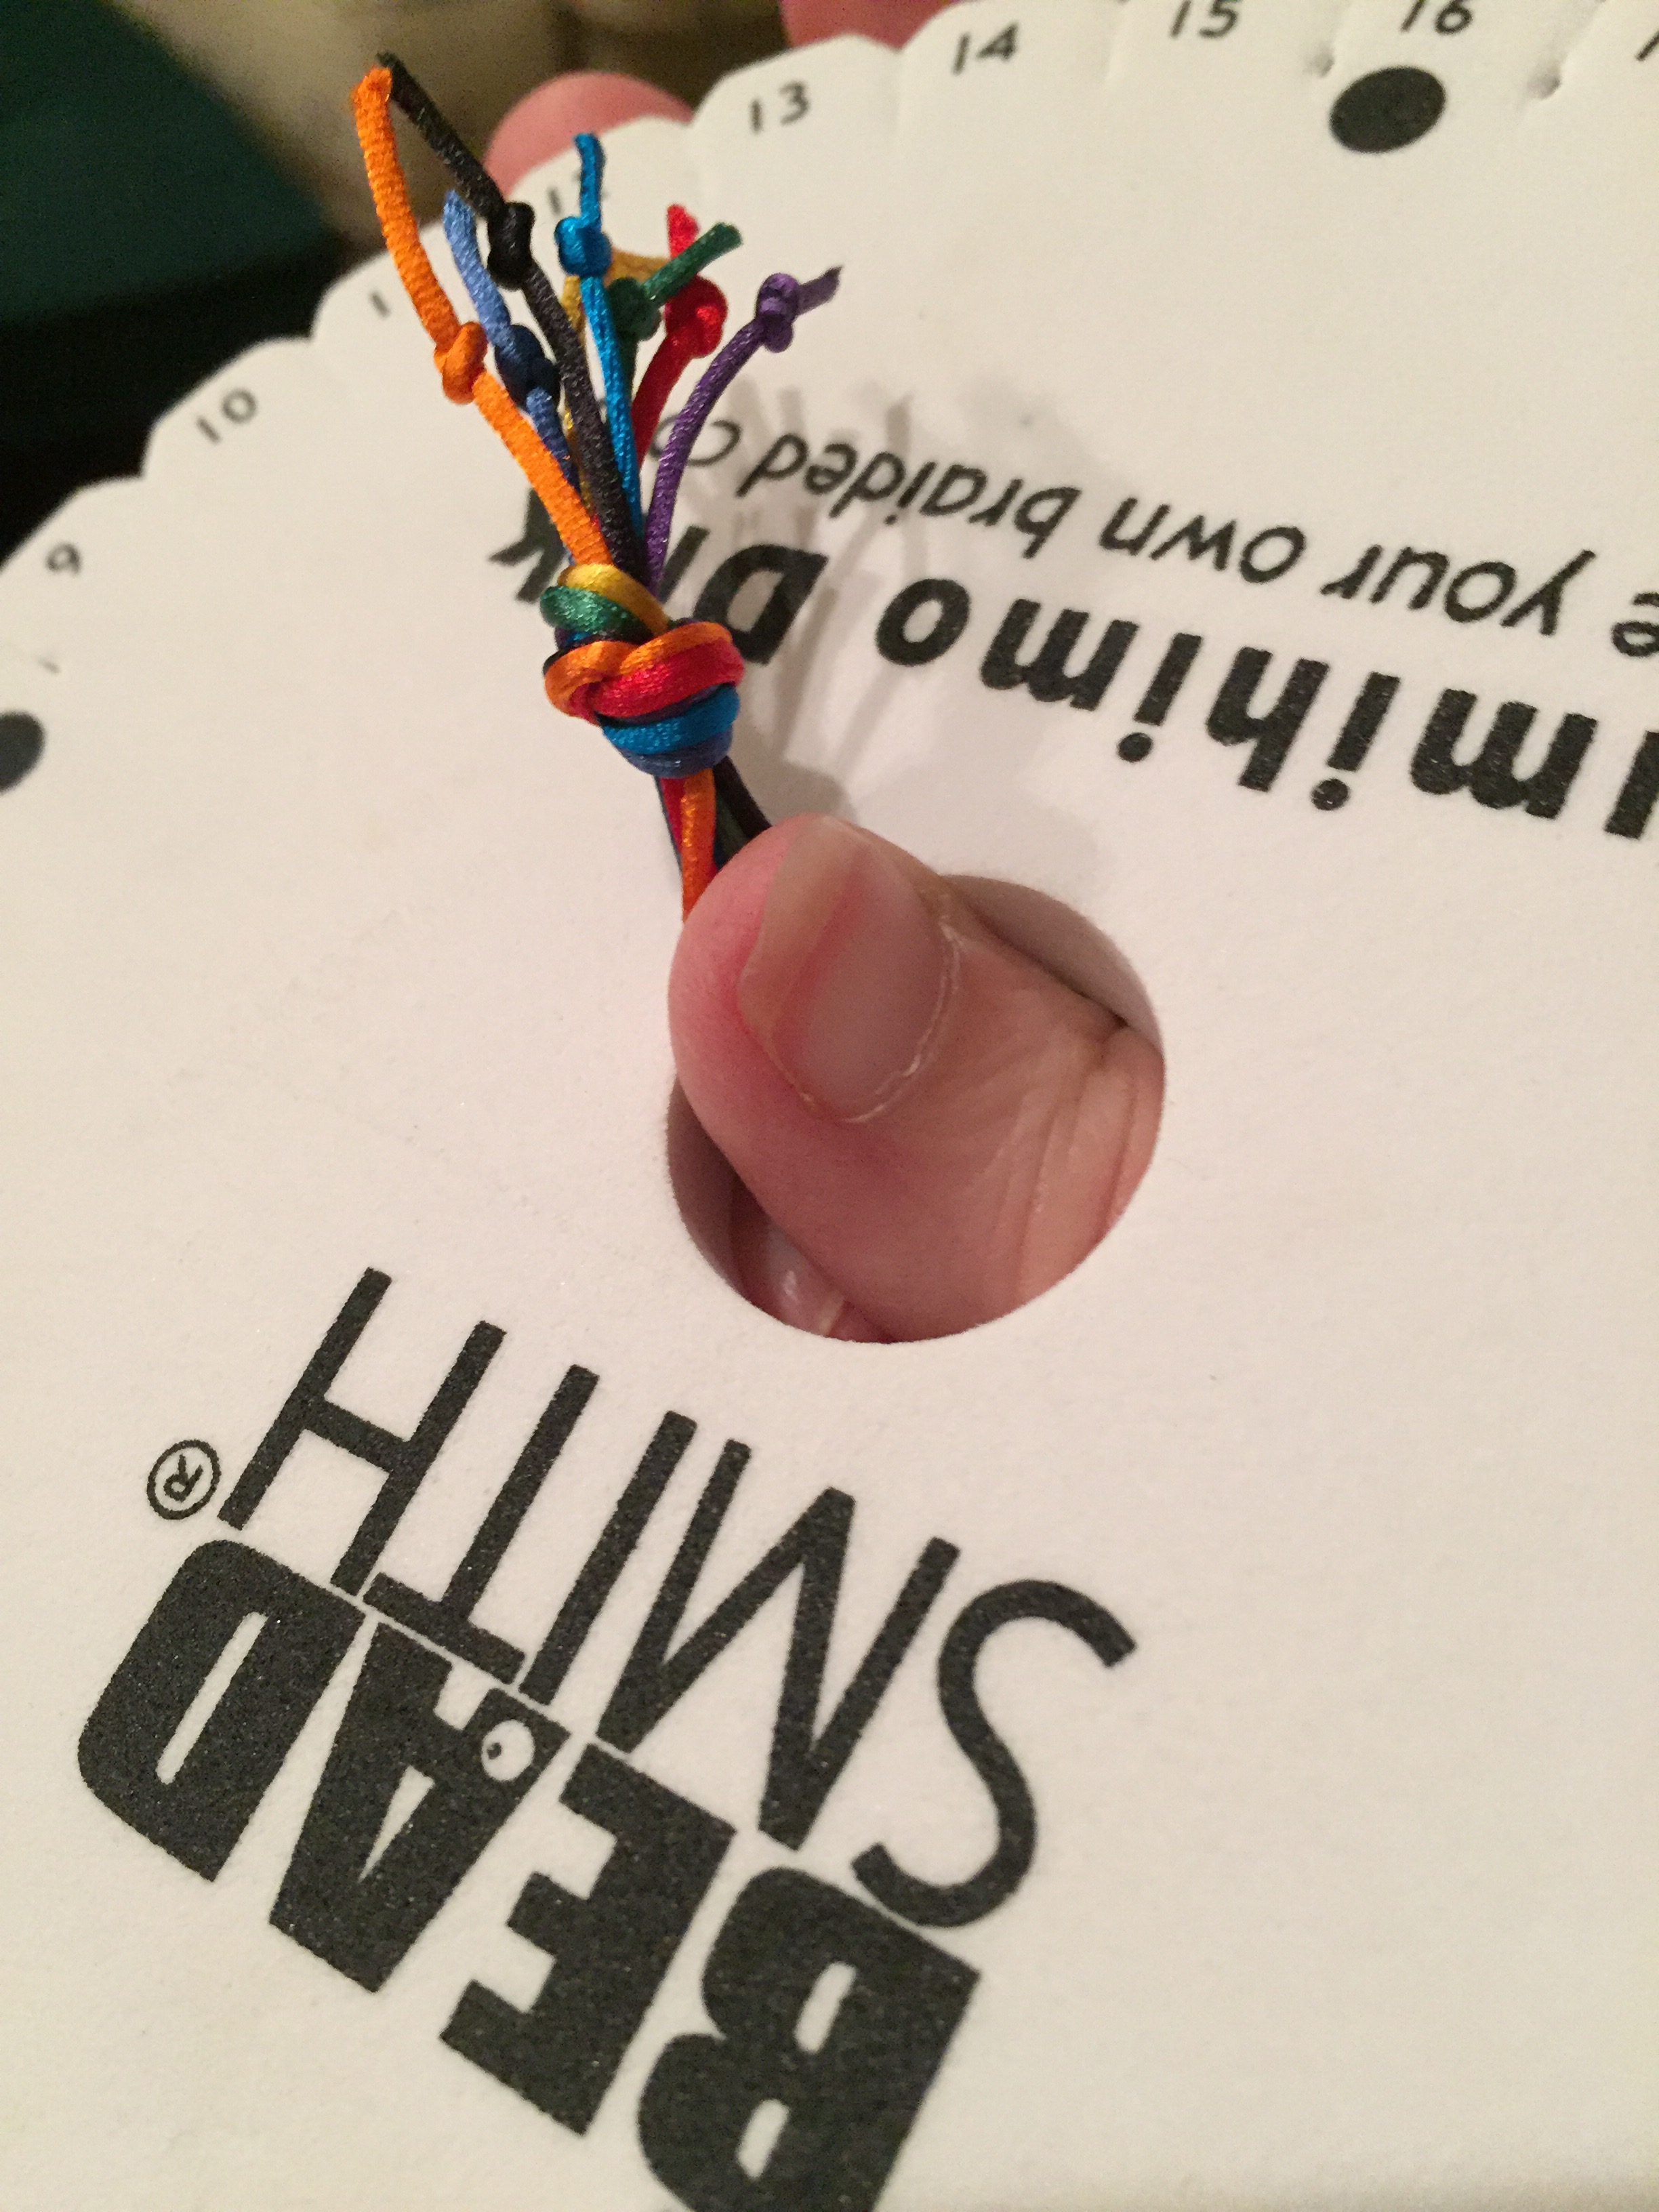 The knot should now be on the back side.
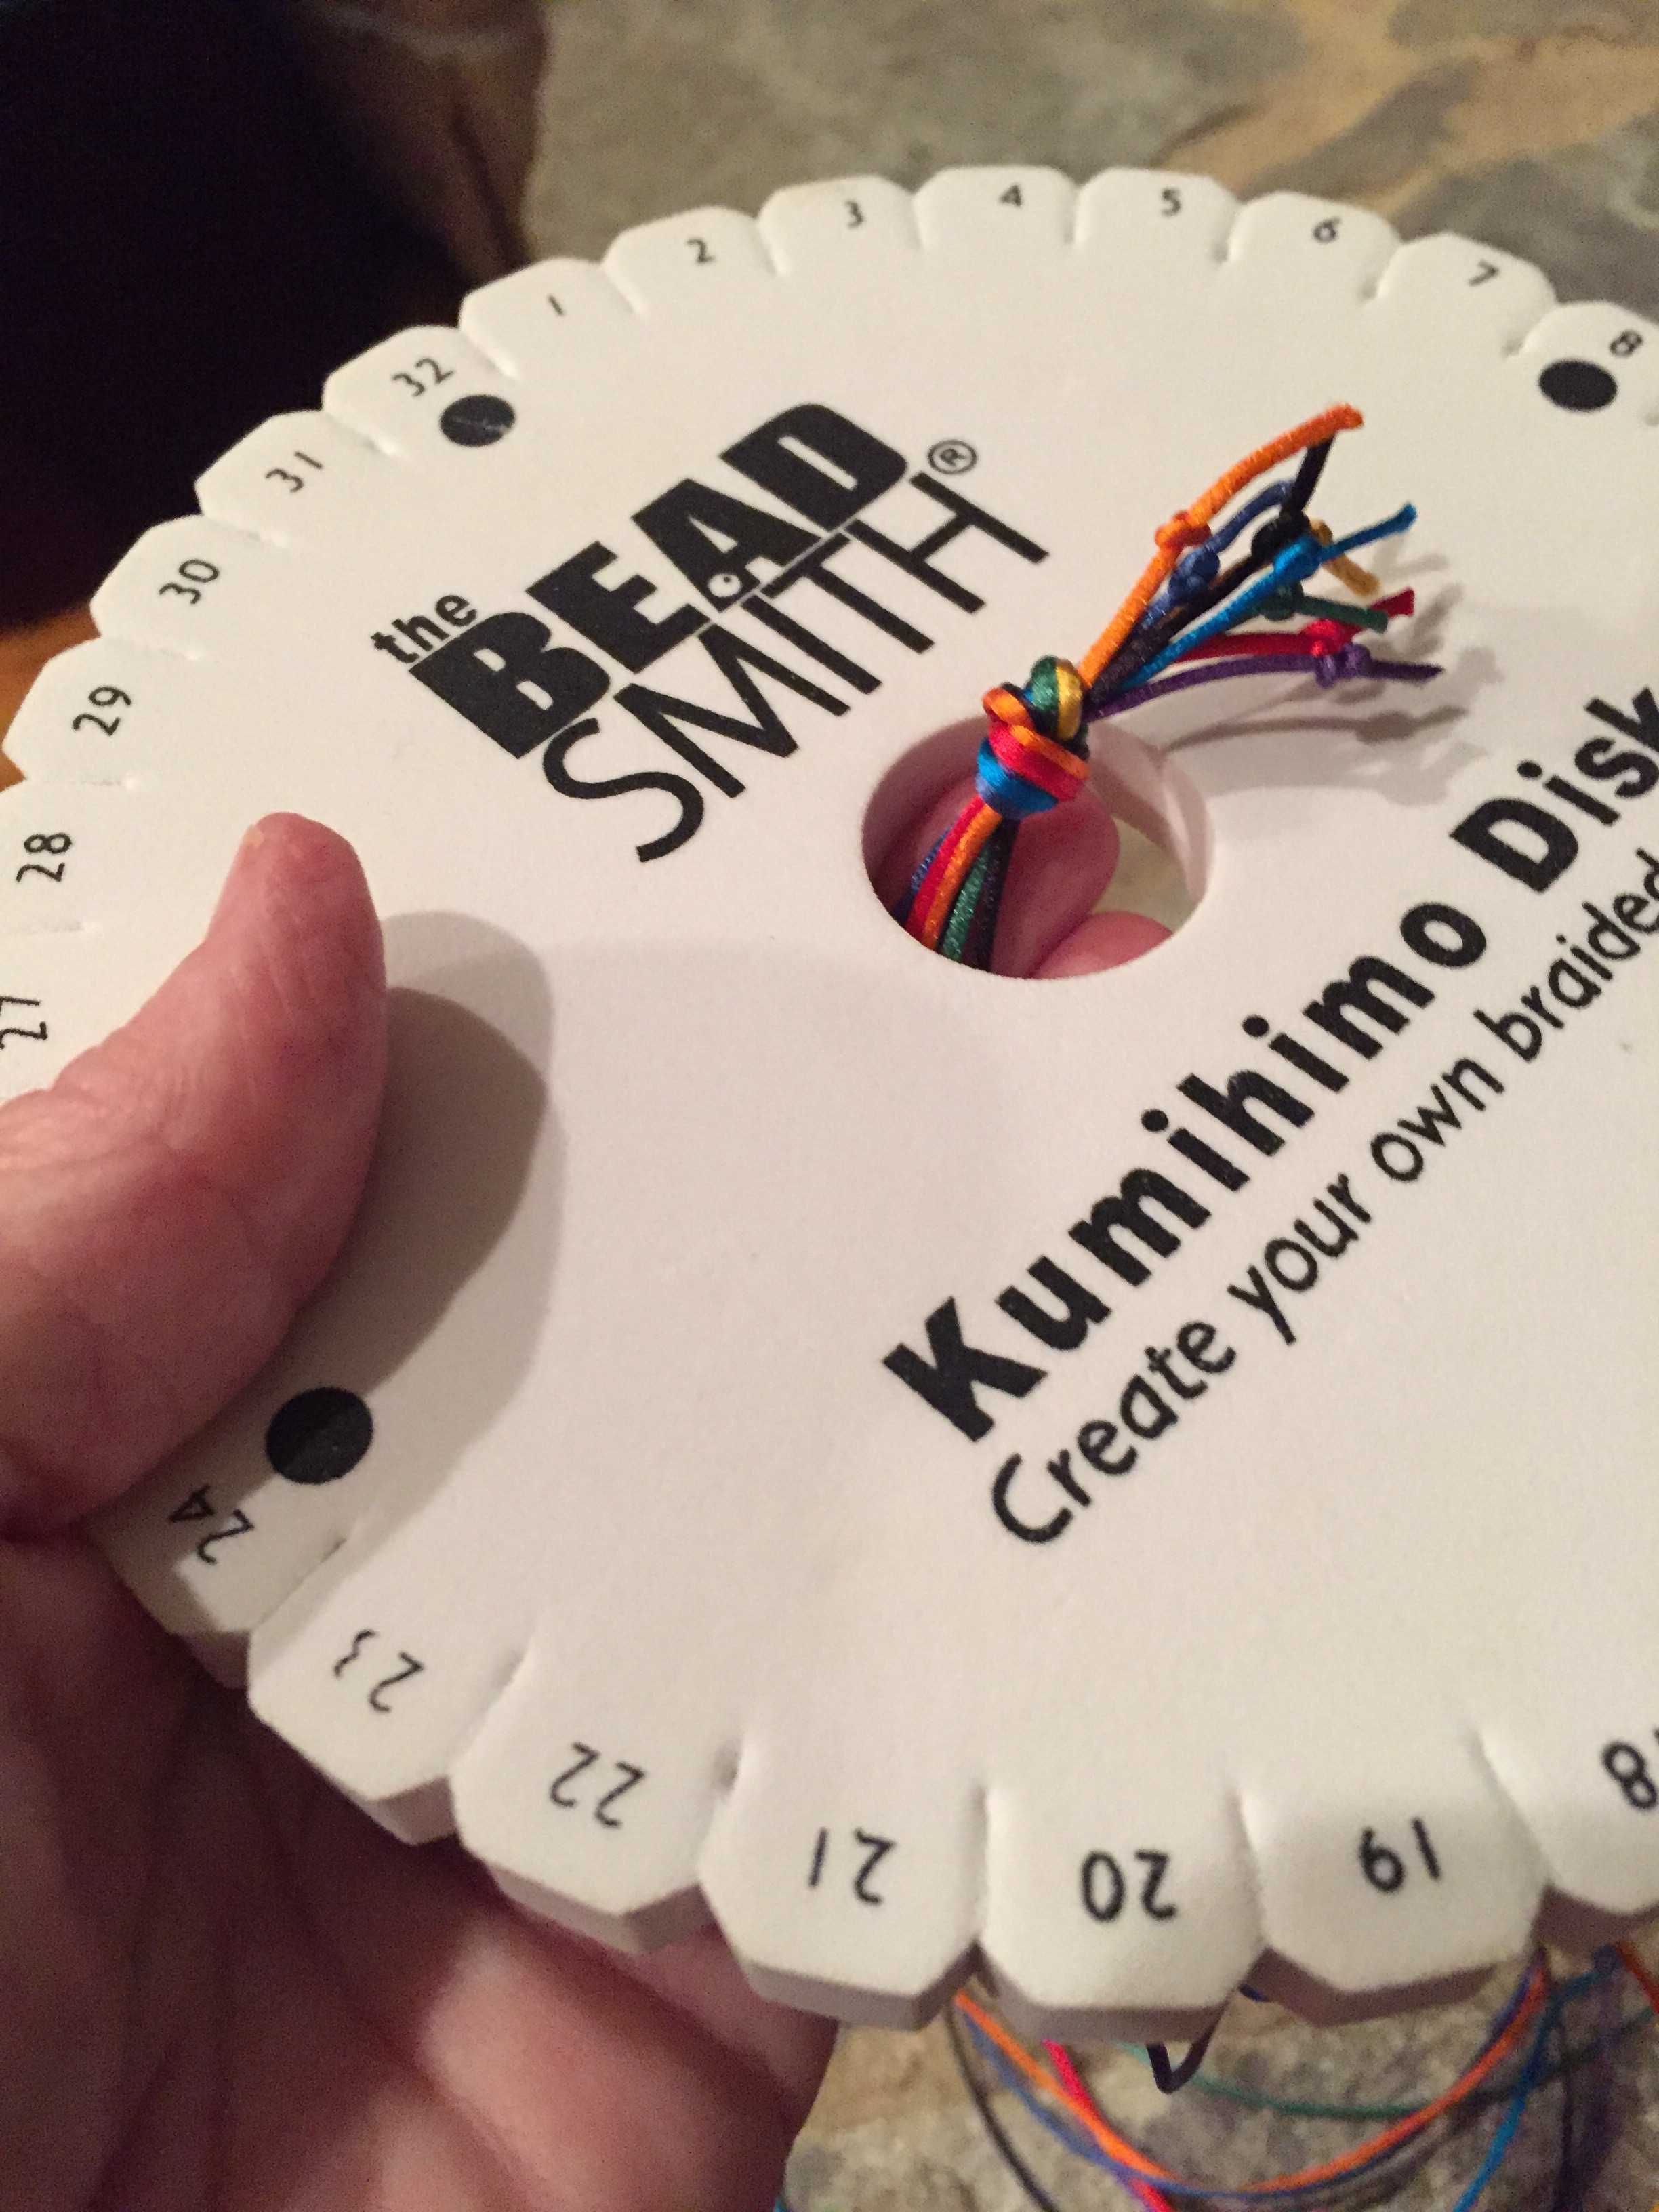
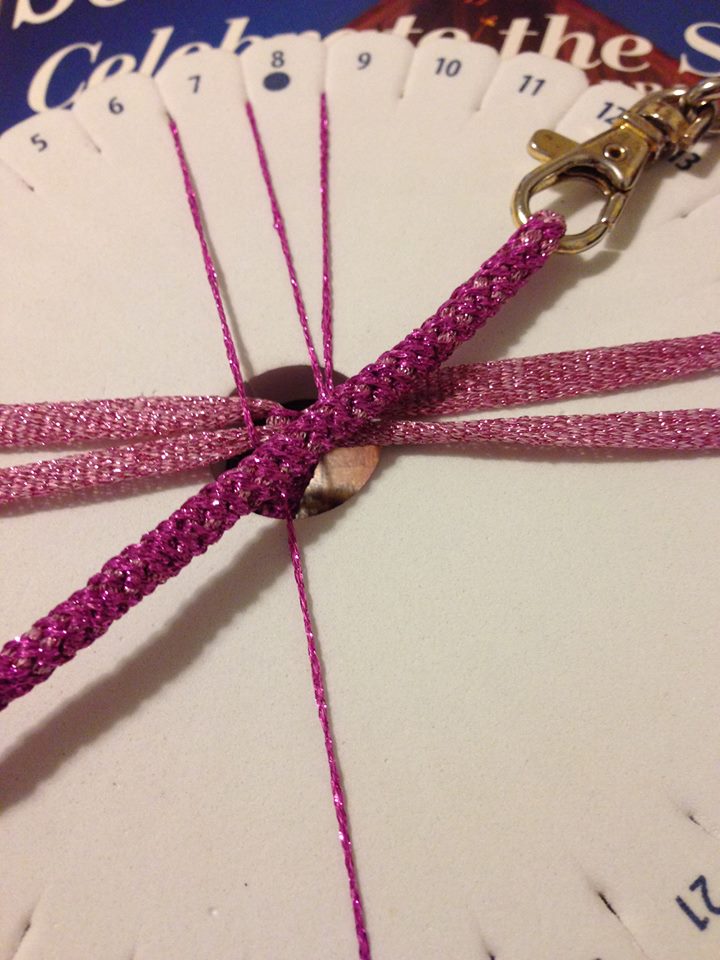
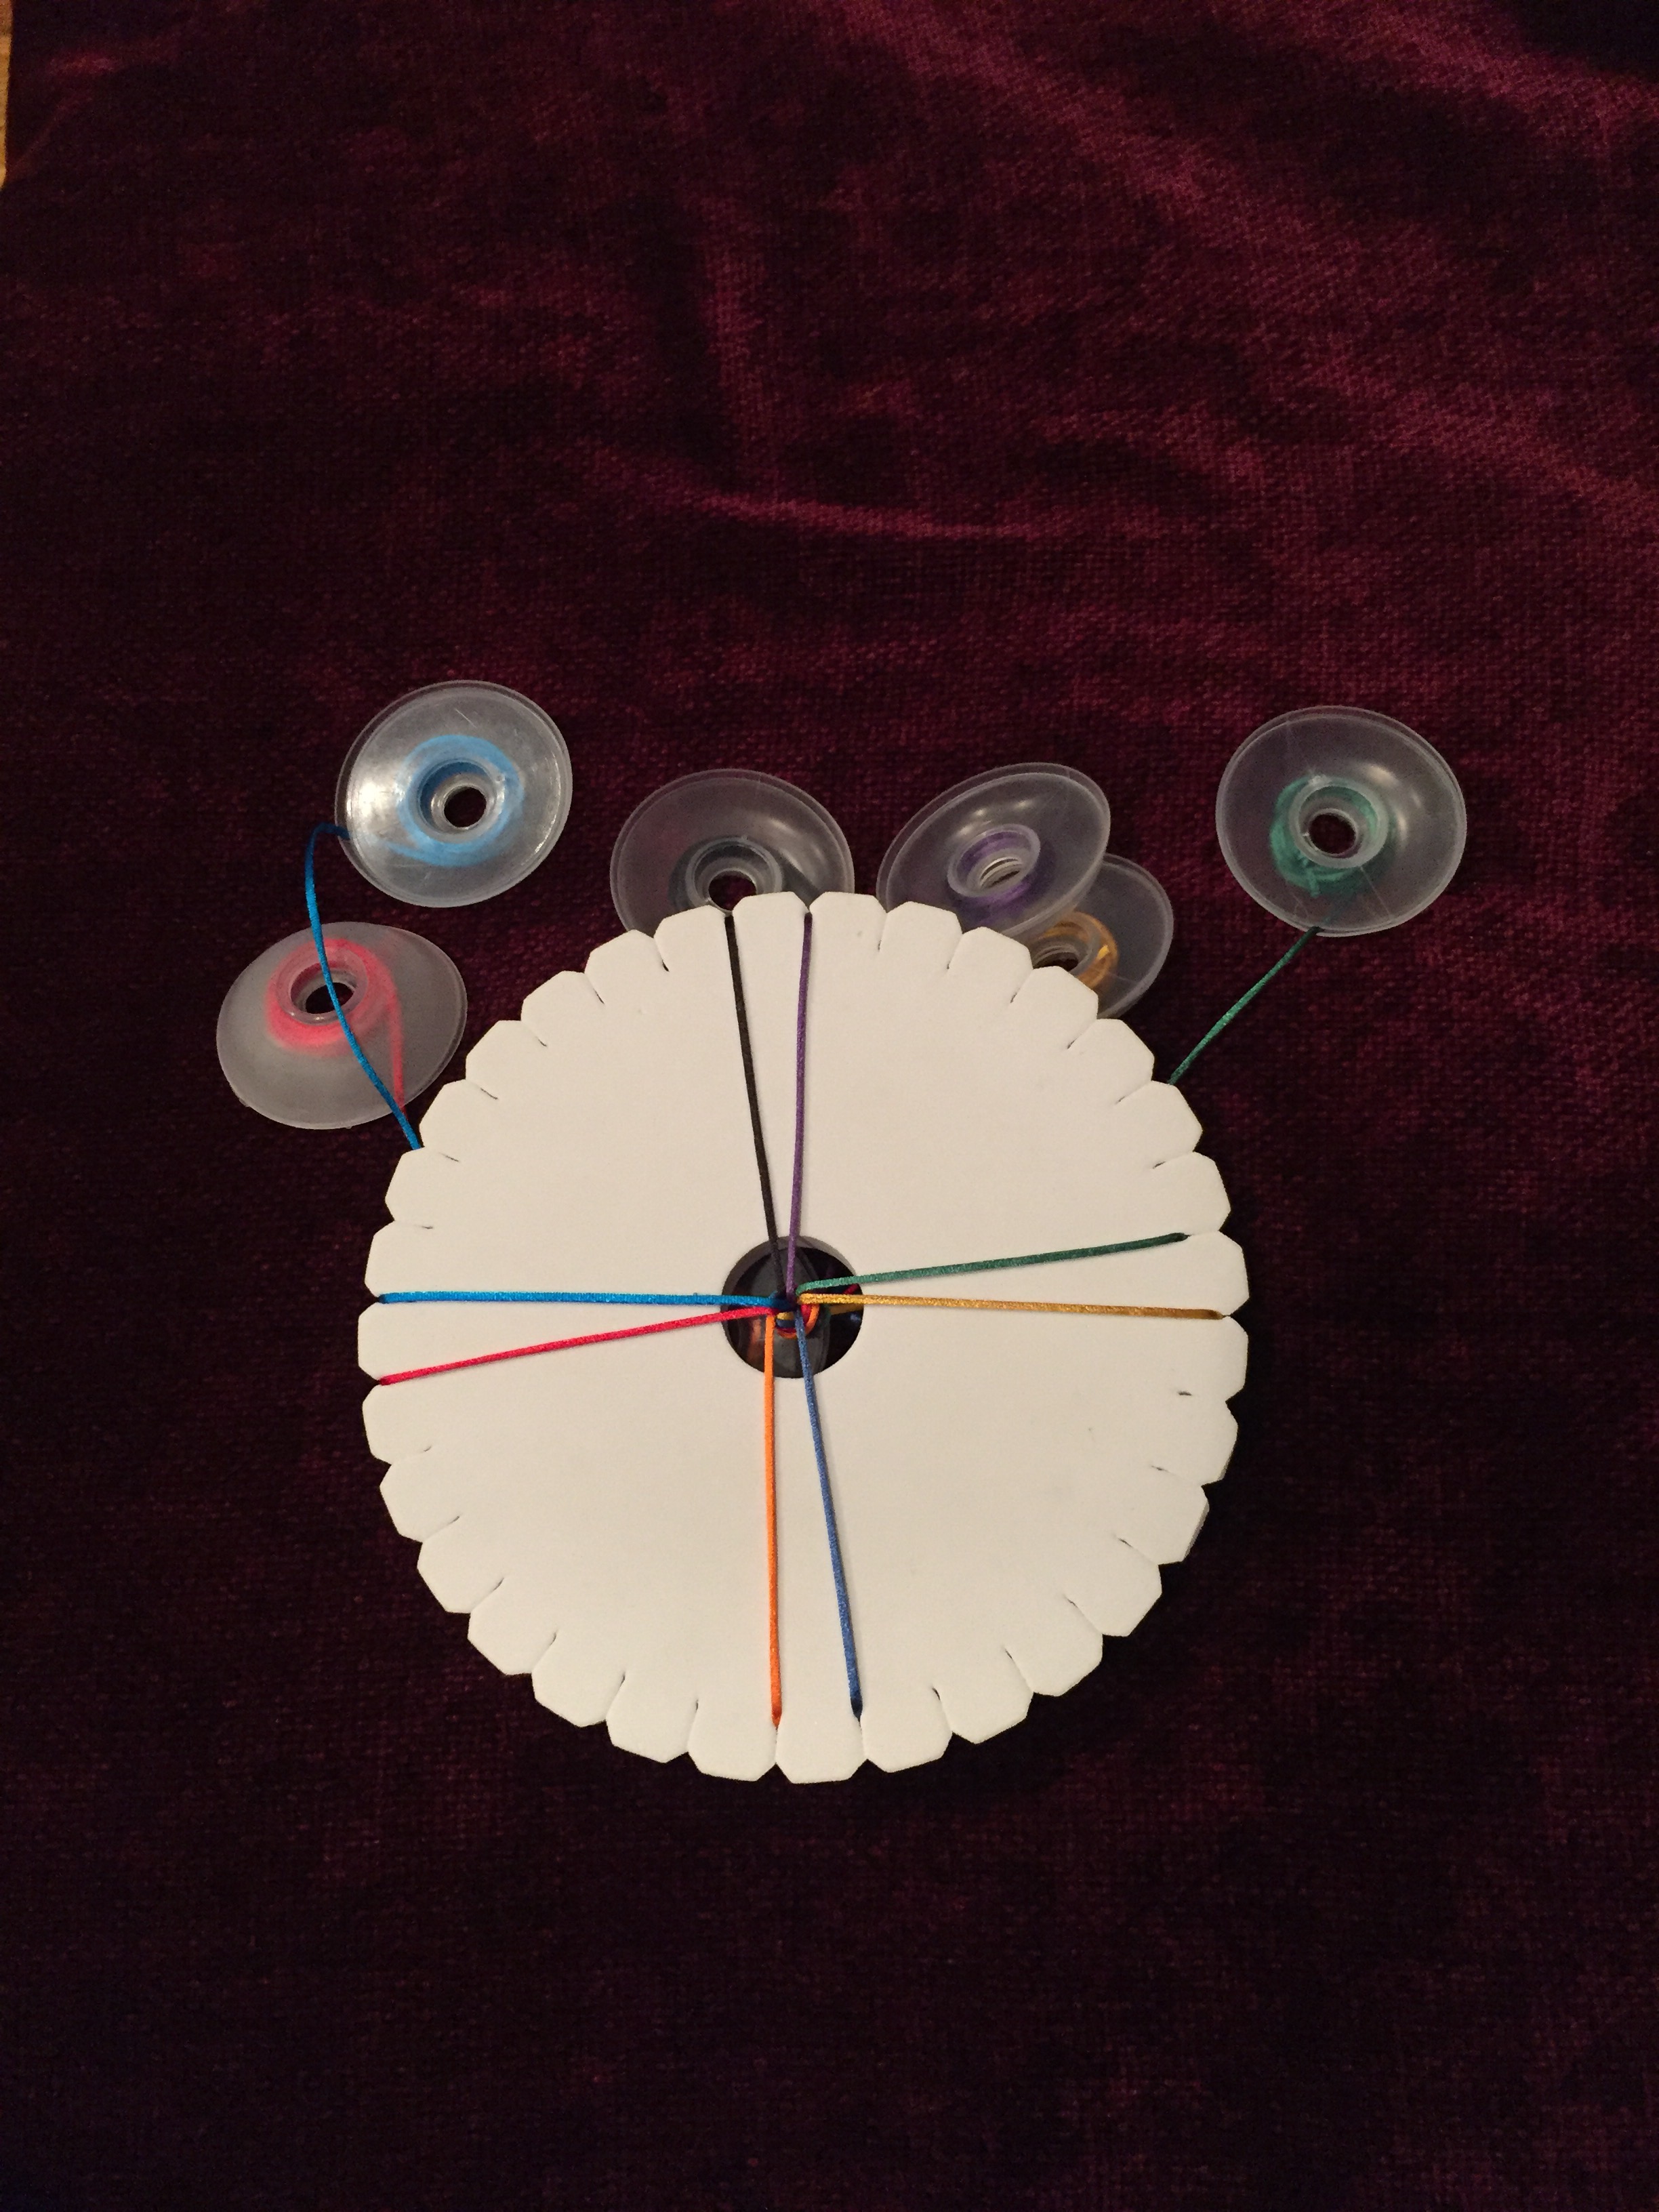
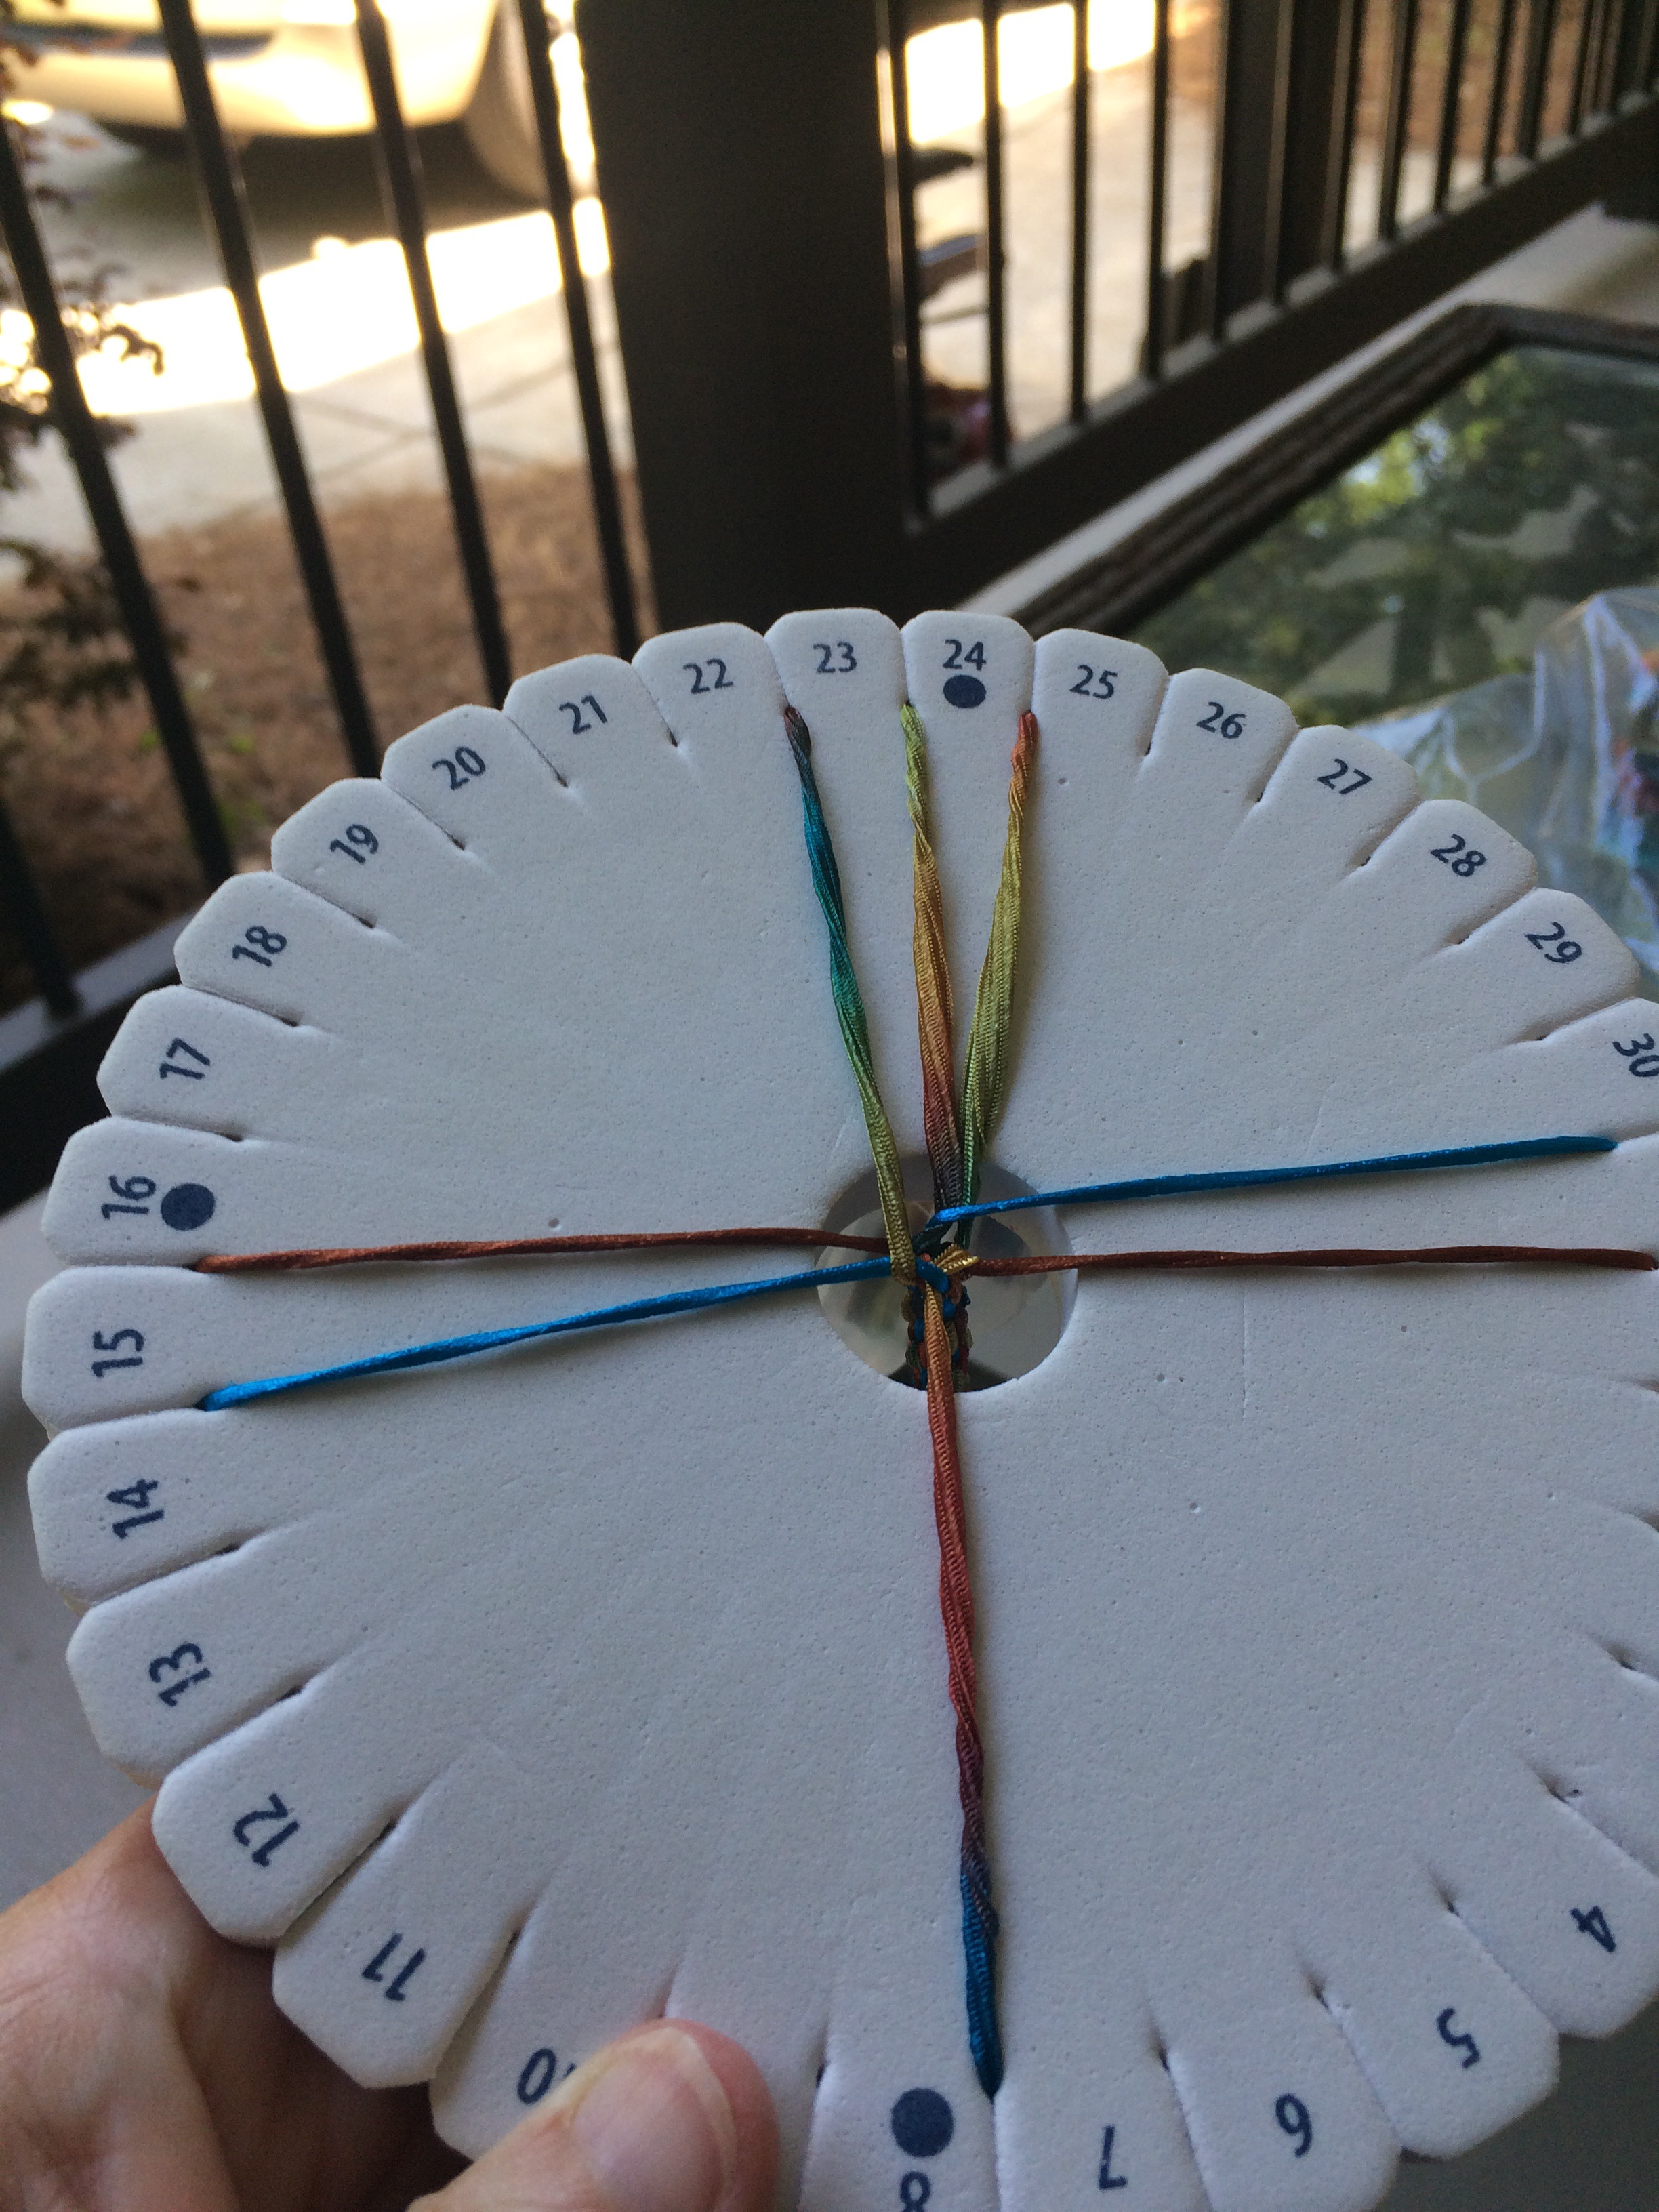
On the top of the disk, arrange the 8 cords , two at a time, in a “+” formation as pictured below. 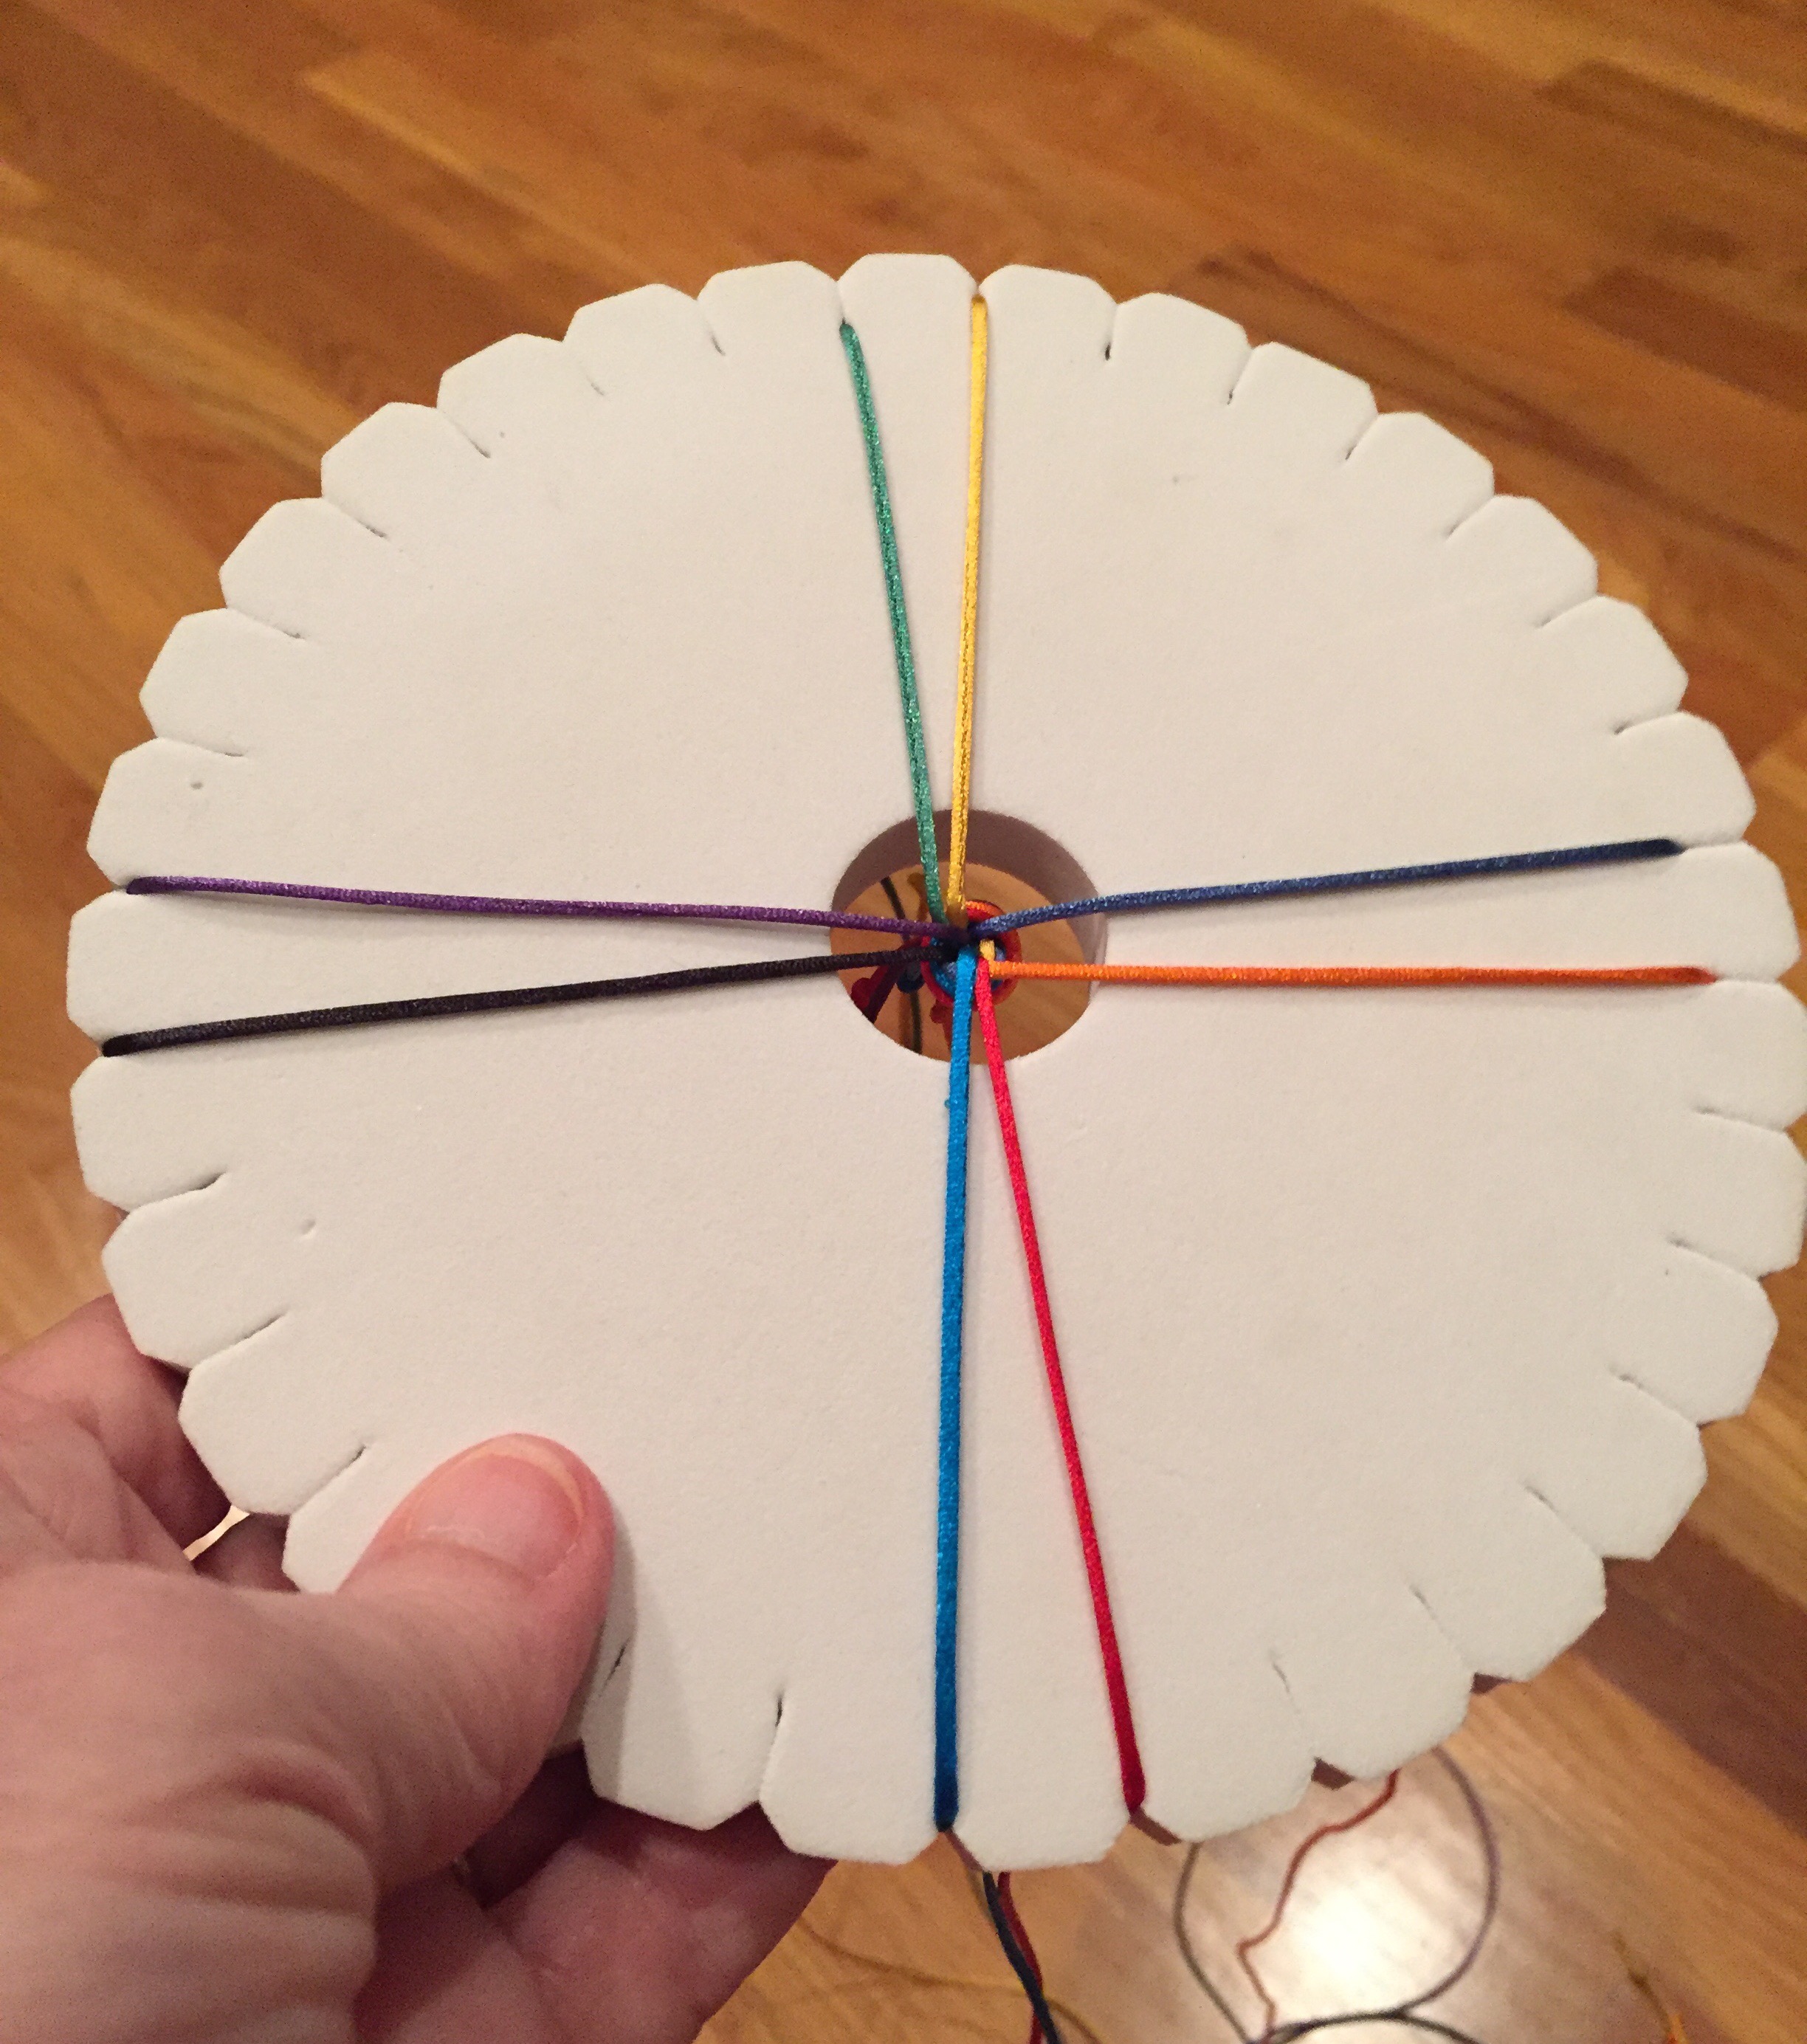 The knot stays in the center hole and each cord is tucked into a slot in the disk in the “+” formation. Notice that the cords are in pairs. The members of each pair are in slots next to each other.
This is how the “back,” or, “underside,” of the disk should look:
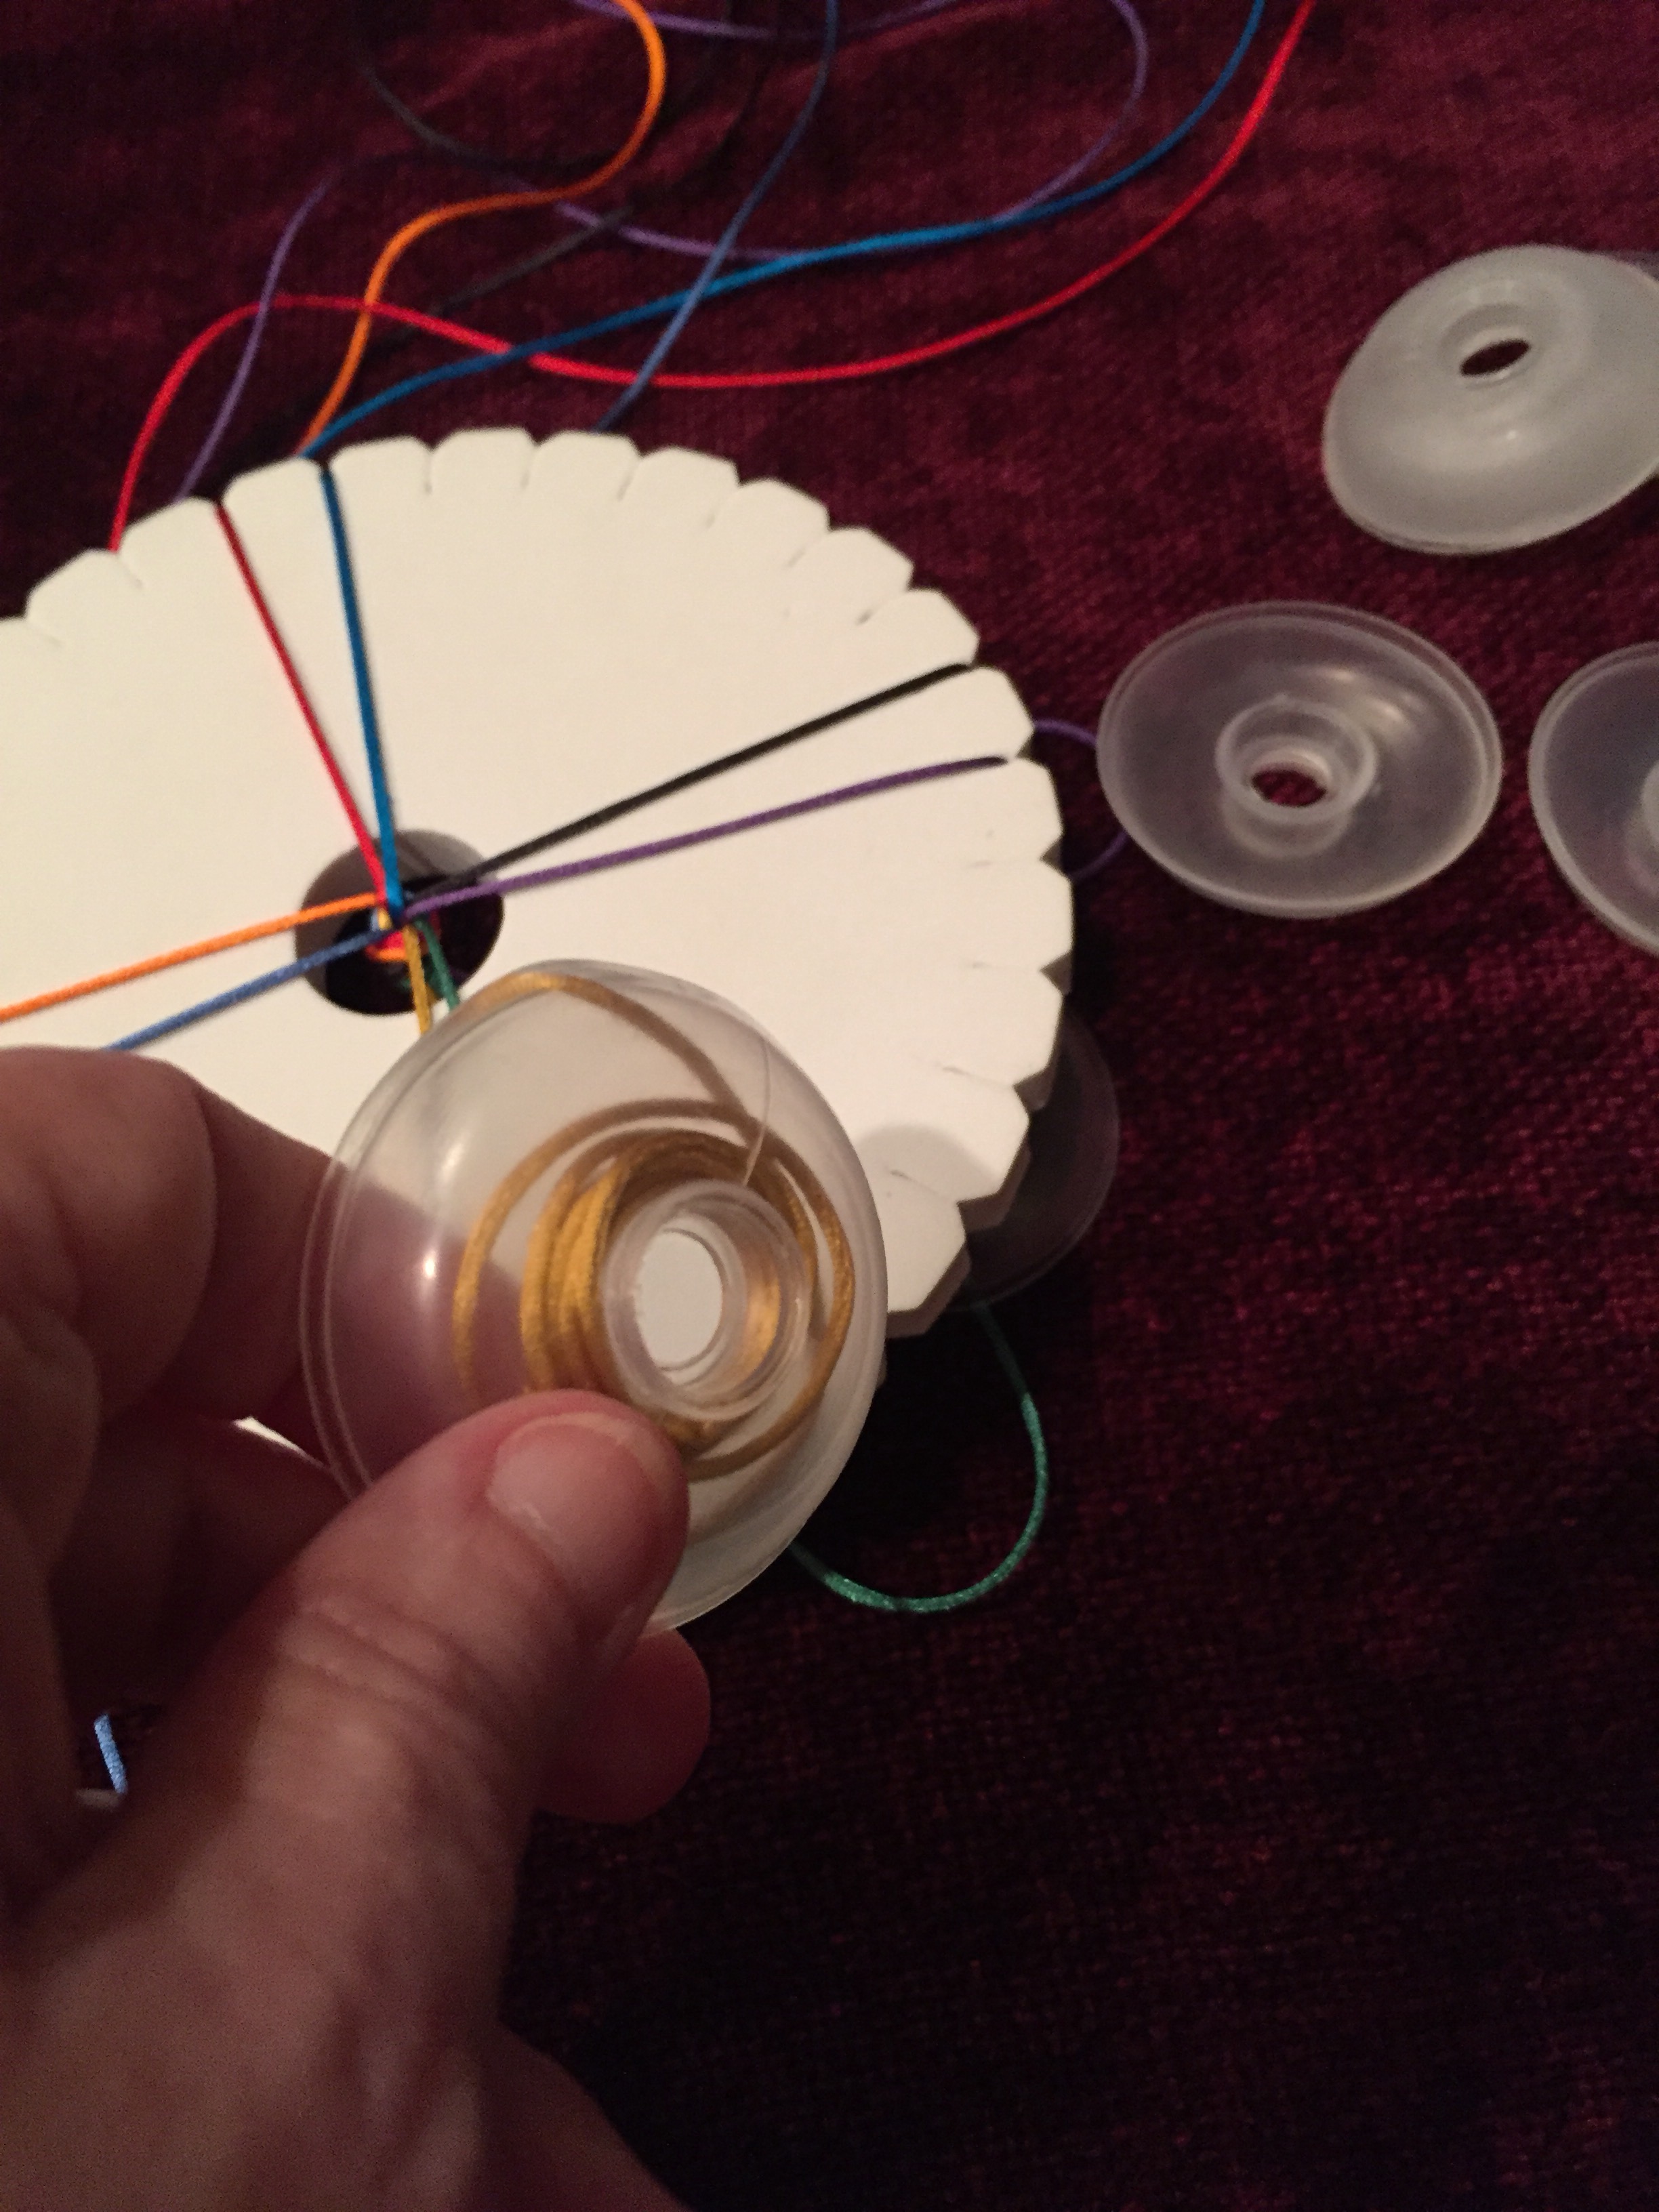
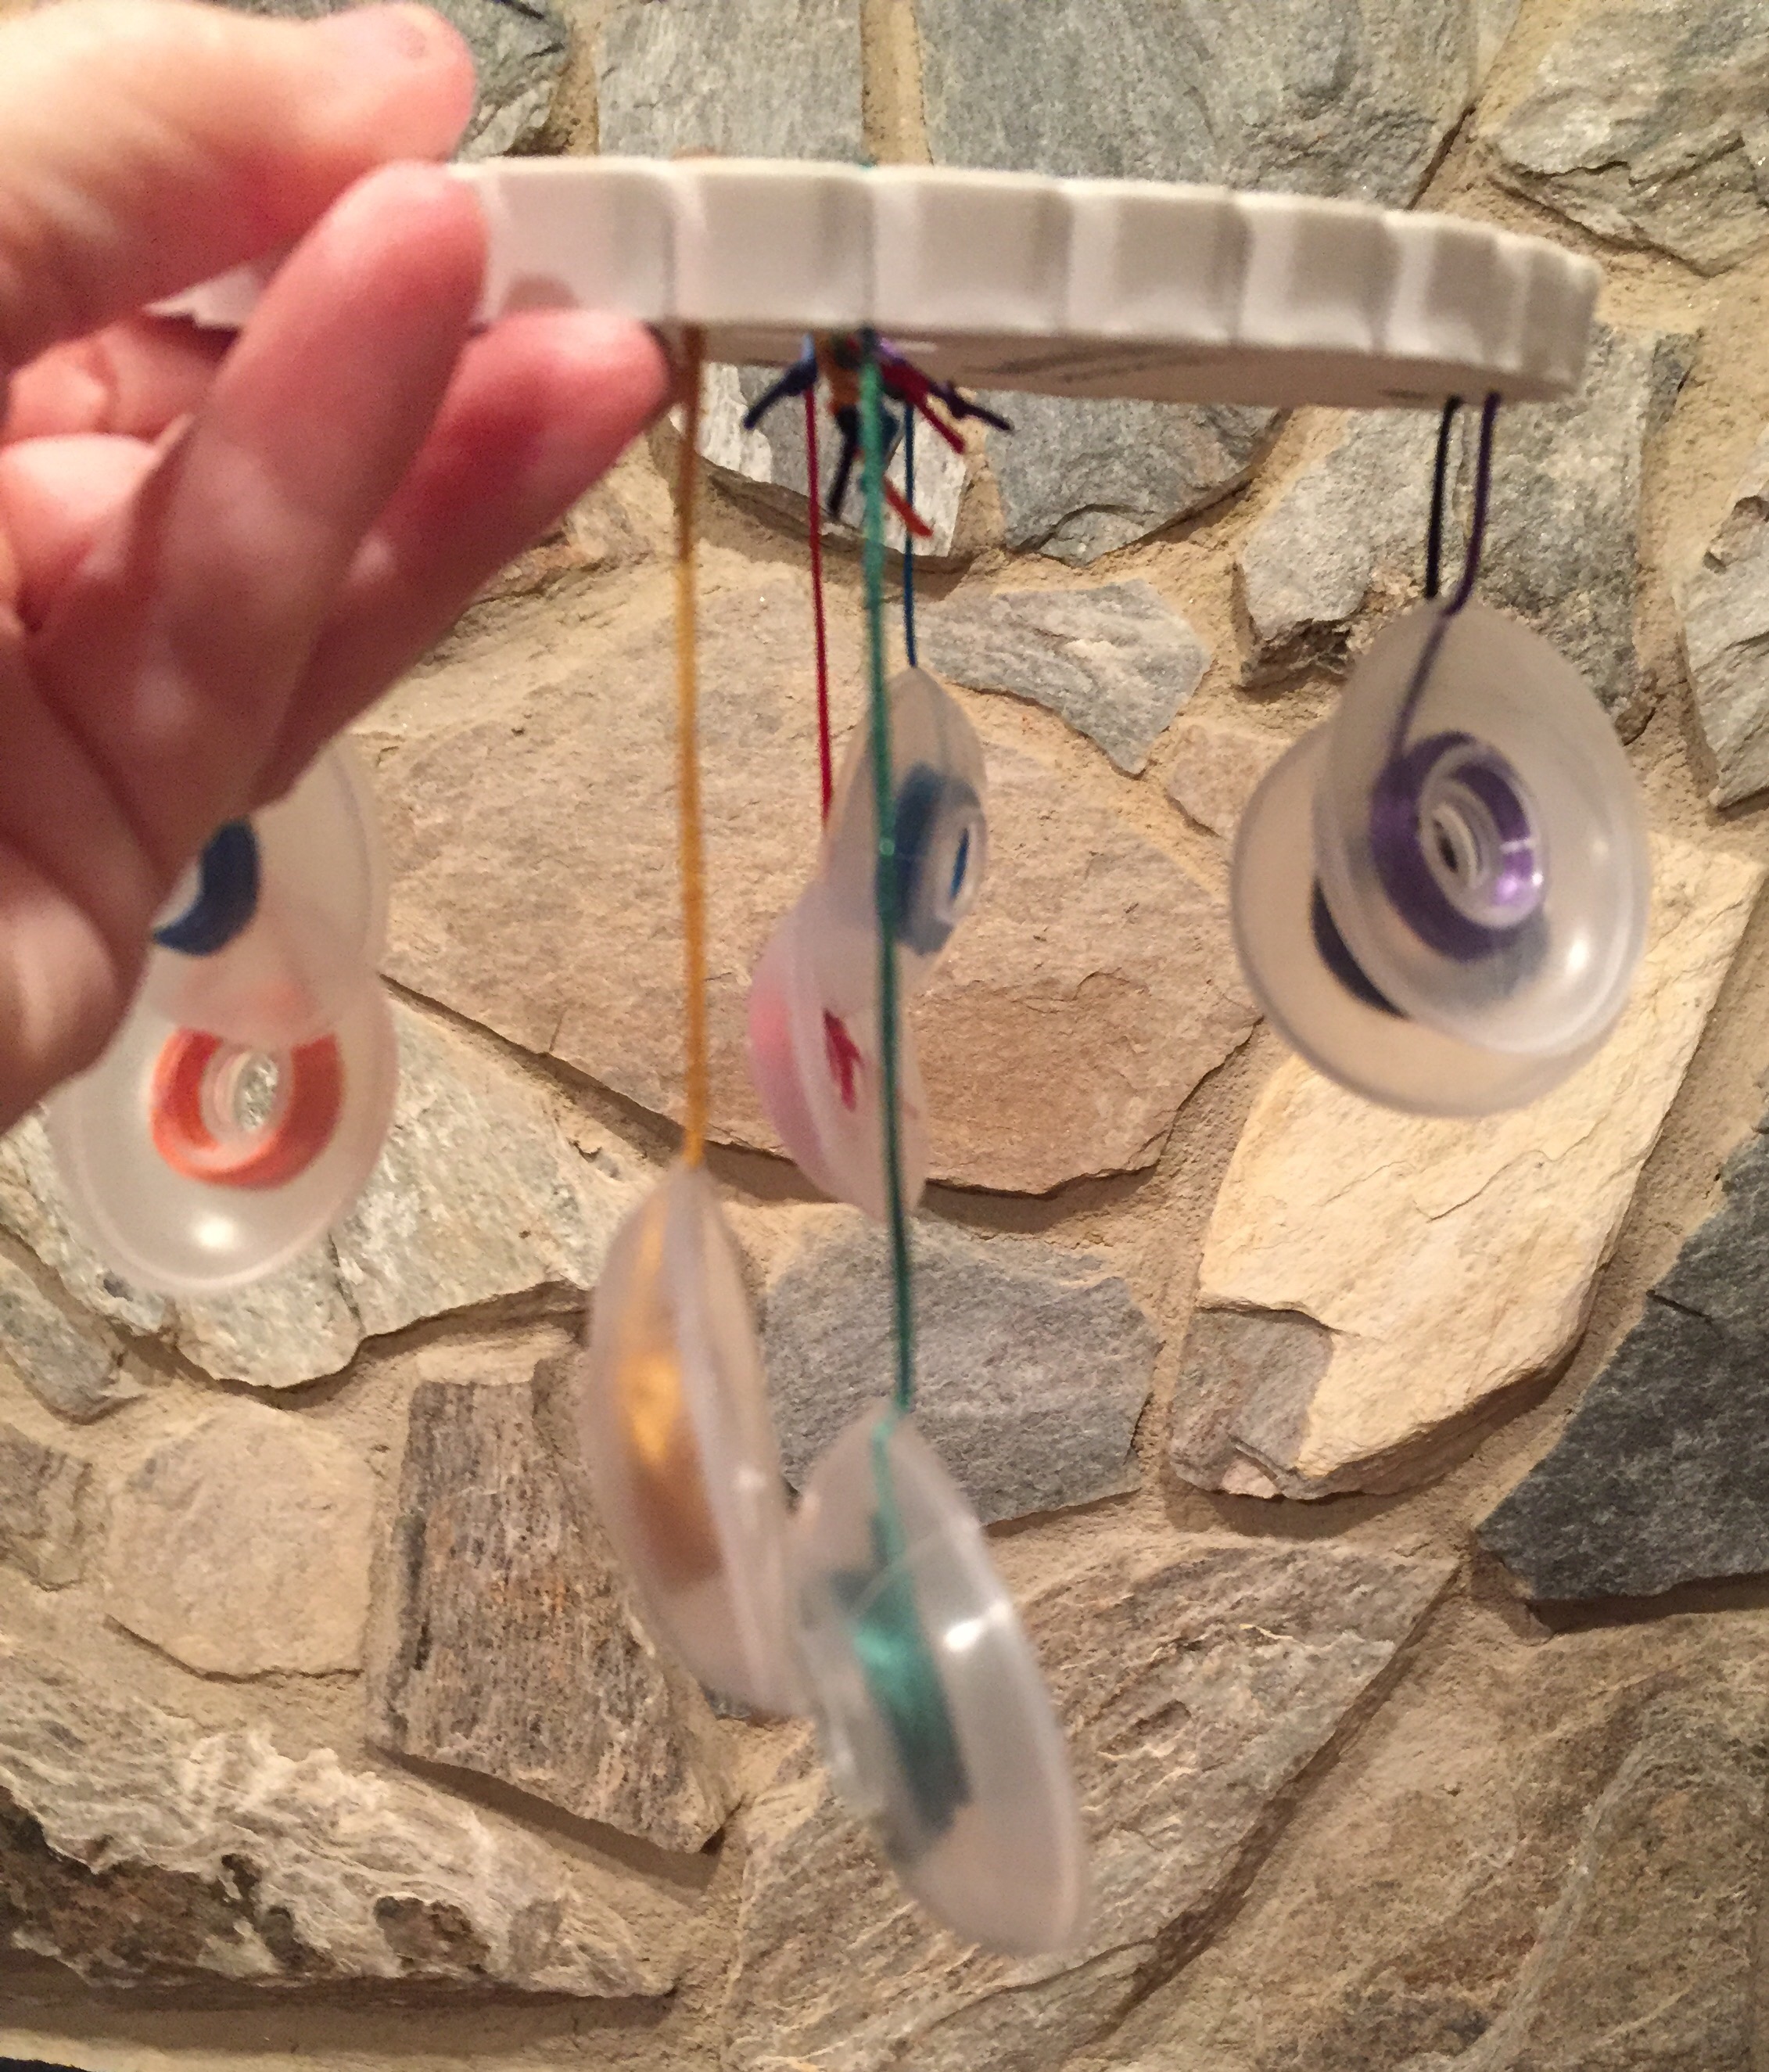
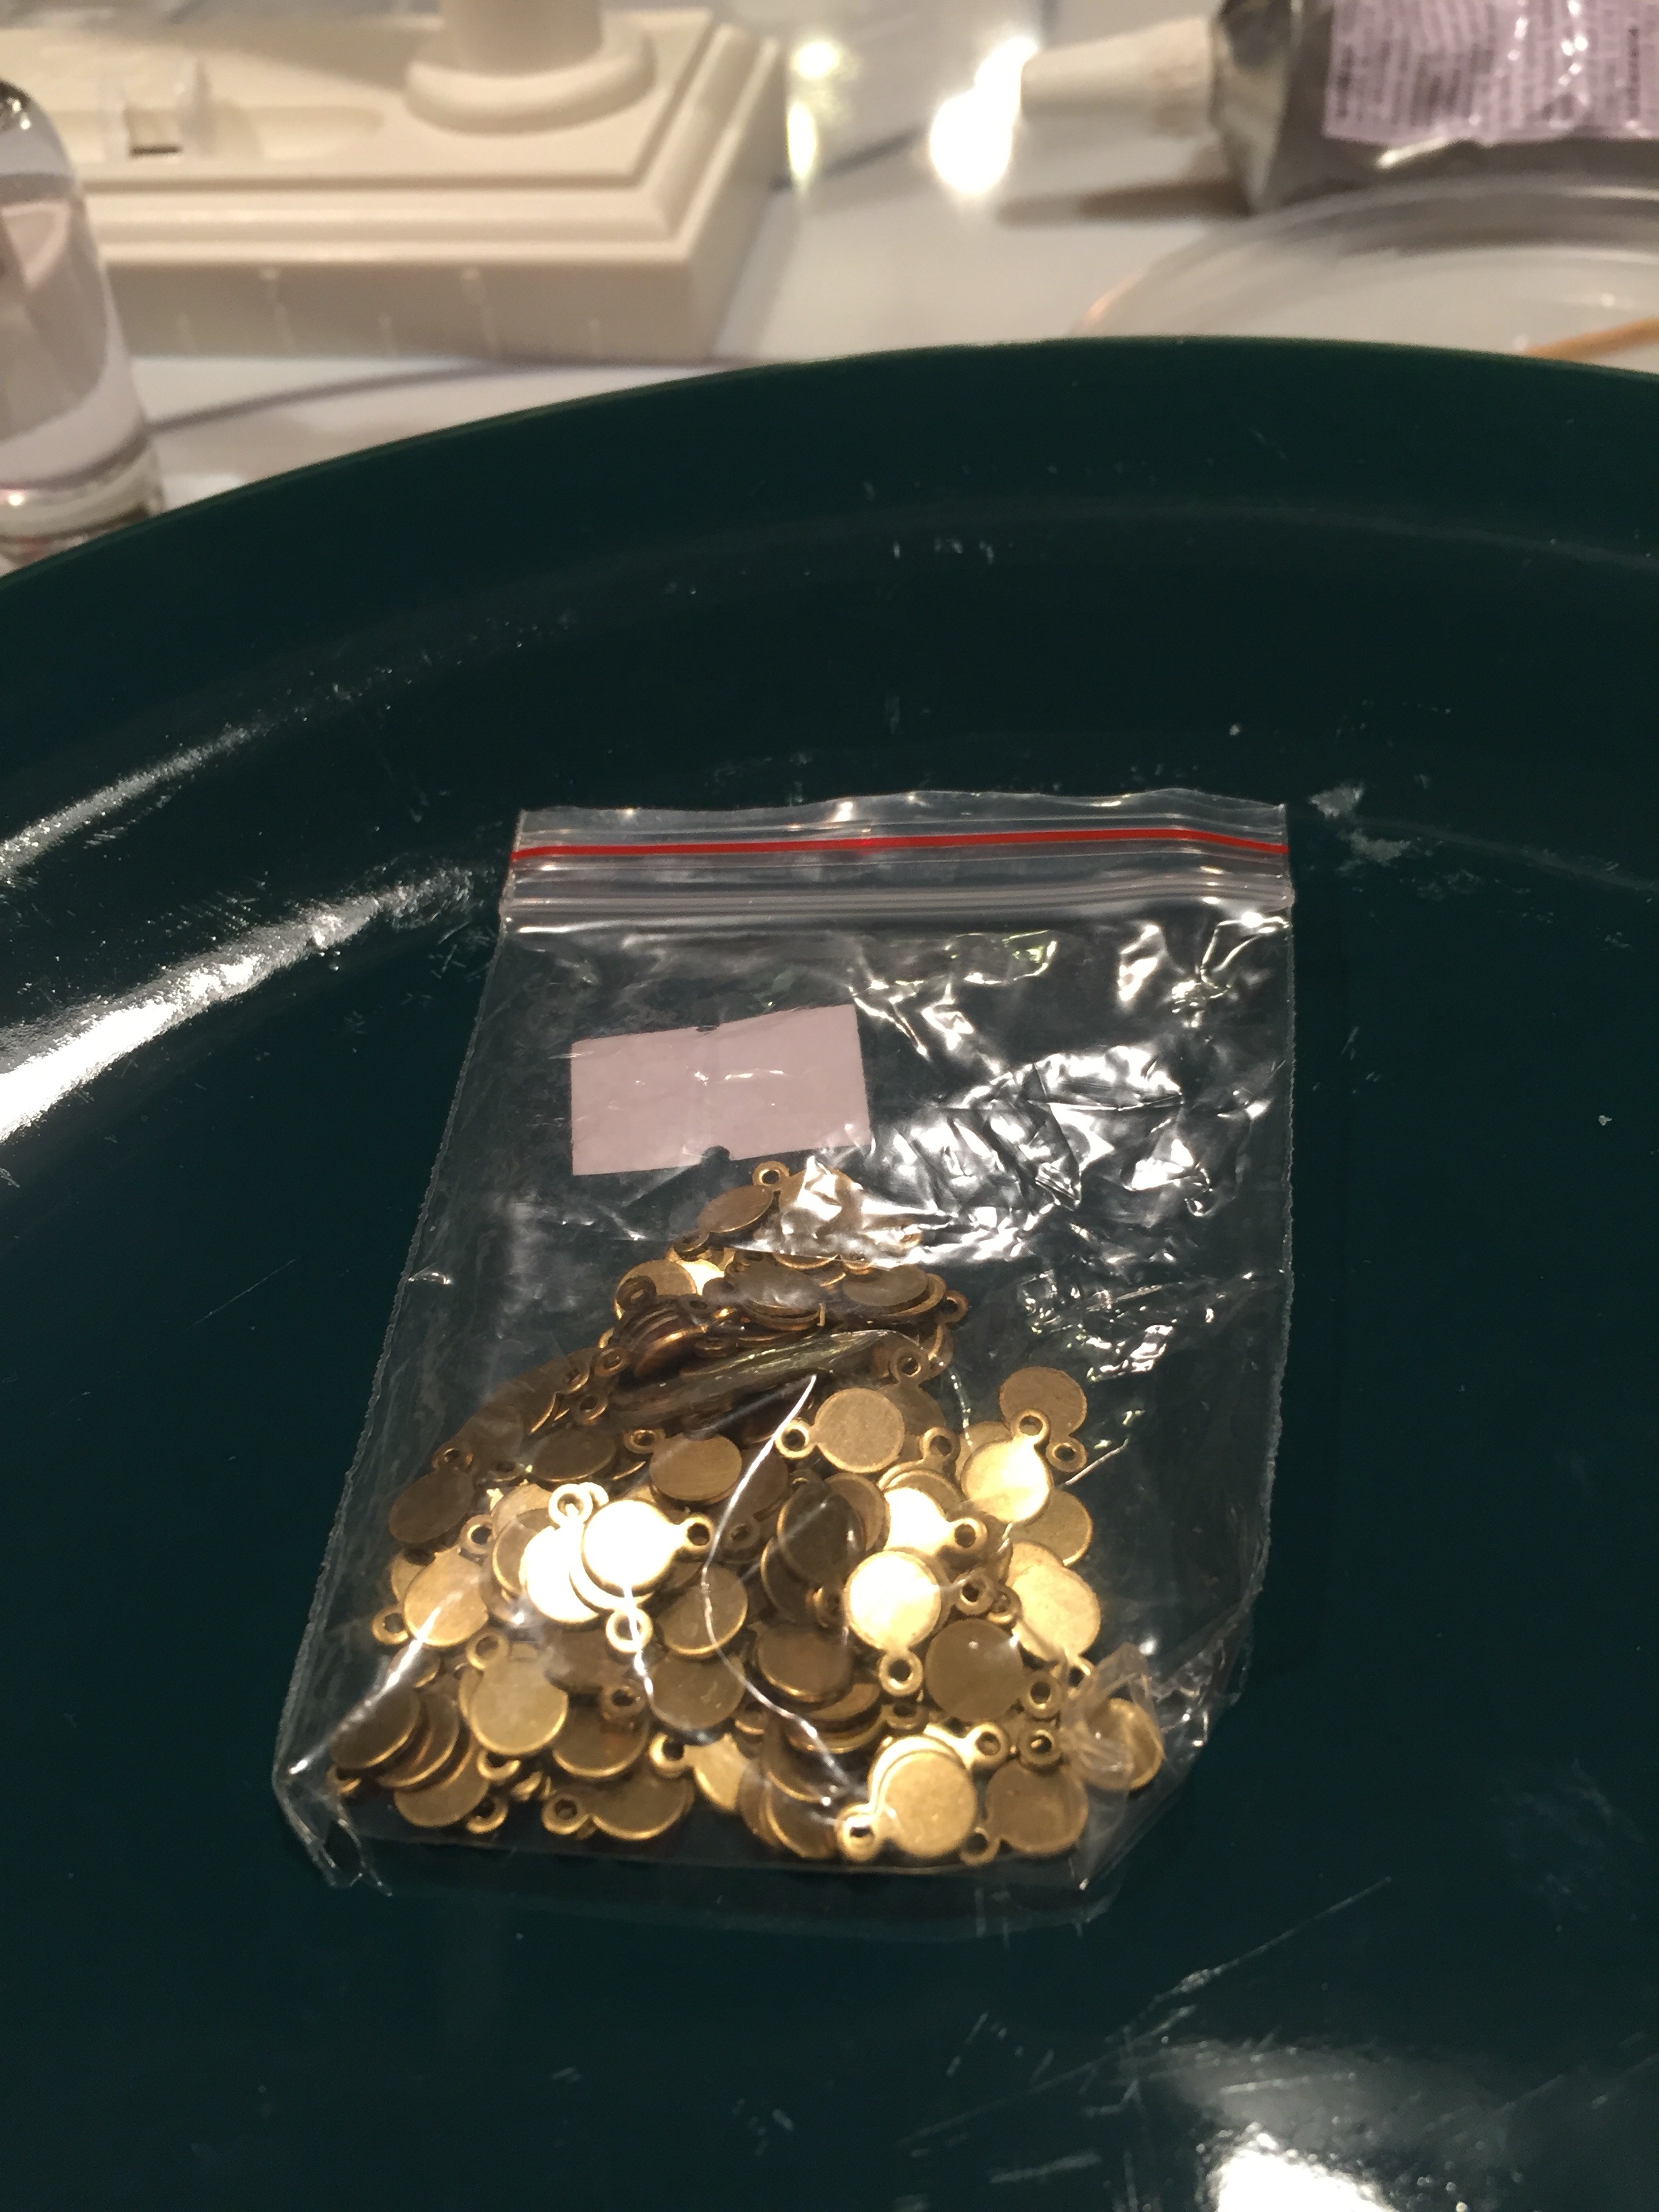
Now, what do you do with those 8 long tails? These bobbins, in my opinion, are the greatest thing since sliced bread! You will need 8.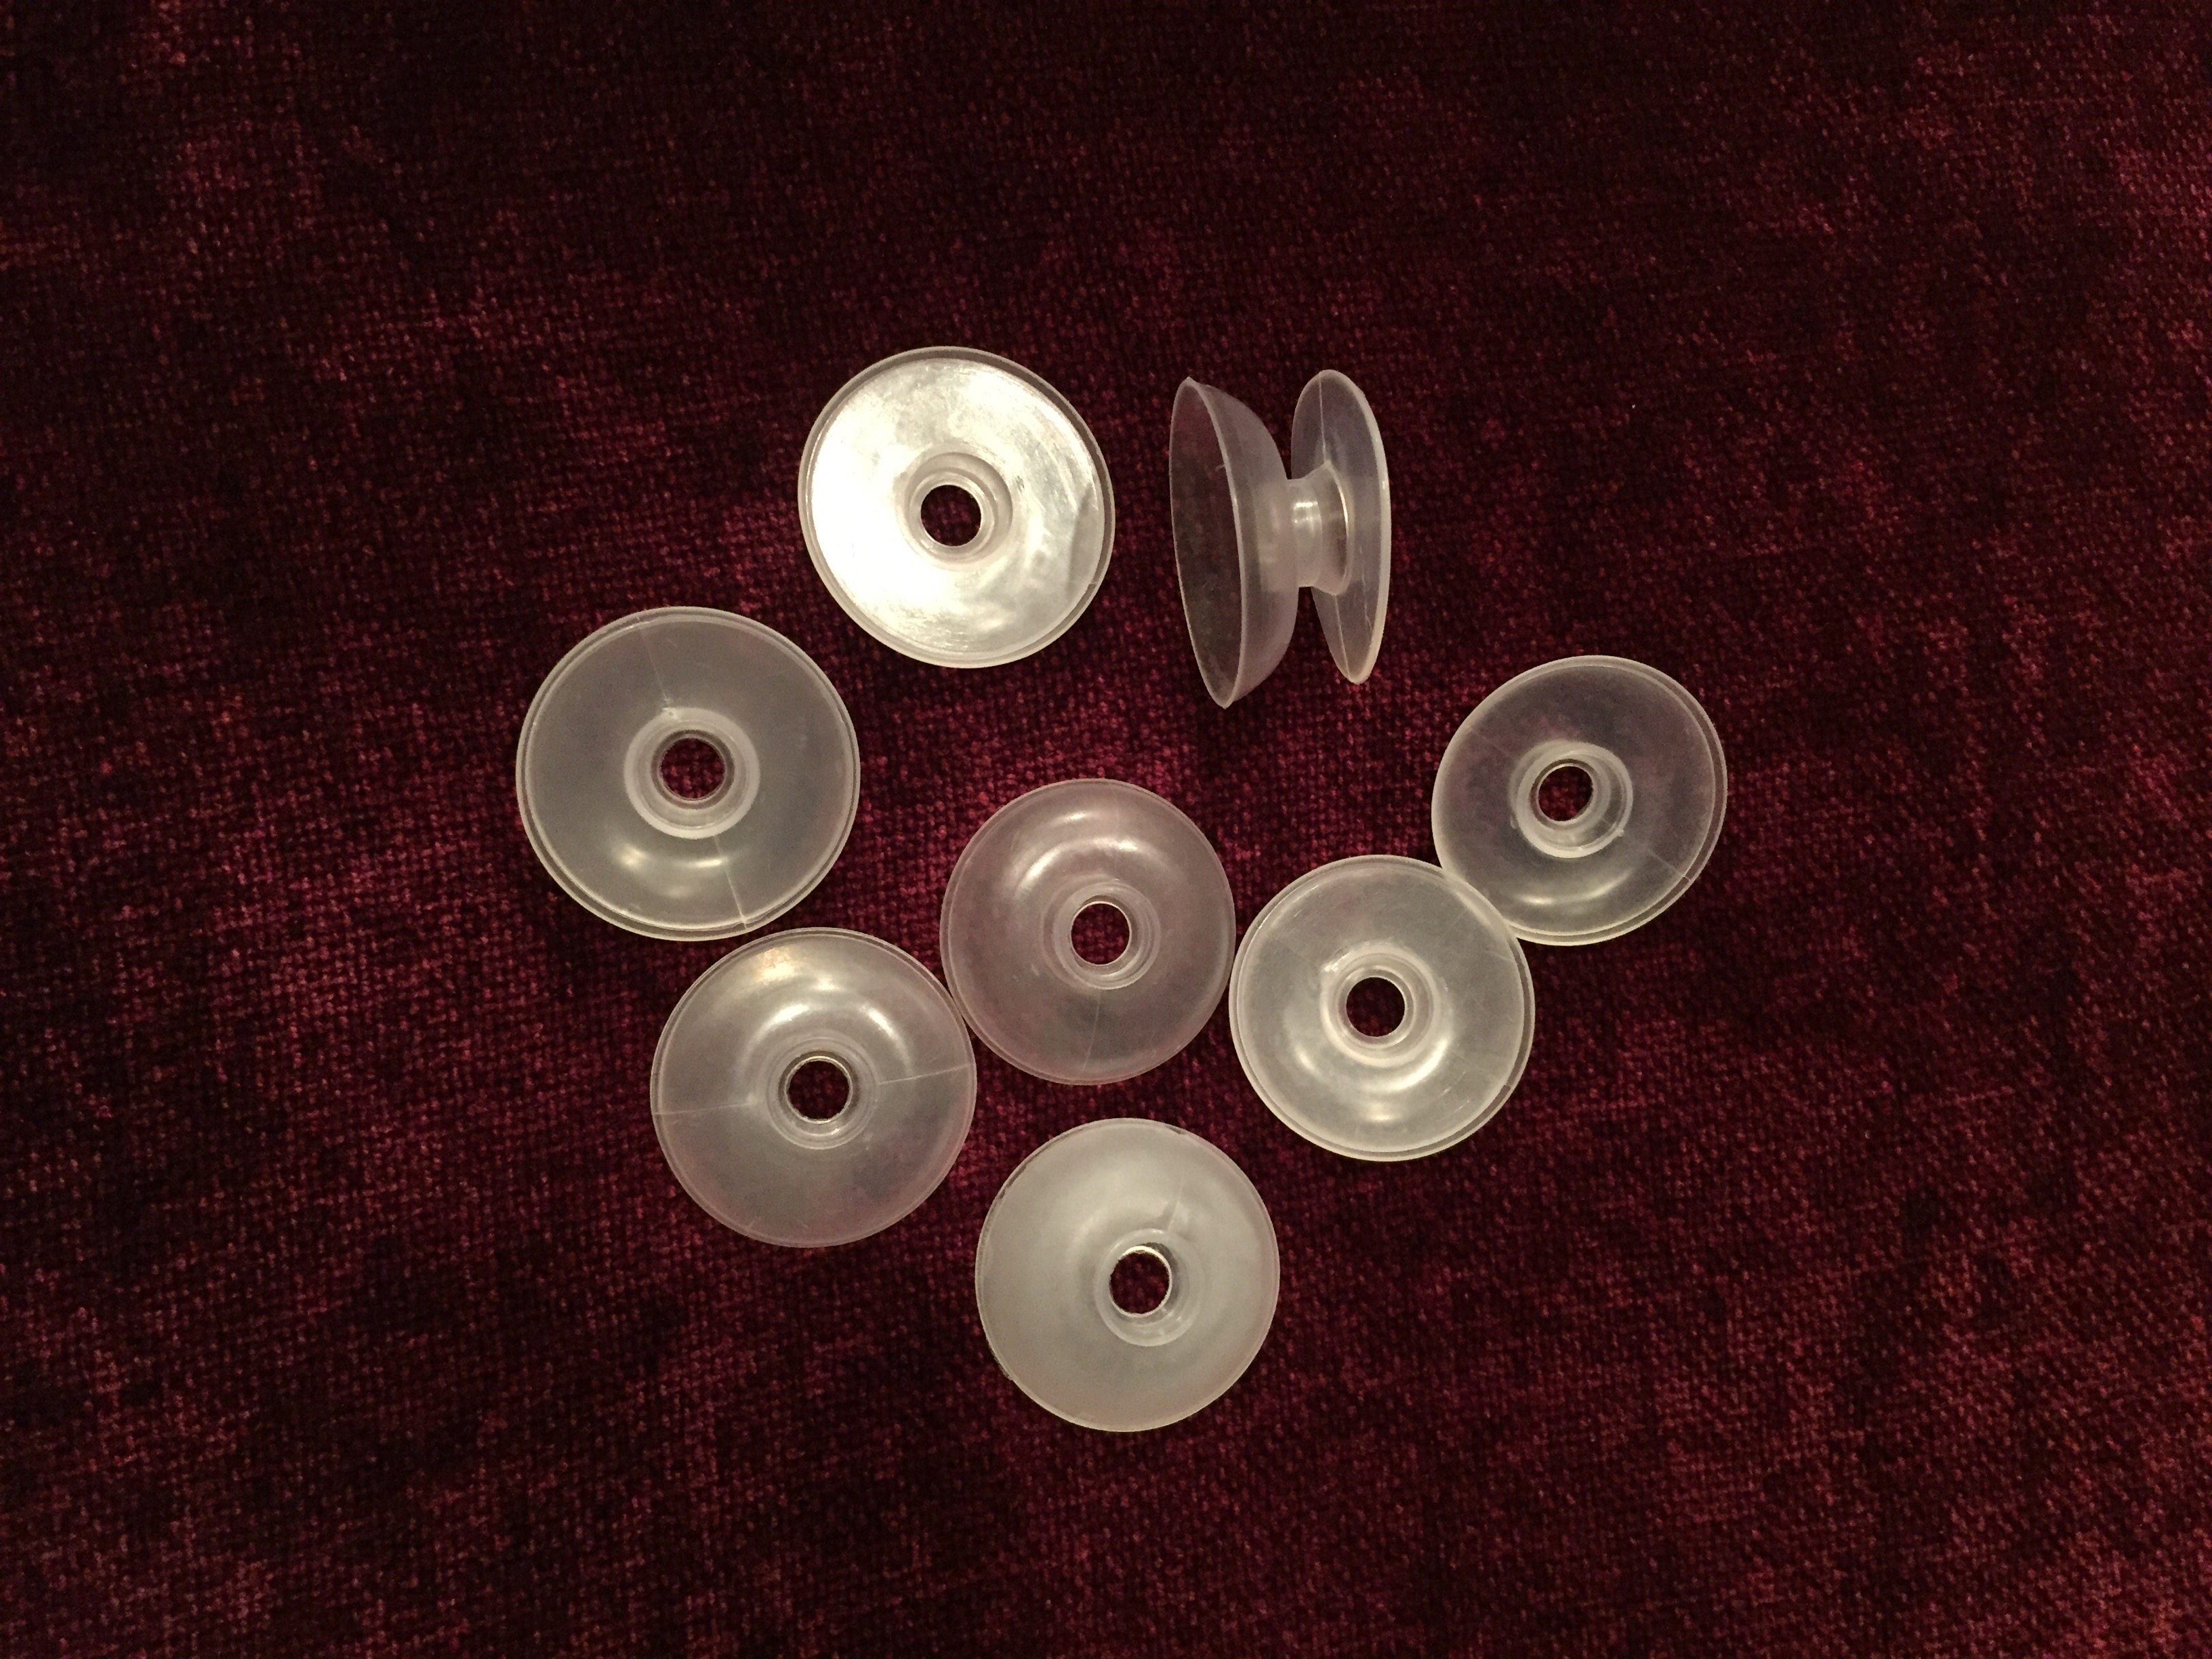 You can find them in craft stores or online. If you don’t have any, you can wind your excess cord around individual clothespins or even pieces of index cards.
The bobbins pop open and closed. You can see an open one in the middle of the group below: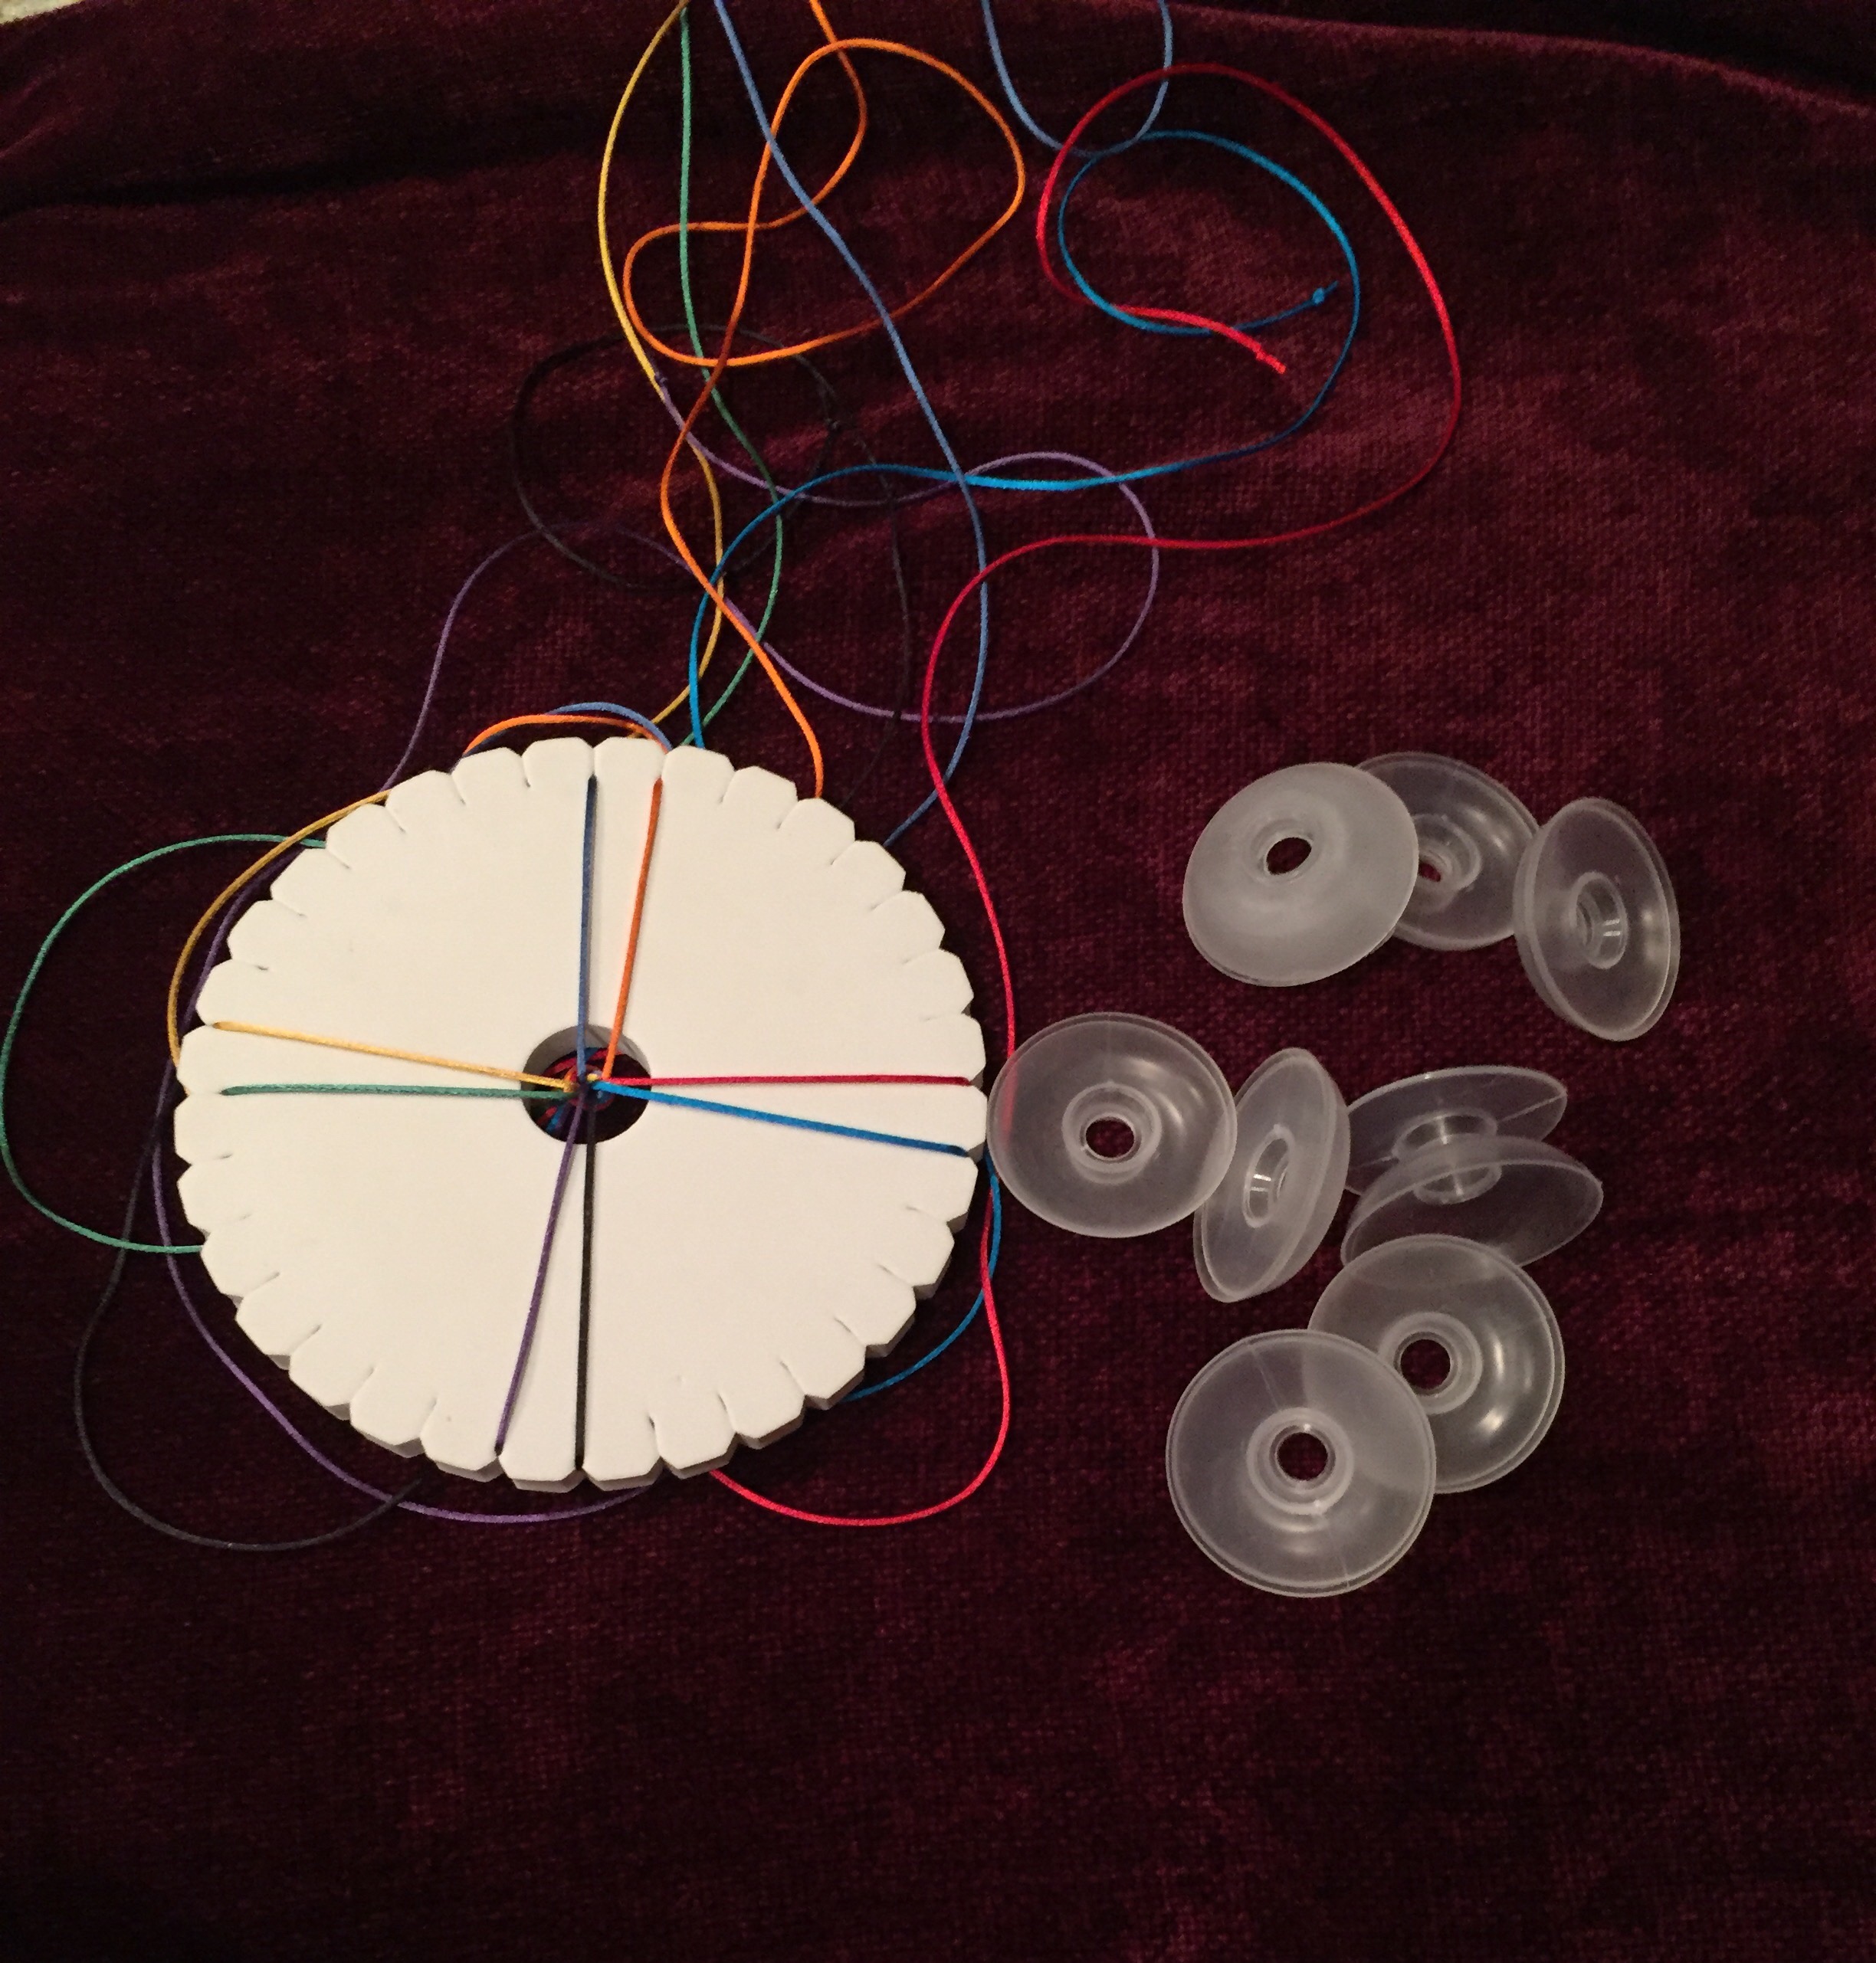 Wrap each excess piece of cord around the center of an opened bobbin, leaving an inch or two unwrapped for working (braiding.) Snap them closed. These bobbins allow for cords to be pulled out as needed for the braid.
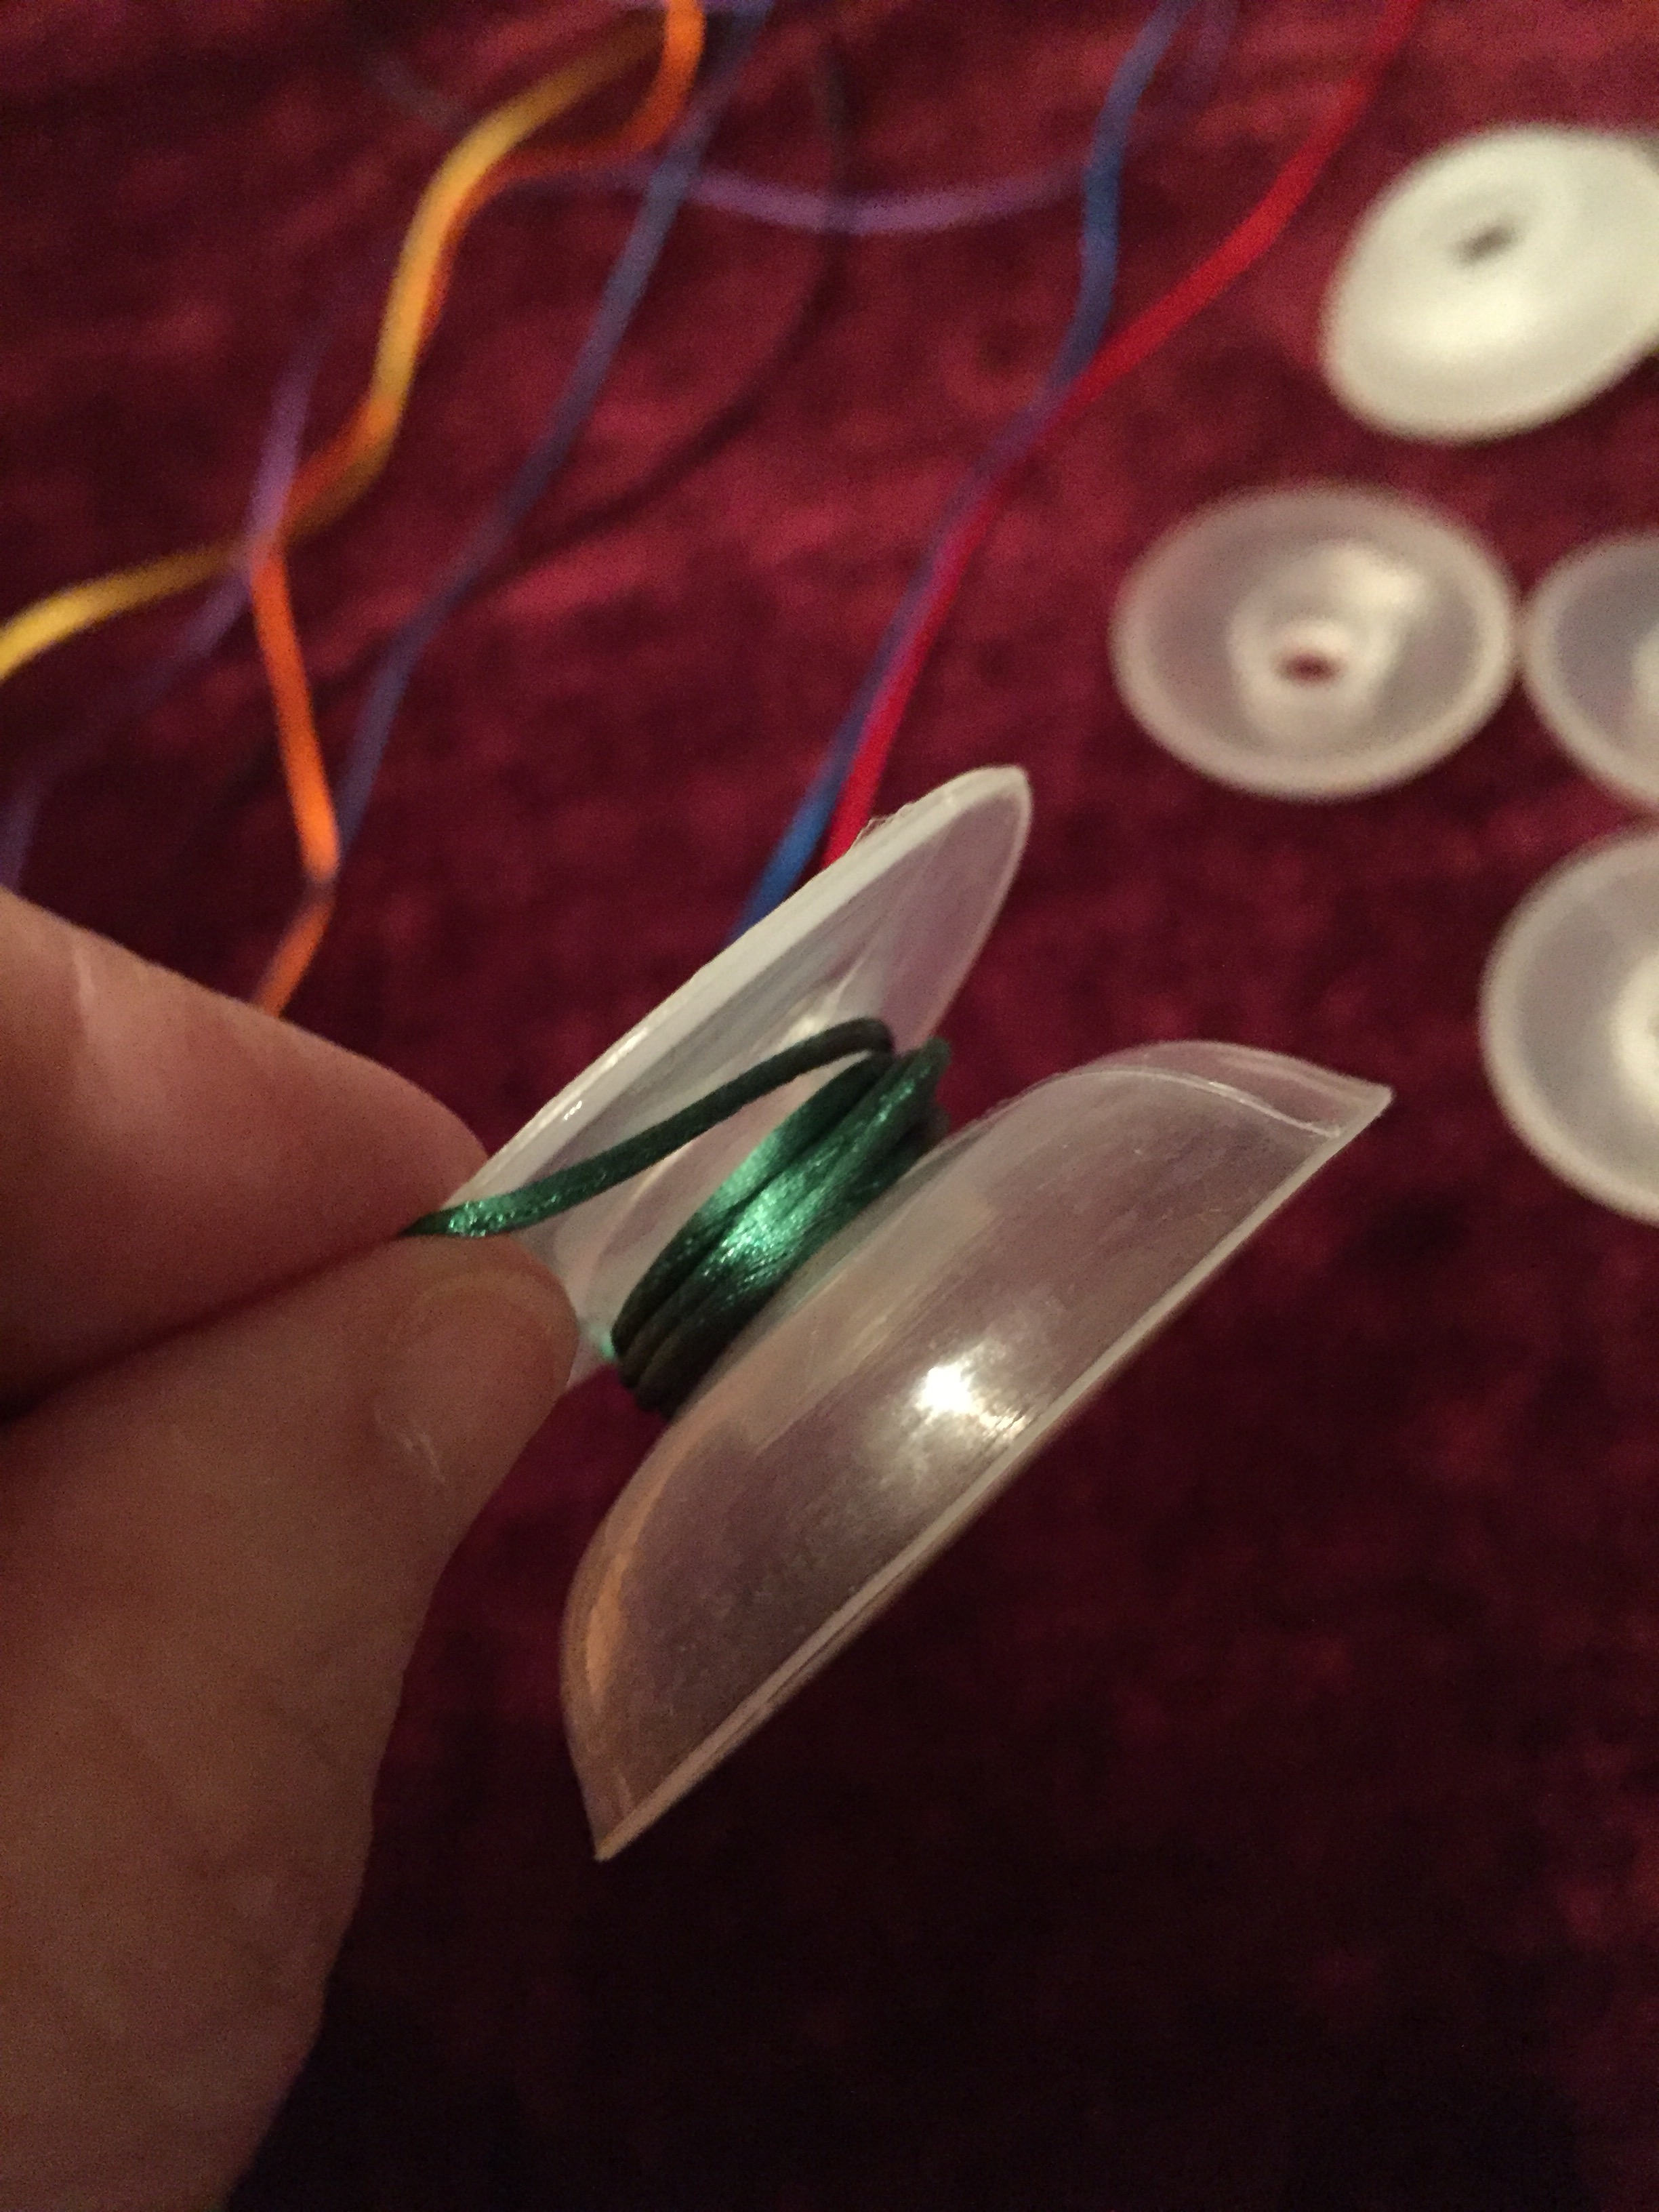
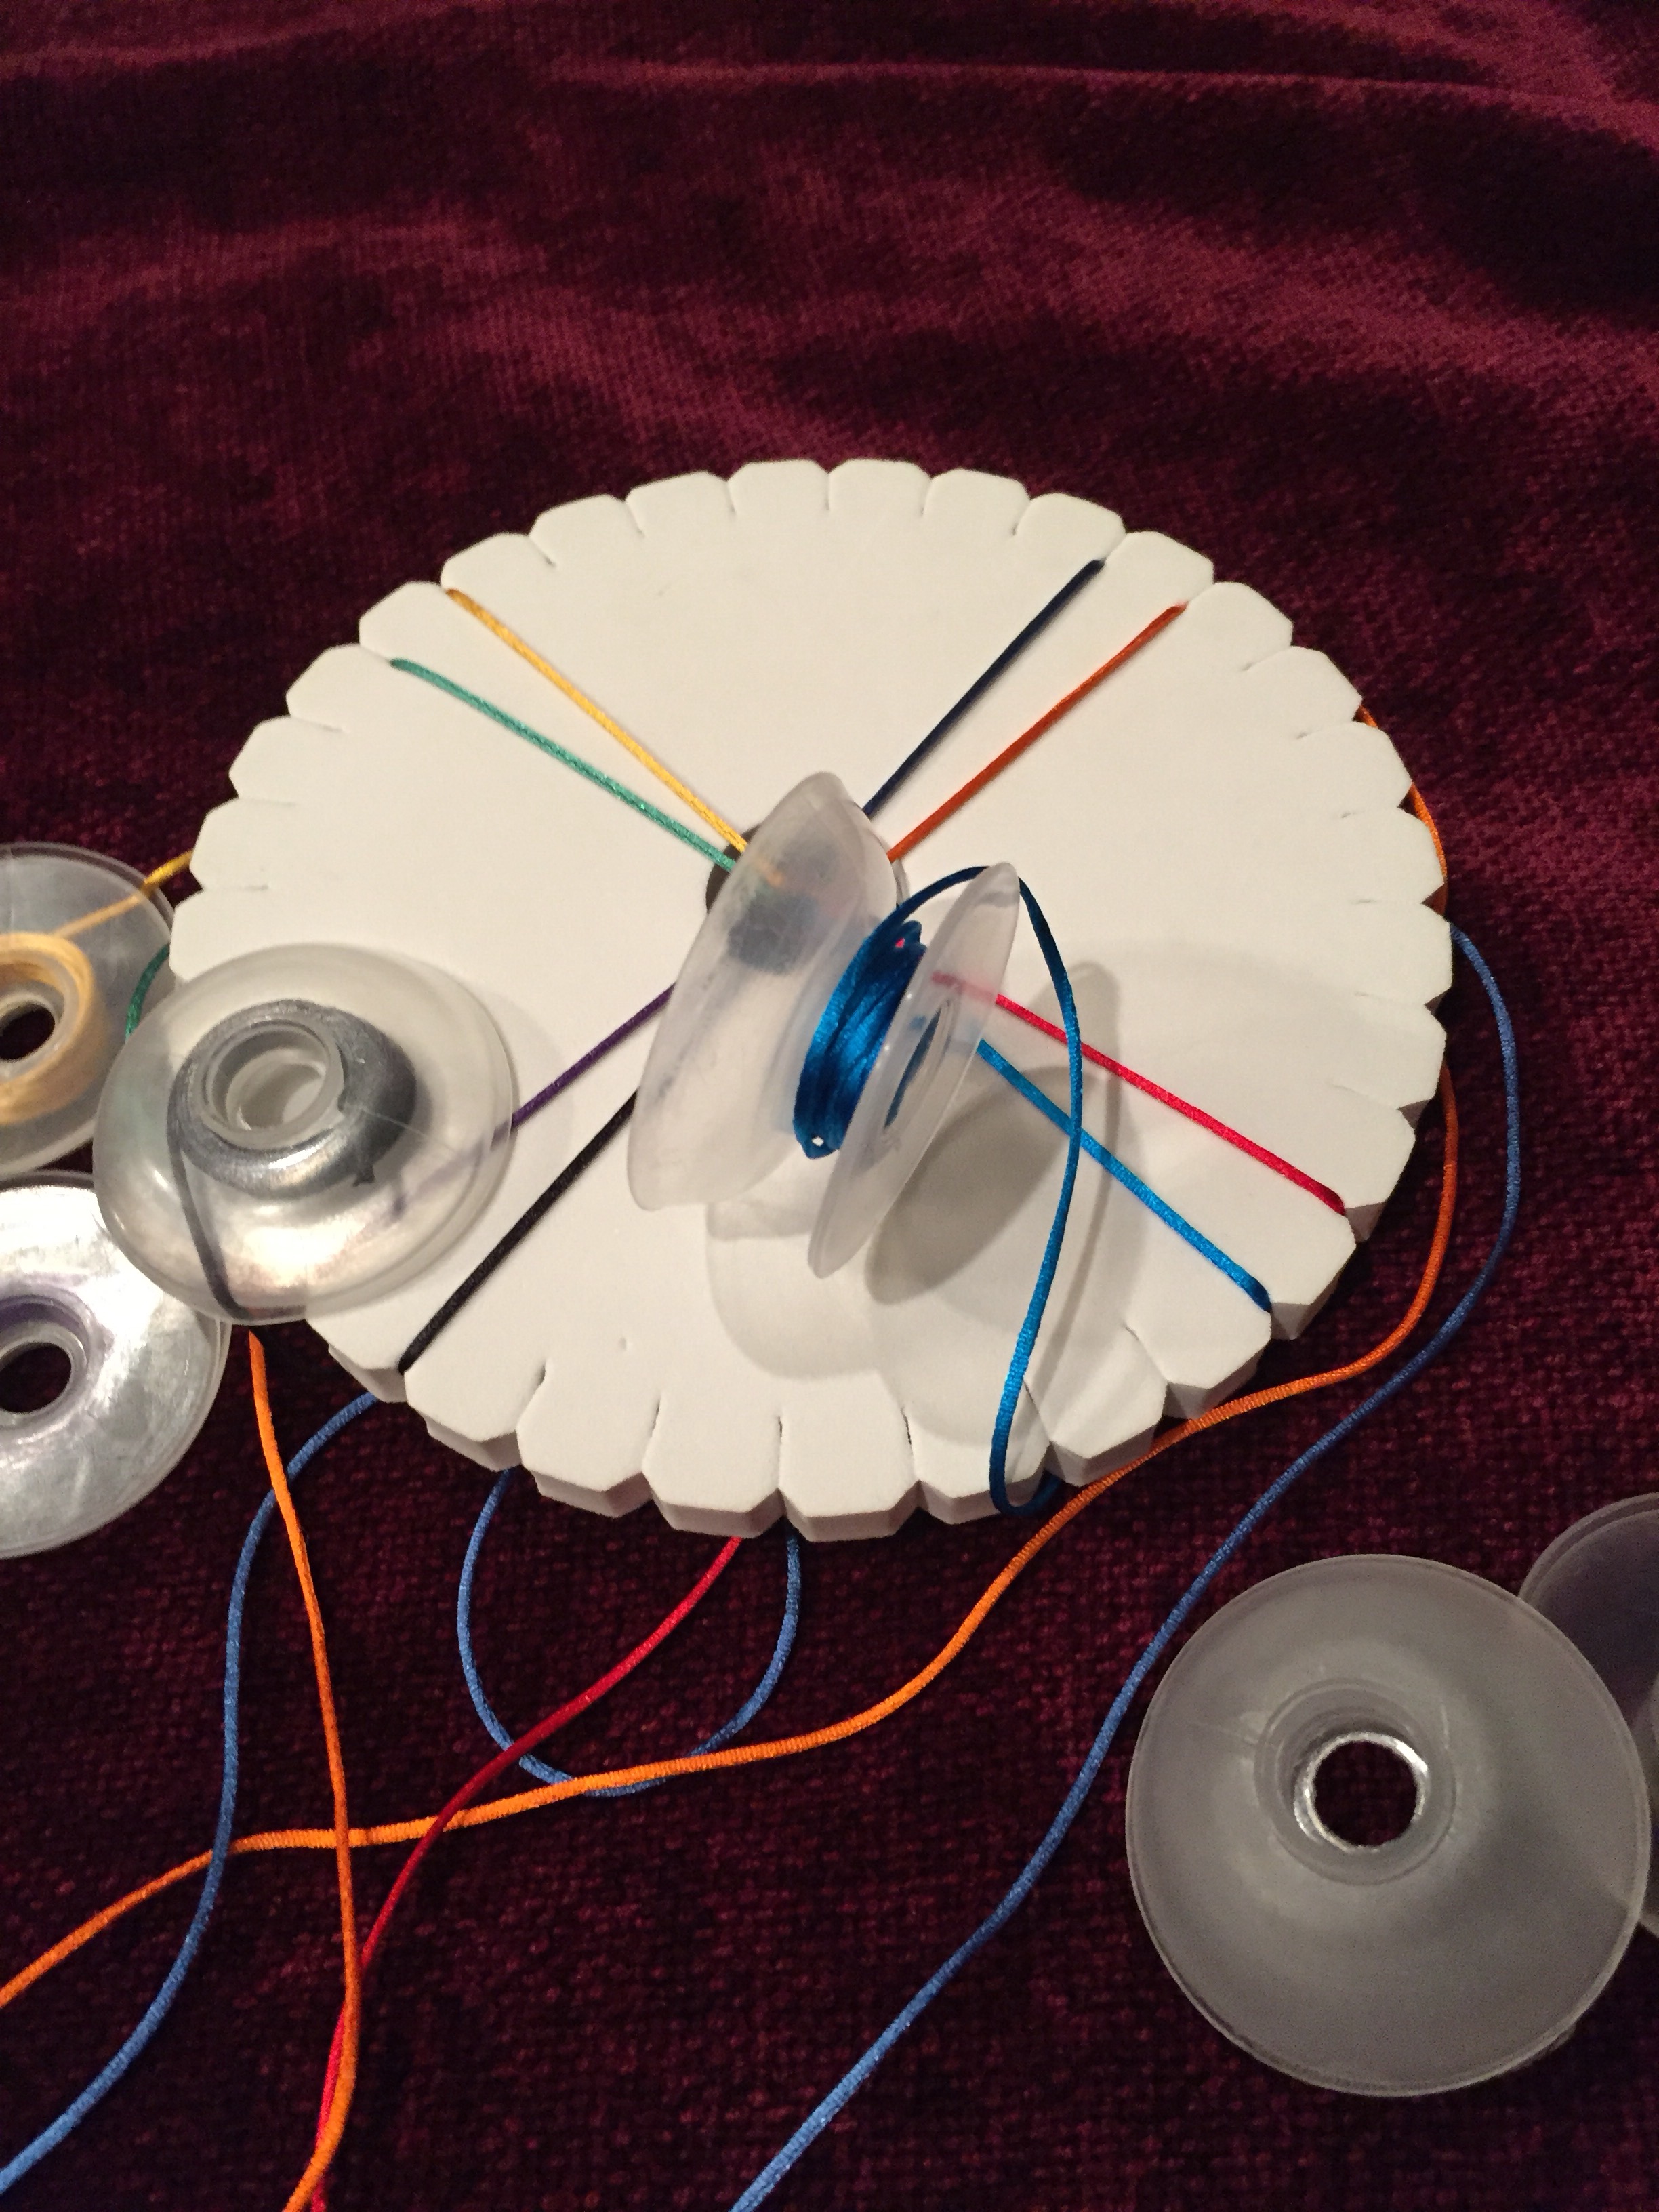
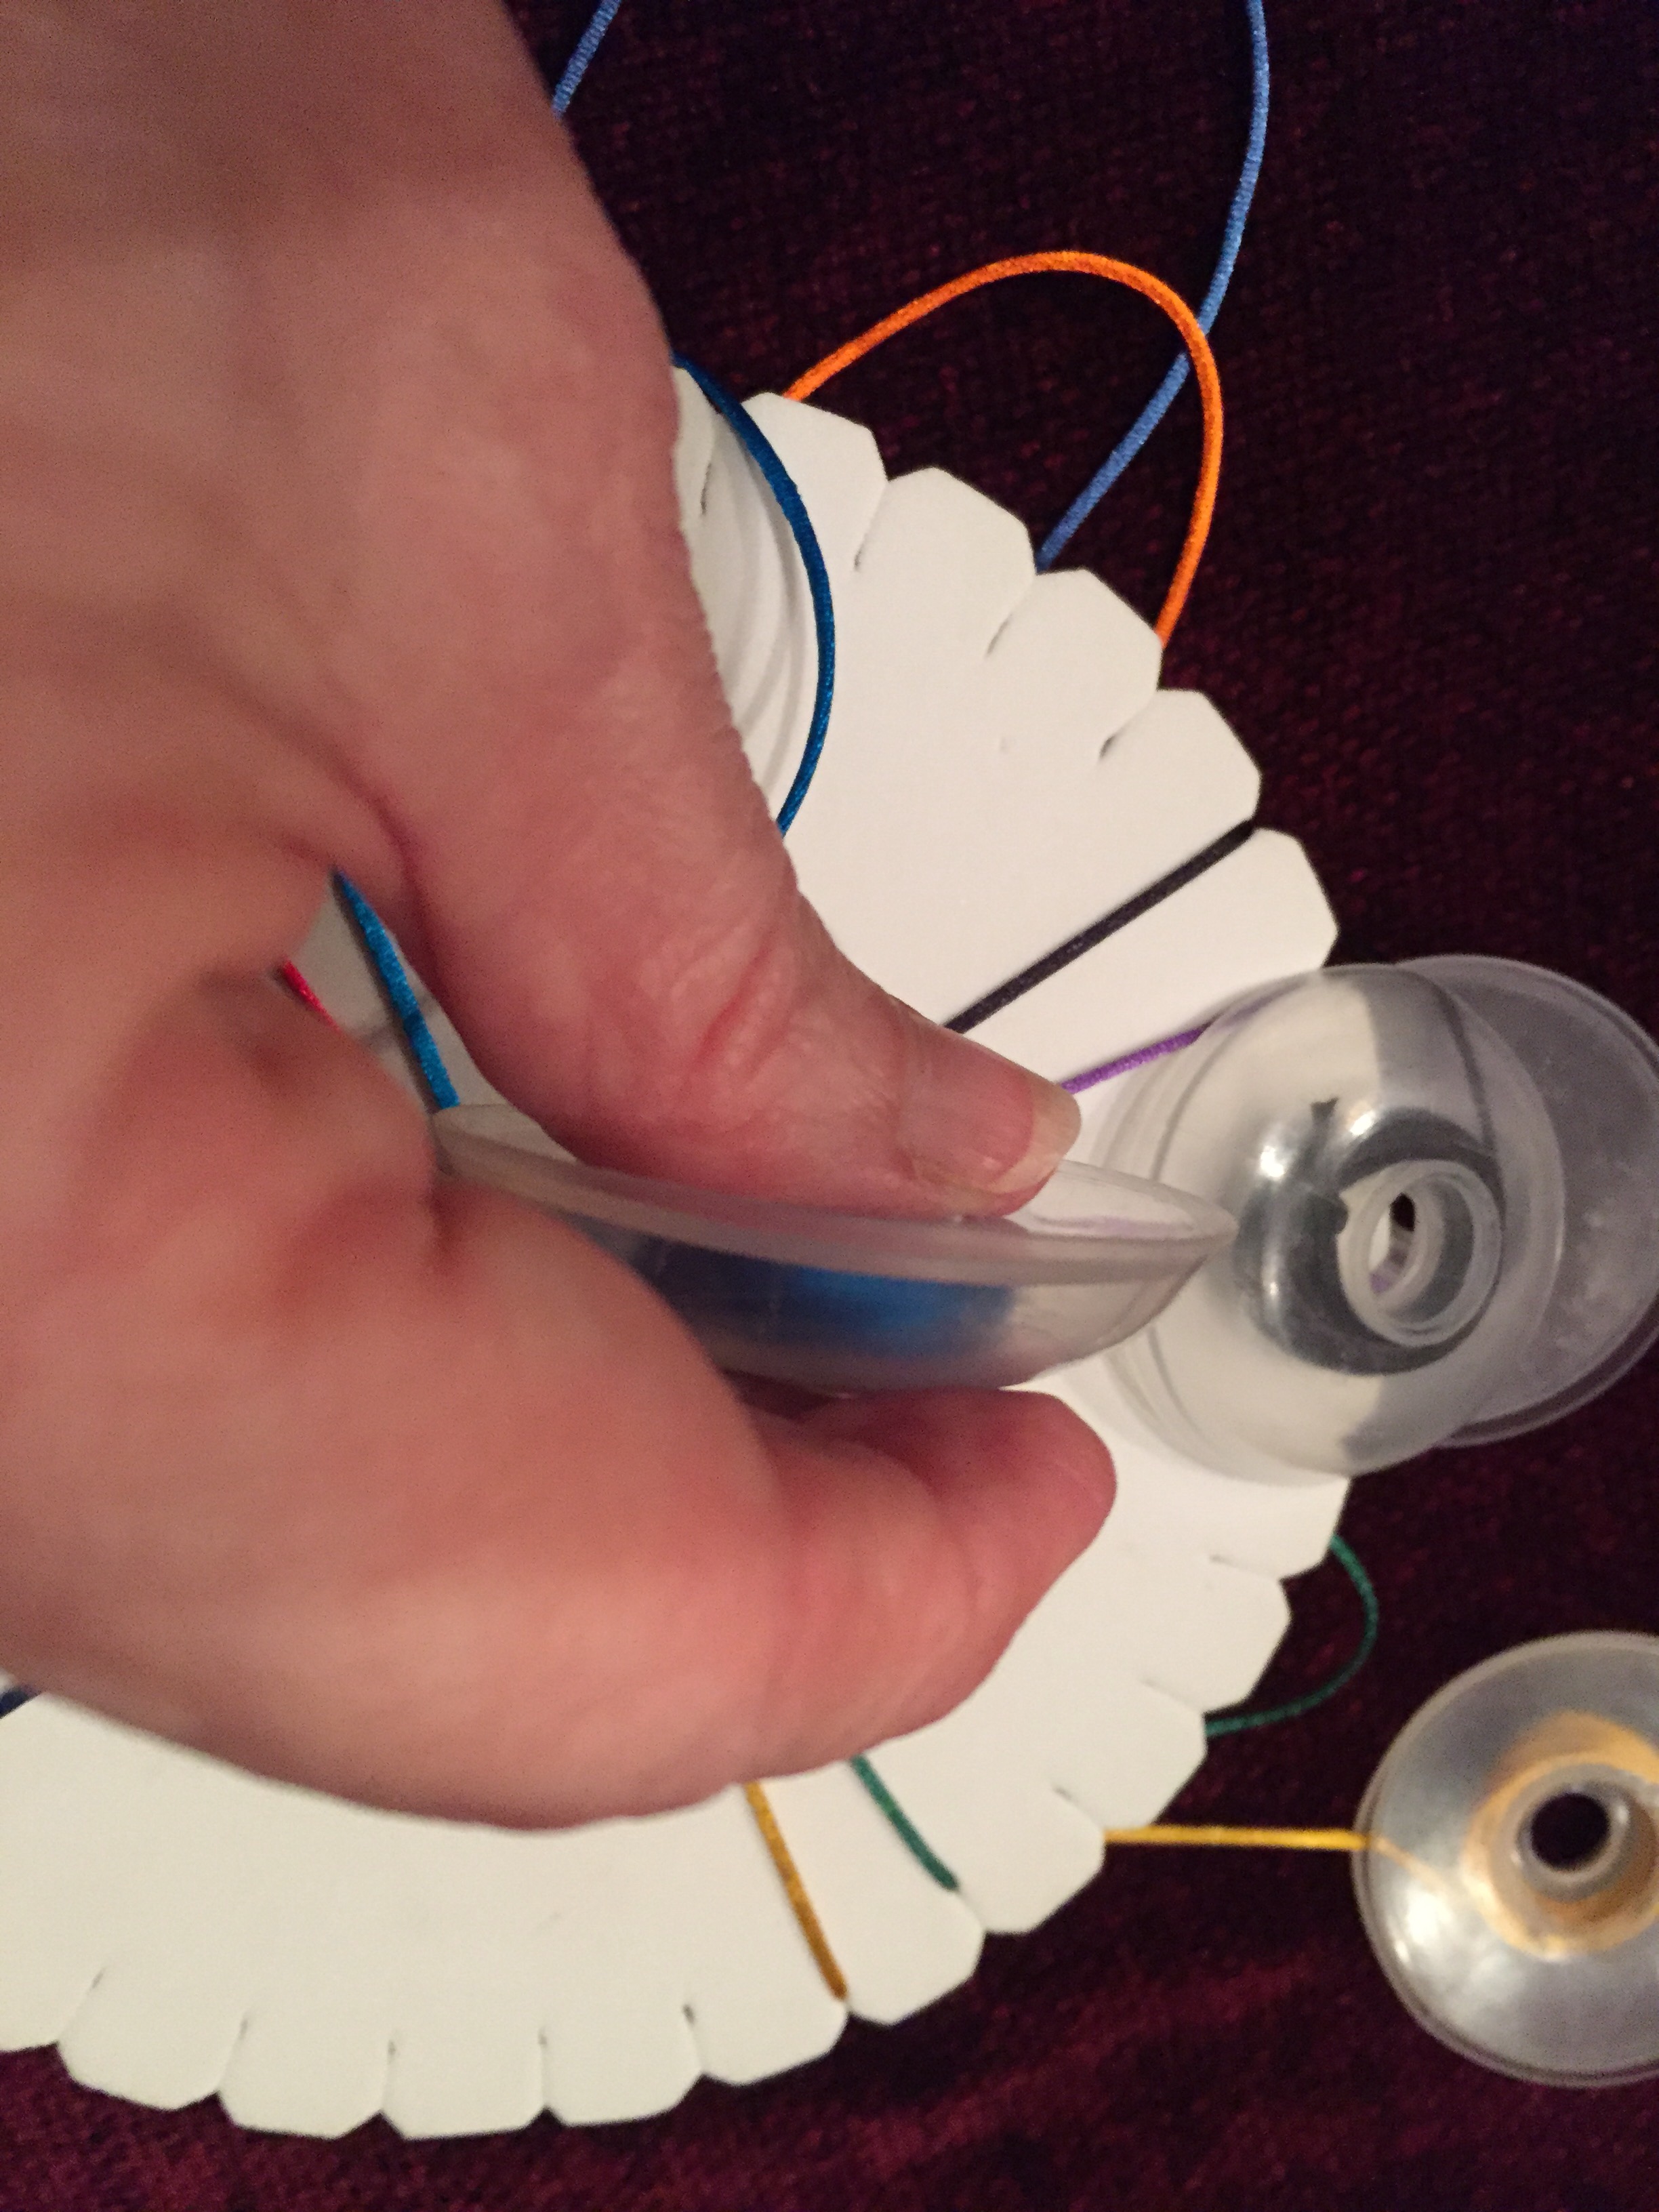
 Now, we’re ready to braid!
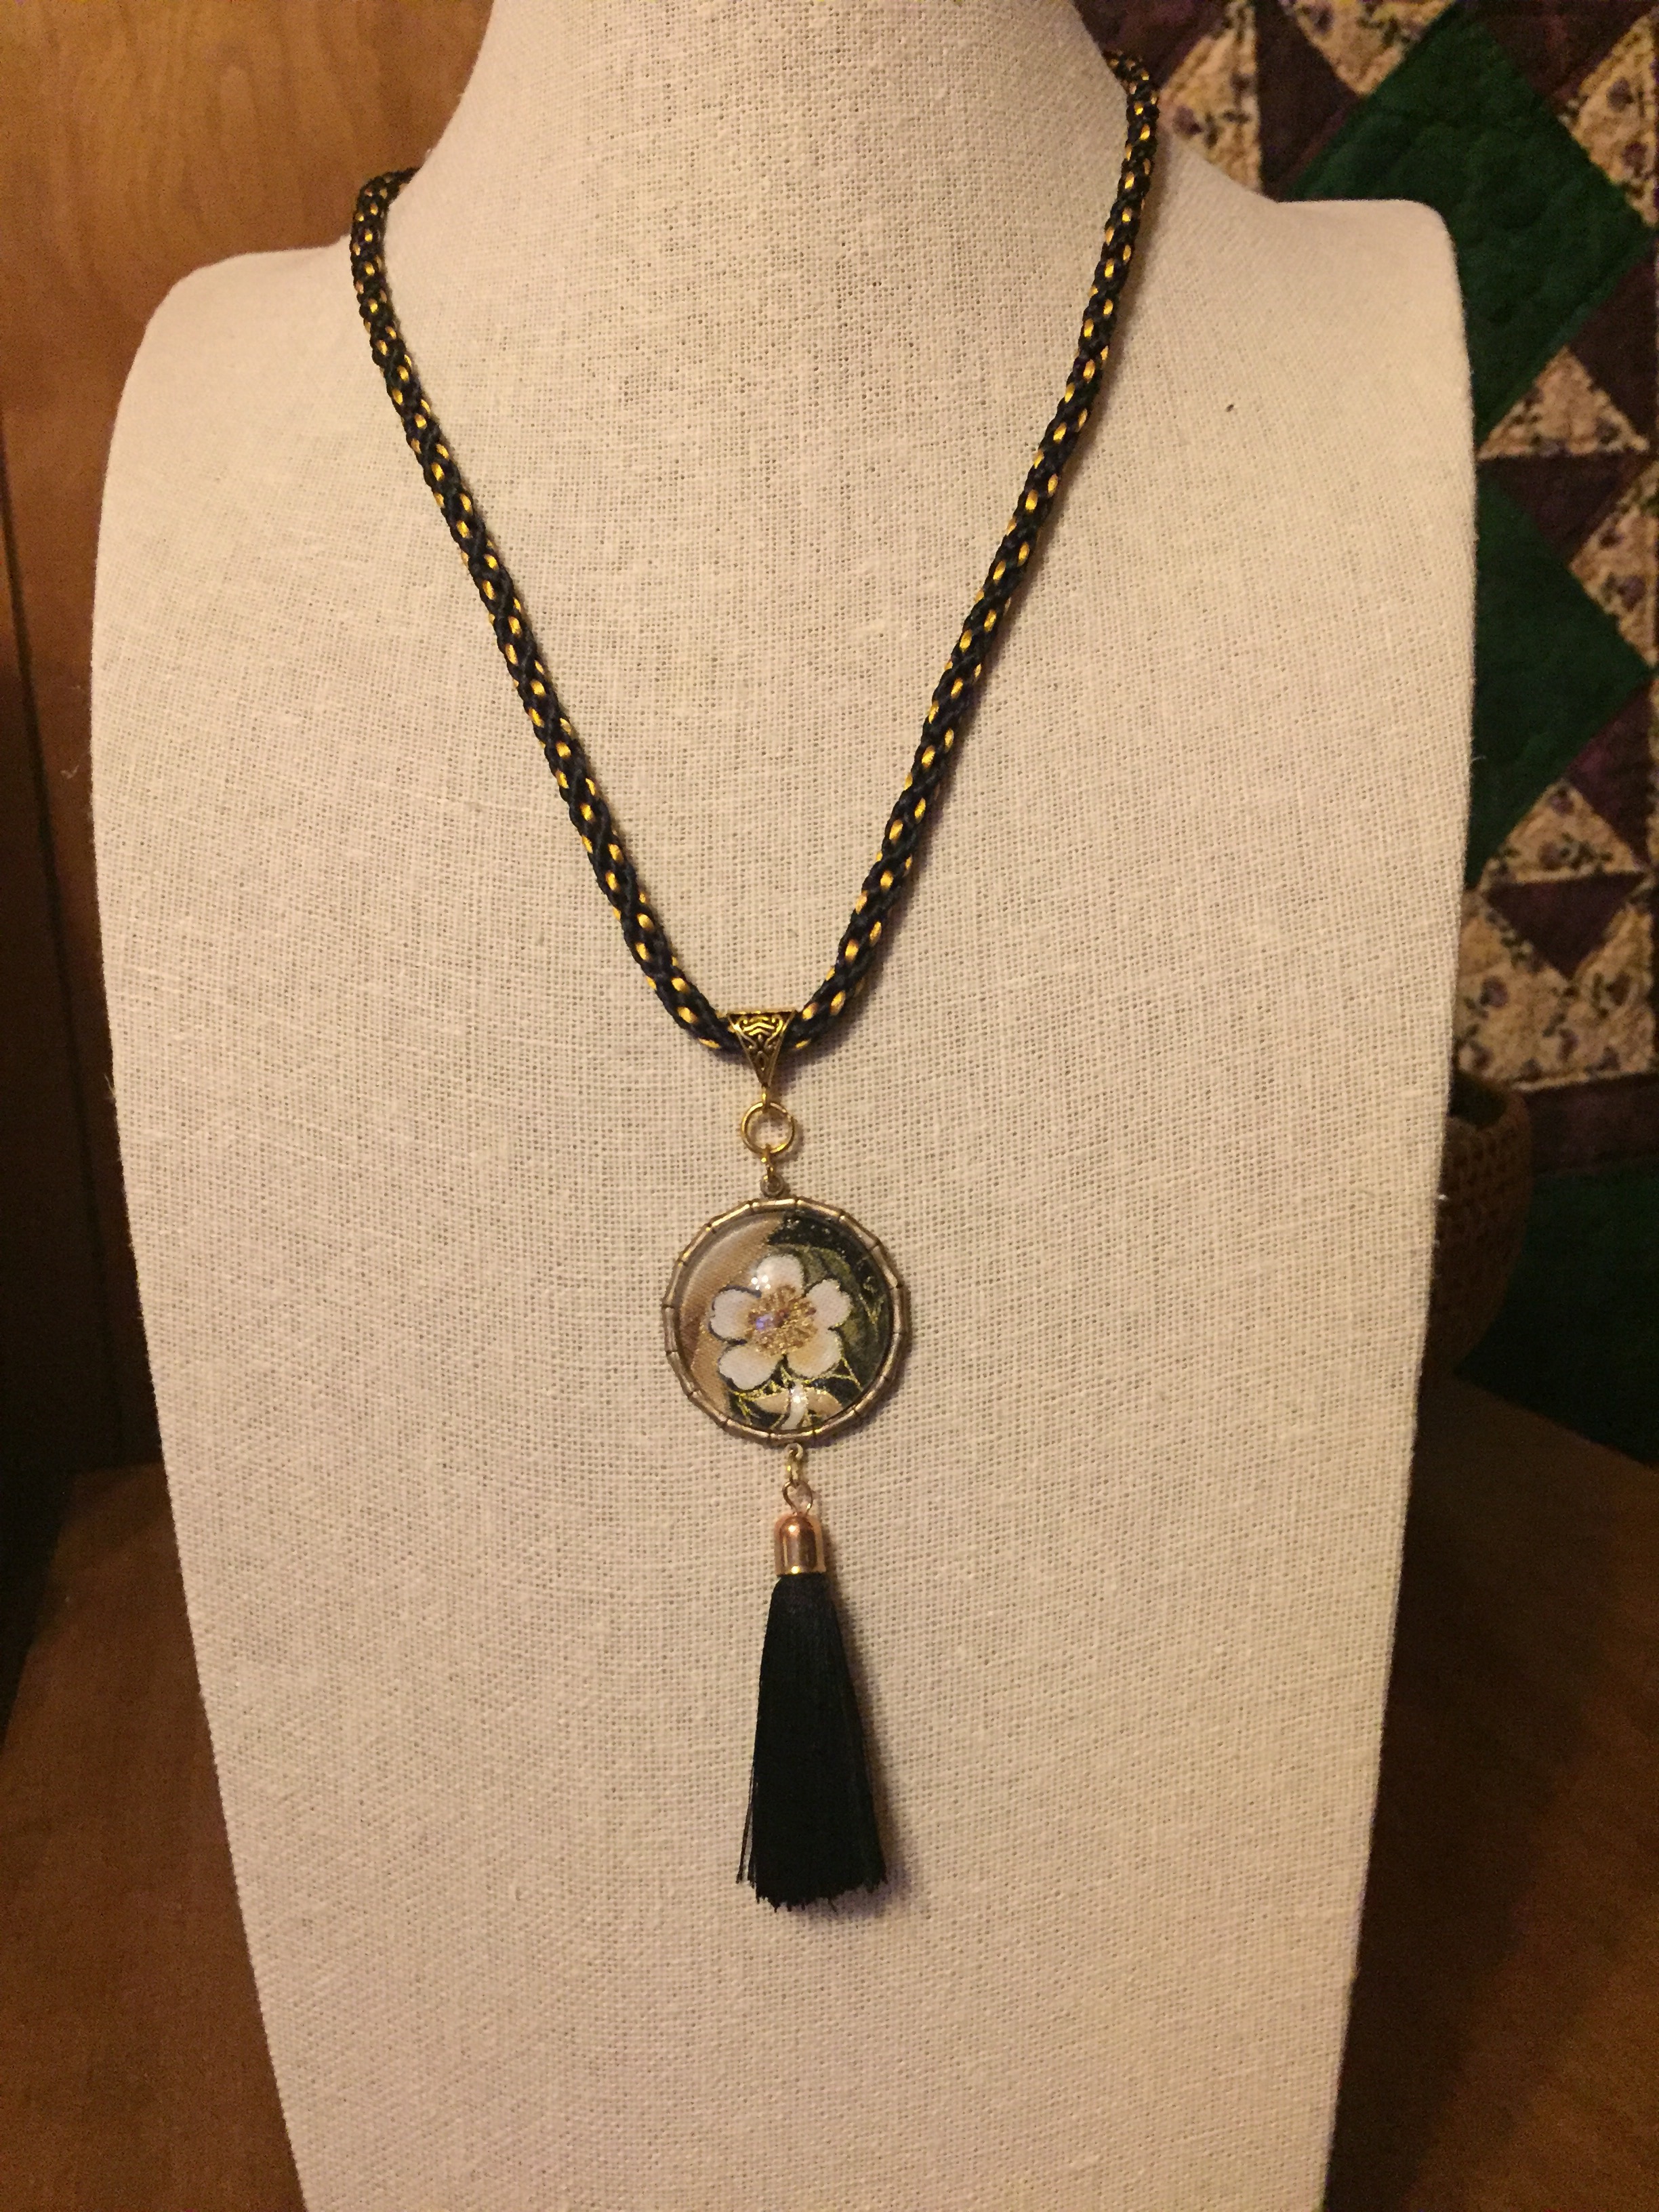
 Susan Thomas showed my work on The Circle on her show on JTV Extra today. She shows everyone’s work who submits, now, but it’s still an honor and a thrill. Today’s theme was Color Crush, and I shared one of my favorite yarns for kumihimo, “Copper Penny,” with a work in progress.
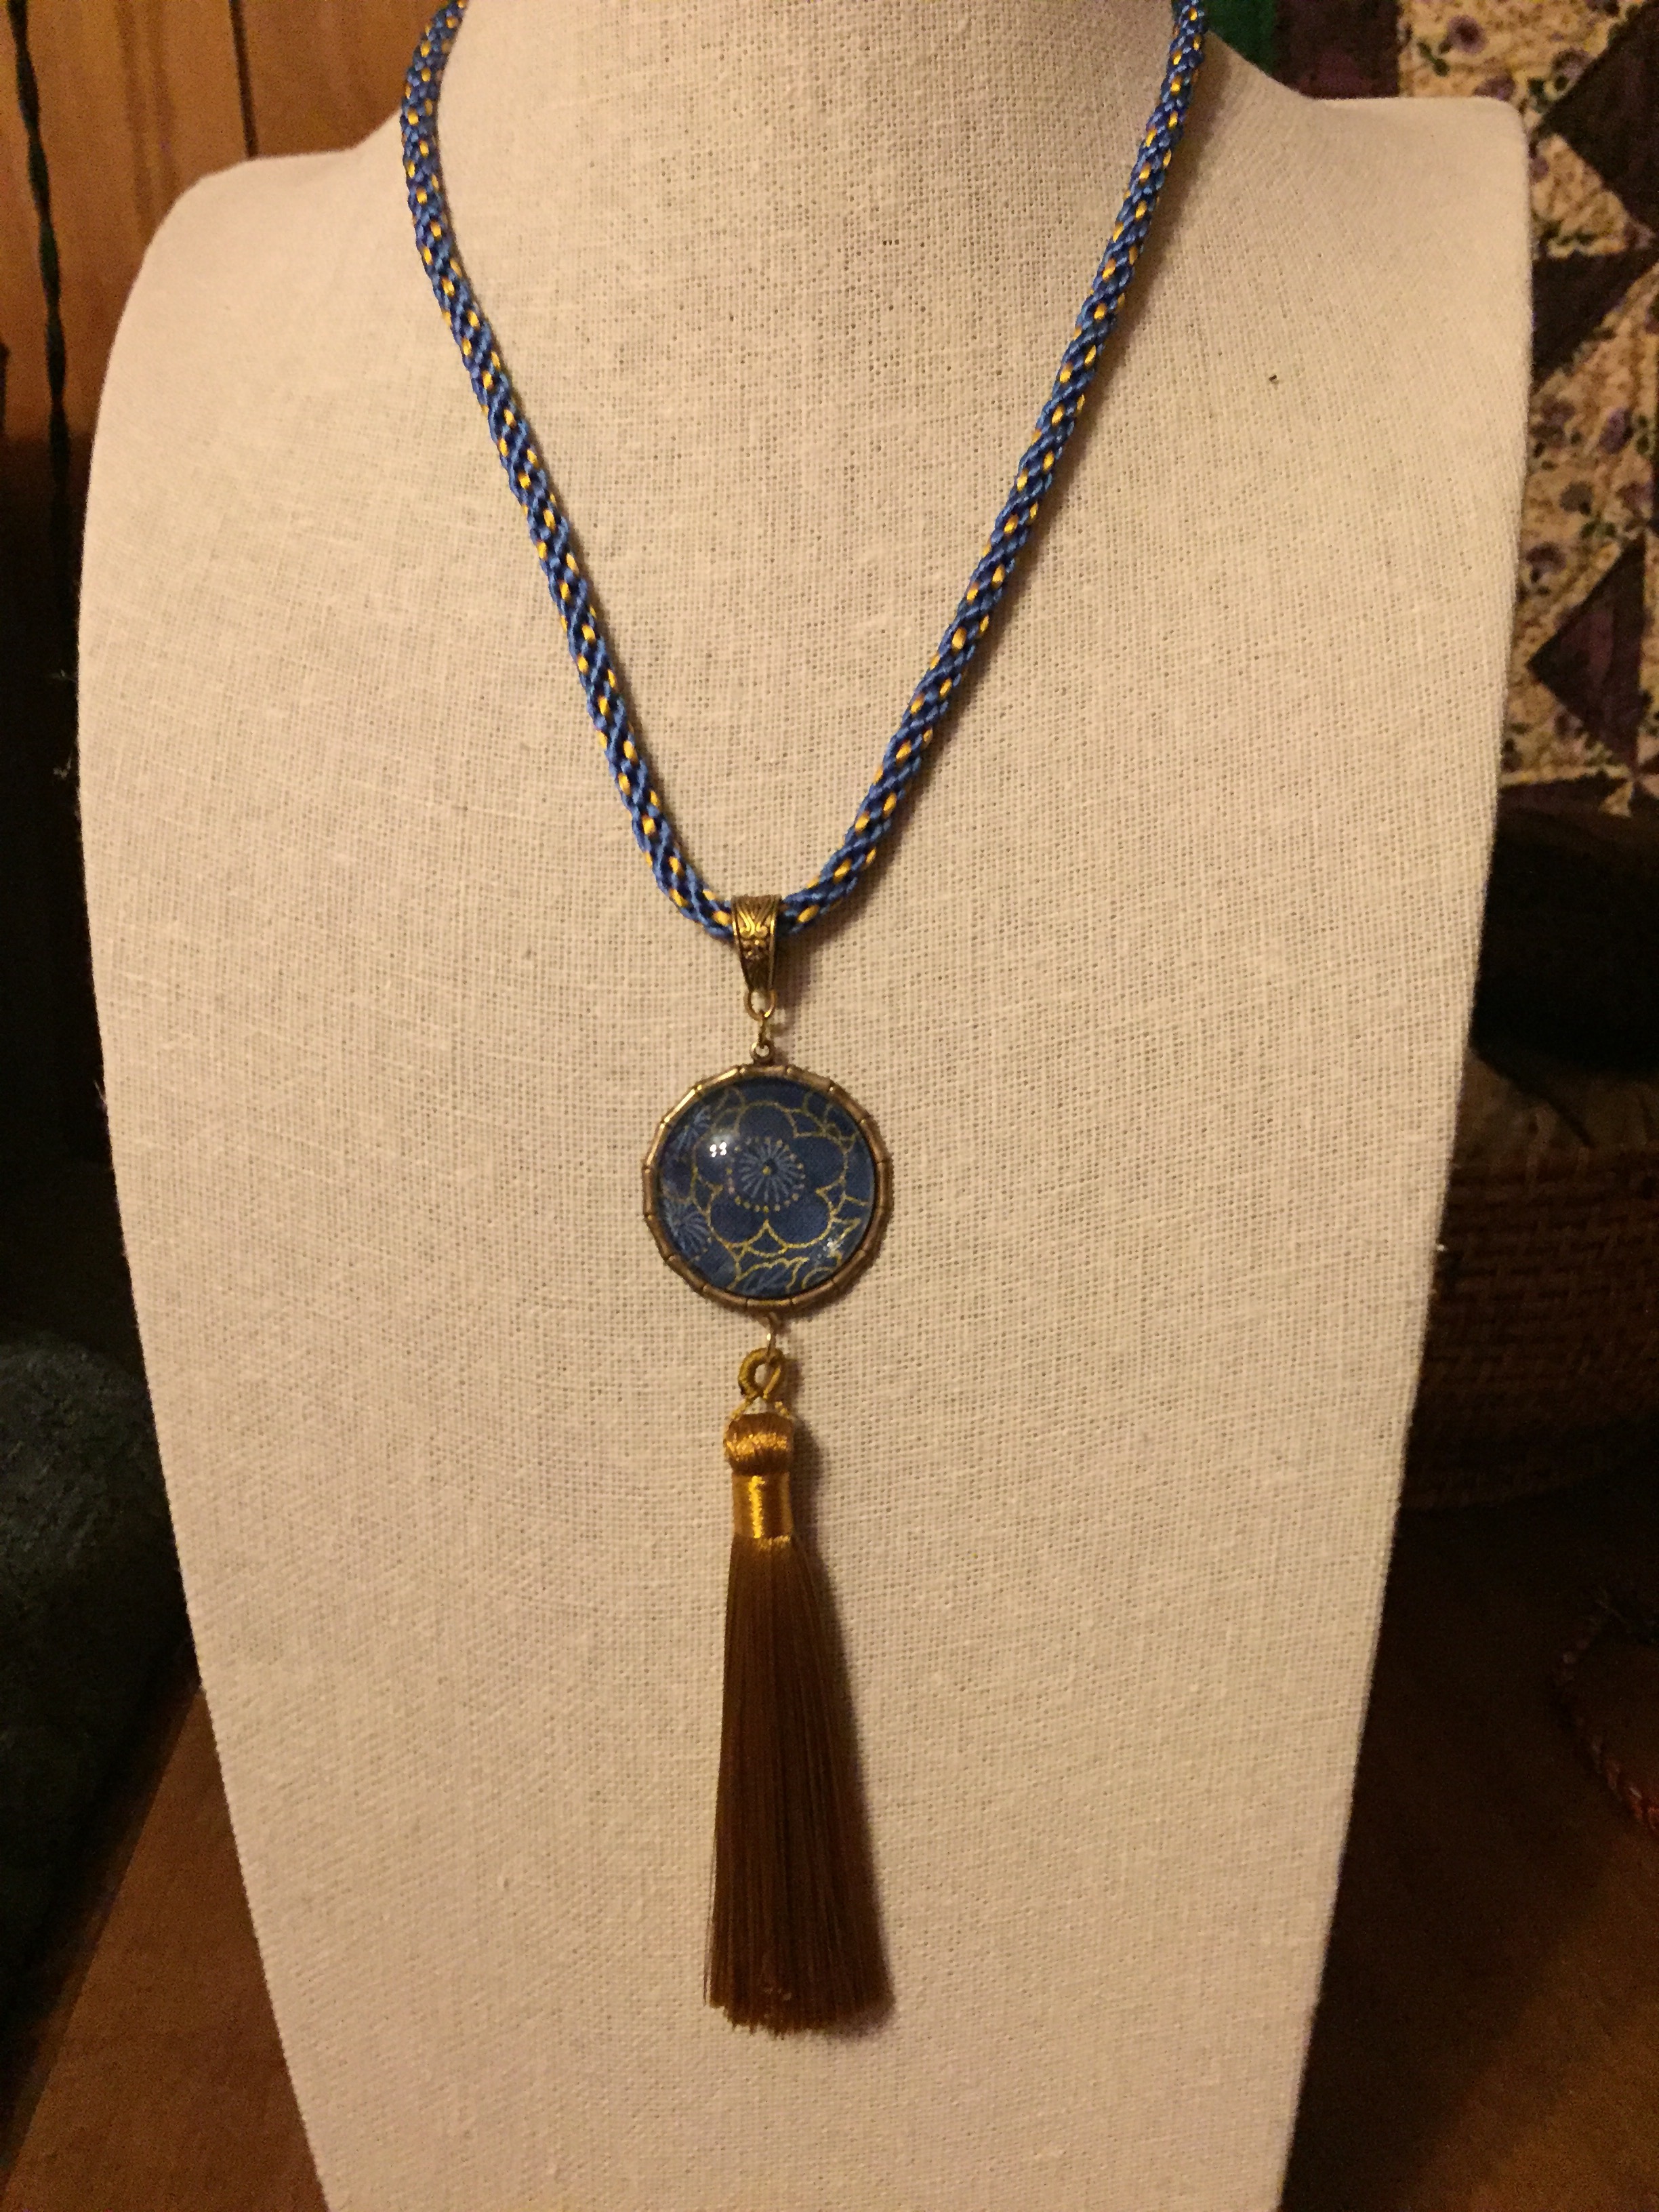

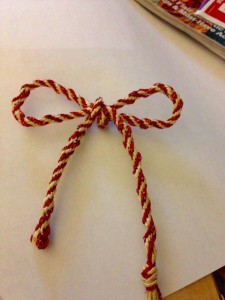
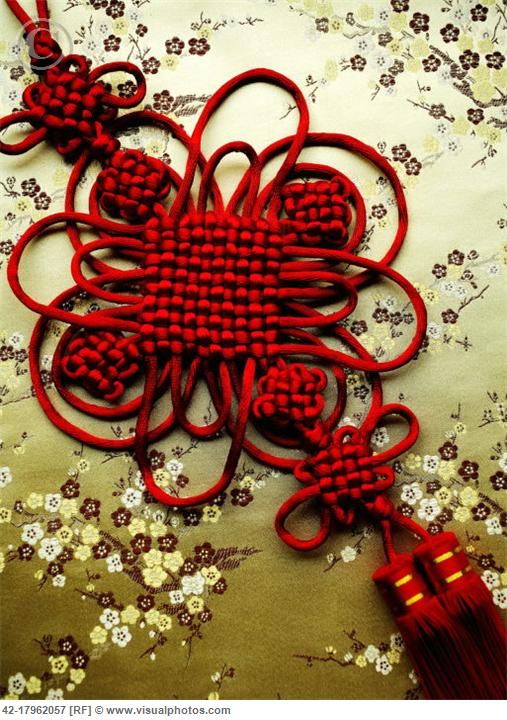 Here’s an extreme example of Chinese knotting that I’ll probably never achieve. I do want to learn some simpler knots, especially to make with my kumihimo cords. I started a new Pinterest board, today, “
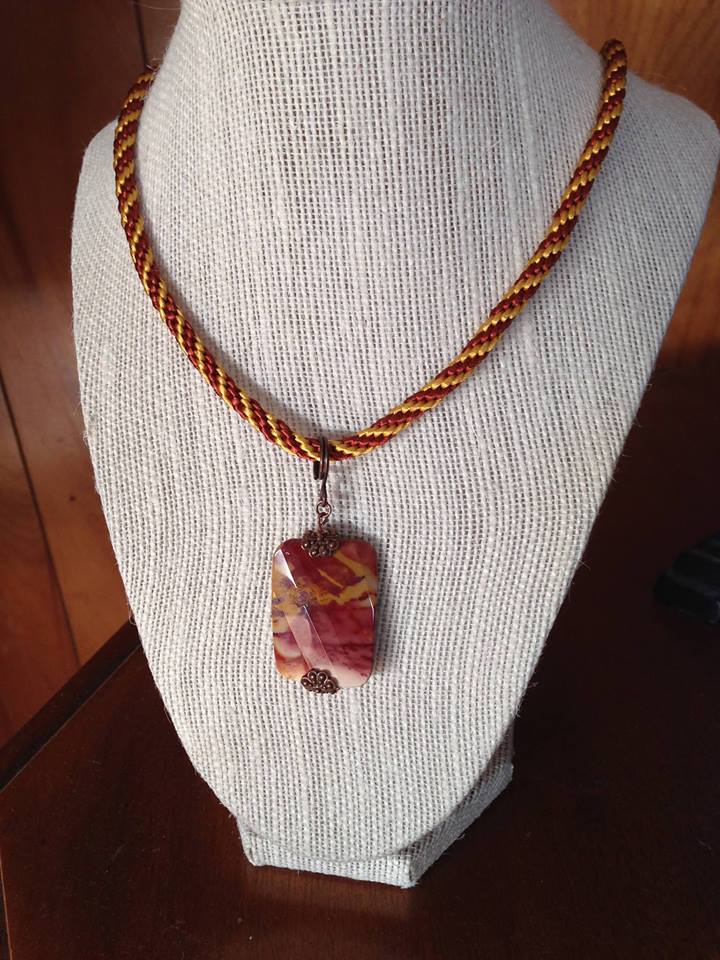
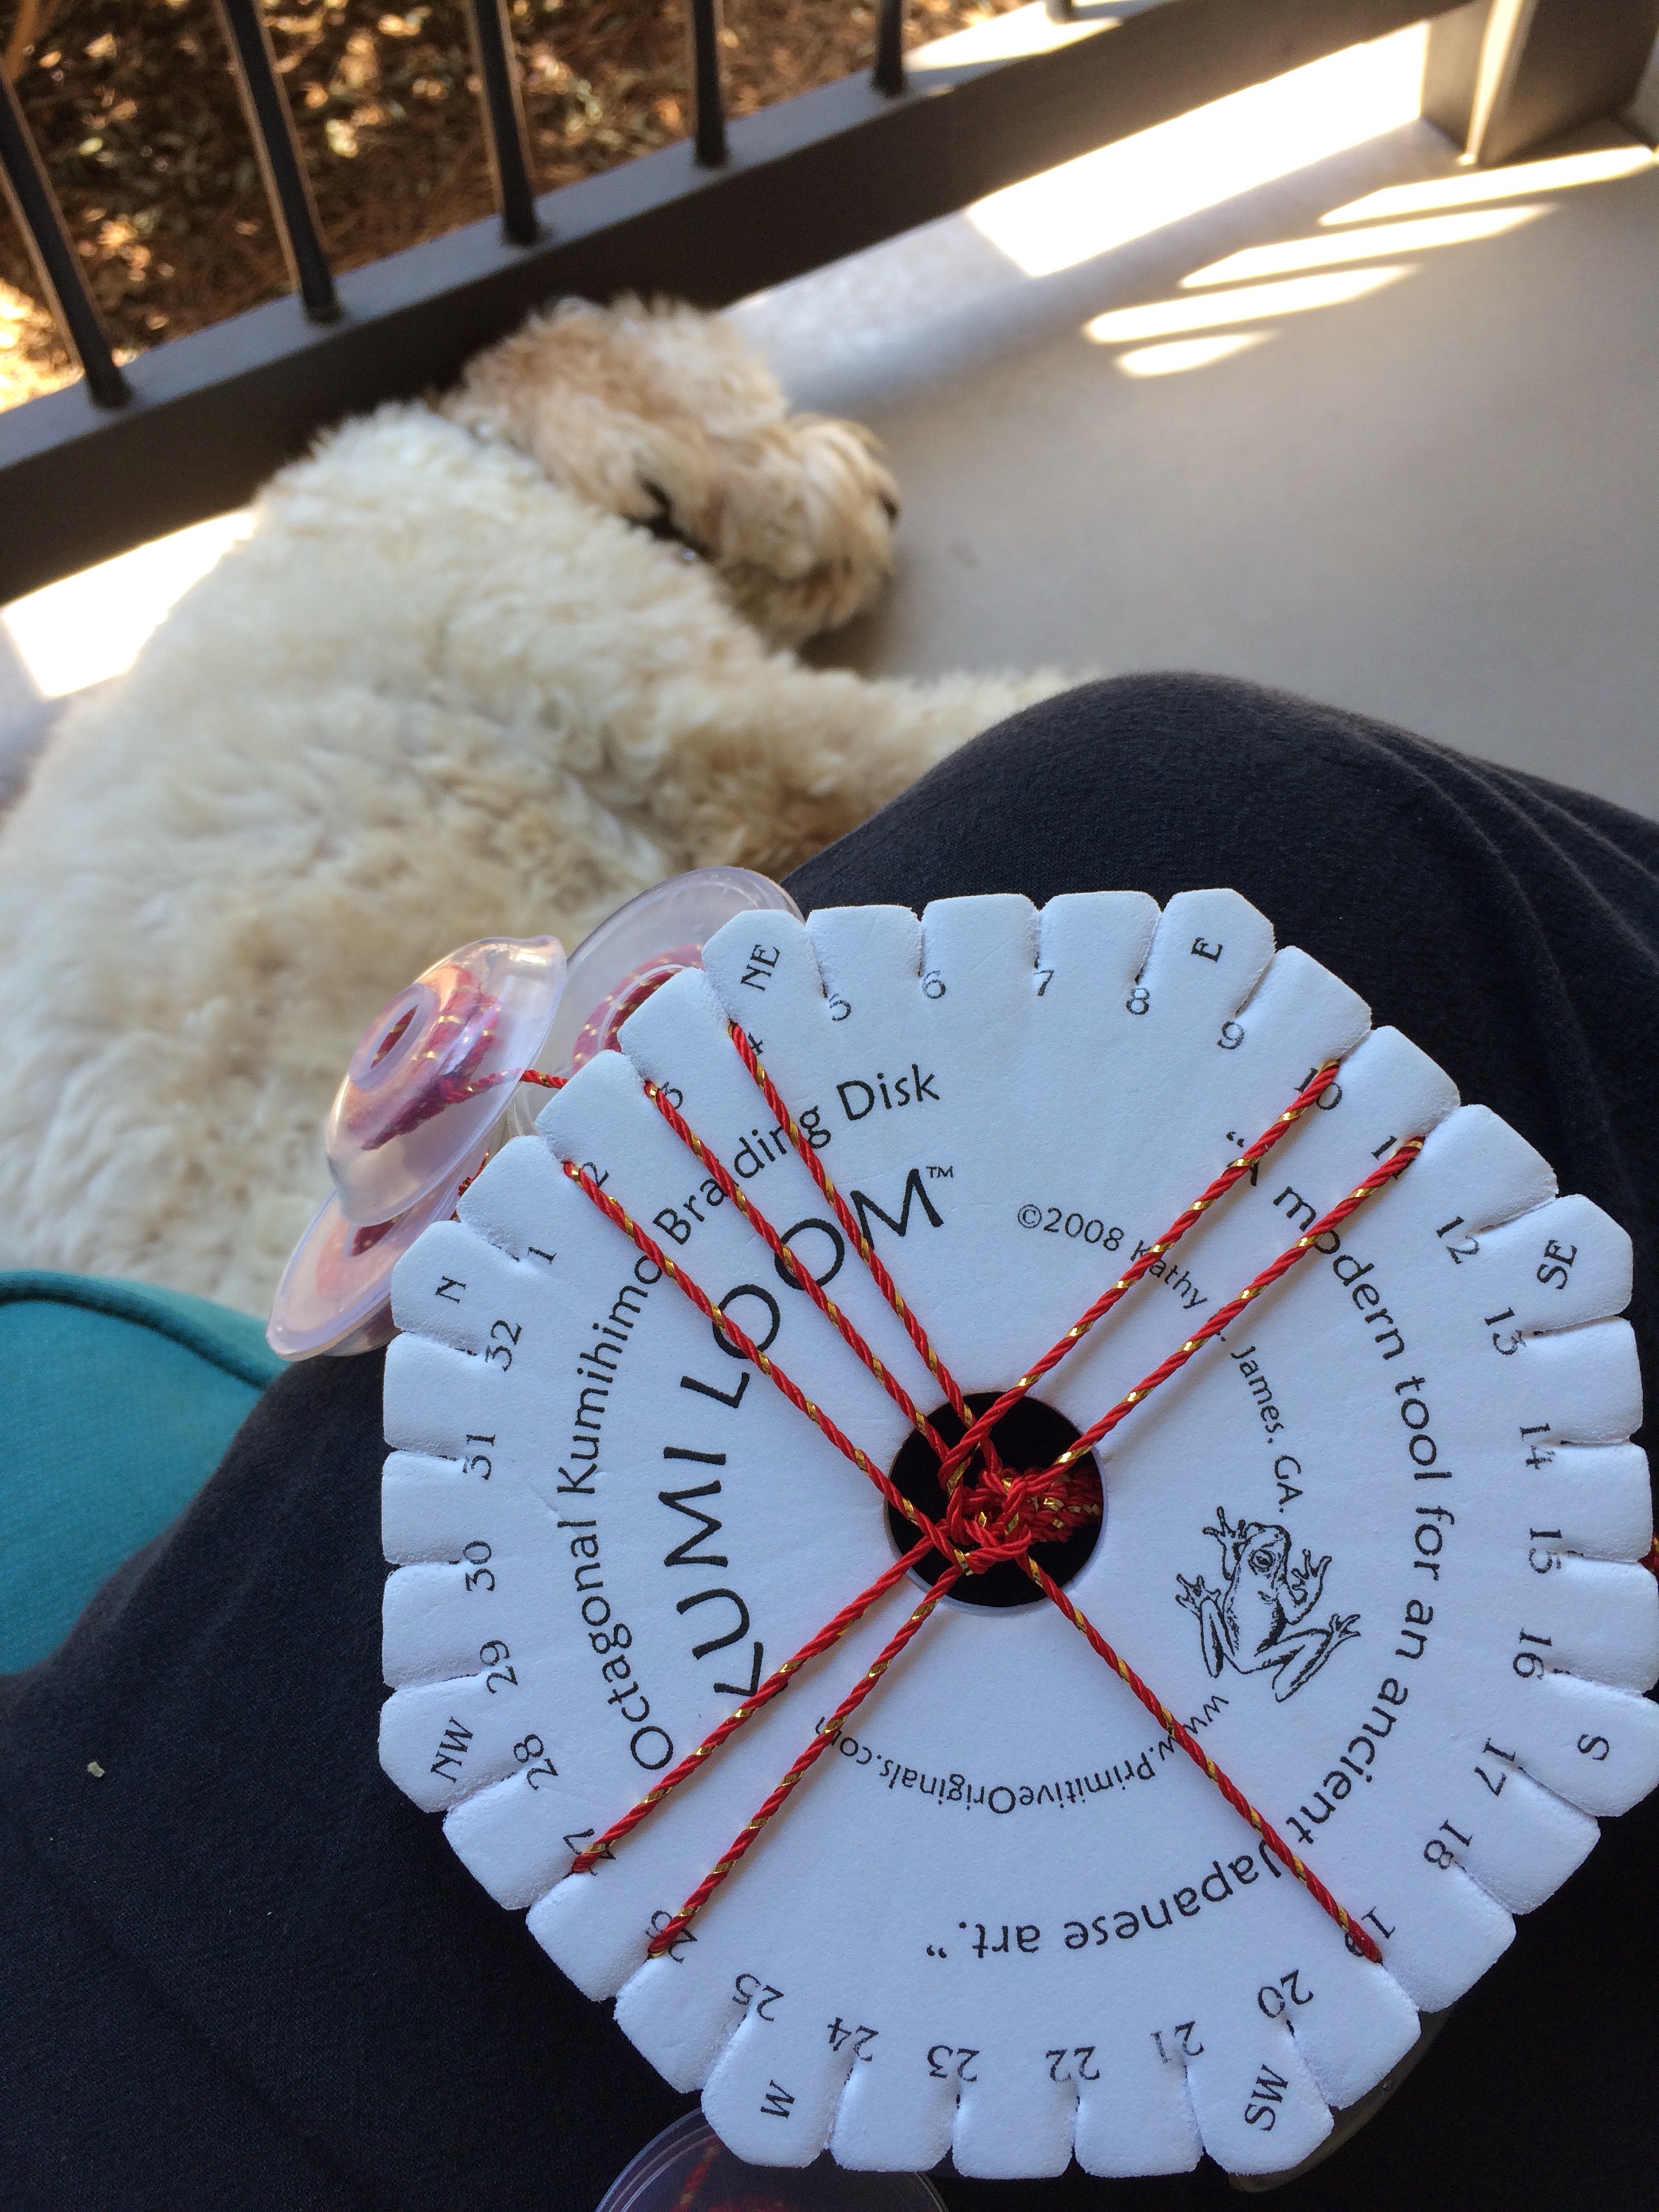
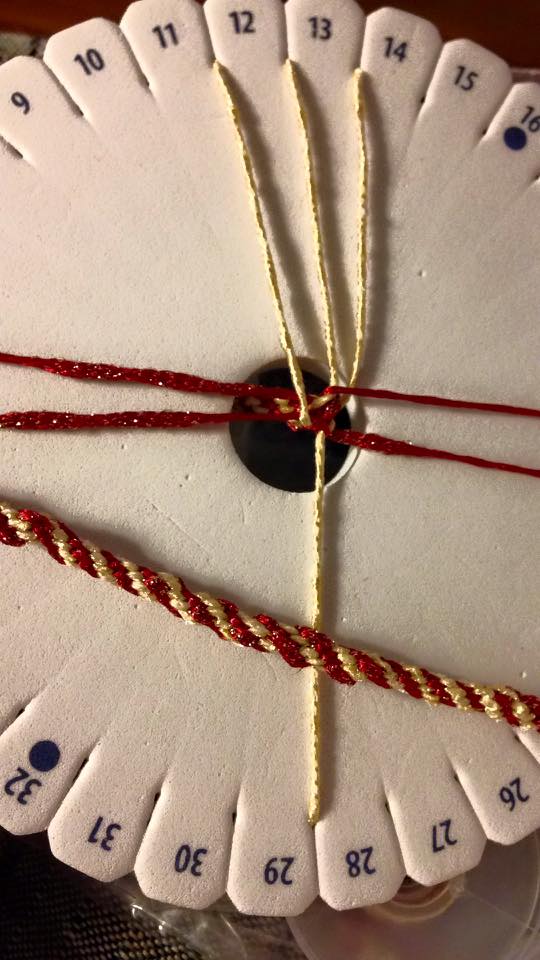 First of all, I thought these cords would be beautiful together. One is red shot through with a little metallic gold thread. The other is a light gold with just a little sheen.
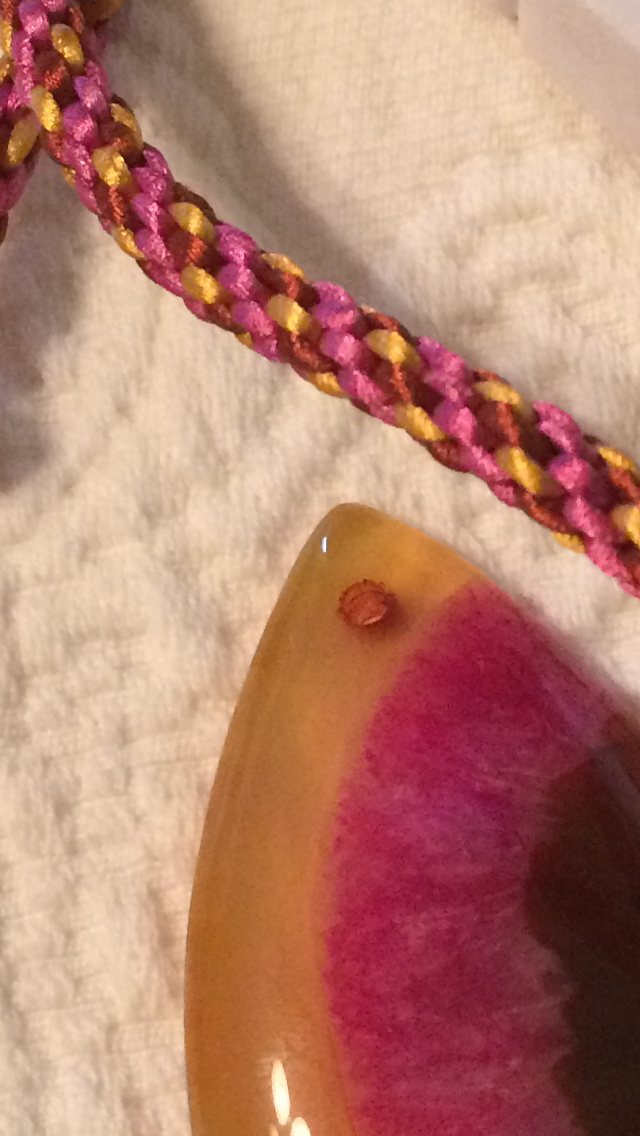