This one is from stored images already on the Scan N Cut. The skinny parts of the stencil may be tricky, but I think it will work.
#the100dayproject2024, #fixandfinish, Day 39
This one is from stored images already on the Scan N Cut. The skinny parts of the stencil may be tricky, but I think it will work.
#the100dayproject2024, #fixandfinish, Day 39
Today, I printed up a sheet of 1/4” graph paper and played with patterns for small collages or quilts.
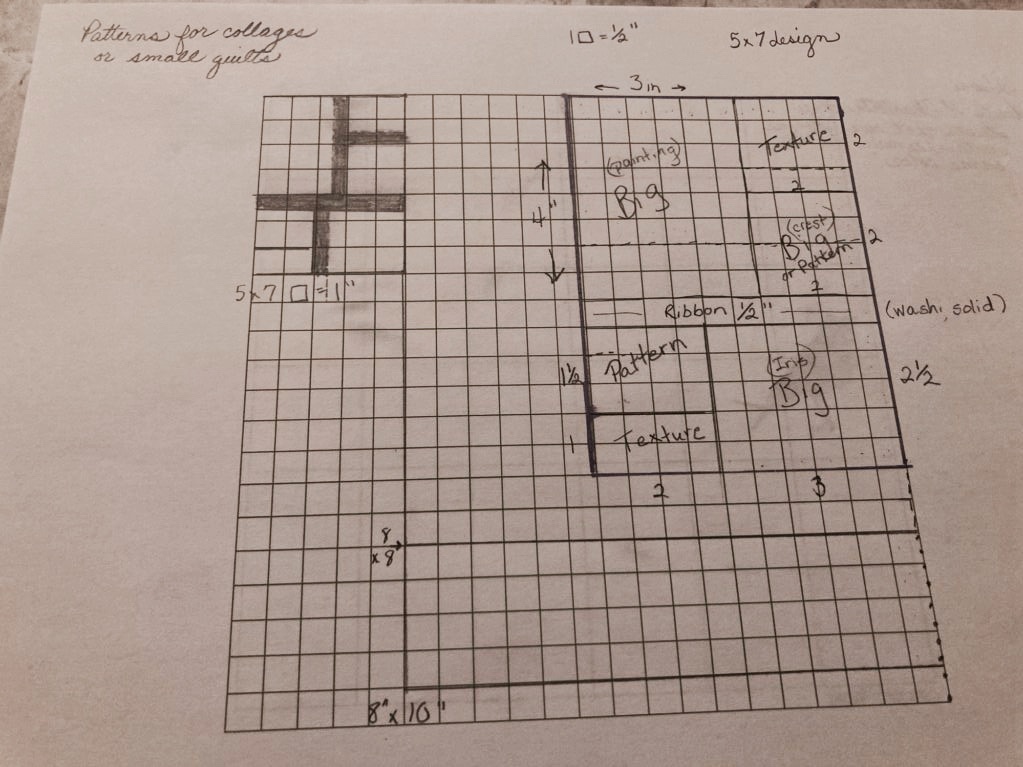
I like a Mondrian* kind of grid and have done two wall quilts in a similar fashion, though neither one is finished! 😅 I want these works to be small enough to abandon (give away😉!)

Day 38, #the100dayproject2024, #fixandfinish
Tonight, I finished harvesting this 2022 Hammacher Schlemmer Christmas catalog.
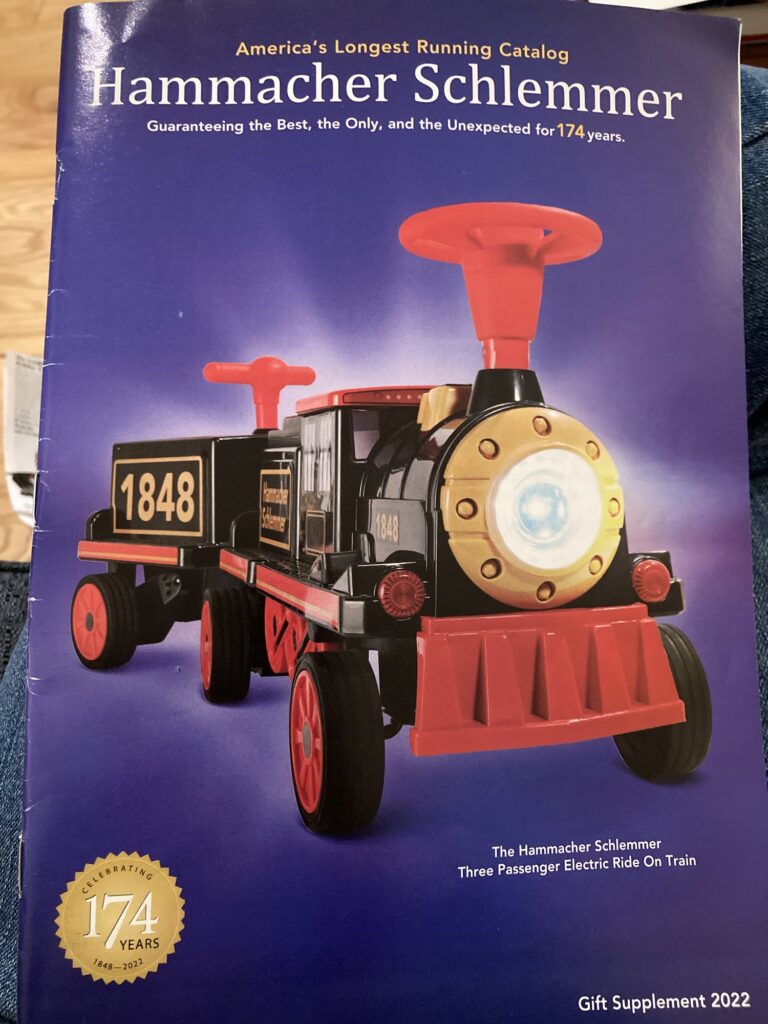
The Hammacher Schlemmer is one of the absolute best for harvesting images! The catalog can be requested for free! I got this many images:
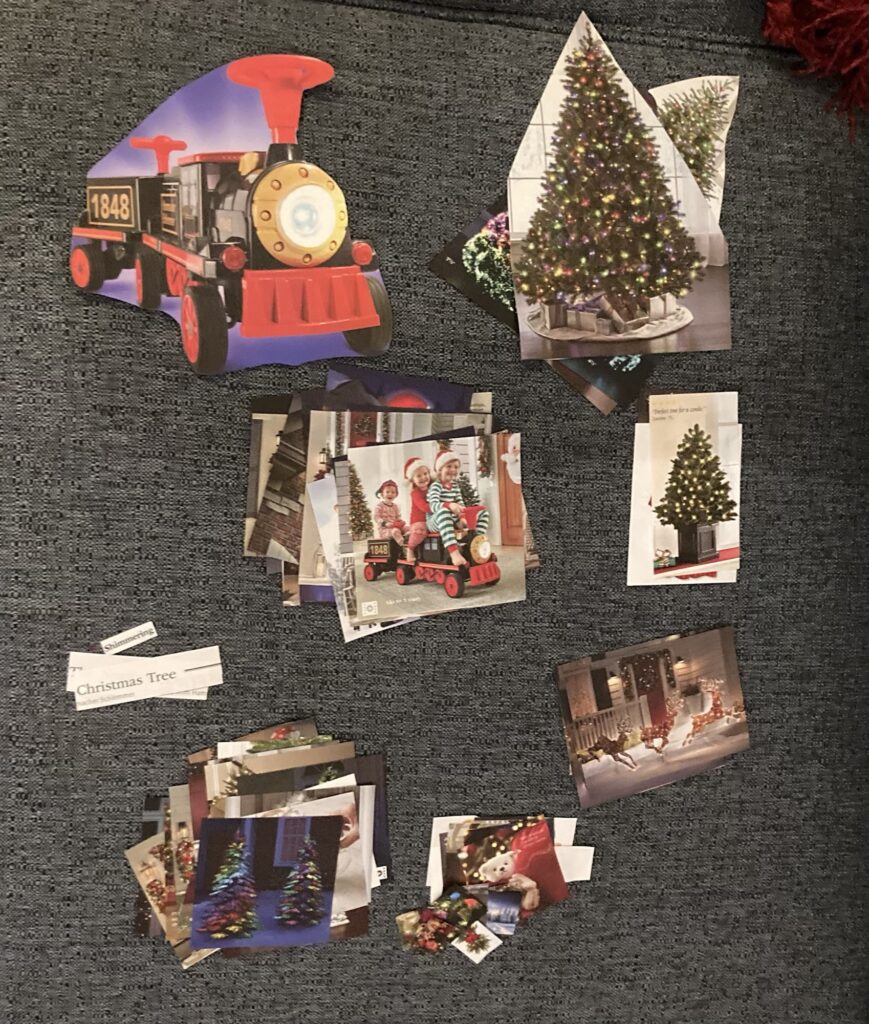
I have sorted them by size and shape. One category is words. I store them in different size baggies.
There was something usable on every single page, including the covers.
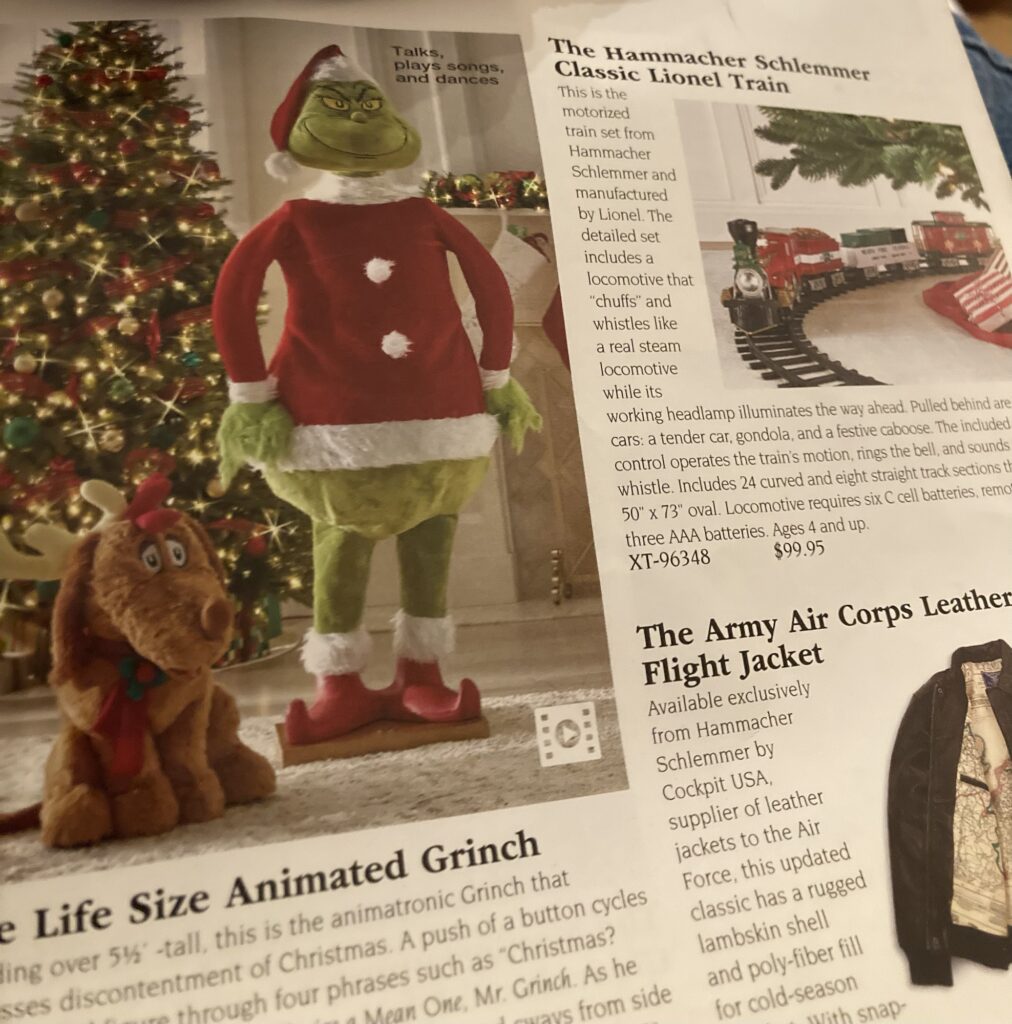
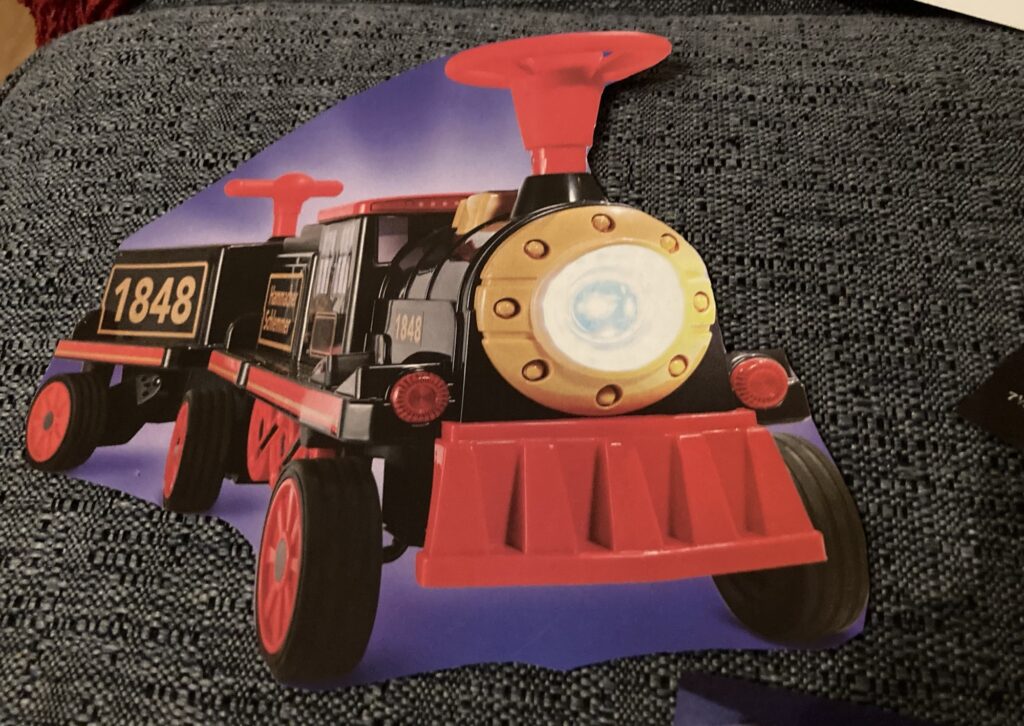
What a great choo choo on the front!
Day 38, #the100dayproject2024, #fixandfinish.
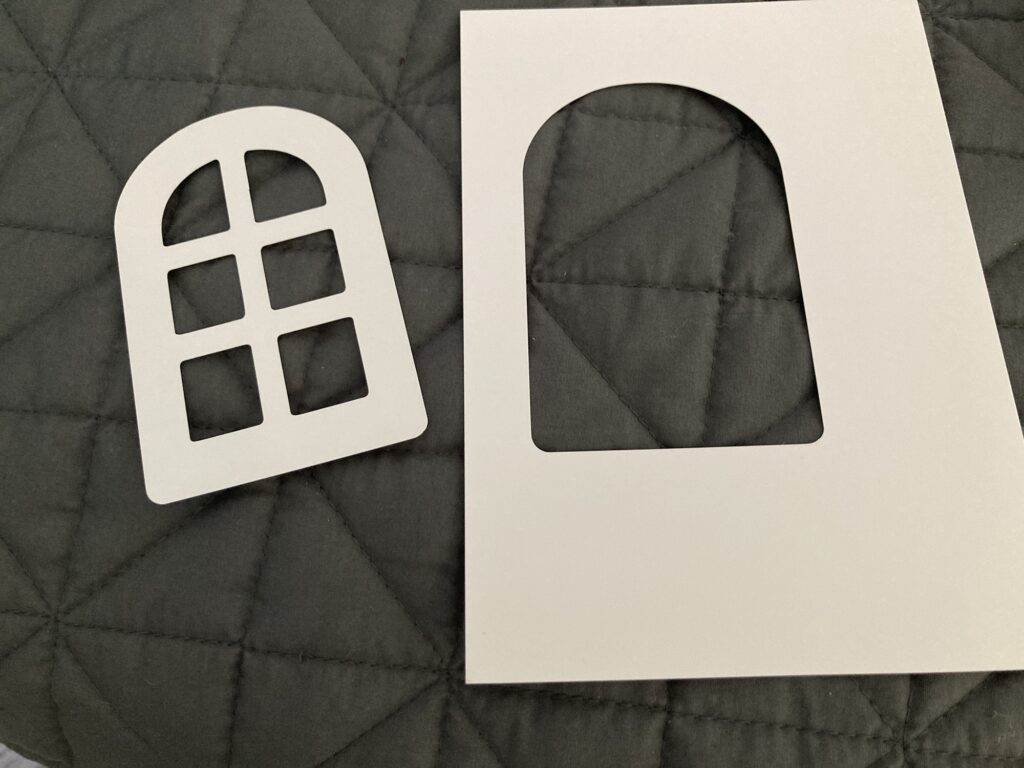
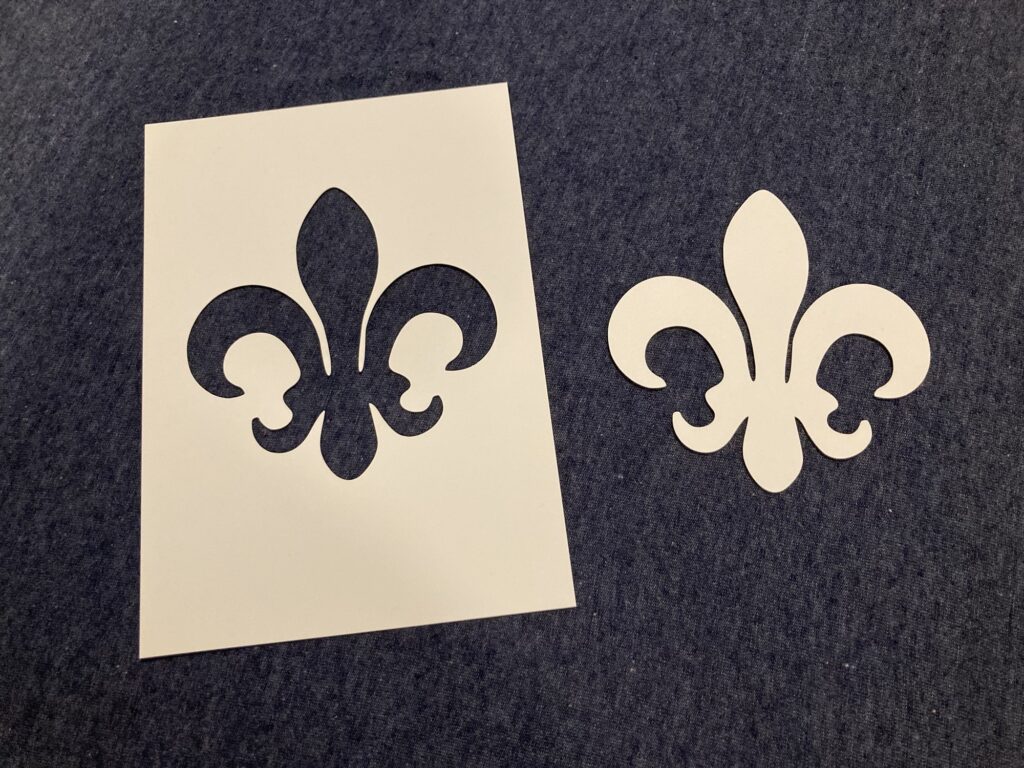
I am pleased with the mask, but that stencil’s not much! 😄 I guess it could be a door or a tag.
I made this with my Scan N Cut on cardstock weight Yupo. I used a pattern loaded on the machine. I guess it could be a large open window! 🙃 Maybe a mailbox!
I have to remind myself that in cutting a stencil, the innards have to be attached to the outtards! 😆😆😆
I hated to waste that space around the “window,” so I loaded the Yupo back in the machine.
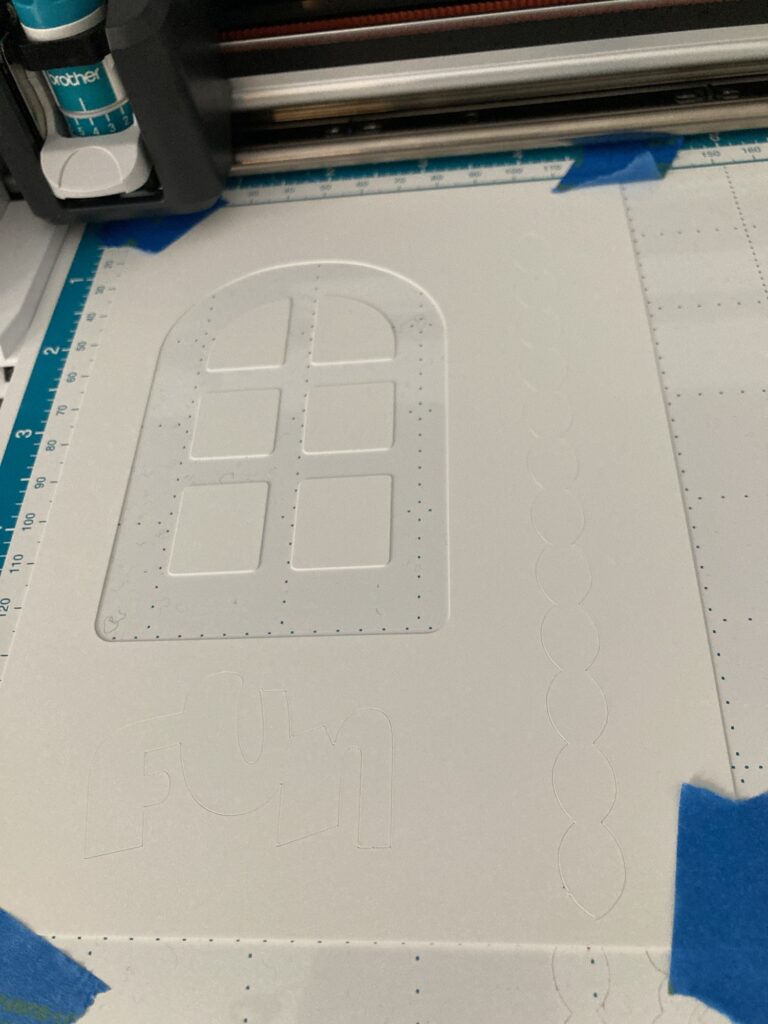
I chose two other built-in patterns. I had to shrink them both and rotate one.
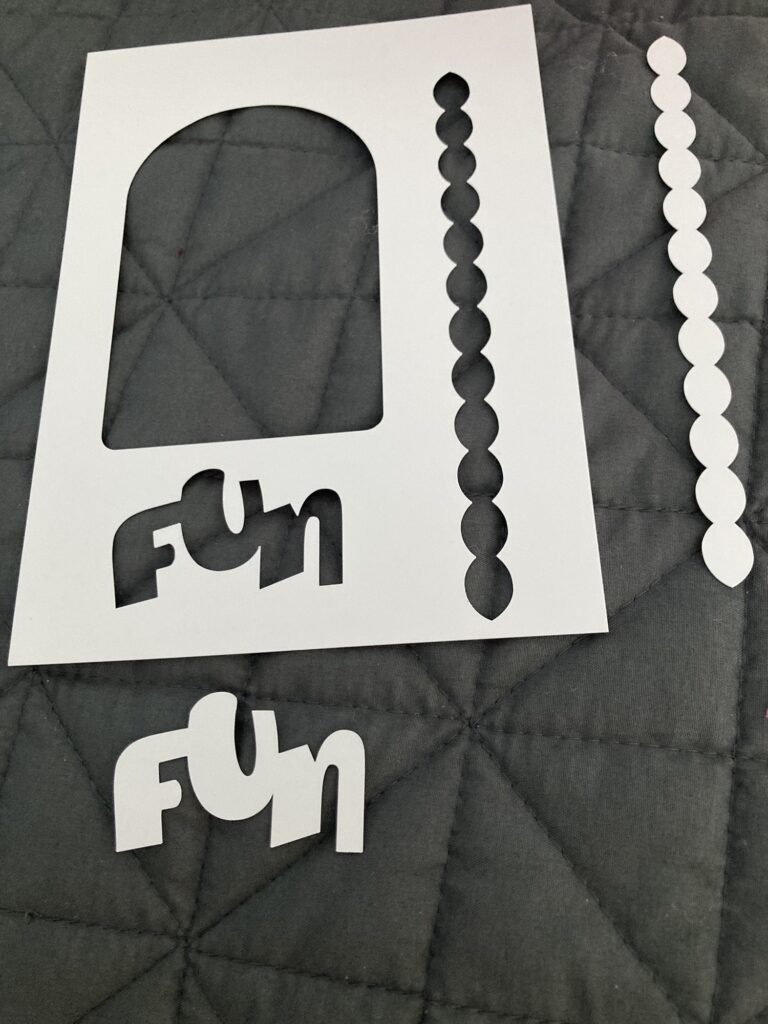
I had a little fun!!!🙄😄
I’m gonna count this one. I fixed this stencil, or at least I finished it! Day 37, #the100dayproject2024, #fixandfinish
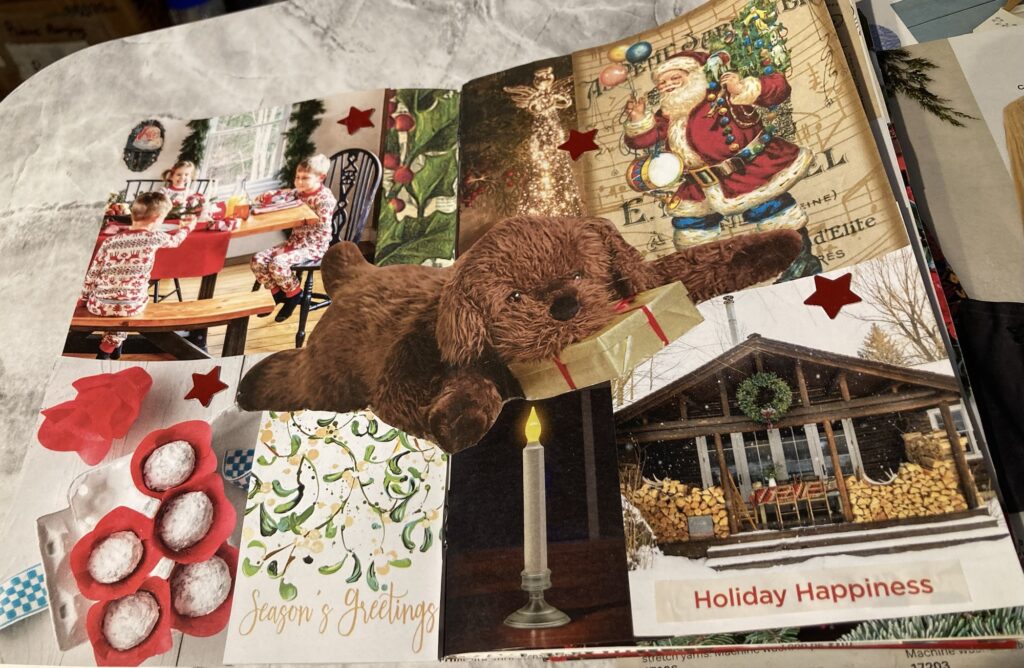
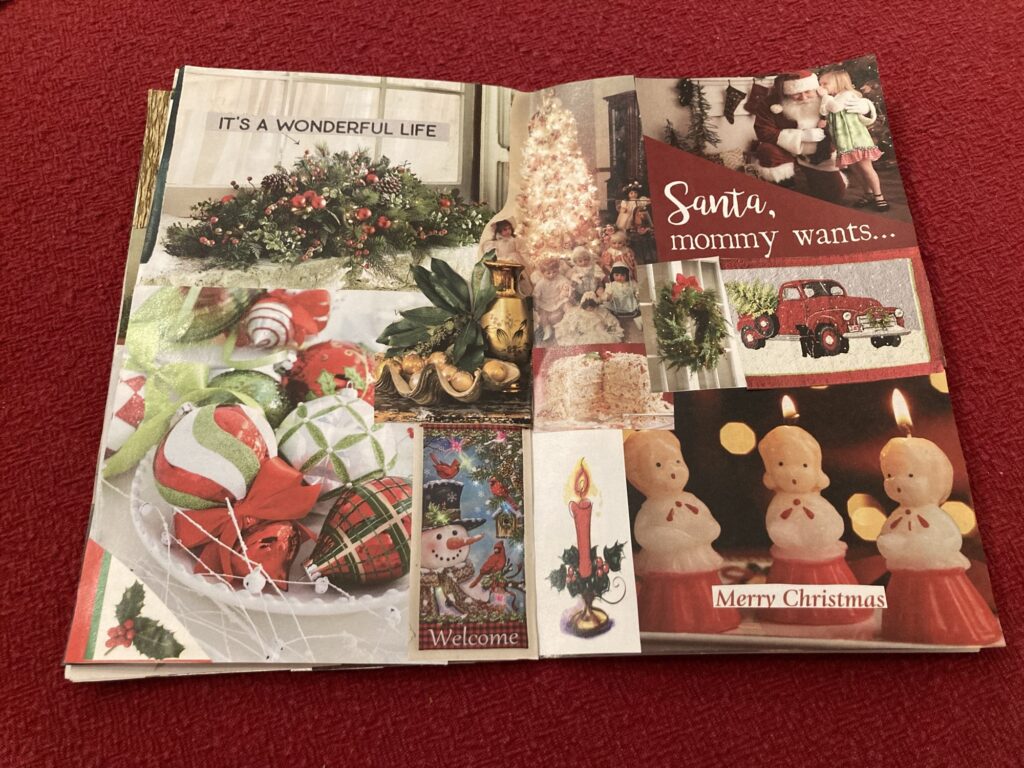
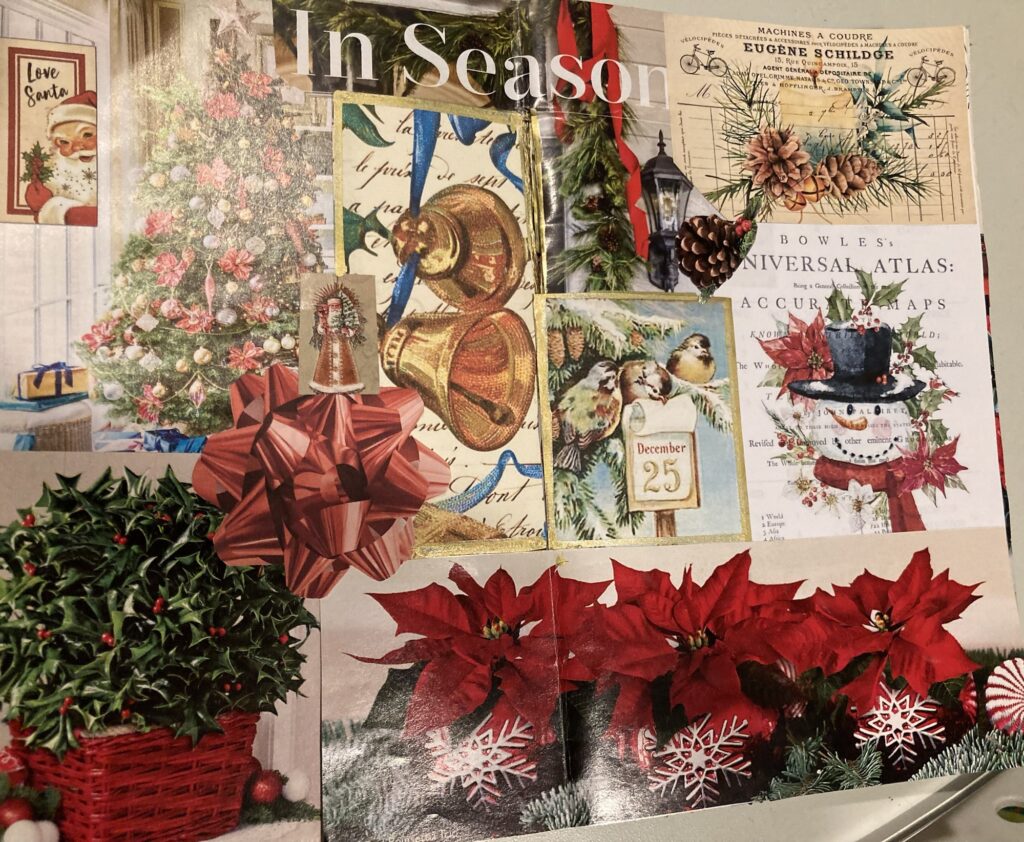
I finished another double page spread in my Christmas glue book!
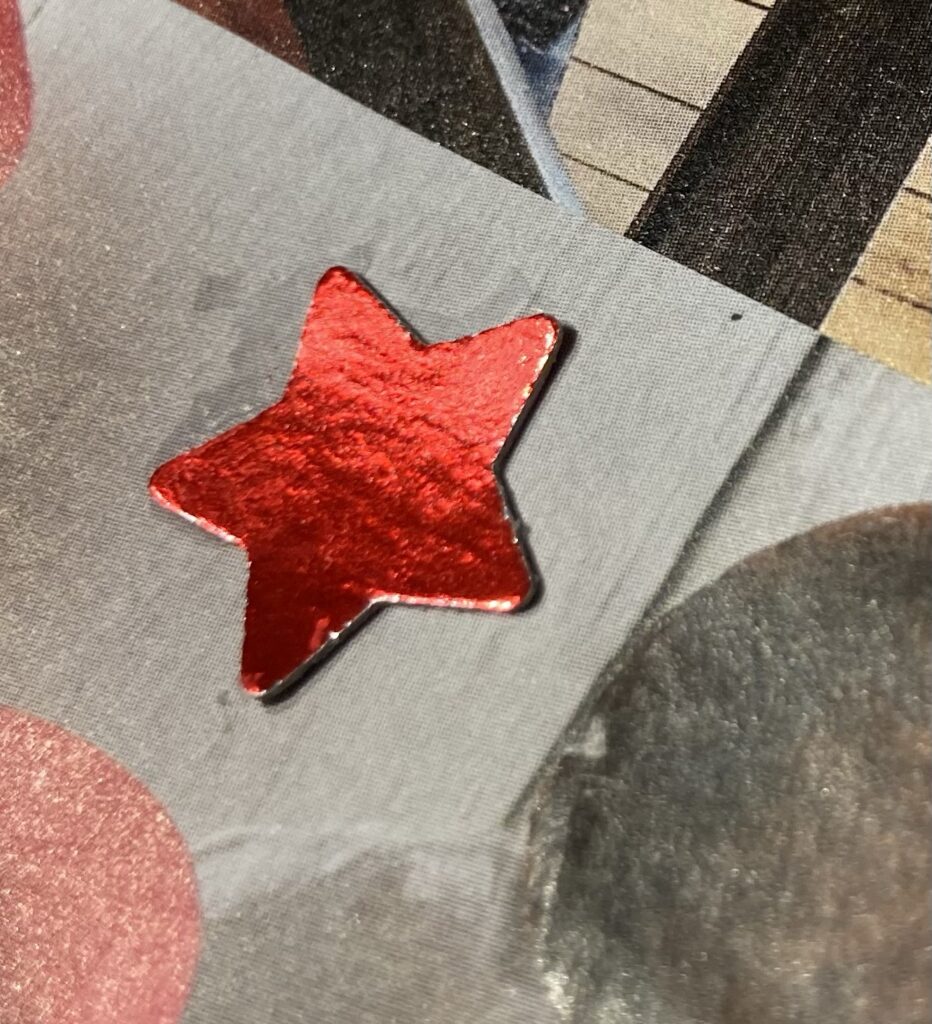
Shiny is hard to capture on camera, but these red stars were punched from a Colgate Optics box. Trash to Treasure!
Day 36, #the100dayproject2024, #fixandfinish
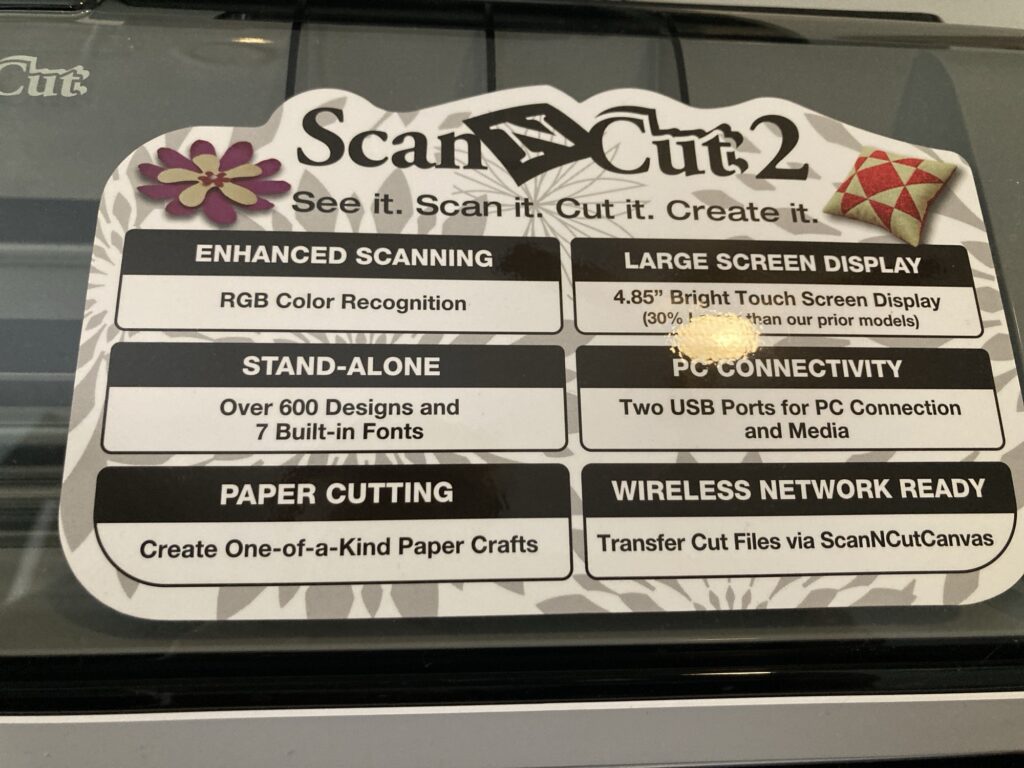
Finally, after more years than I want to admit, I got my Brother Scan N Cut machine set up and USED IT!!!🎉🥳
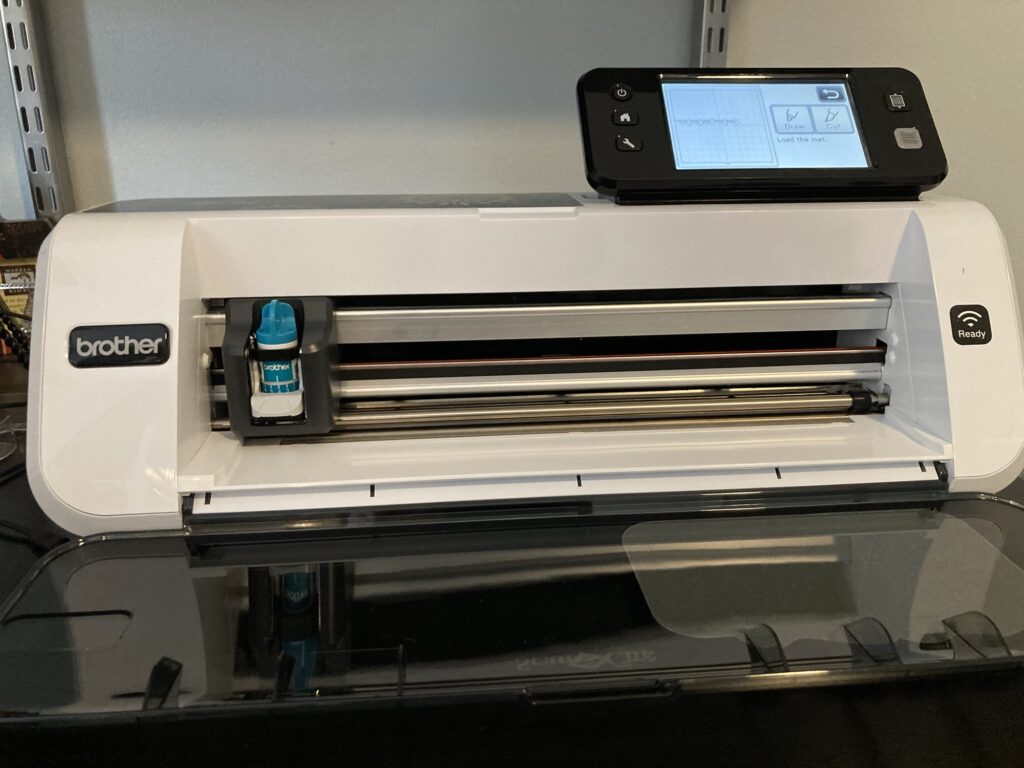
It’s a old machine that I bought when Hancock Fabrics went out of business. You can check the year. Its model CM350. It’s new to me, though! Hi
I’m going to order it a custom made dust cover since I finally used it.
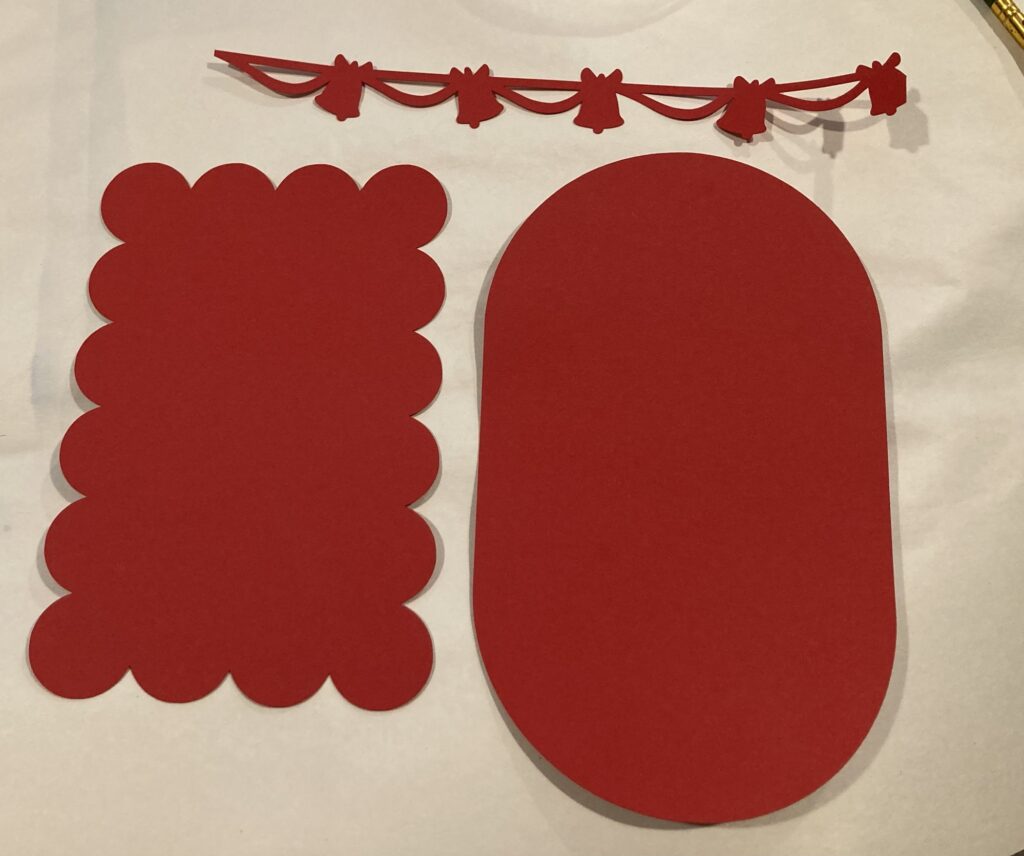
I started with a piece of red card stock and cut a couple of simple shapes already programmed in the machine. Then, I had to try that fancy Christmas bell border.
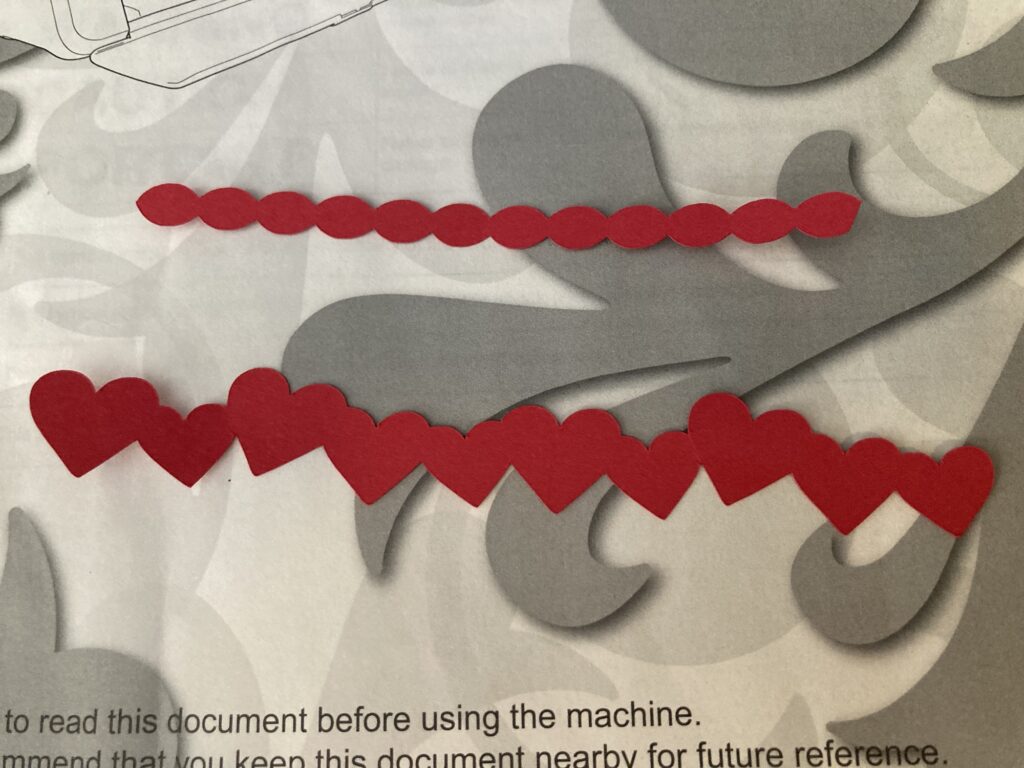
I tried other borders, and went a little nuts trying to use up as much of my cardstock as possible!
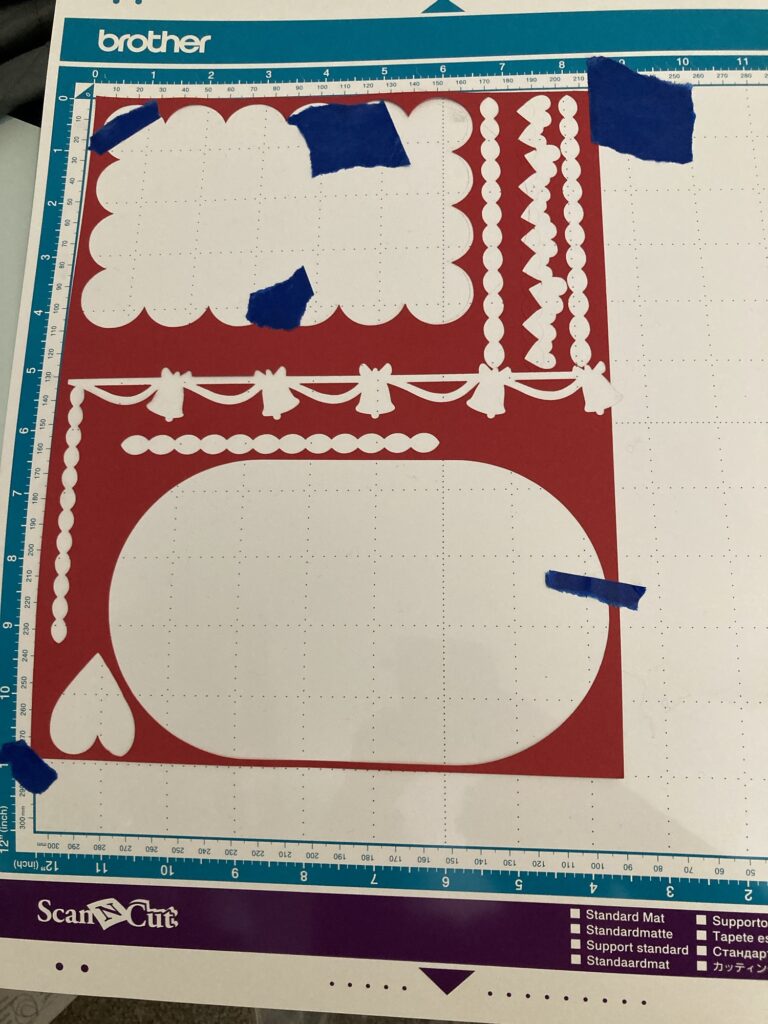
I thought I could squeeze in hearts in the corners, but my paper shimmied, so I decided not to press my luck. I am so happy!
Day 35, #the100dayproject2024, #fixandfinish
And wouldn’t you know it, I finished it at 12:01am.
Day 34, #the100dayproject2024, #fixandfinish
Finish #1: I drove us home from Charlotte. Finish #2 I sorted all the magazines and catalogs in the den. I was looking for Christmas issues and found this gem:
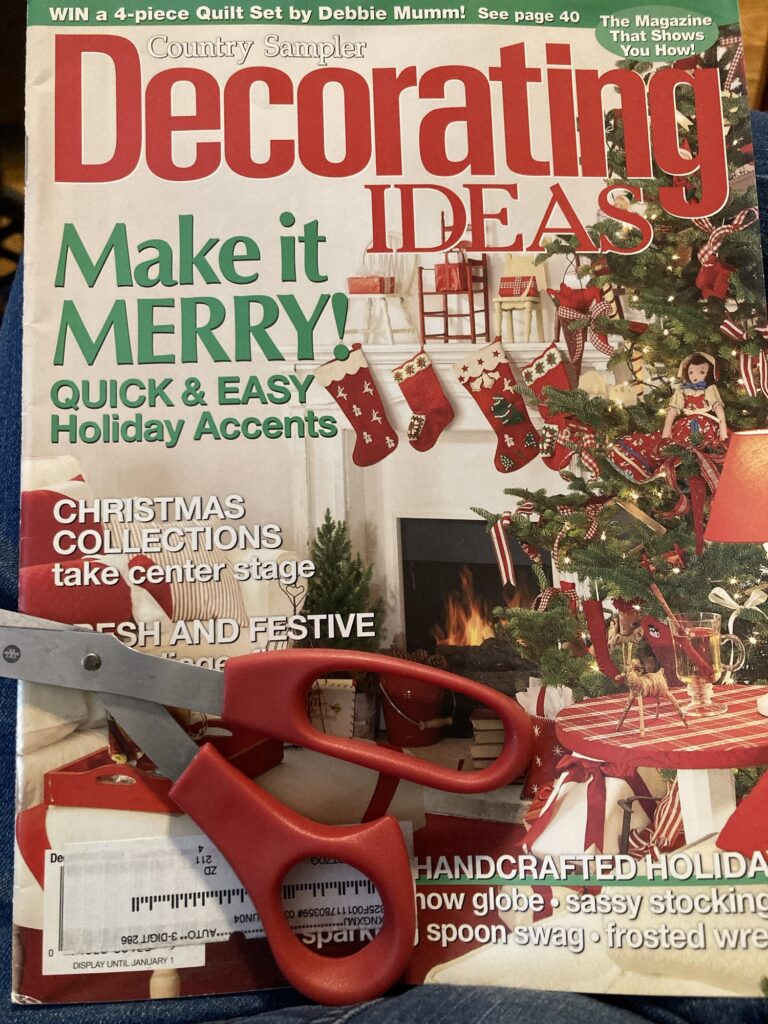
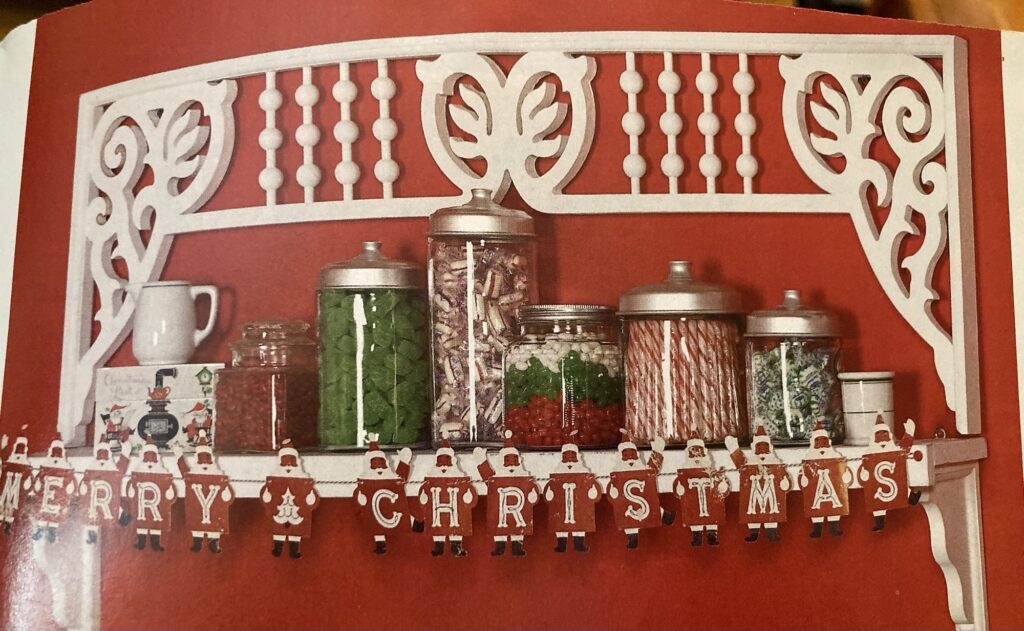
Some of the ideas in this issue were very dated, and it took me a while to find a date of publication. 2003. I still like this idea, though:
I just realized I had another finish. I got some ribbon yarn in the mail to Patricia Carmichael (PMartist Studio) to use in her current mixed media project. I wish I’d had enough sense to take a photograph!
#the100dayproject2024, #fixandfinish, Day 33. I’m a third of the way through!
Christmas Glue Book, page 6
Day 32, #the100dayproject2024, #fixandfinish
#the100dayproject2024 #fixandfinish